
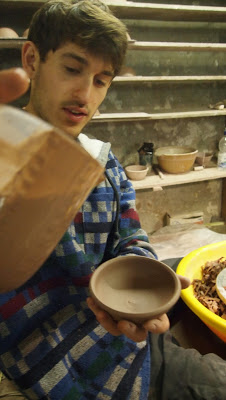
Four Inch Bowls, Step 4. Slipping and combing.
Once the bowls are trimmed you let the sit out for a while
again. You do not want any white to be showing on the clay, that means they
are getting on for being too dry to slip. Slip is basically watered down clay
with an added colorant.
Here is the video to accompany Step 4:
Tips:
* It is important to get yourself set up before you begin. Always mix the glaze properly. Stir it up! Be sure to think of Bob Marley as you do it.
* The consistency of your slip should be something like single cream.
* If you mess up the combing it is no use pouring slip over it and trying again. It will show. As will any fingerprints or bits of slip you haven't cleaned off properly.
* A bendy tool for combing is much better than a stiff one.
These bowls are being slipped with a blue slip. It looks
grey now but will transform in the glaze firing. The blue comes from cobalt
oxide.
 |
| Find a bucket full of slip. |
 |
| The ladle is for stiring only! Don't be tempted to drink it. It is not soup. |
 |
| I like to attach a bisqued pot to the wheel in order to make combing easier. |
 |
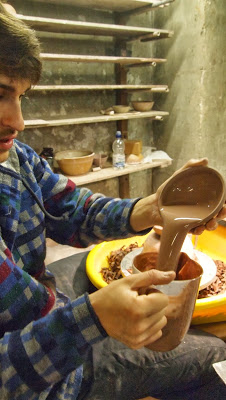
| Pour your slip in. |
 | |||||
| Like so. |
 |
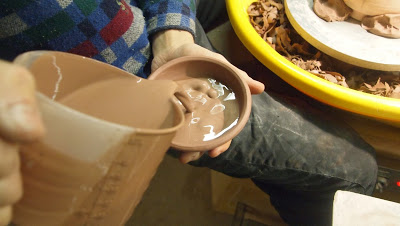
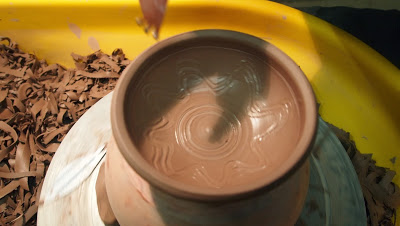
| Swish or swirl around the slip until it reaches just under the rim. |
 | |
| Tip the slip back into the jug. This naturally stirs it up and saves you going in the bucket again. |
 | |||
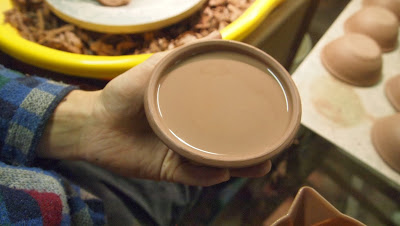
| Several shakes are necessary to make sure all the excess slip drips out. |
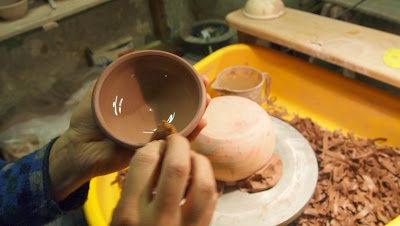 |
| Wipe the rim with a sponge. |
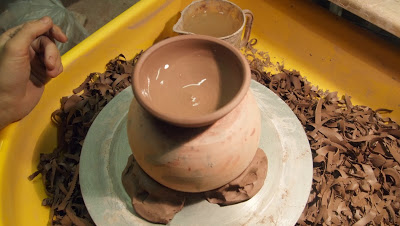 |
| Place it down to dry out a little. You don't want to comb it until the sheen has gone off. |
 |
| I always slip two so as to let the first go off and save time. |
 |
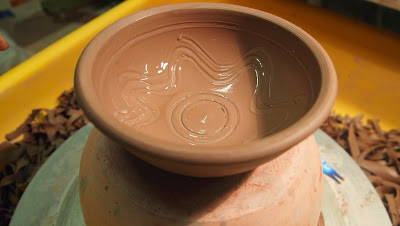
| Putting in the top line, just underneath the rim. |
 |
| A double line in the base of the bowl. |
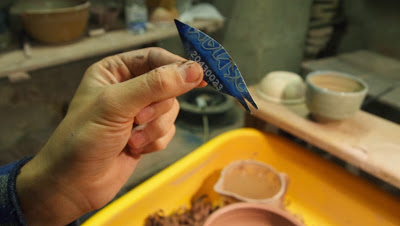 |
| My tool for this process; a cut up membership card from the picturehouse in Norwich. |
 |
| Ready for the wavy Winchcombe lines. |
 |
| Wheel turning slowly, hand moving up and down. |
 |
| Combing in action. |
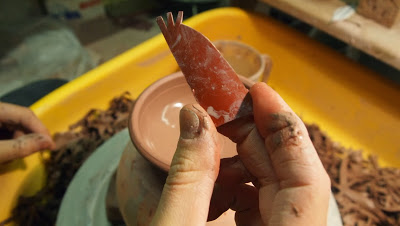 |
| My combing tool: a cut up rubber kidney. |
 |
| It is quite difficult to join up the waves but I managed it on this one. |
 |
| Now place on a board and get on with the next one. |
Here is the video to accompany Step 4:
Tips:
* It is important to get yourself set up before you begin. Always mix the glaze properly. Stir it up! Be sure to think of Bob Marley as you do it.
* The consistency of your slip should be something like single cream.
* If you mess up the combing it is no use pouring slip over it and trying again. It will show. As will any fingerprints or bits of slip you haven't cleaned off properly.
* A bendy tool for combing is much better than a stiff one.