"Hamish's yellow glaze"... success at last!
I managed it! After lots of testing, I made a buttery yellow glaze with my local granite and dolomite!
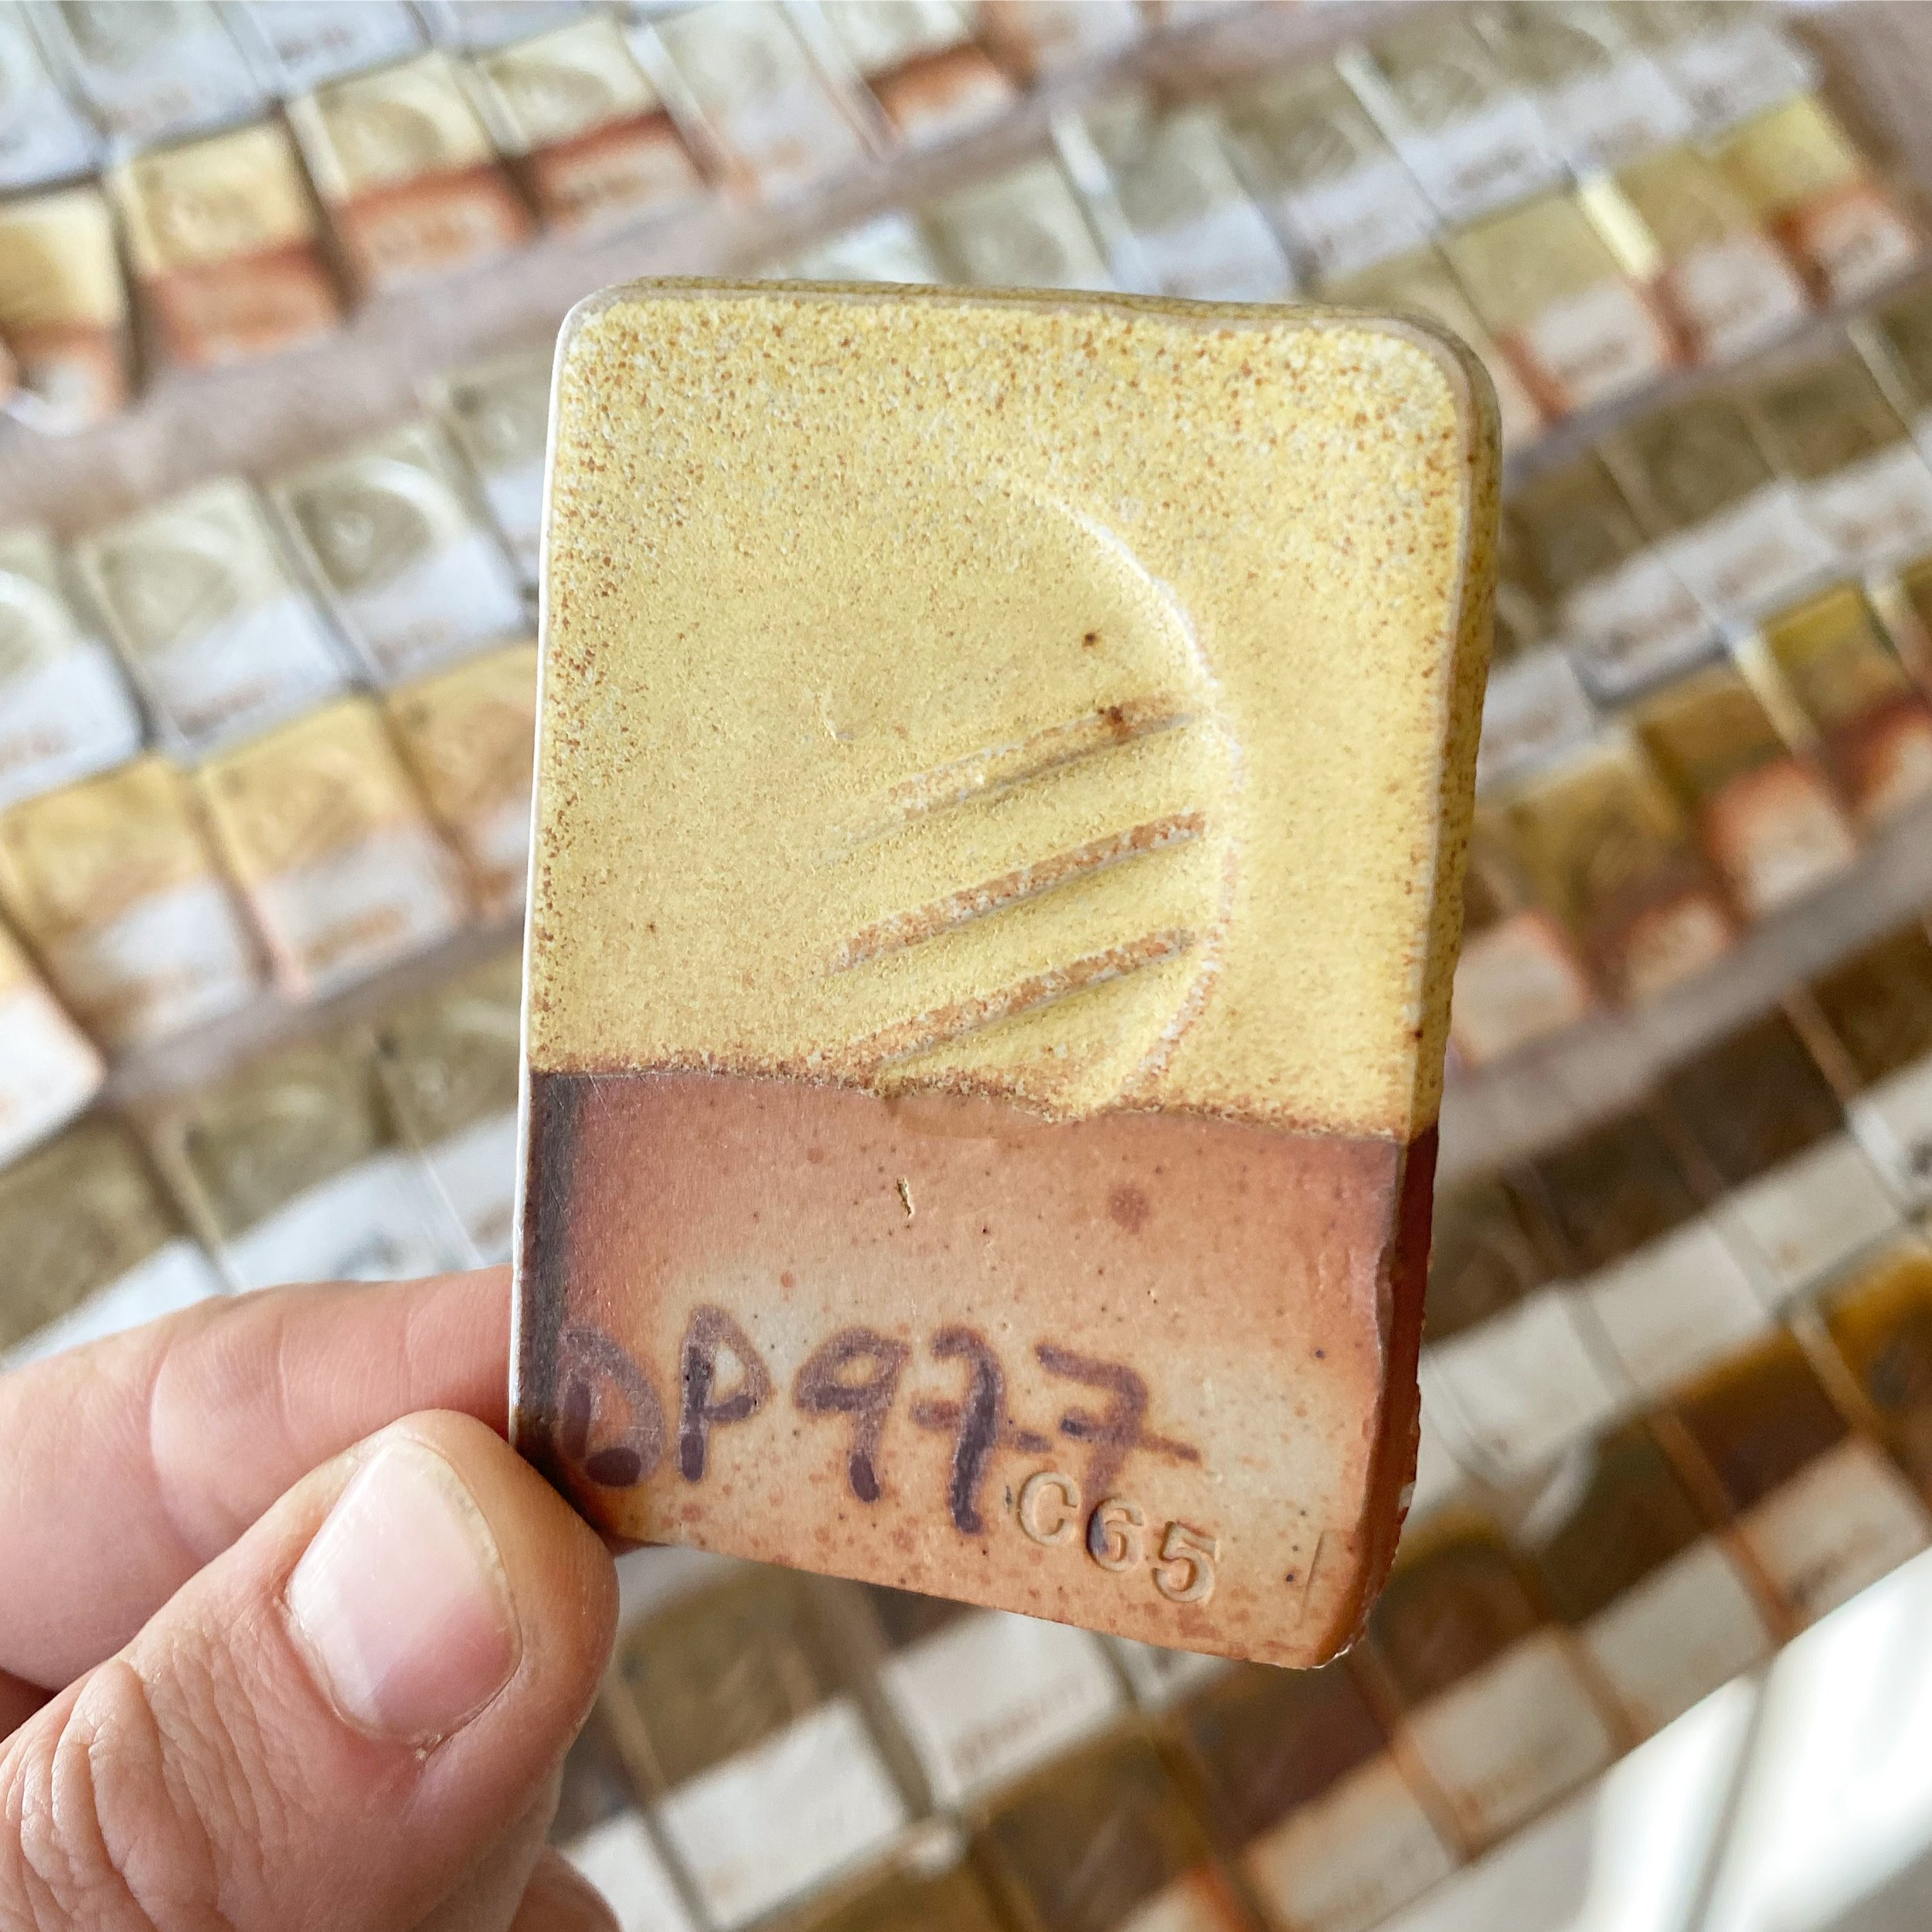
From my previous set of yellow test tiles, my favorite was DP977. This glaze has 50% local granite in it, but the 20% dolomite in it was from a bag, bought from a clay supplier. Here in Logan, Utah, we have a bunch of dolomite on our doorstep, so I wanted to see if I could use the local stuff.
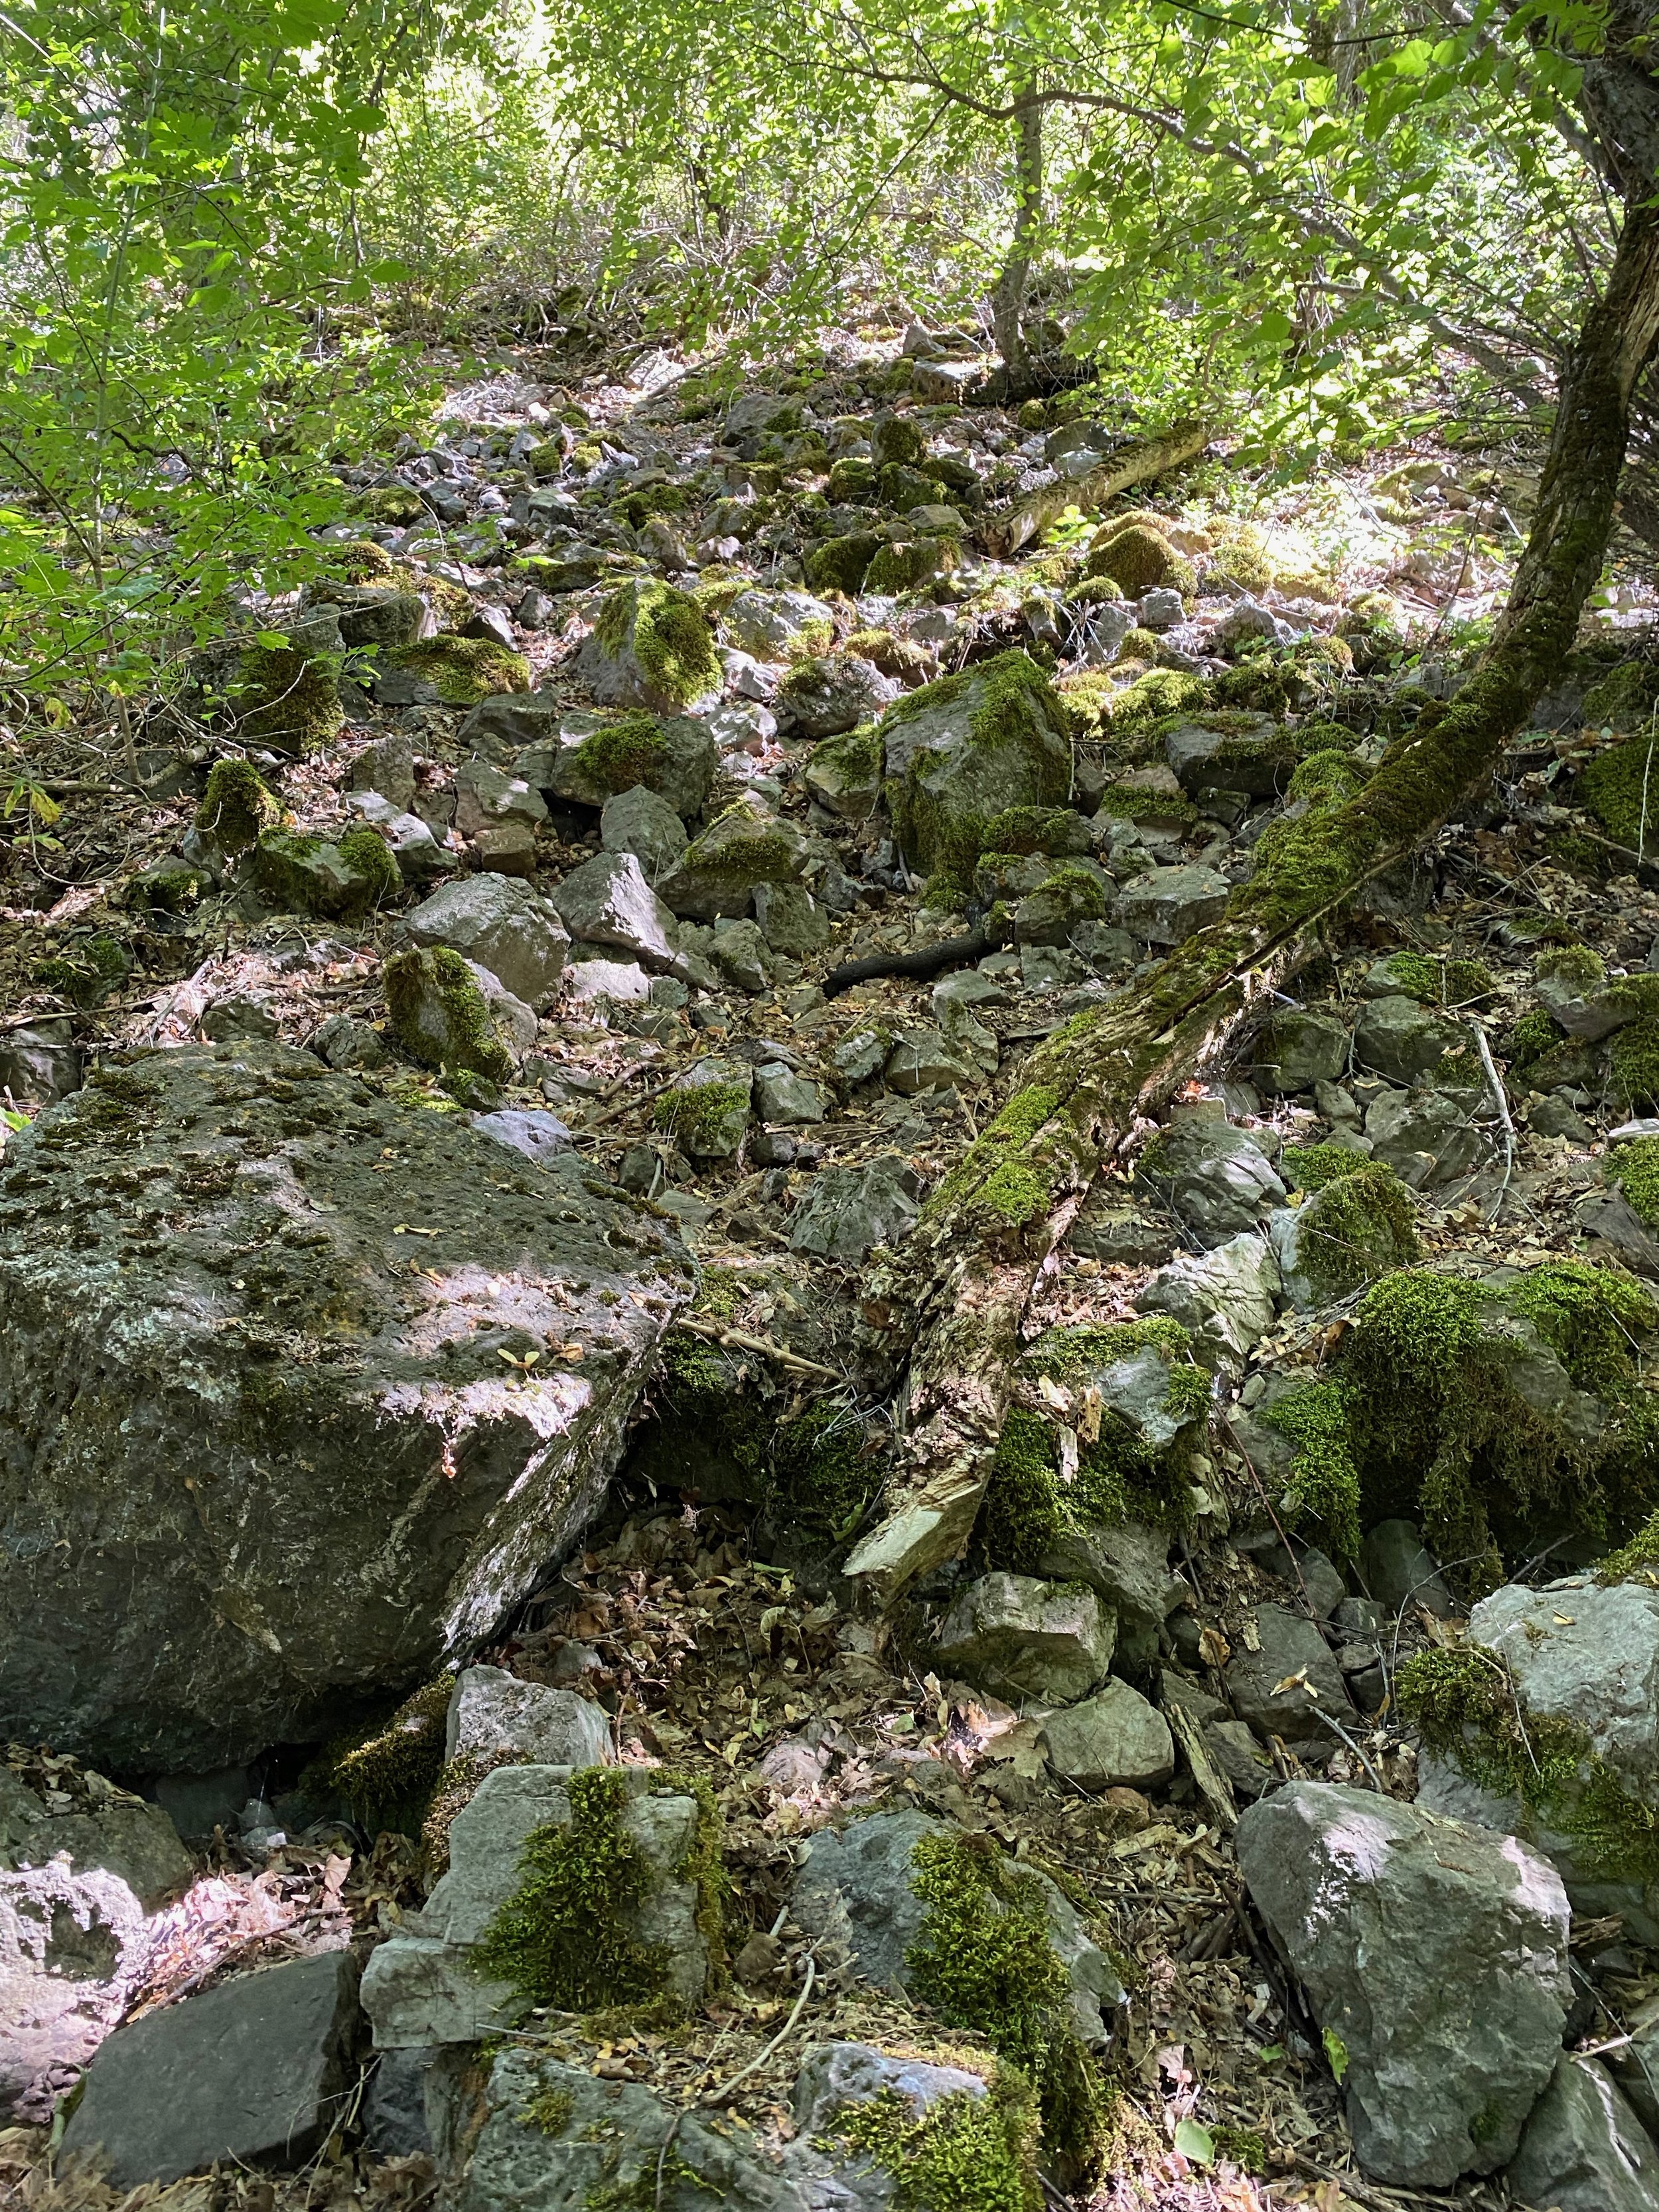
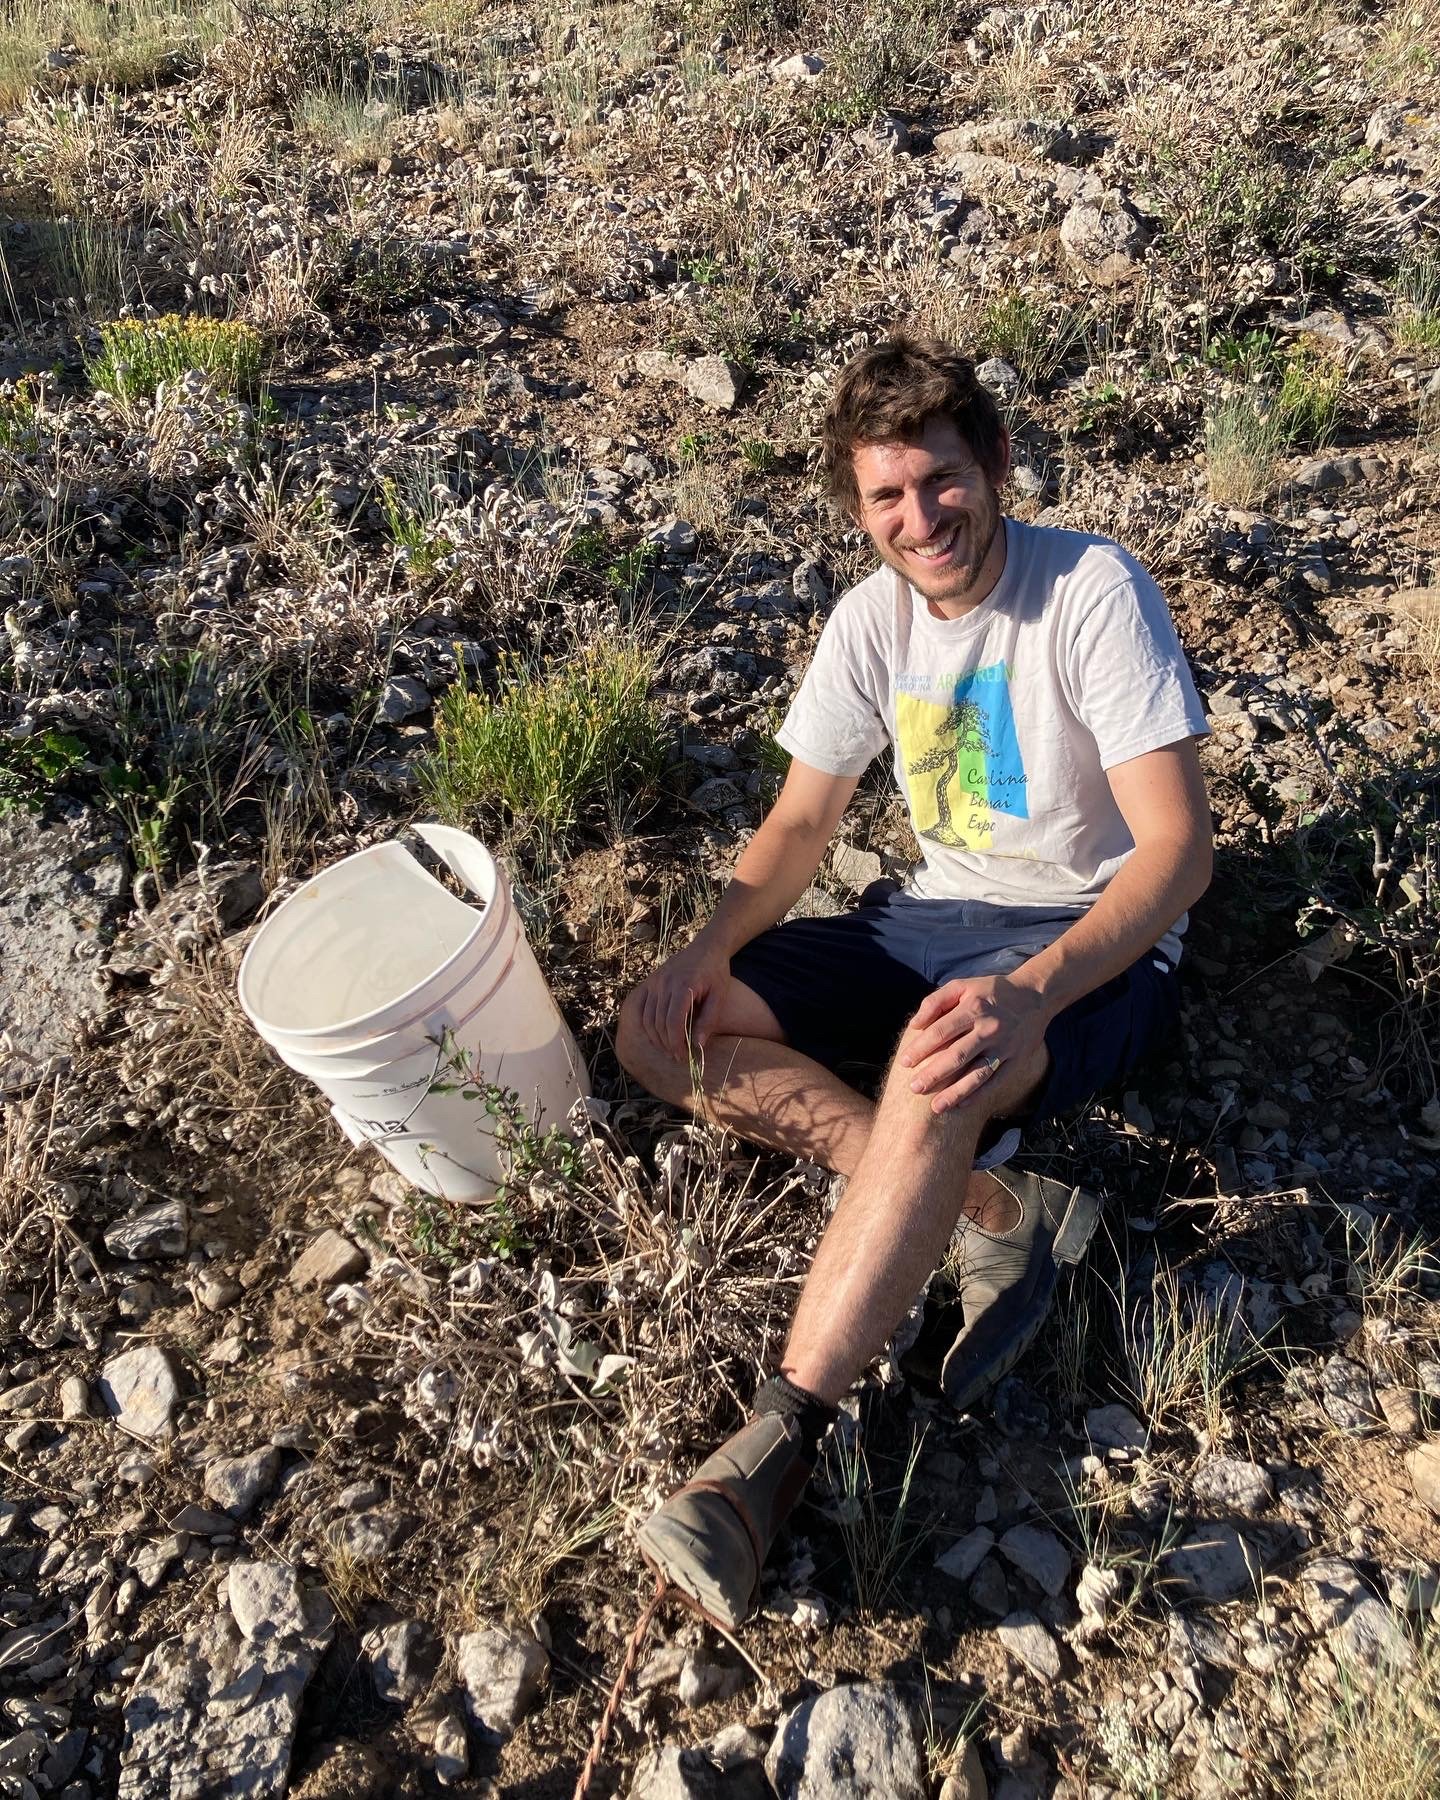
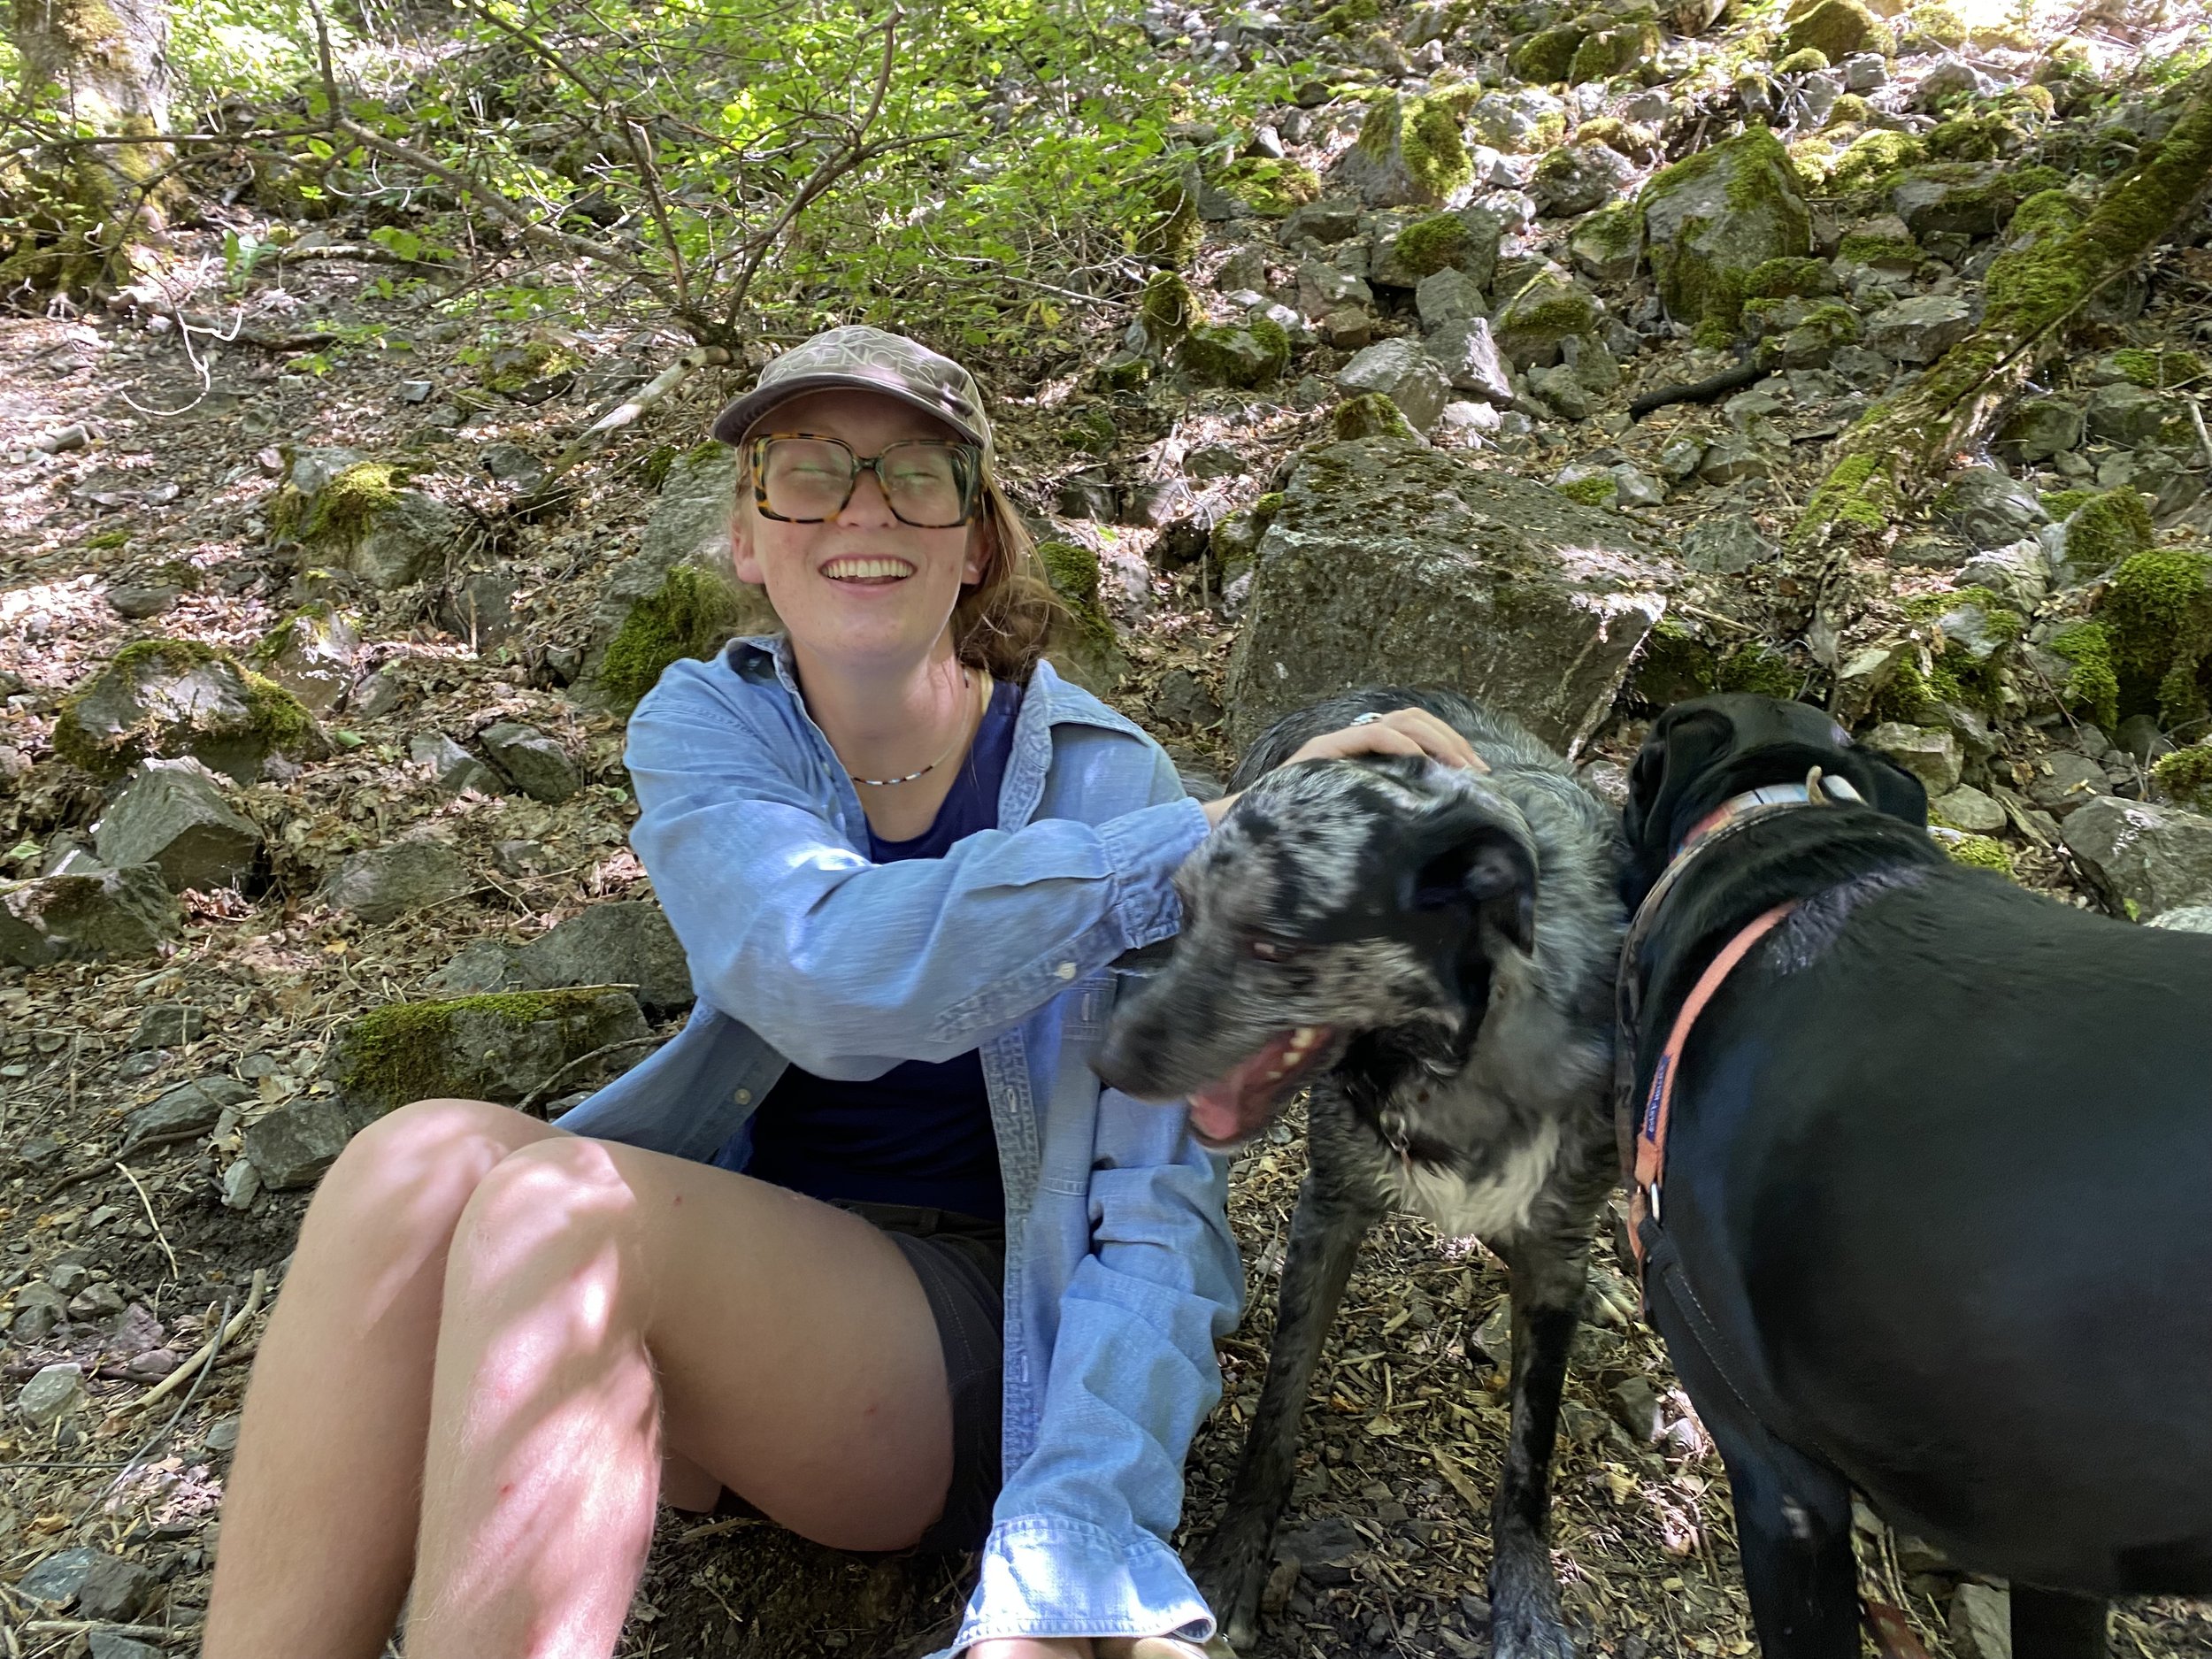
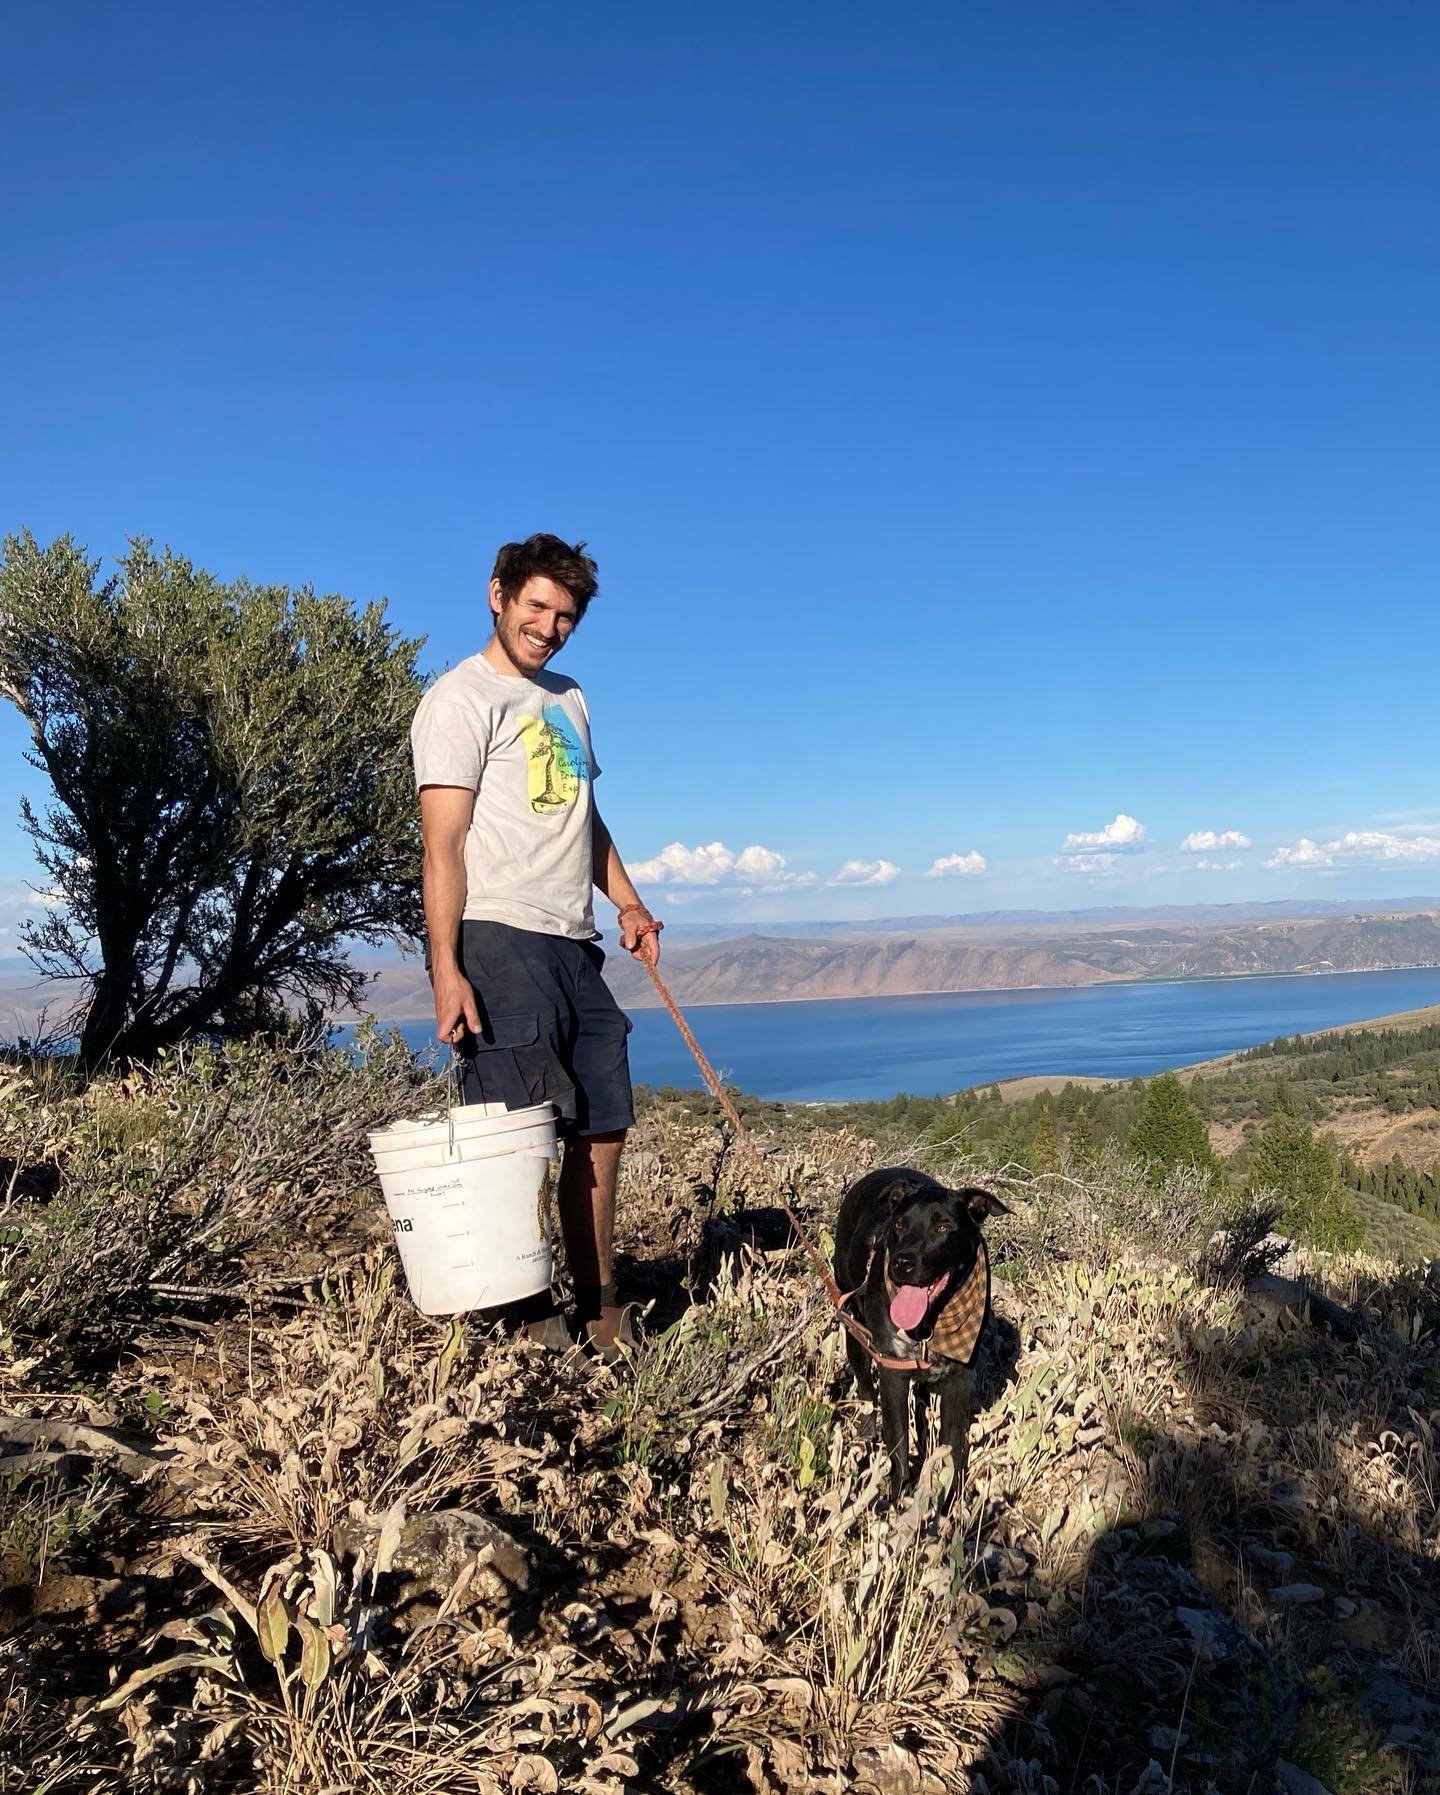
So, I went up into Logan Canyon with a geologist friend (Chloe Geddes) and collected four different dolomites from four different sites.
These dolomites formed millions of years apart and all under the ocean. Before plants were even a thing!!! These are some seriously old rocks. It takes about an hour to drive up the entire Logan Canyon to Bear Lake, and in that hour you go back in time to some of the oldest rocks on earth. I am not exaggerating.
Considering the large age differences of these dolomites, I wanted to see if there would be much difference in the way these acted in this glaze. Of course, testing four samples rather than one was not the fastest approach, but then I never do things the easy way, haha.
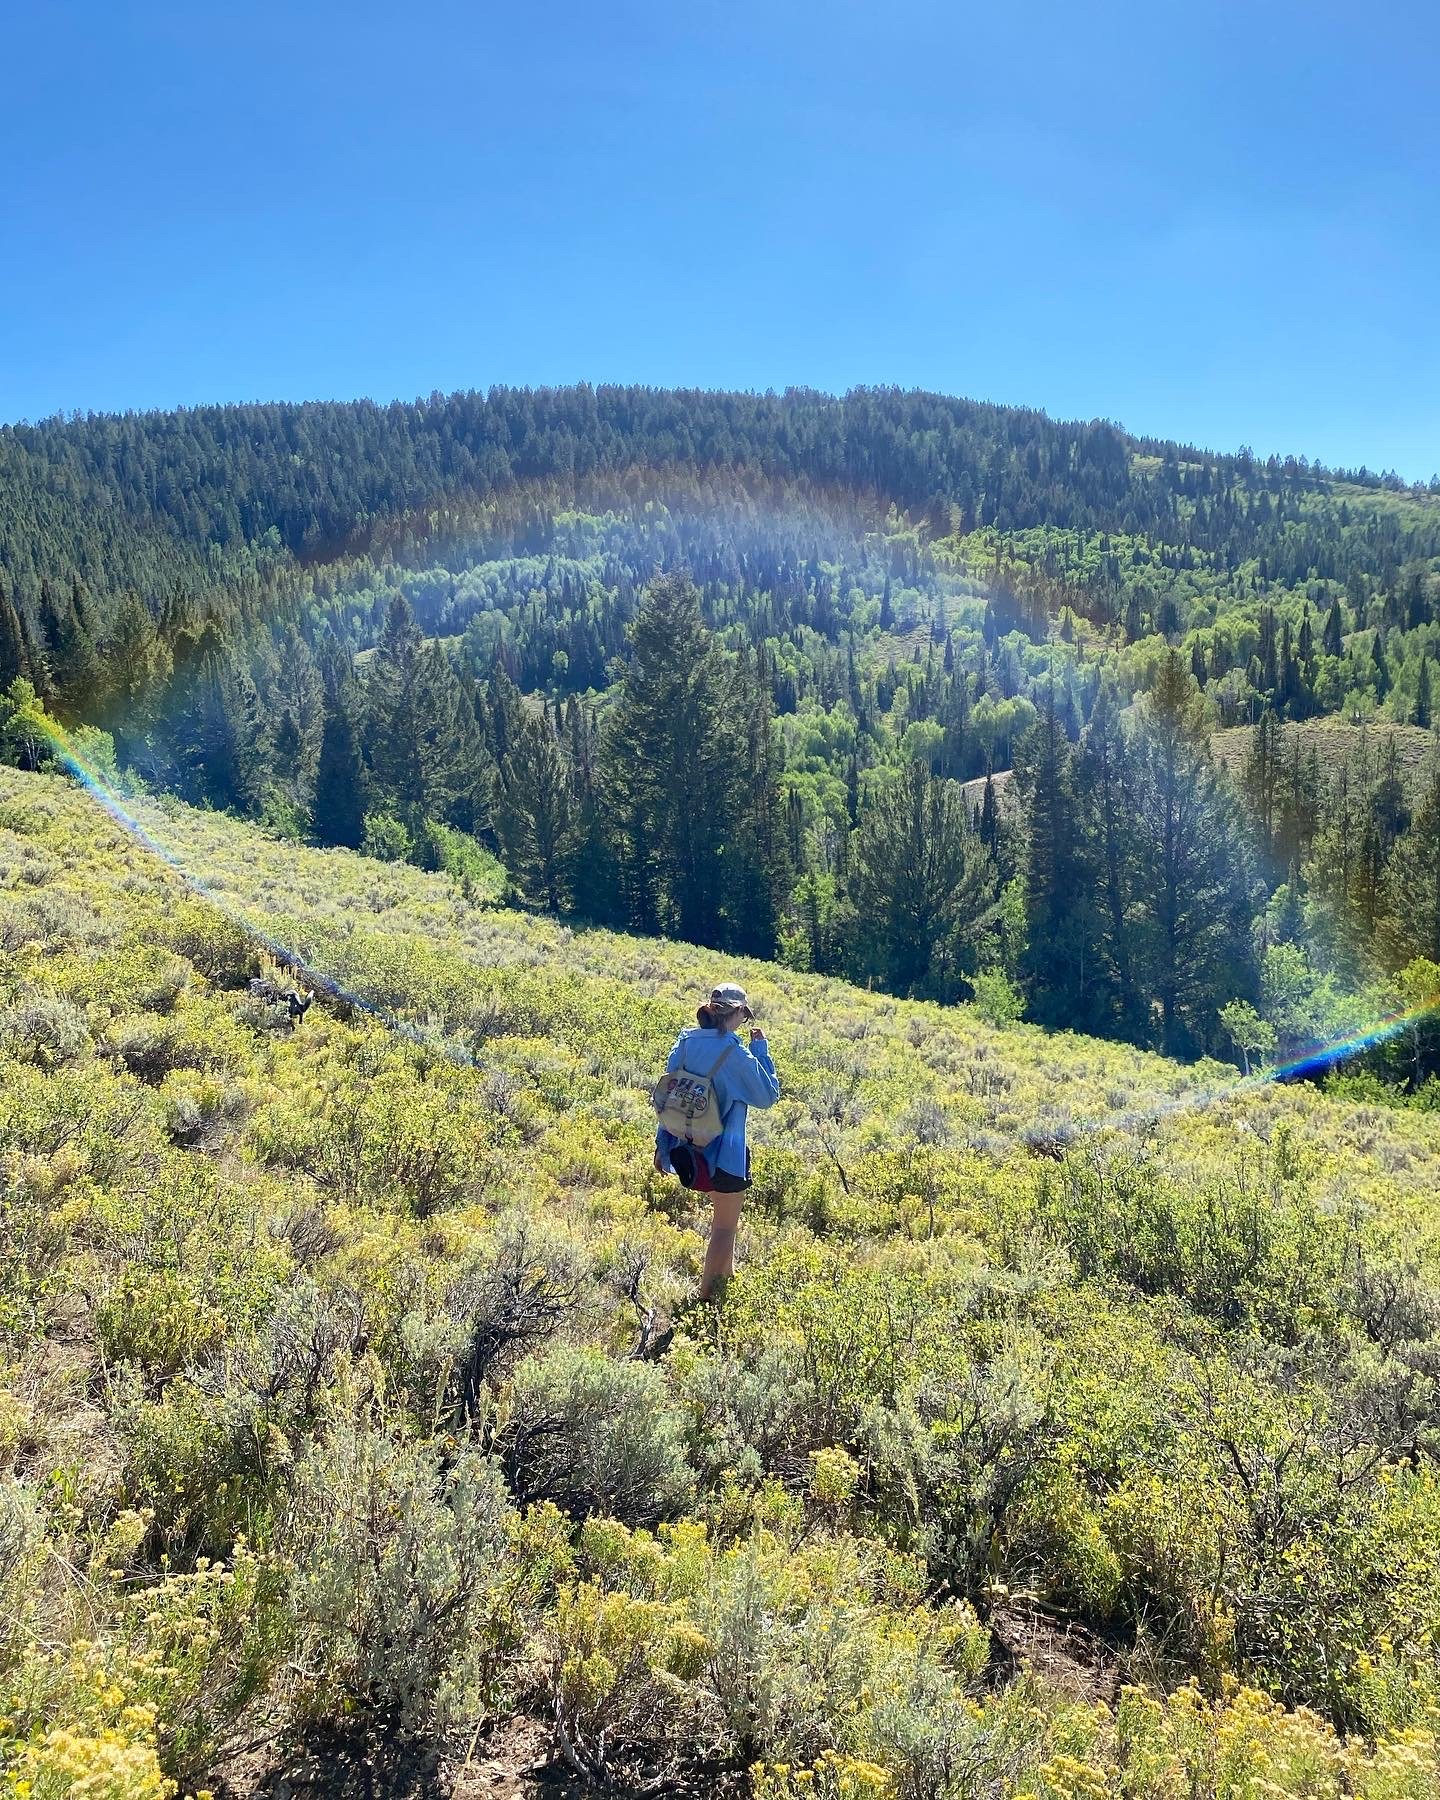

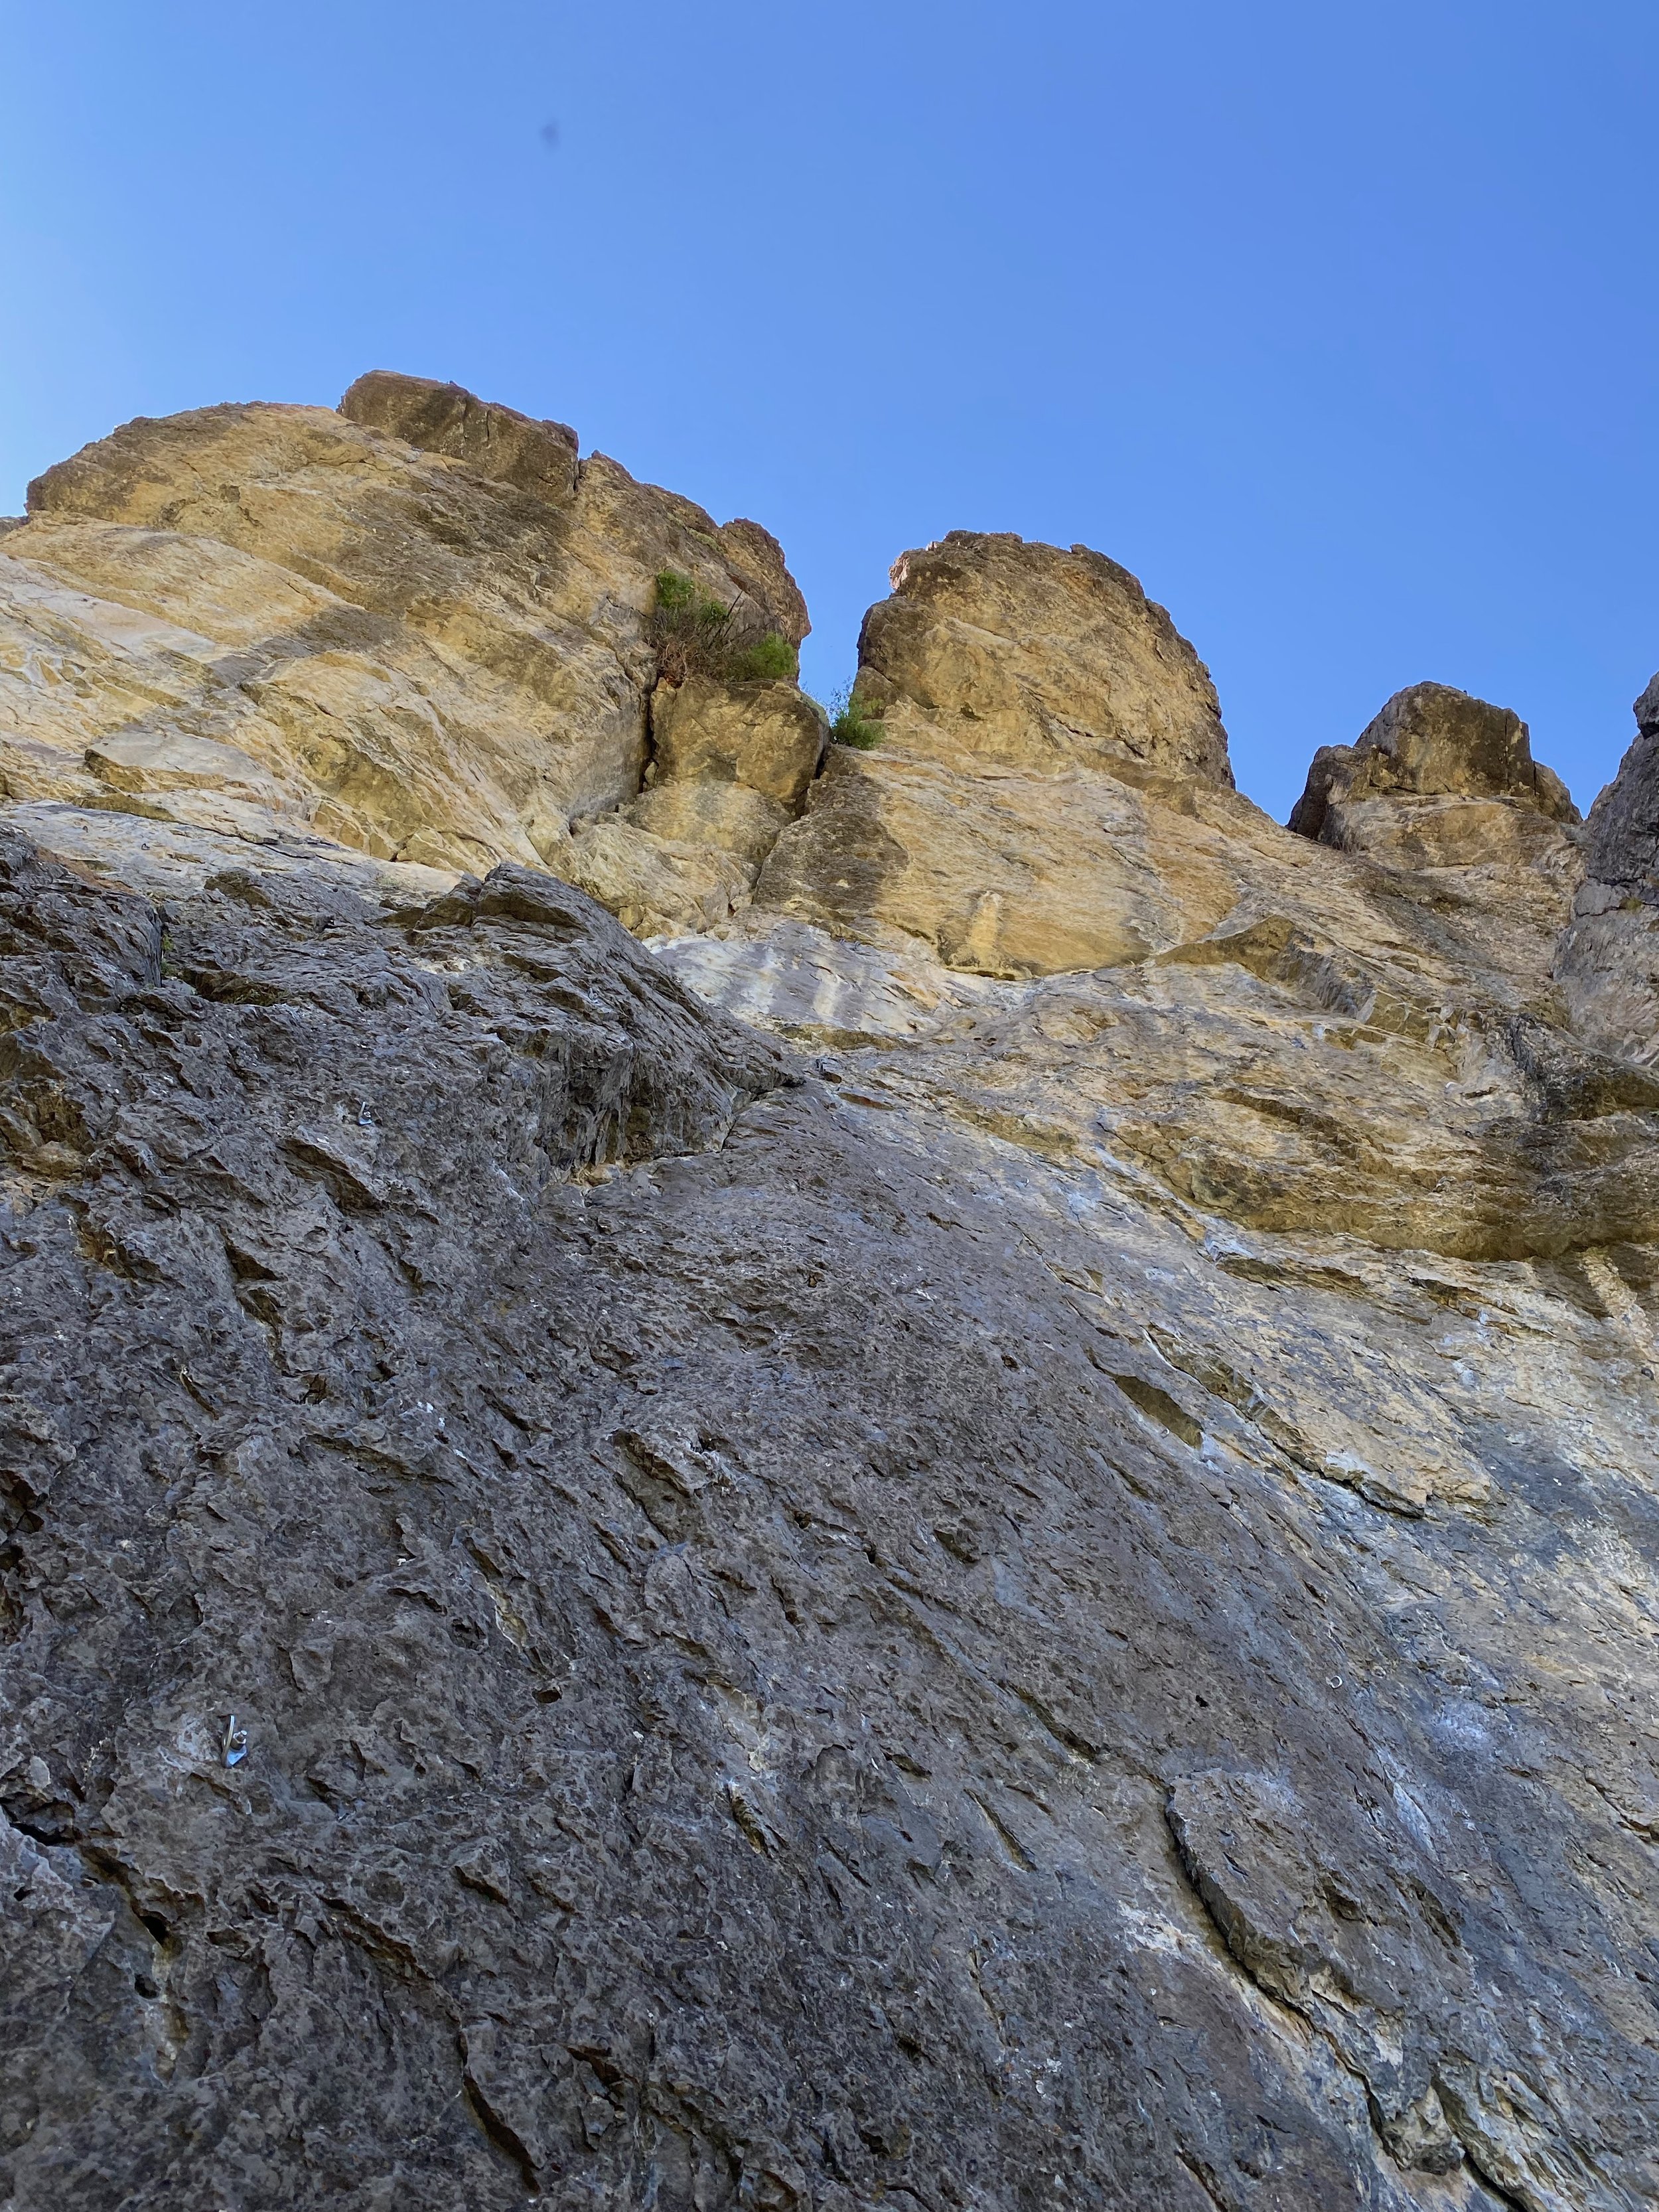
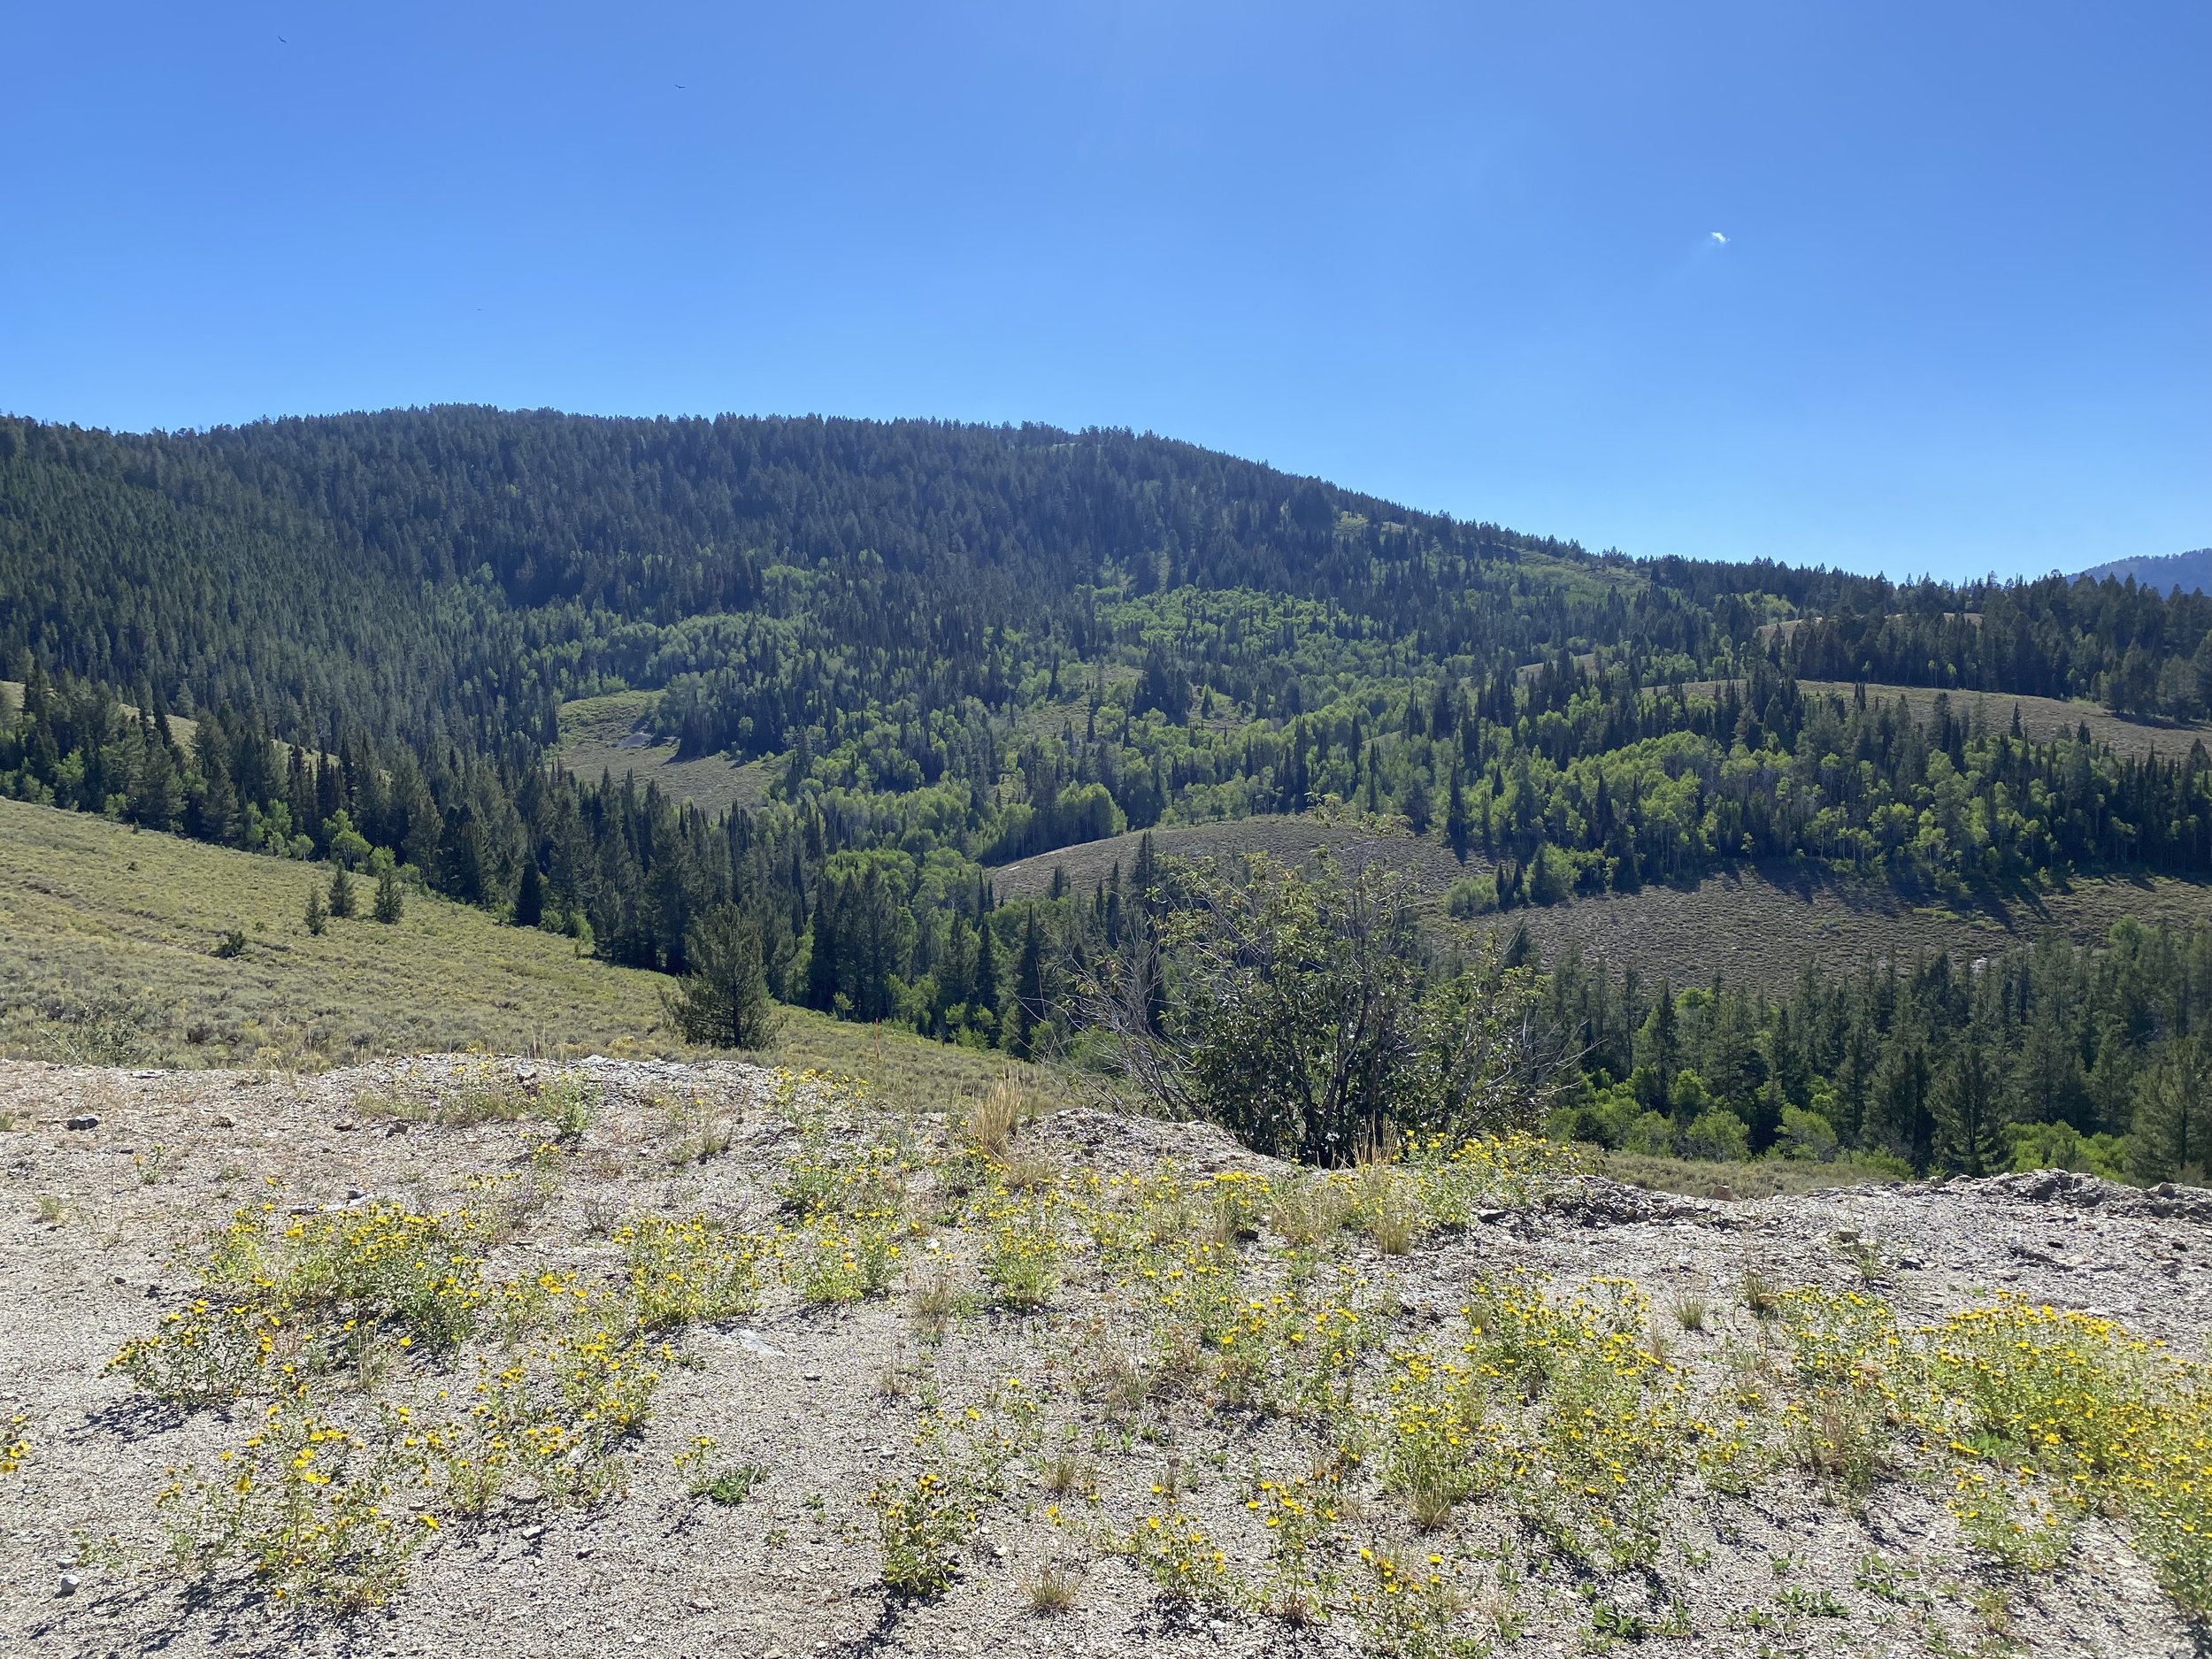
Our first stop was a bit of a hike up from the Stokes Nature Center. We found some Laketown Dolomite from the Silurian period.
Second stop was near Second Dam. The rock here was formed in the Devonian period. We found some dolomite from the Hyrum formation as well as the Water Canyon Formation. This was very convenient. We did not have to walk far to collect the dolomite. A definite plus in my book.
In the Ordovician period, we found some Fish Haven Formation dolomite (named because there was so much old organic fish matter… this dolomite was darker with more organic matter in it).
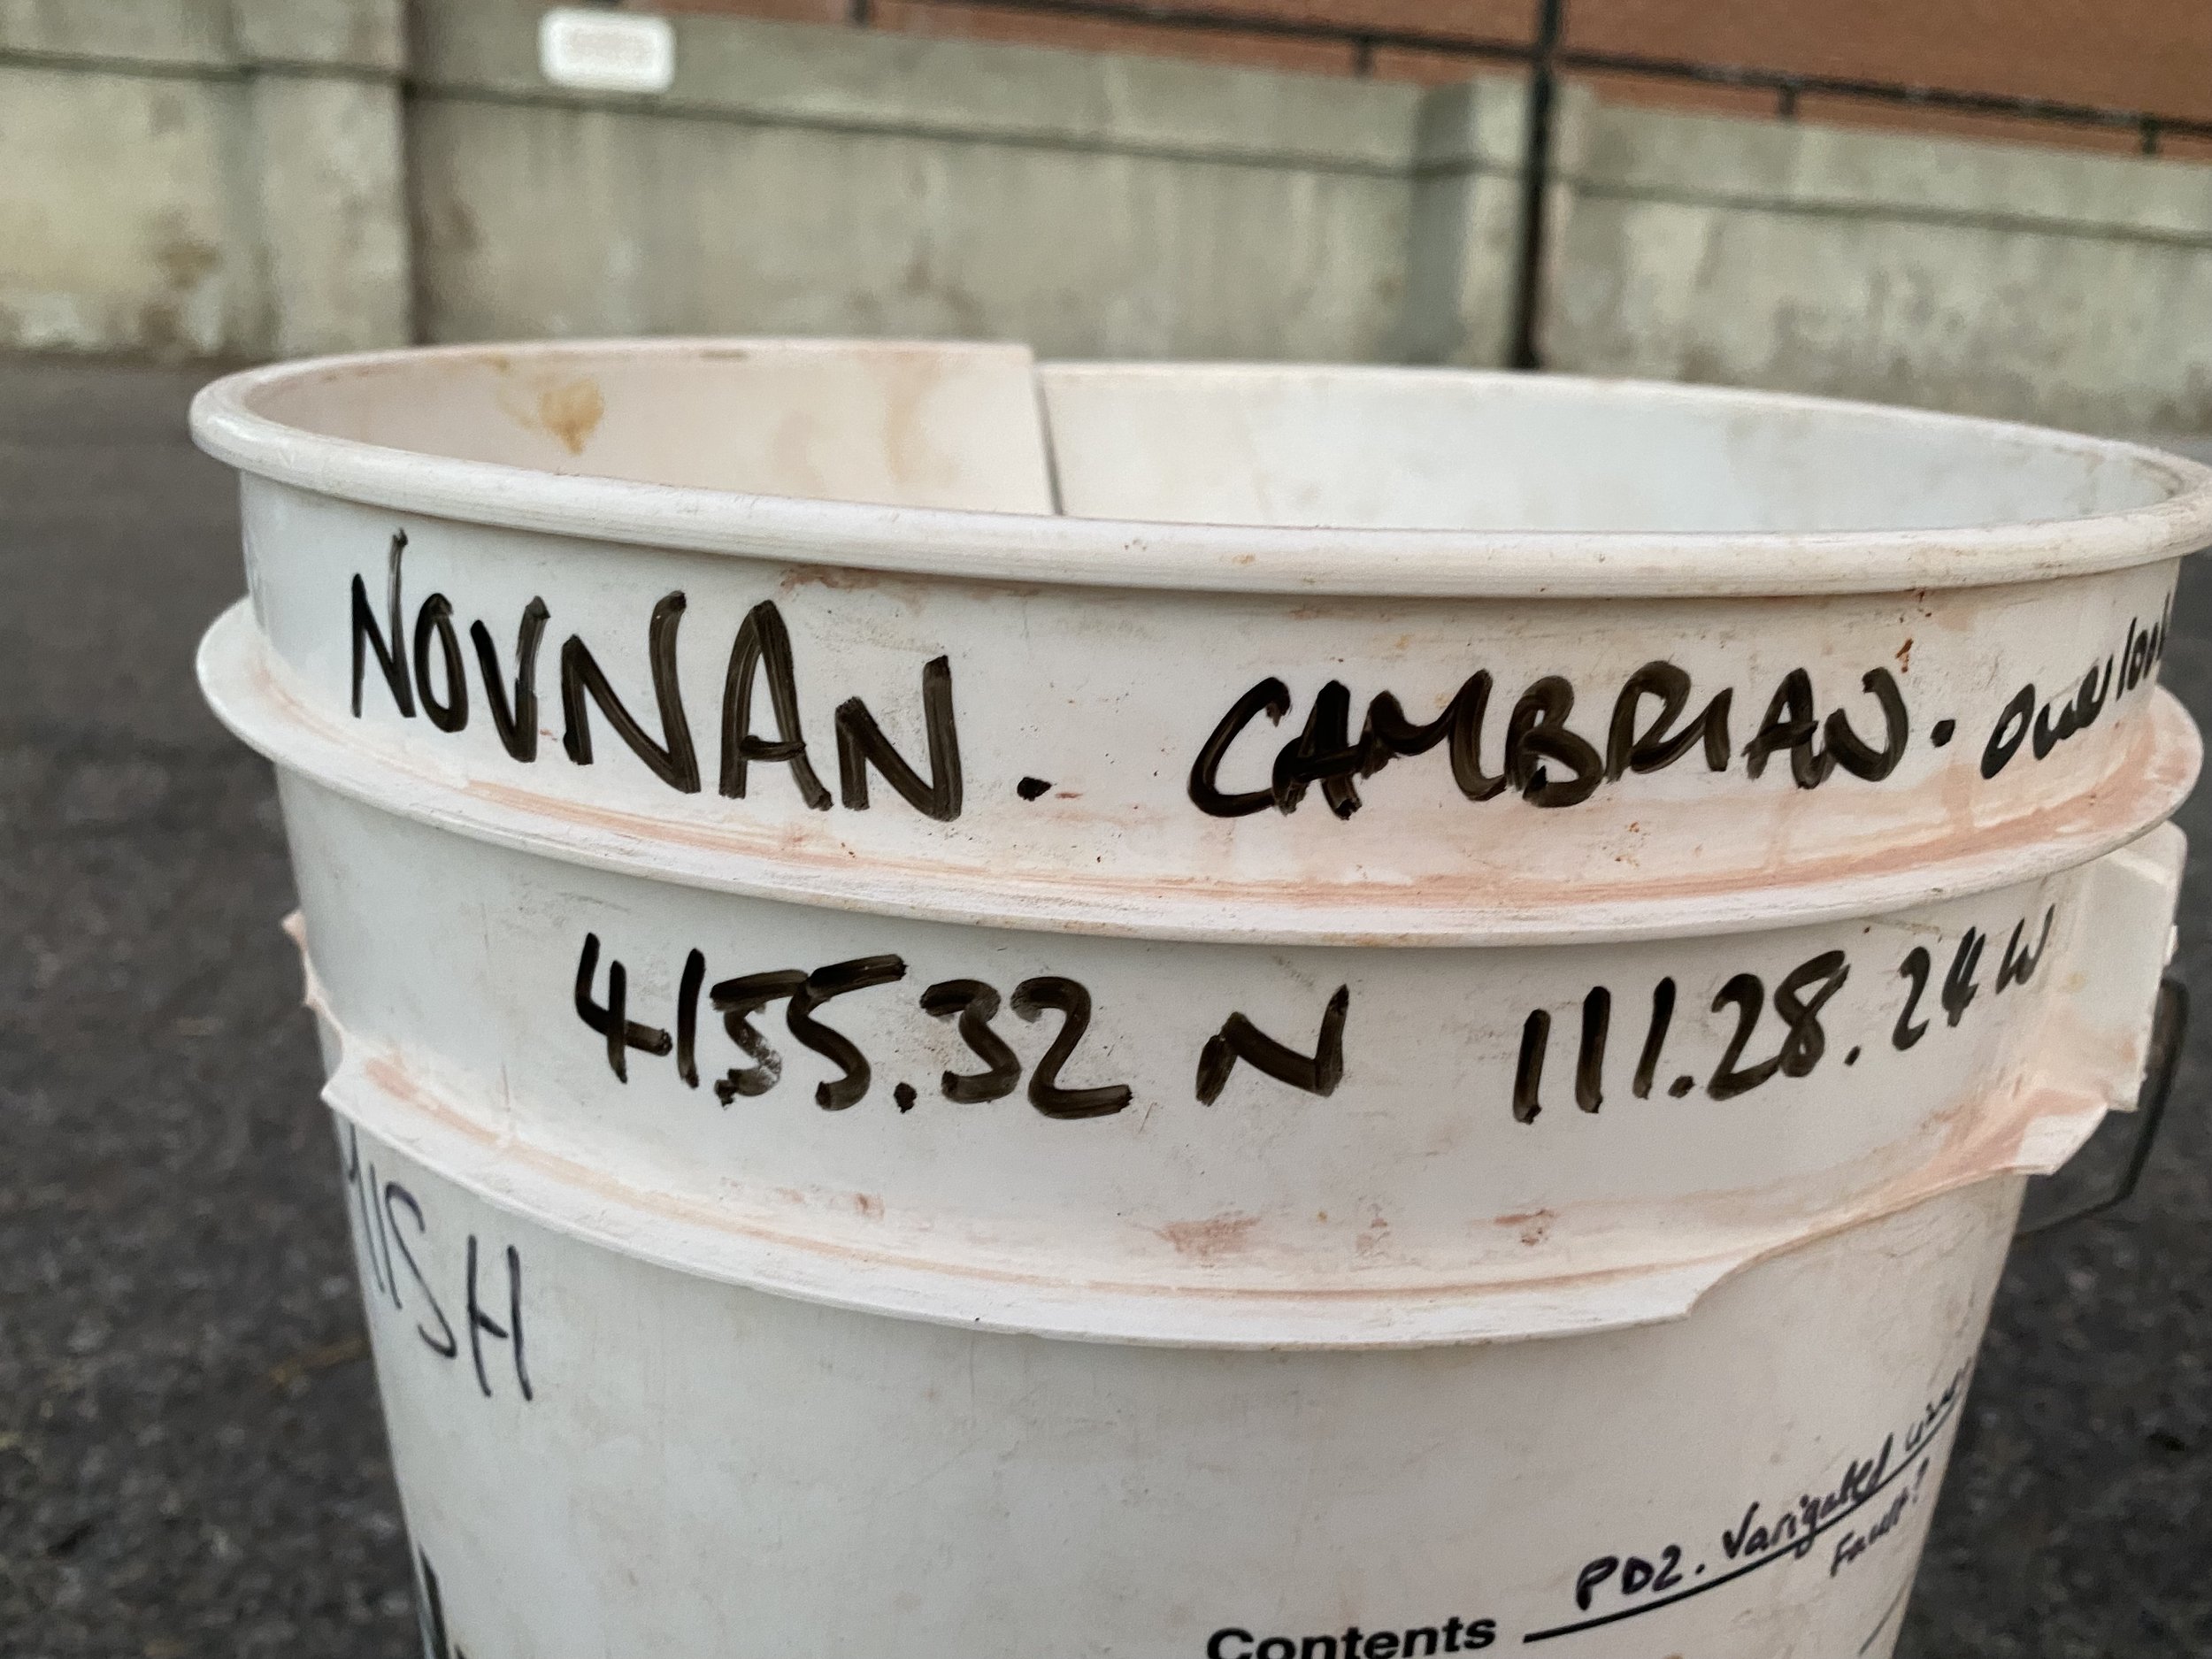
Our last stop was from the Cambrian period: the Nounan Formation. This one was especially old and cool; we found it on the mountain top, overlooking Bear Lake. There are mahogany trees growing there that enjoy the extra magnesium in the soil provided by the dolomite!
Here is a map Chloe gave me that shows these different periods:

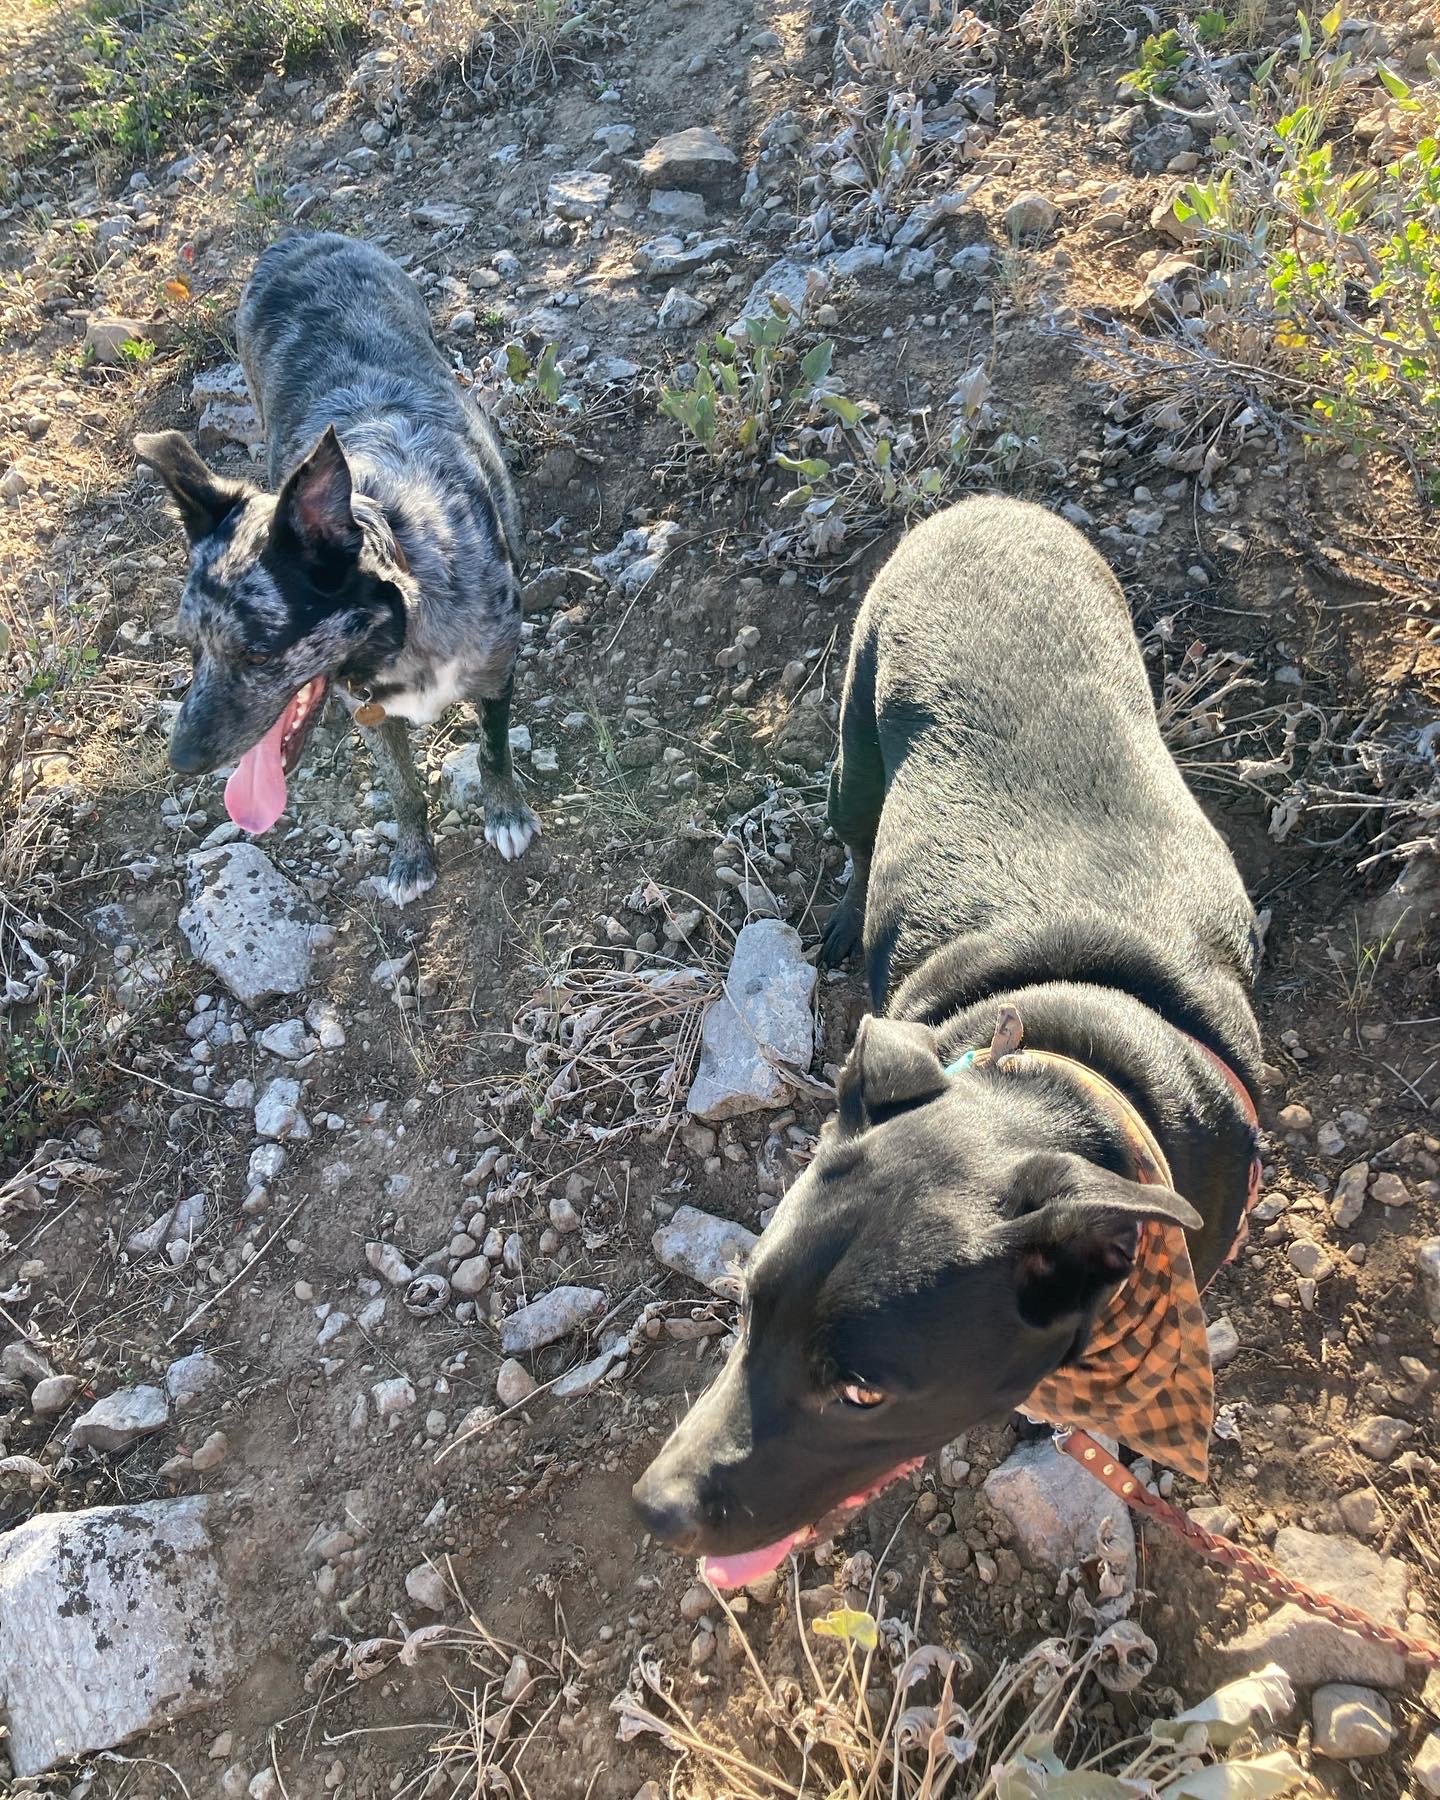
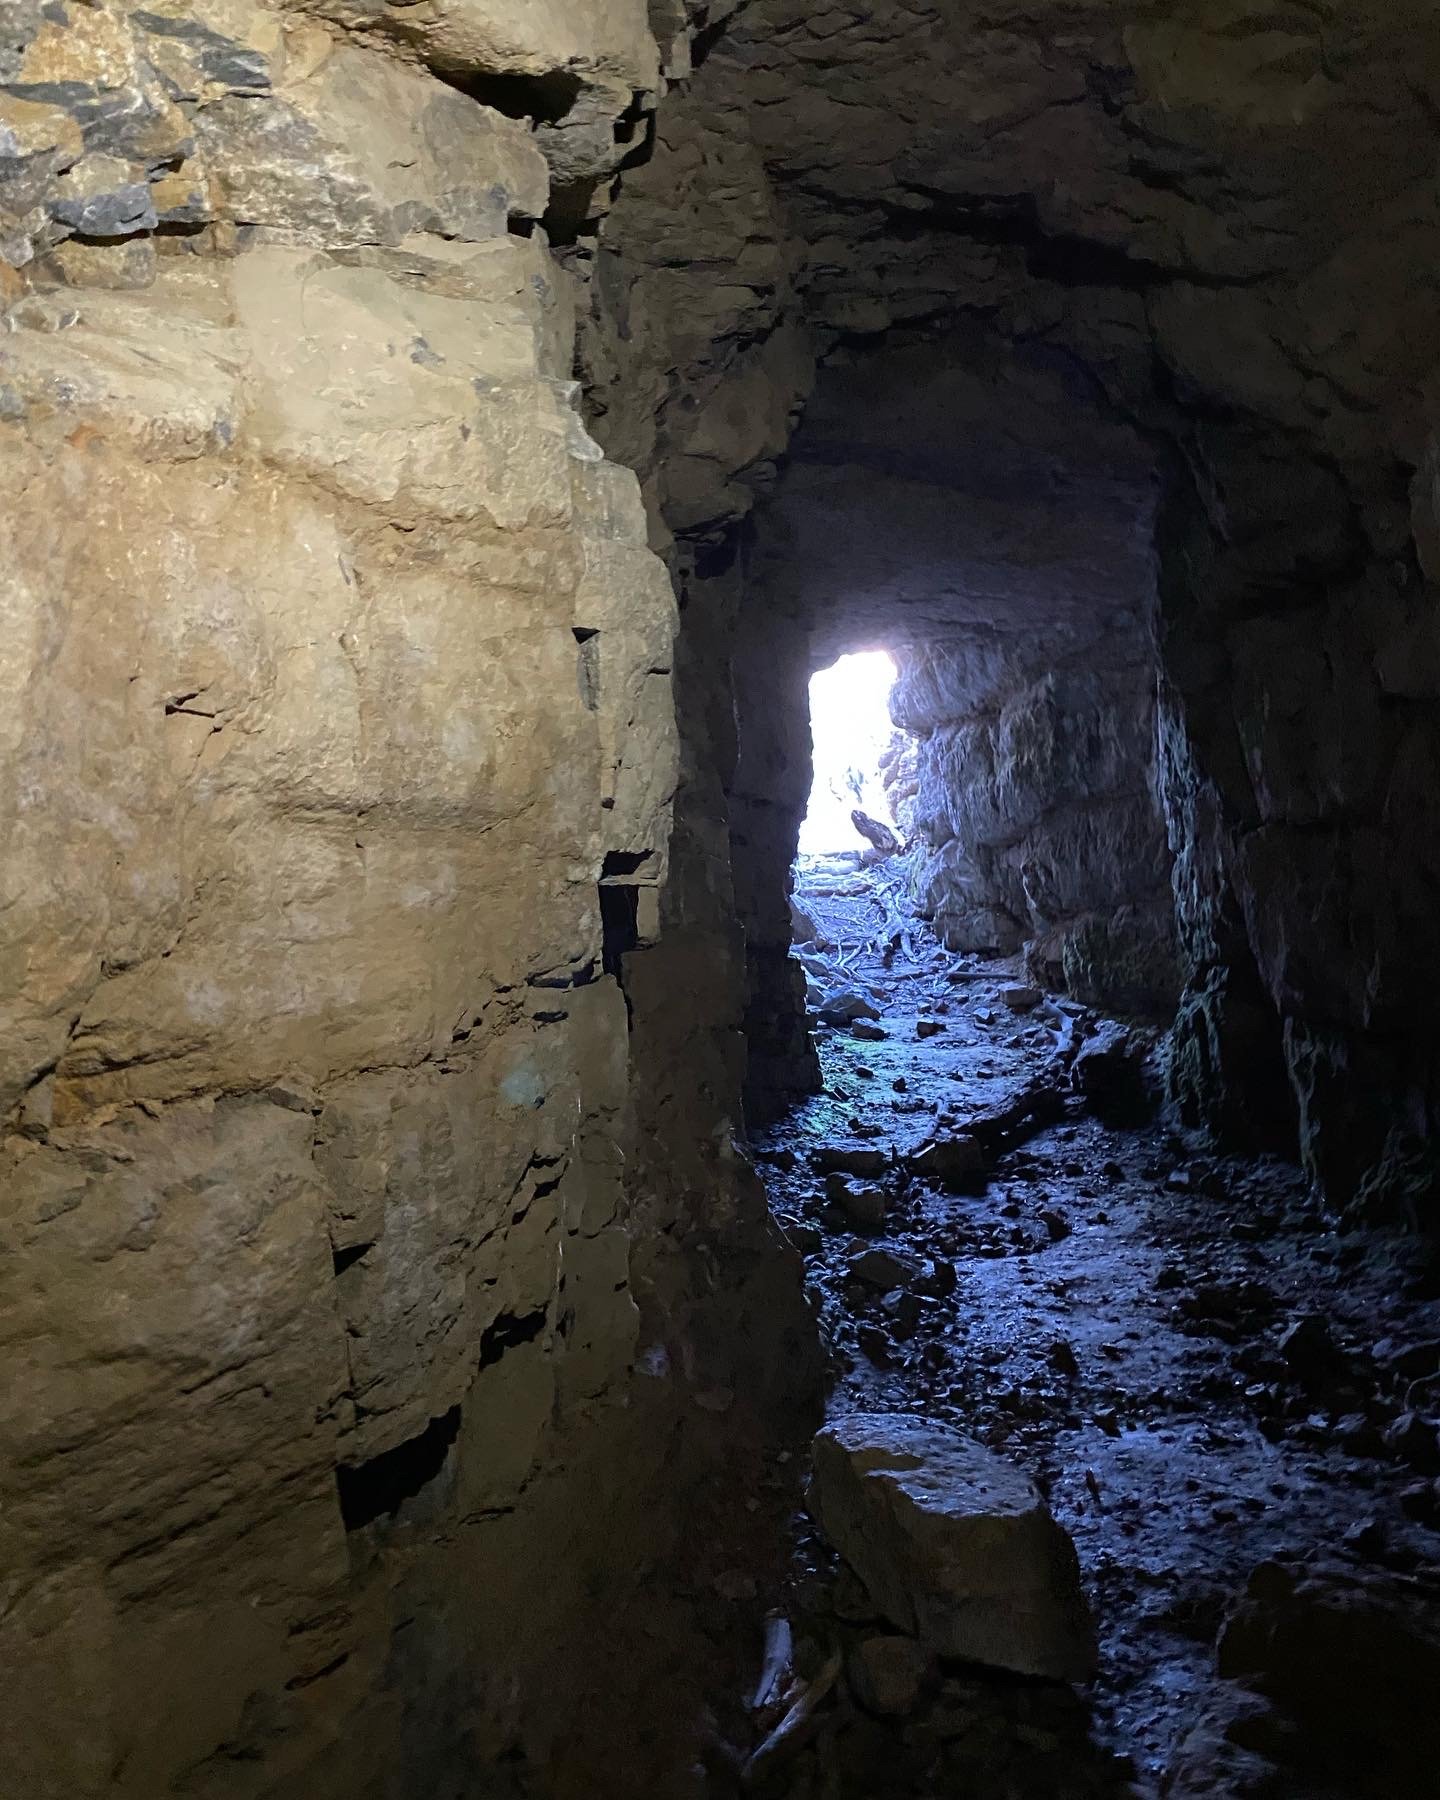
It’s so great going out with someone who really knows their stuff! Chloe also took me to see an old mine, as well as an abandoned miner's house in a cave. We found some boletes too (delectable edible mushrooms)! The dogs Wellington and Apache also had fun.
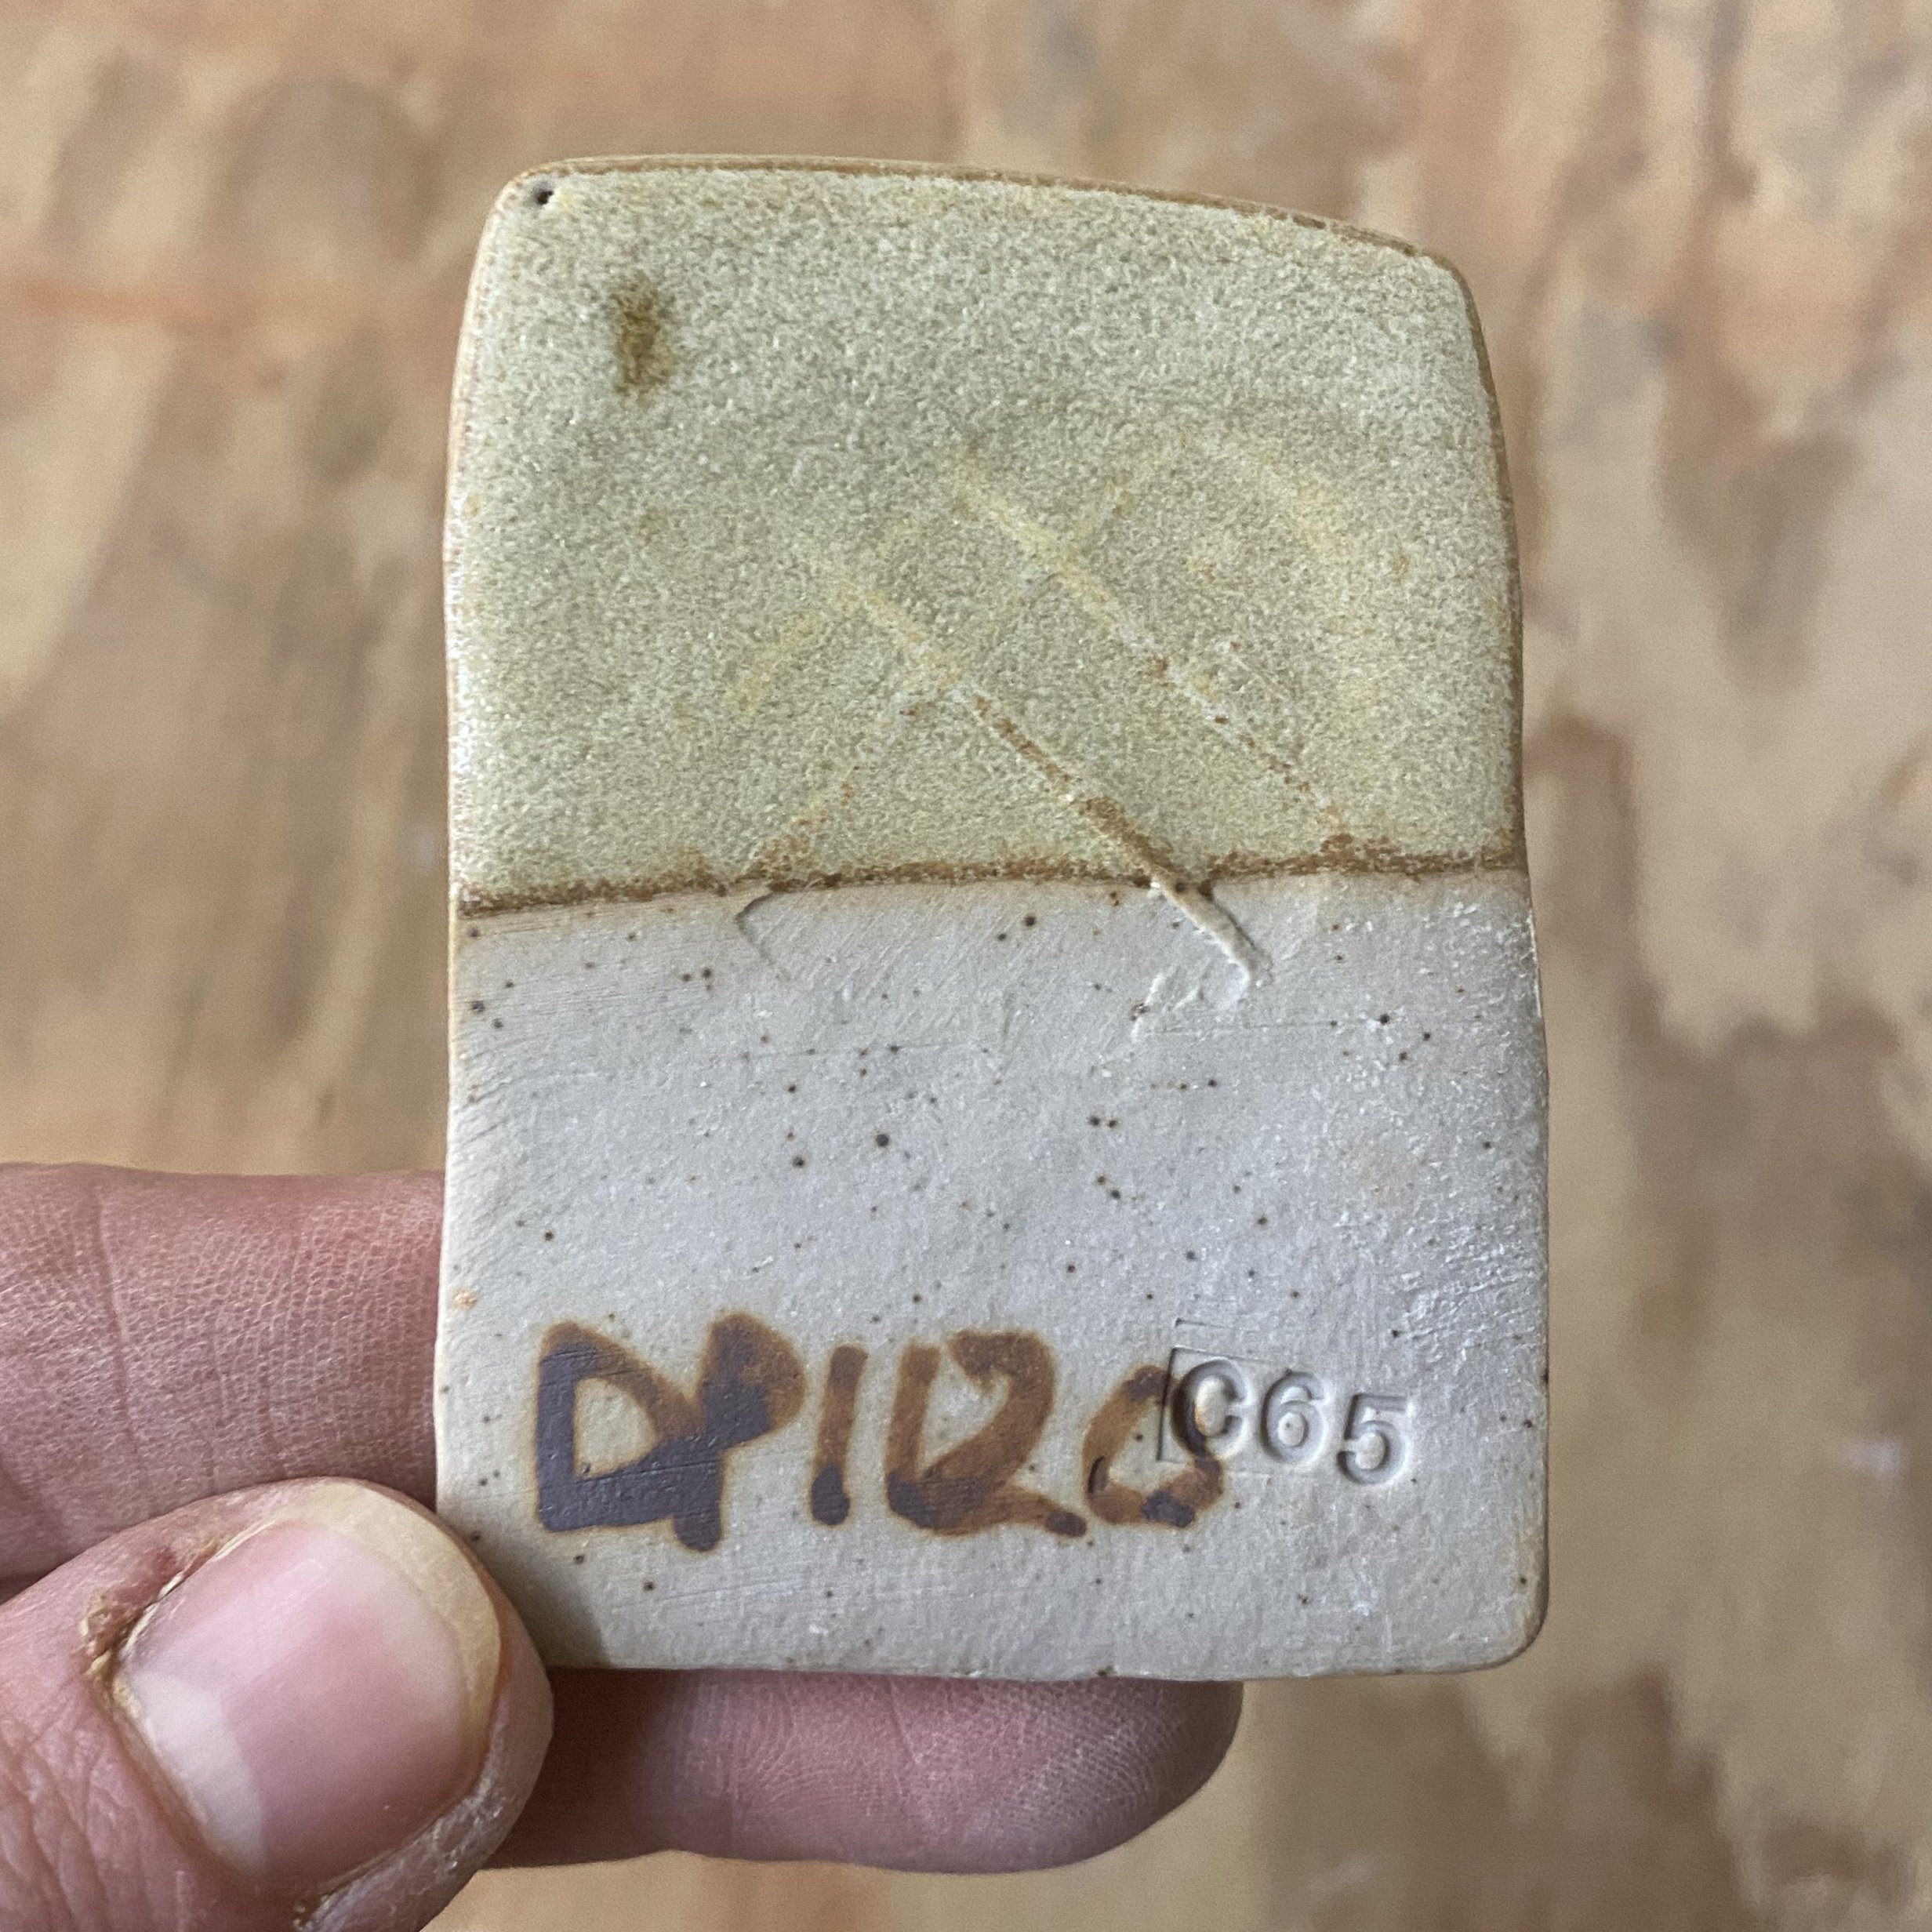
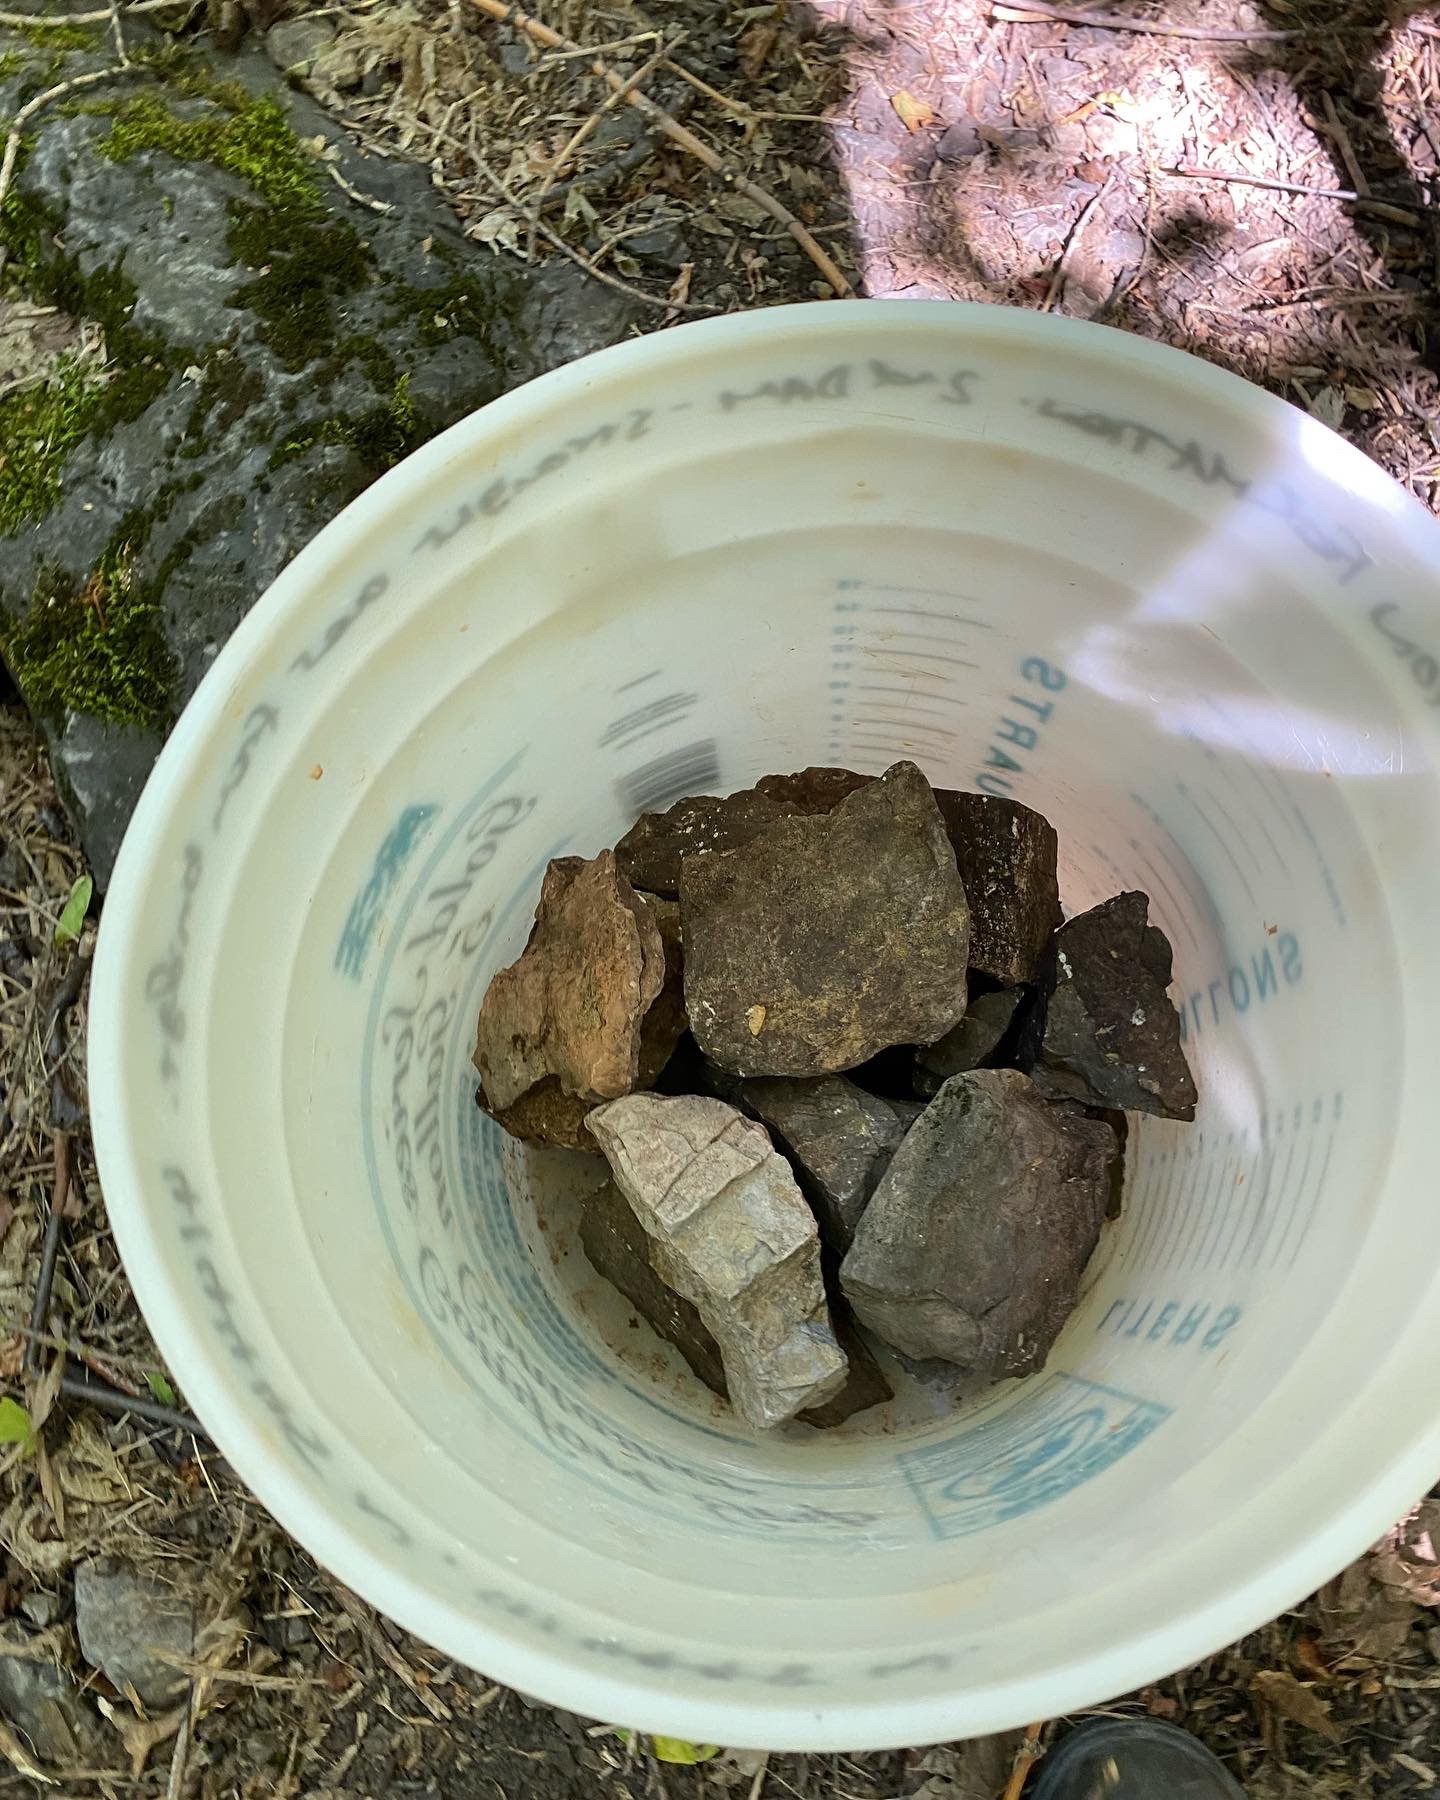
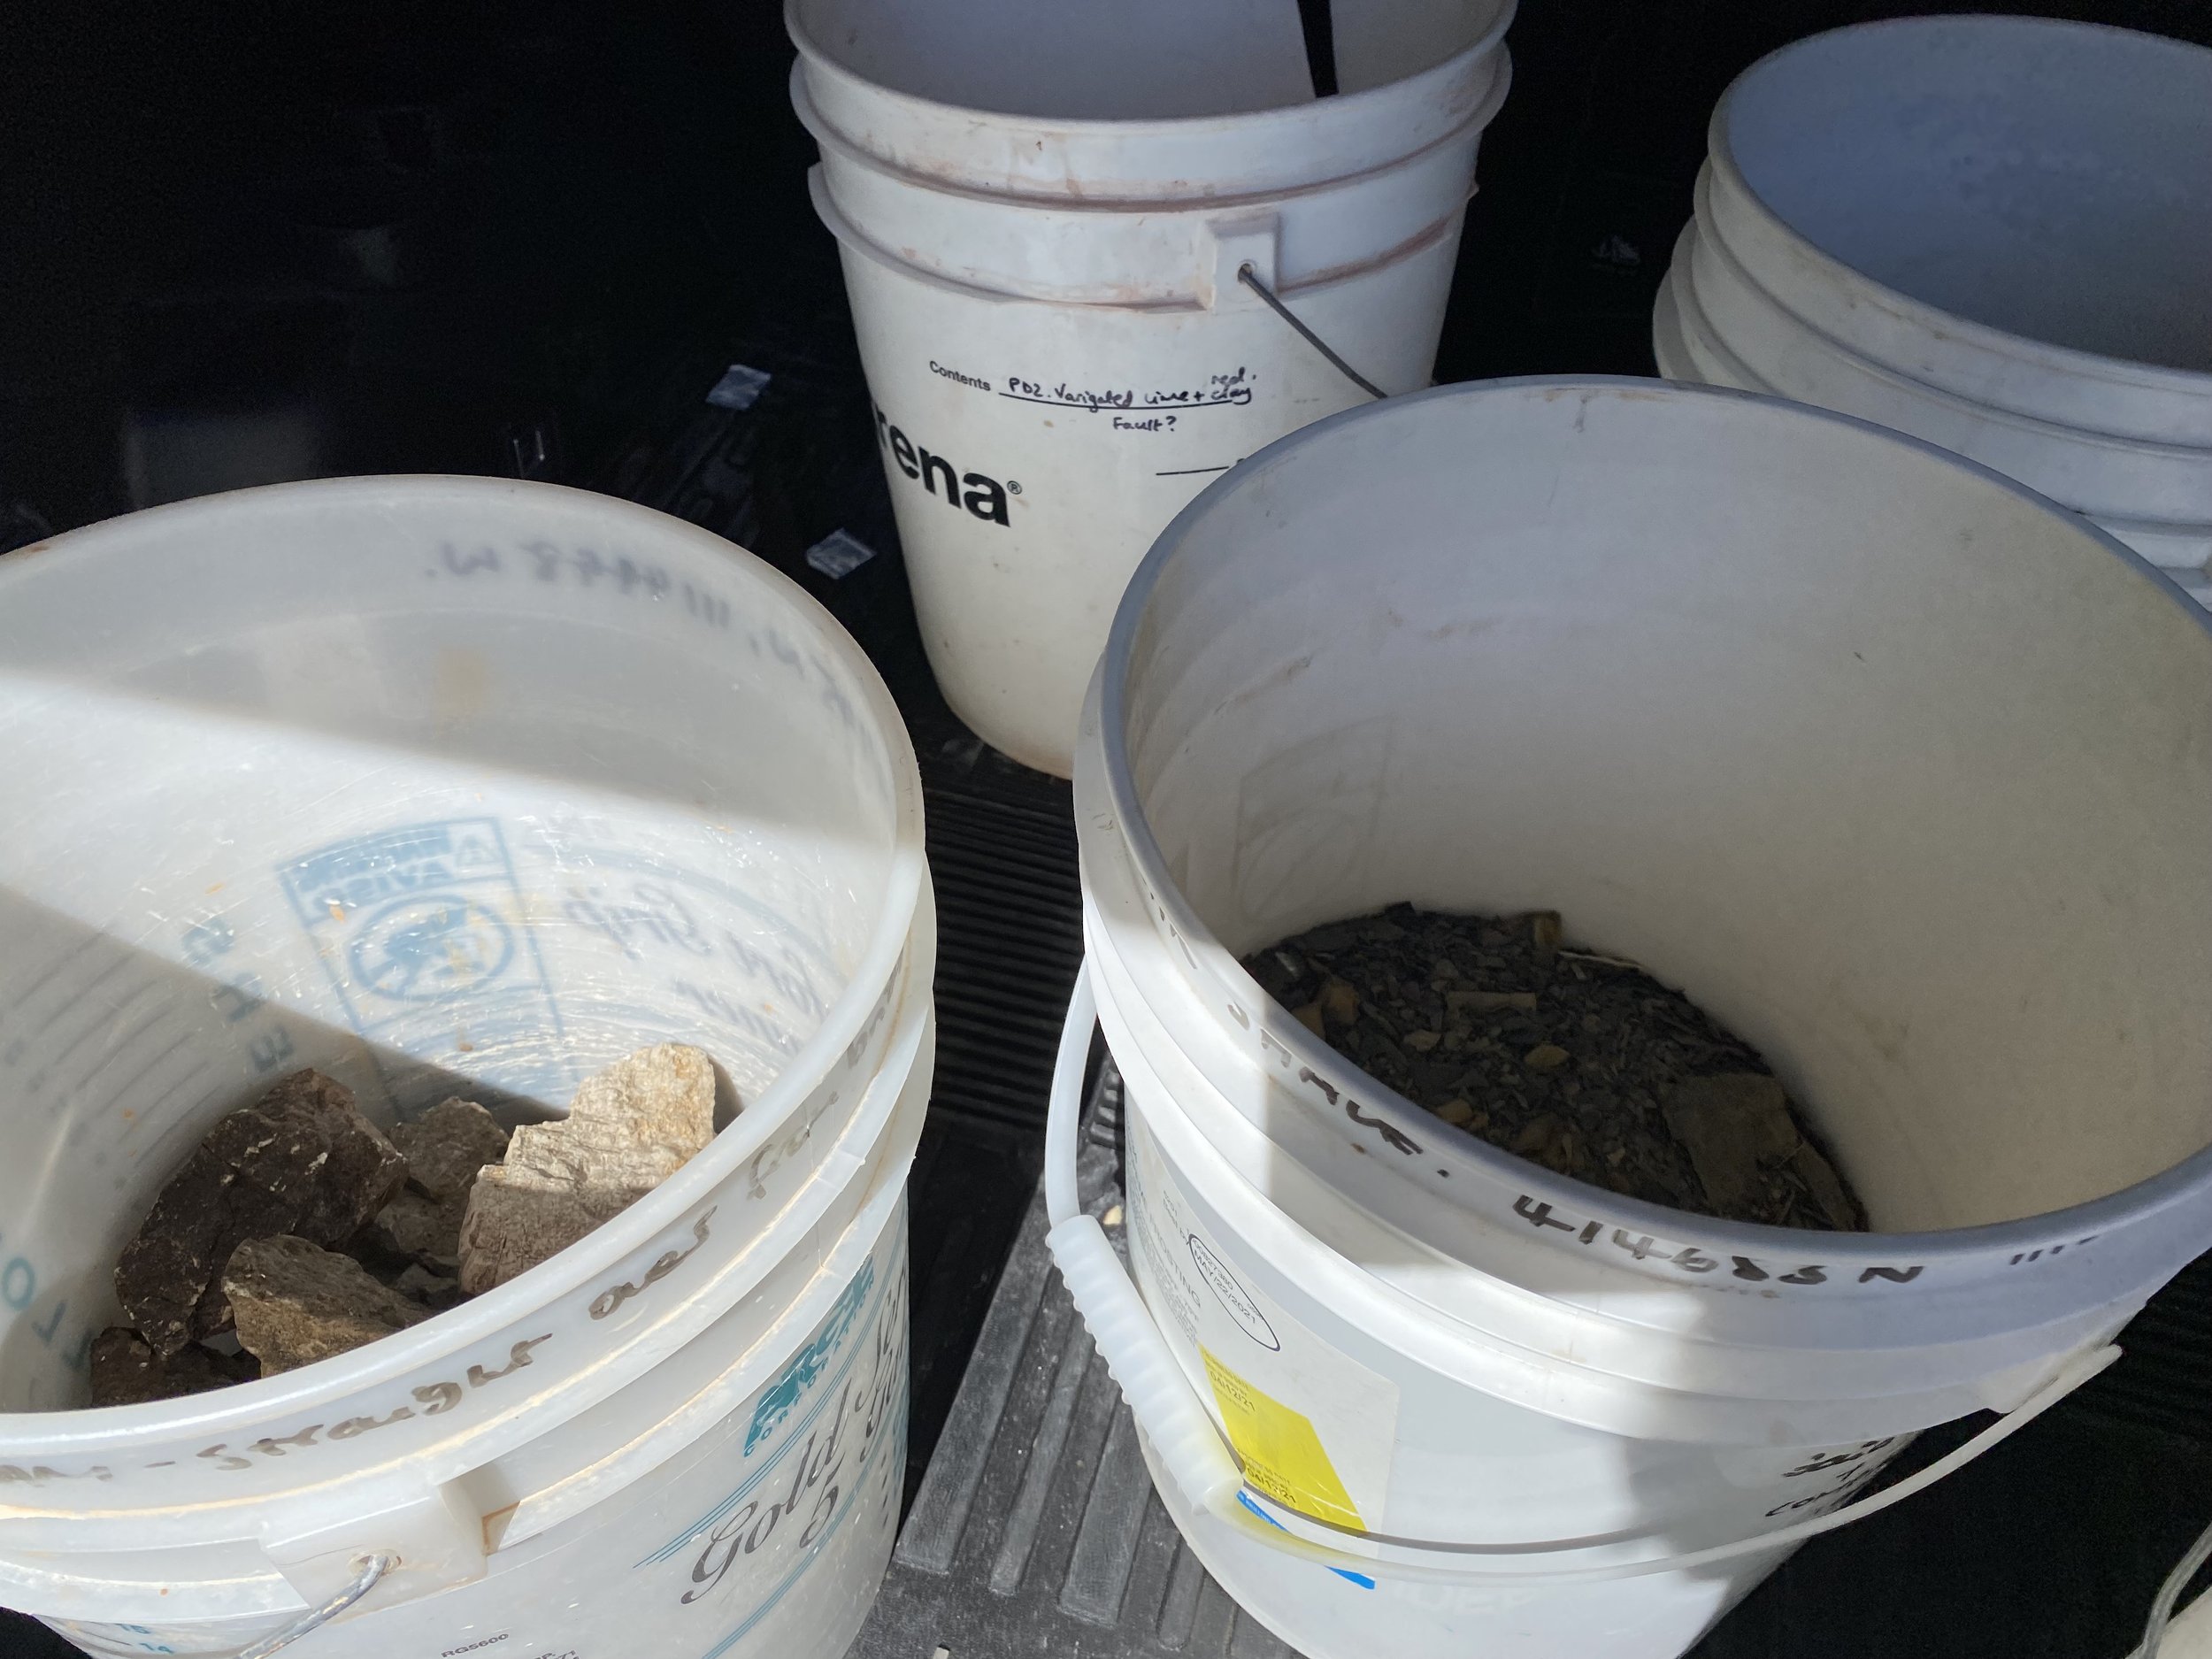
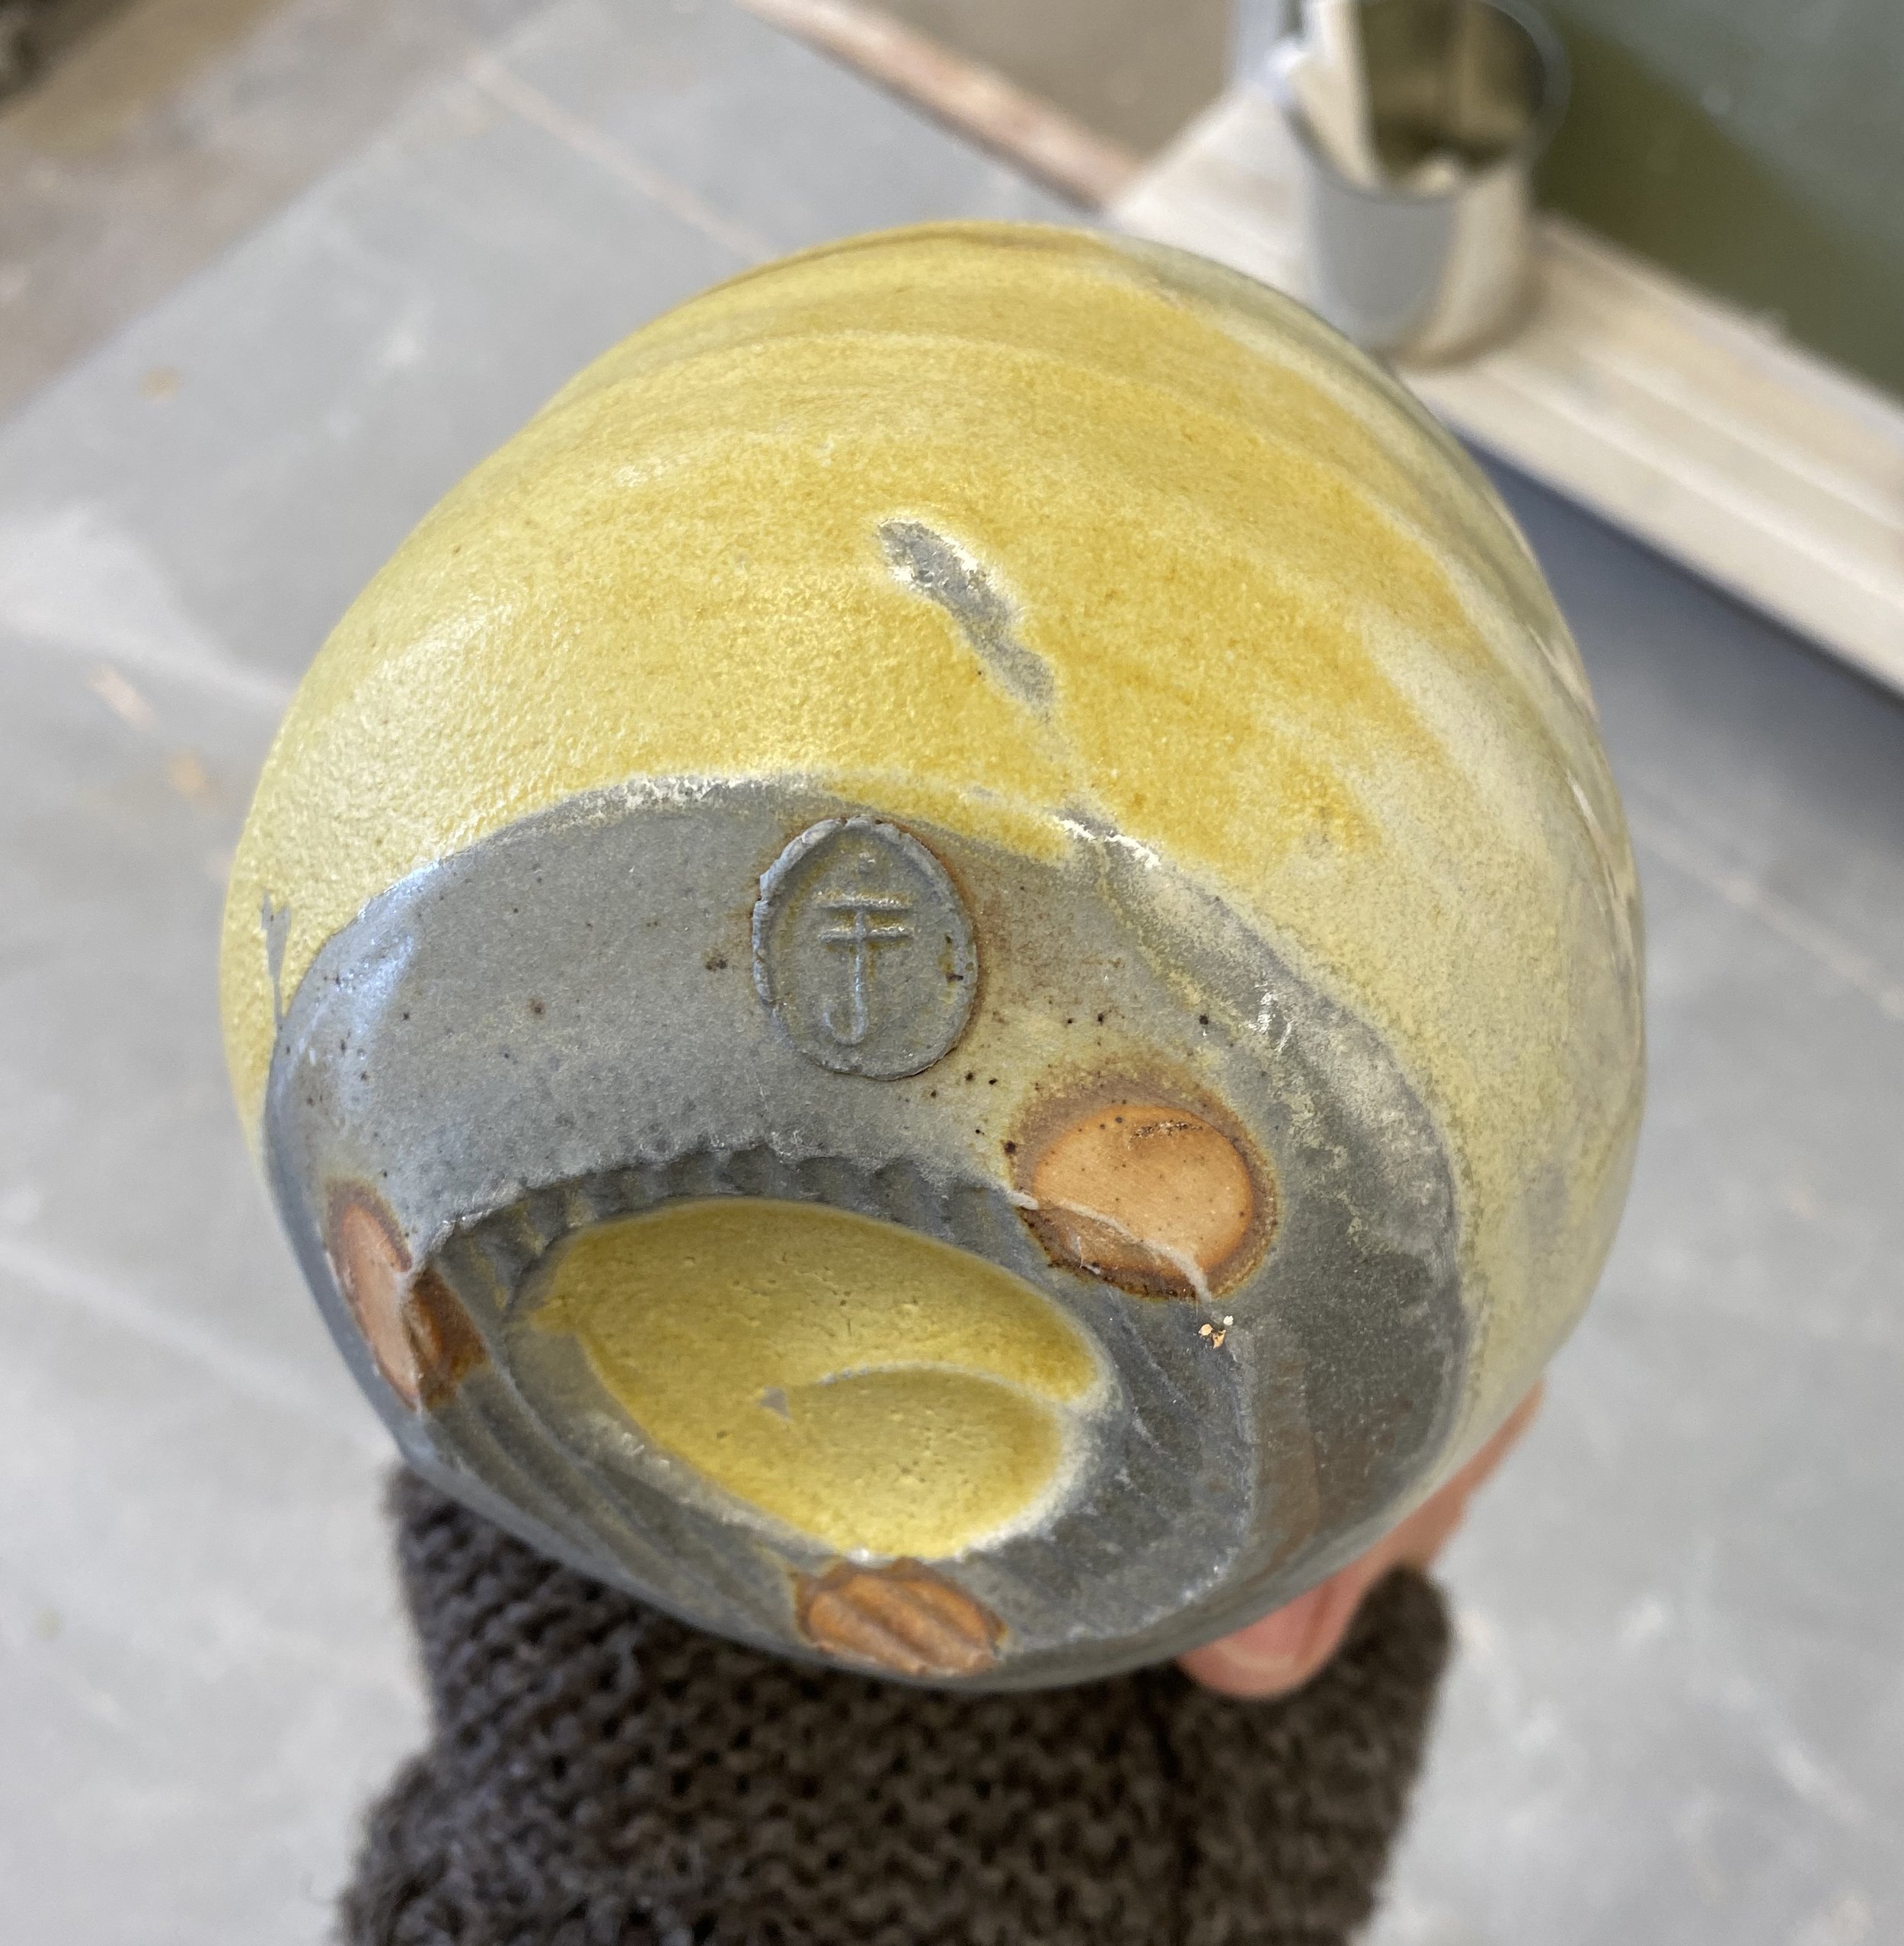
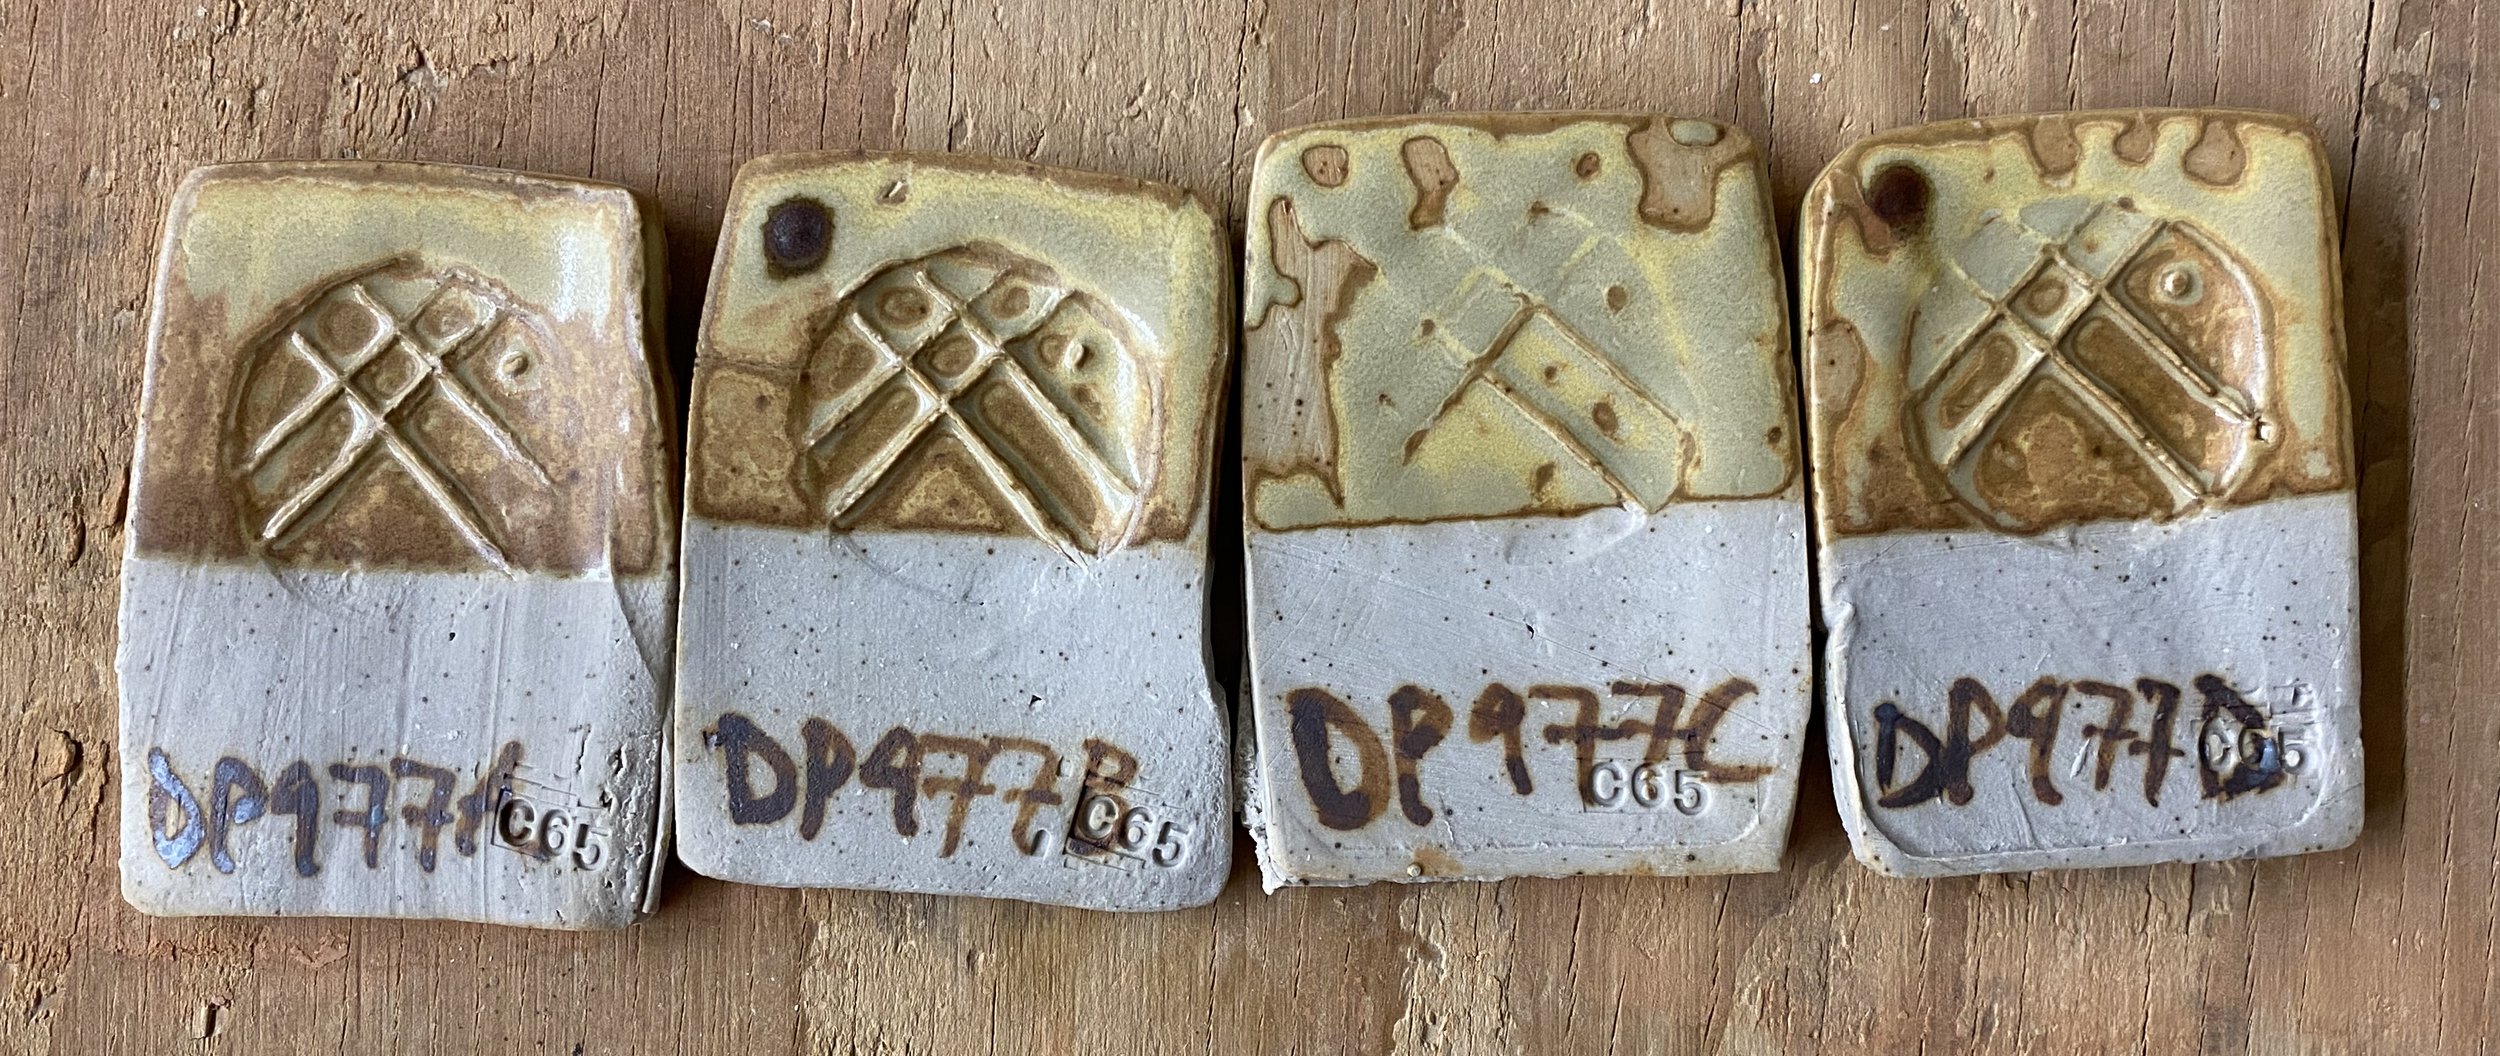
Anyway, I got back with the materials in carefully labelled buckets, and went about crushing them, ball milling them and setting them out to dry. I was careful to keep each separate throughout these processes. Then, as an initial test, I simply substituted the four local dolomites for the processed one in DP977. I labelled these four tests DP977a, DP977b, DP977c and DP977d. A being stop A or stop one on our collection trip, D being from our final stop.
Here they are:

On a basic level, it worked! The local dolomite gave me pretty much the same results as the bought/processed dolomite. Same warm yellow color and same satiny finish. I was very pleased with these results.
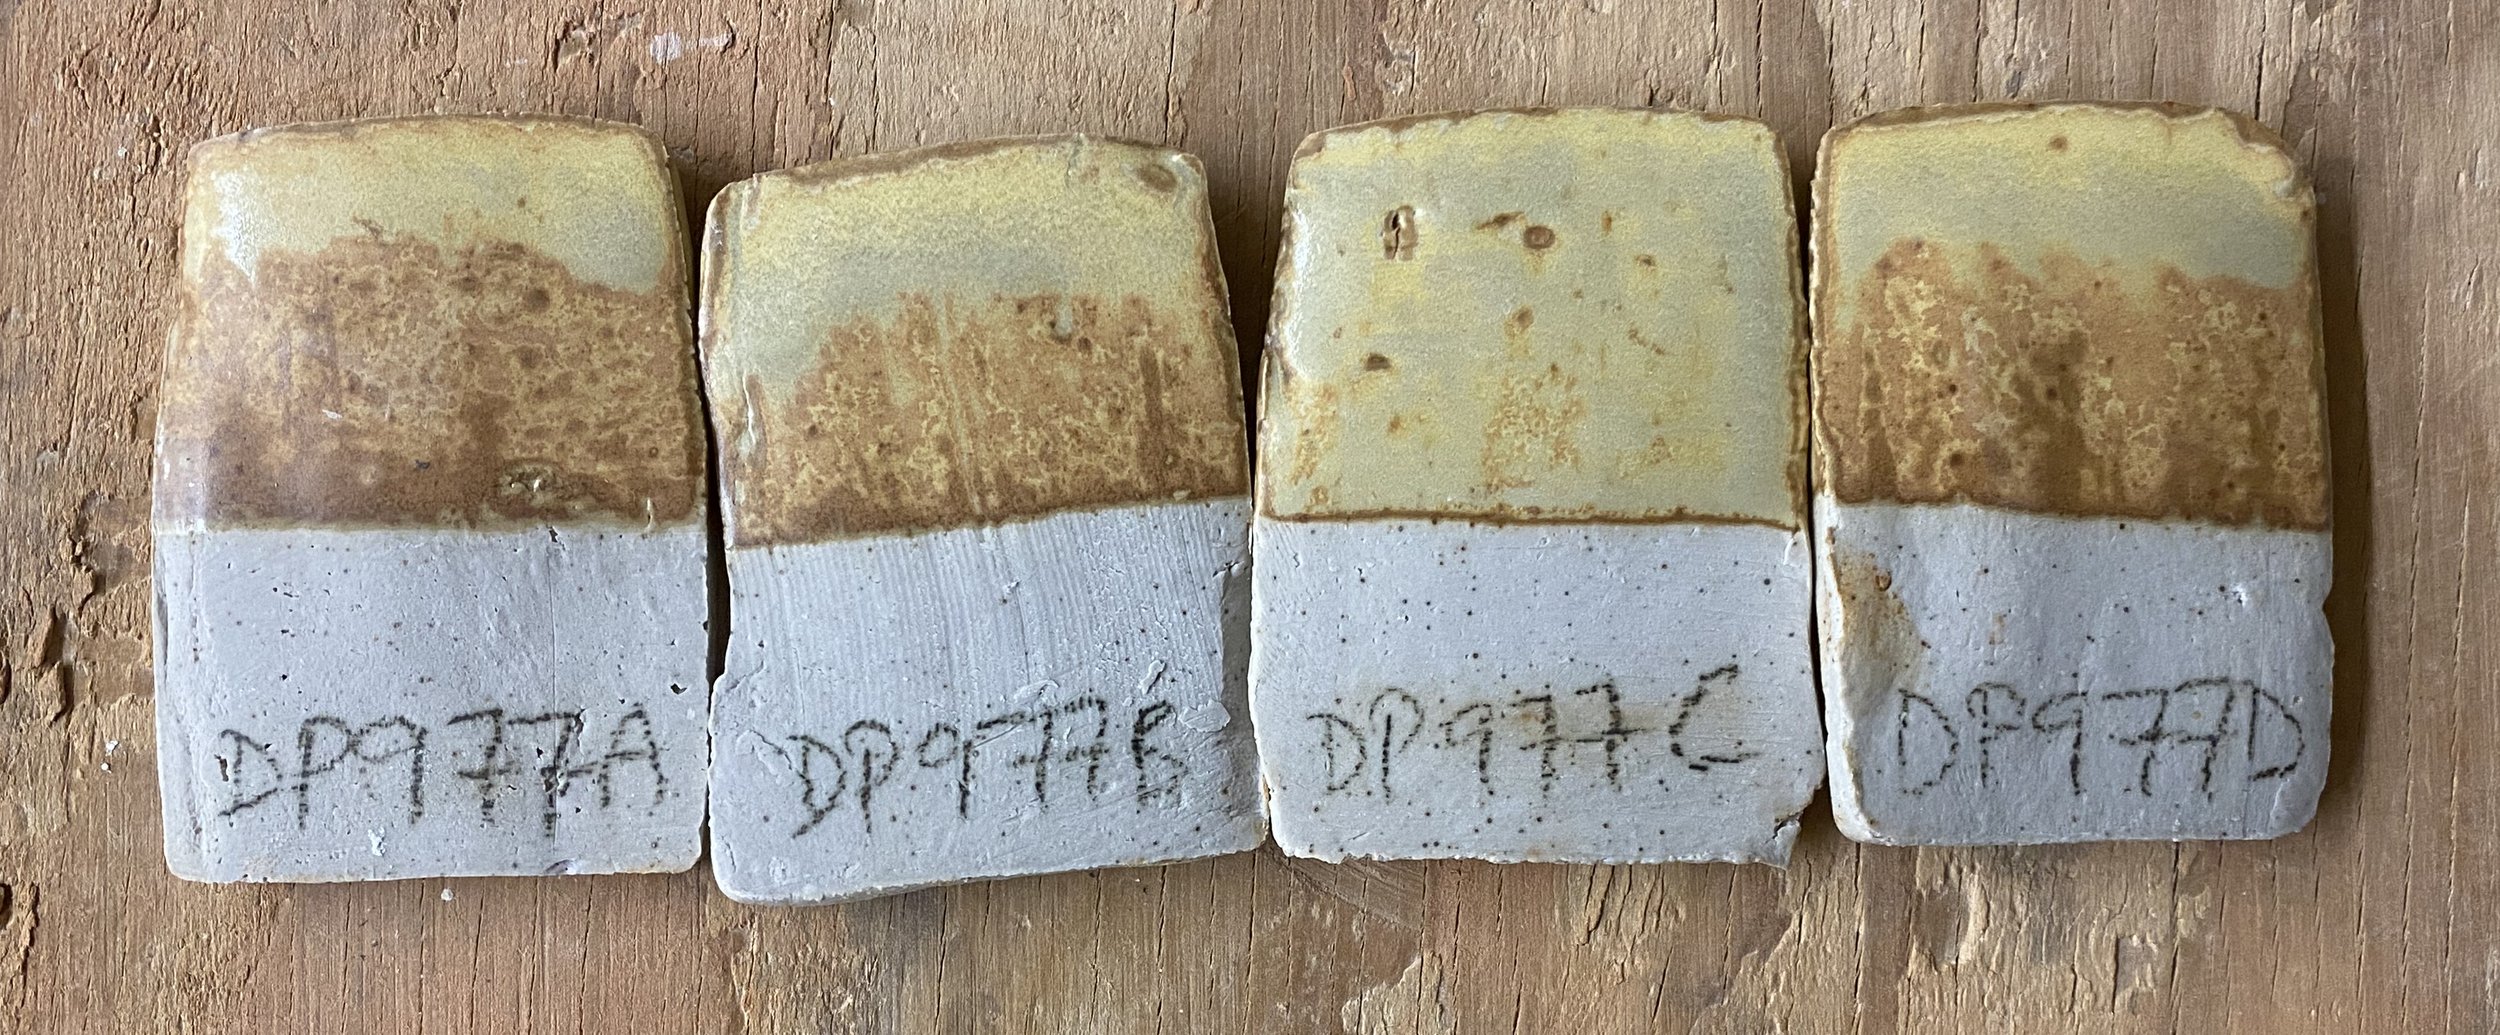
I had some issues with the thickness of application on these. I mixed the test batches up a bit thick, which led to some crawling. You can see this in the fact that the glaze on the test tiles did not crawl, but it did in some of the teacups. Naturally, the cups got a thicker coat of glaze as it takes longer to pour it in and out than just dipping a test tile.
Here are the tiles…


Frankly, the results were pretty similar. You can’t really analyse the differences in tones too much due to other variables. They were fired on the same shelf in the soda kiln, but there are still inconsistencies to this process: more soda makes the glaze paler. You can clearly see this on the edges of the tiles.
My conclusion from this though was that the local dolomite worked and I should collect the one that is easiest. This is the dolomite from the Hyrum Formation that we found at Second Dam (10 minutes from USU).
So, here are a few pictures of pots with this local yellow glaze (DP977b using stop 2 Hyrum Formation dolomite) on them. I am pleased with how they came out! Click on any of the images to enlarge them.


The glaze is super satiny feeling. I have also been slow cooling the kiln, which encourages this effect, too. Holding on the way down at 1850*F for anywhere from 3 to 8 hours. Seems like more makes for a silkier surface, but 3 does it to an extent.
Another success is that this glaze also works in wood firing. This cup was fired for several days in a train kiln at USU:
However…
I am also curious about how to influence the color of this glaze. I would like to figure out a nice orange glaze, too. Will it ever end? Probably not.
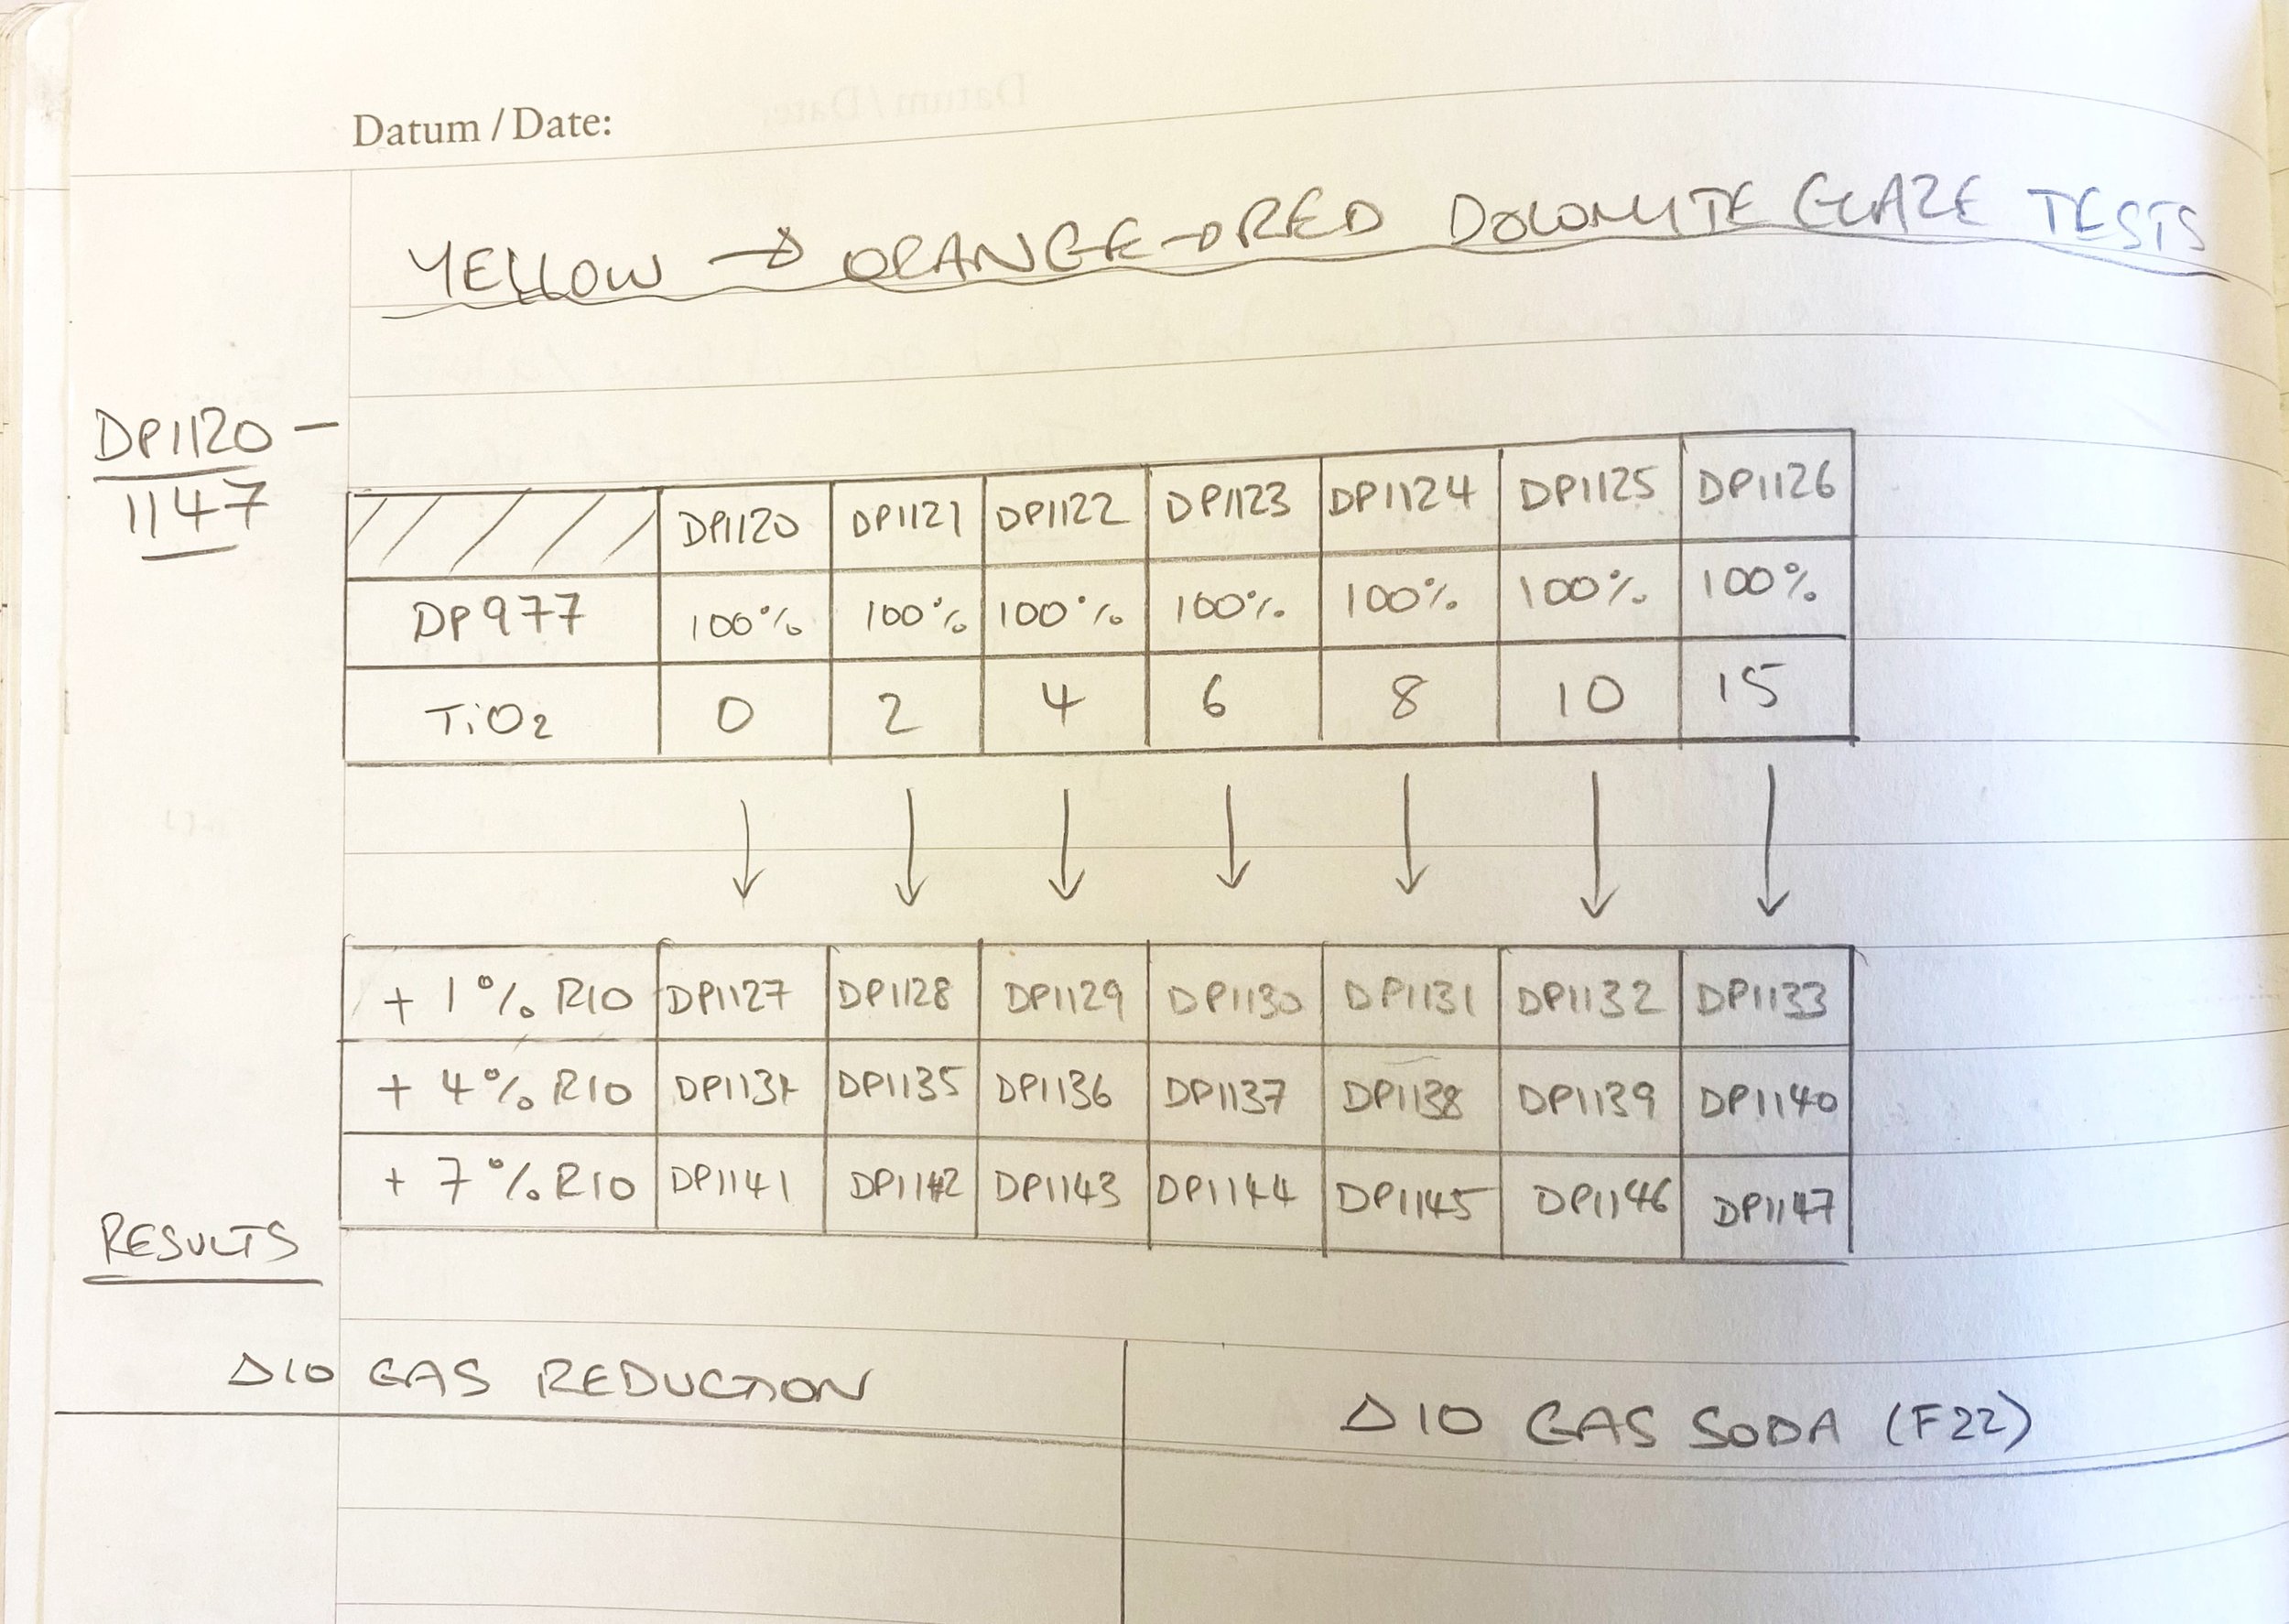
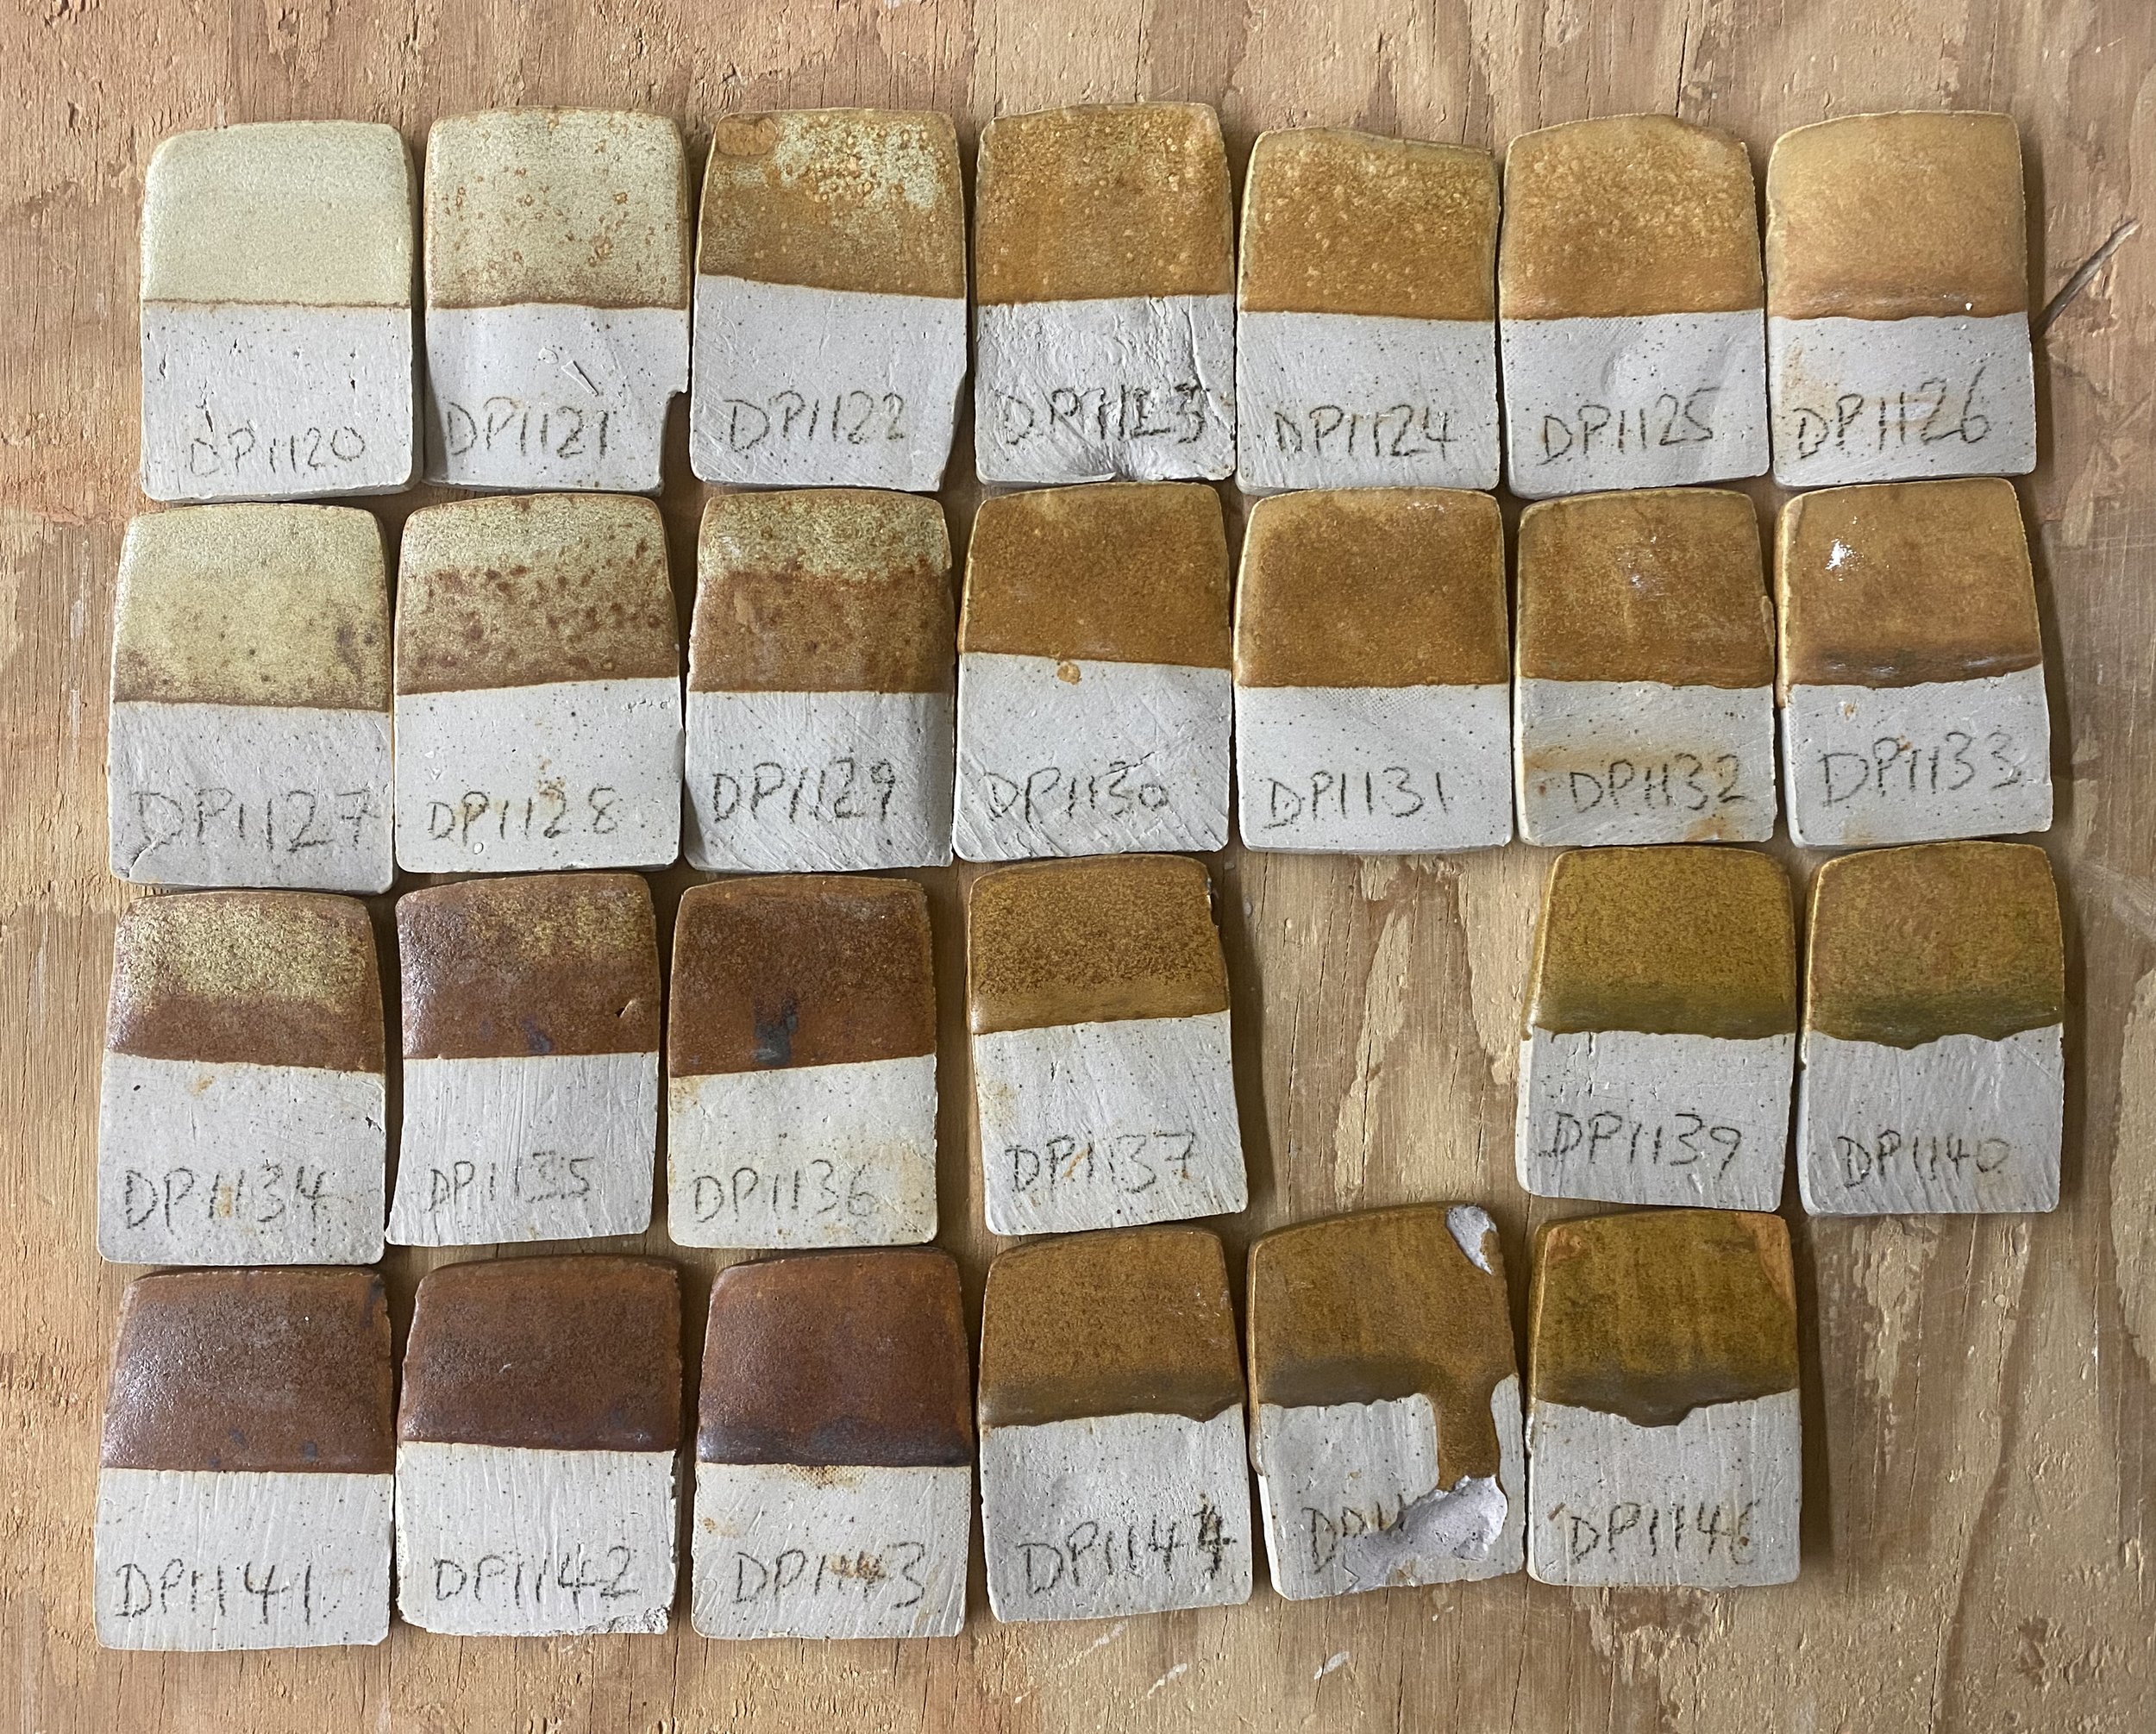
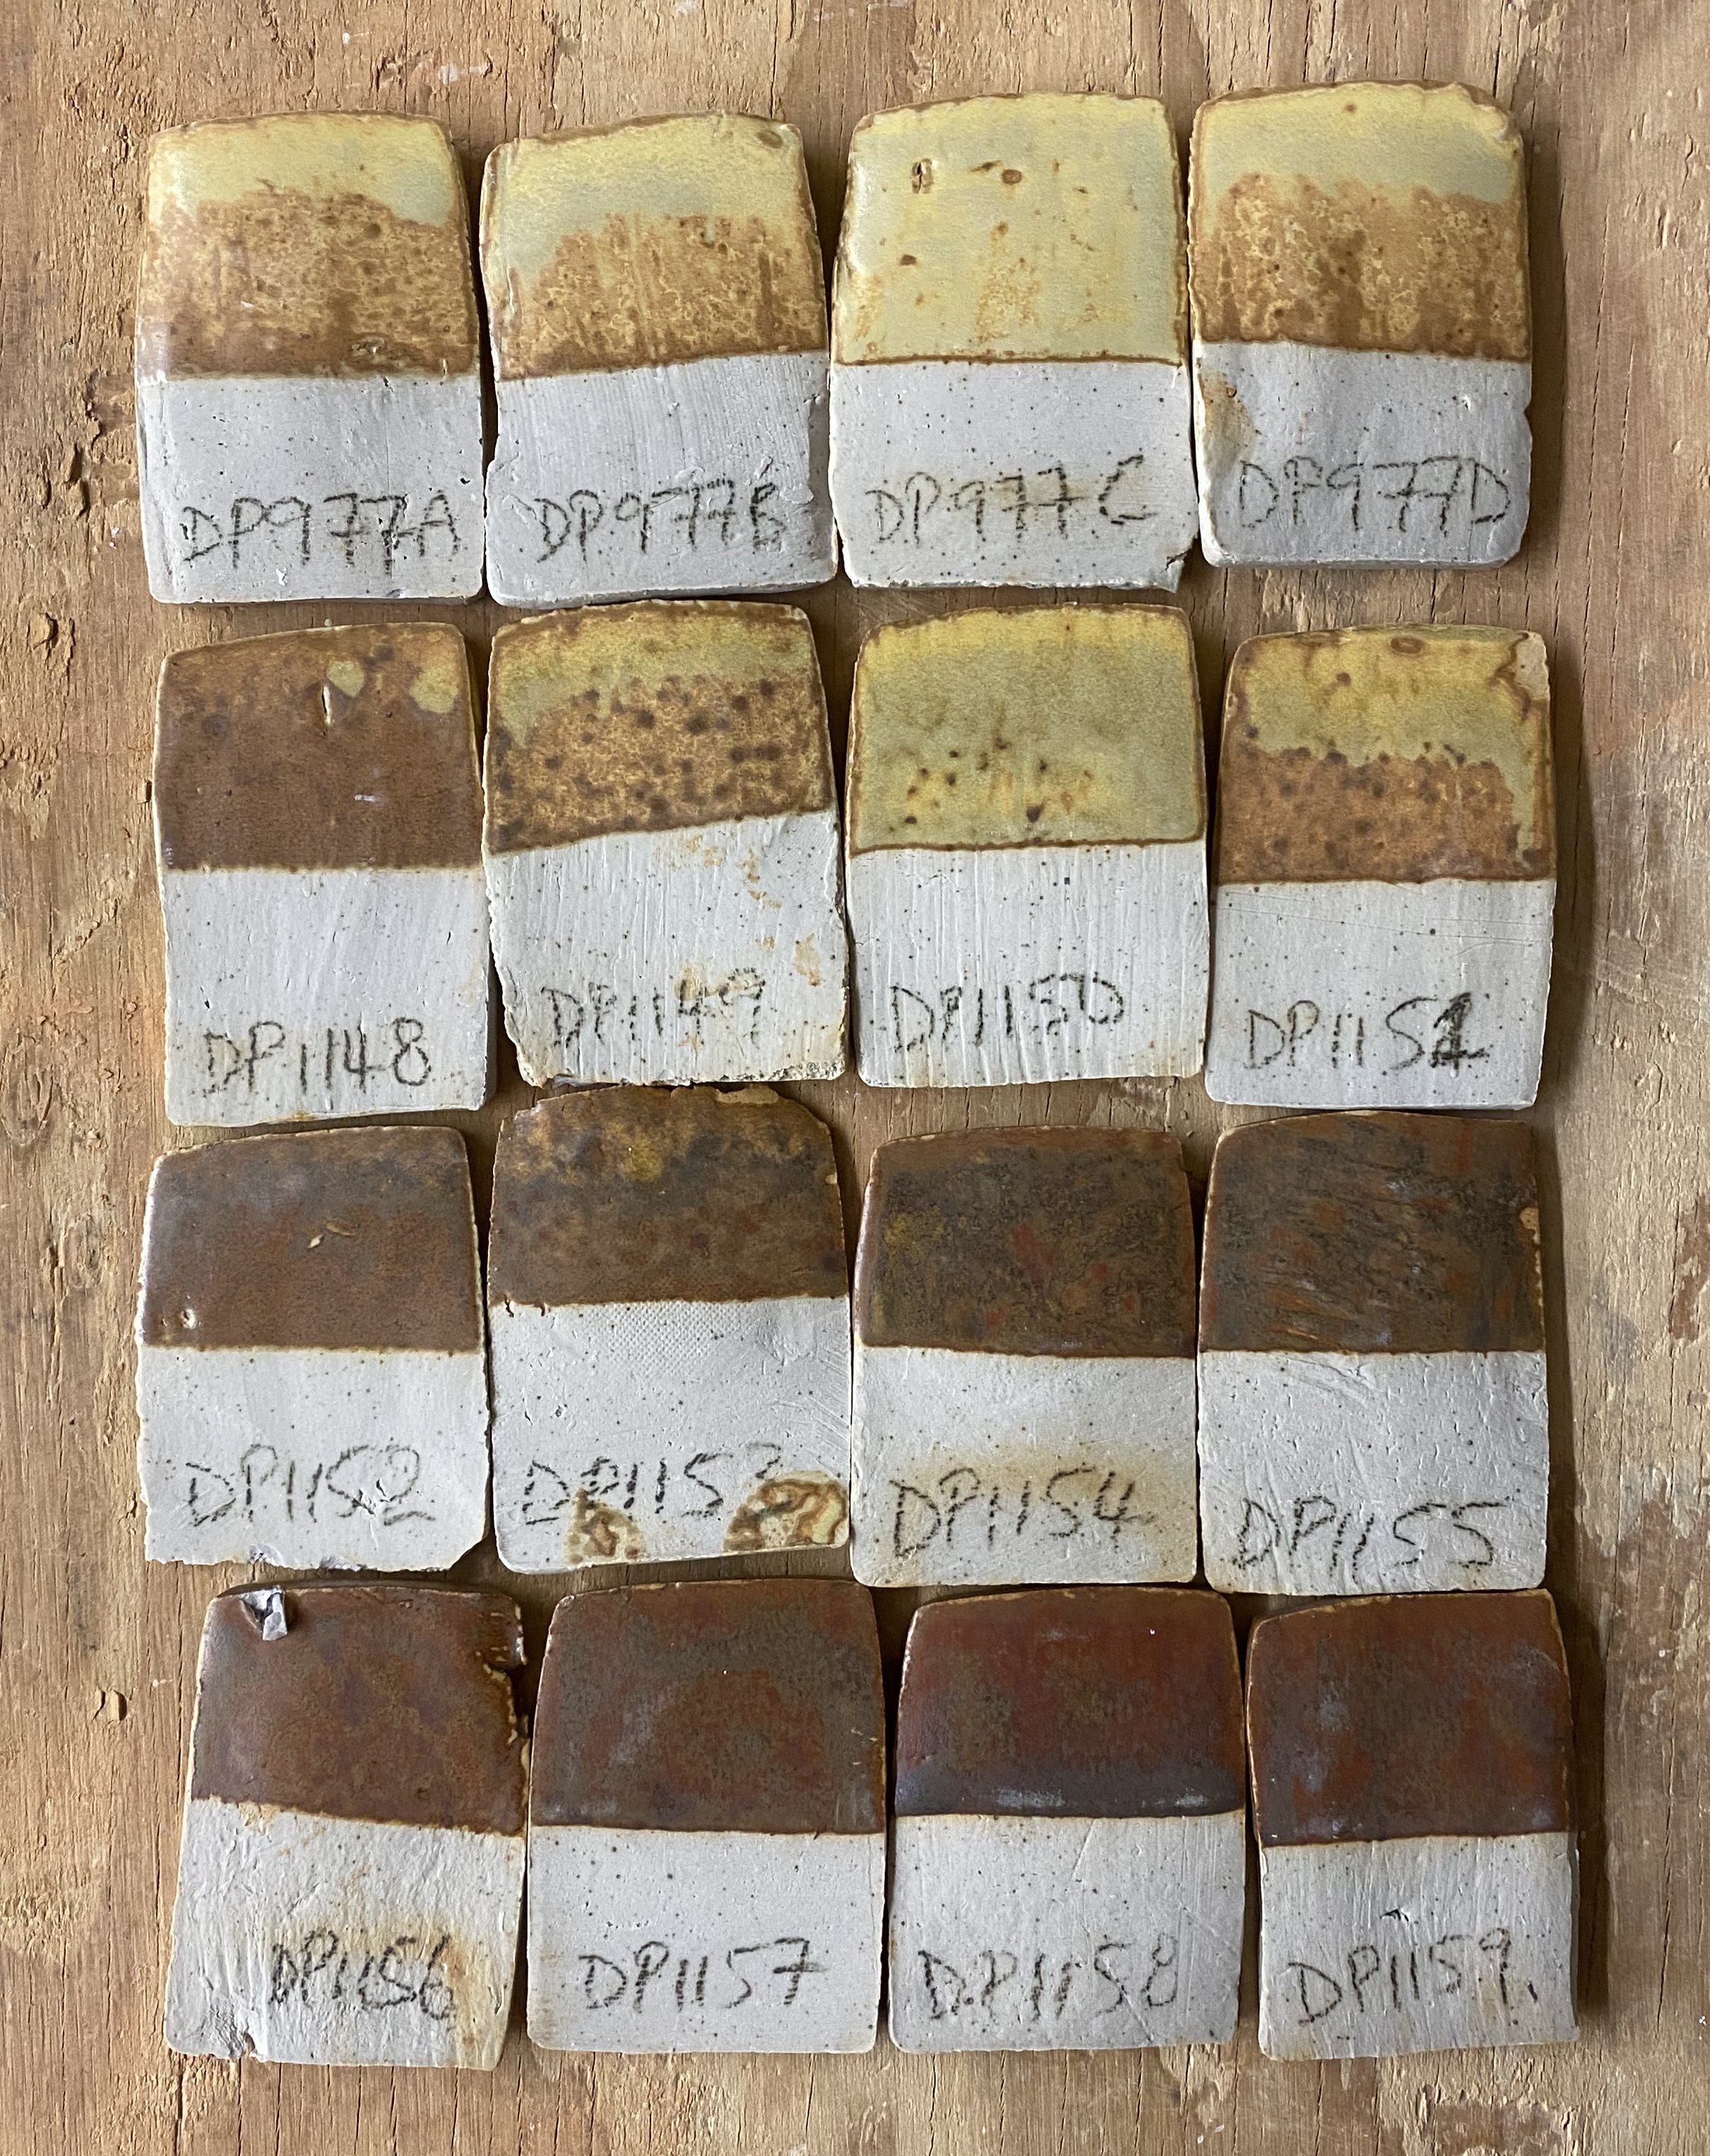
I ran a couple of preliminary additional tests. I added iron to these four local dolomite yellows. First 1%, then 4% and then 7% total.
Here are the results…
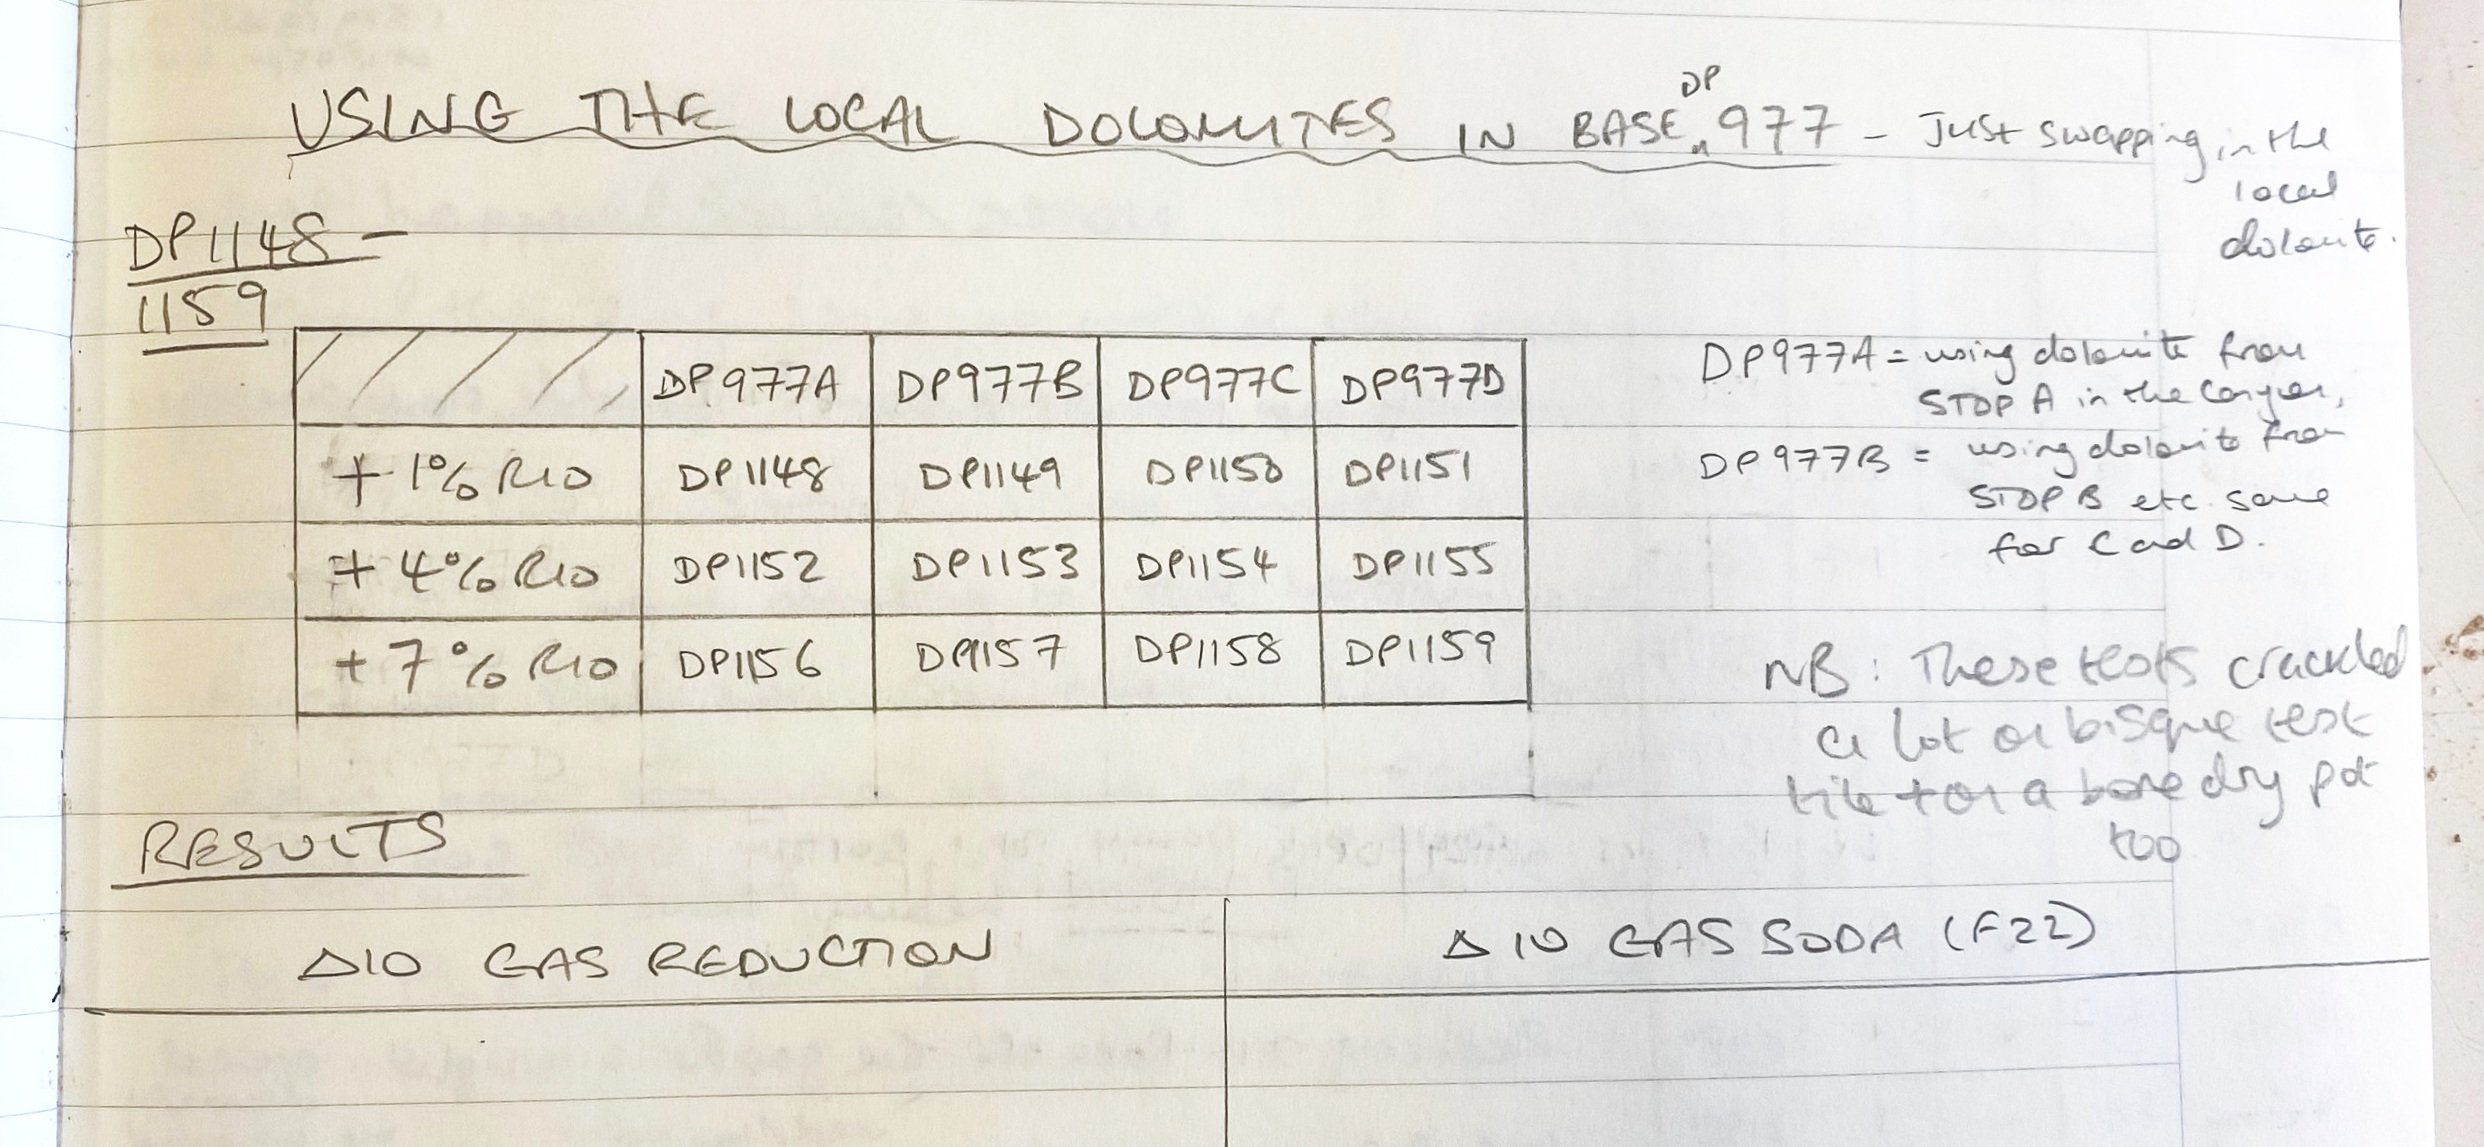
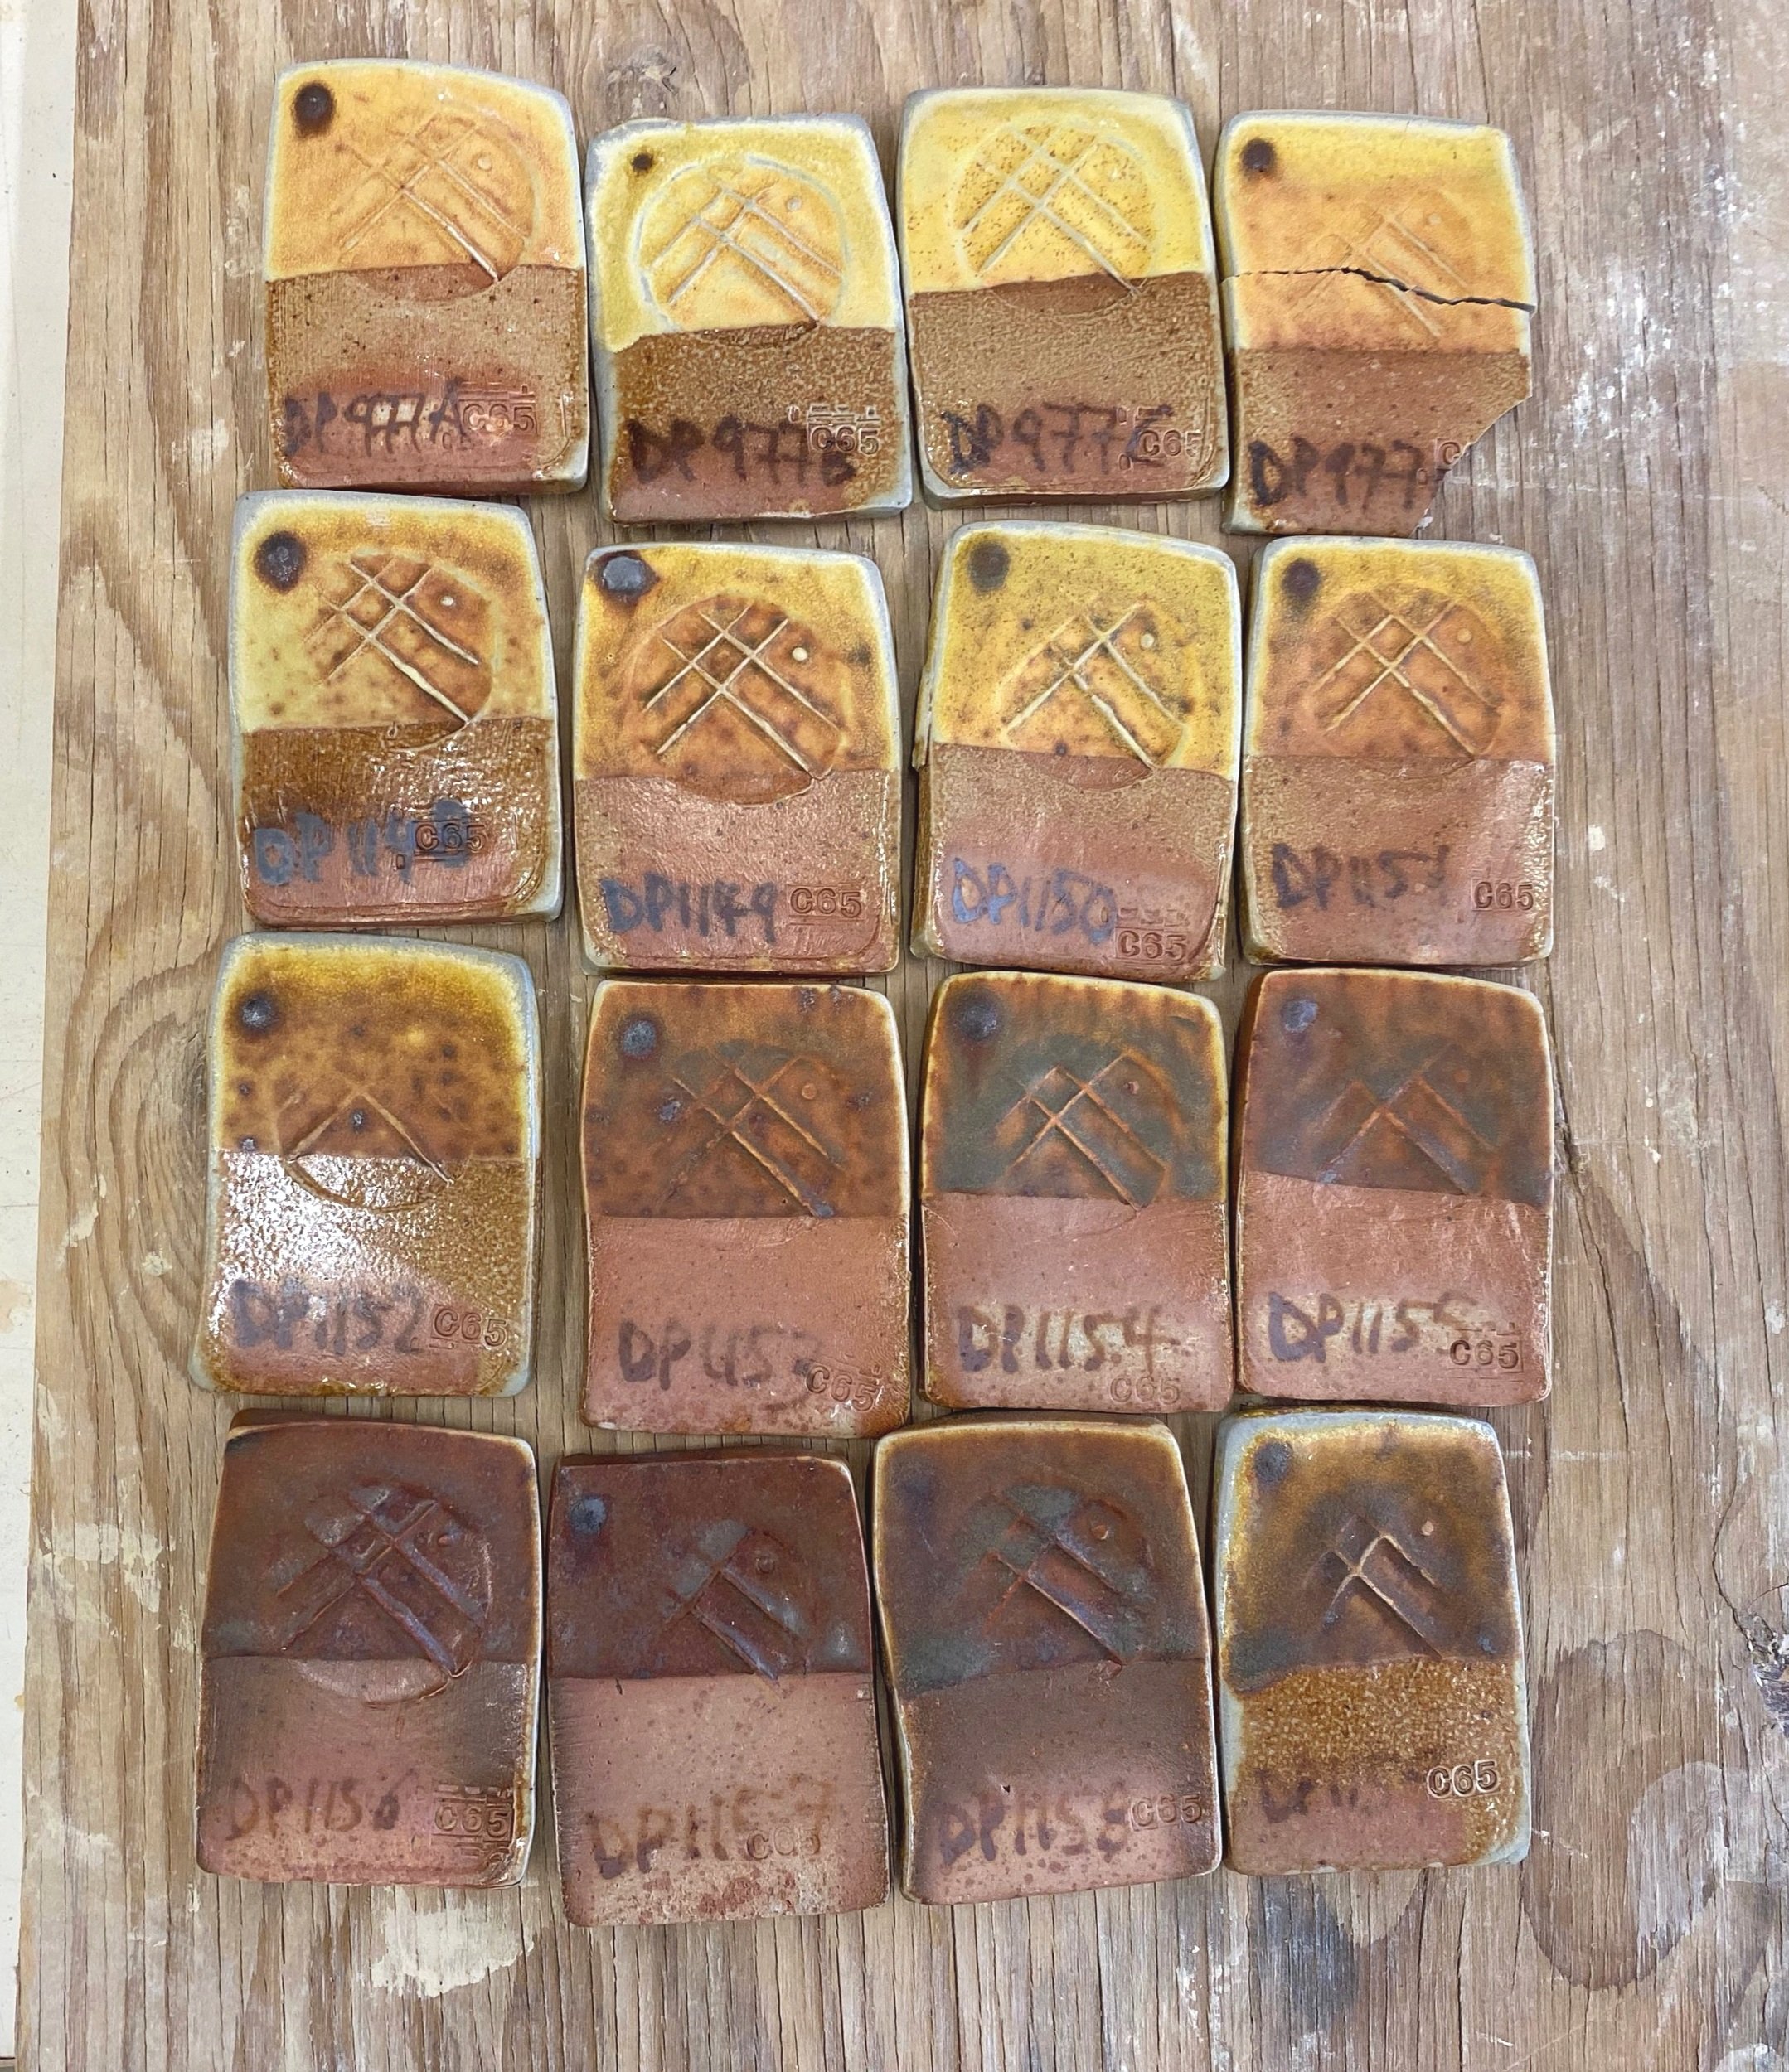
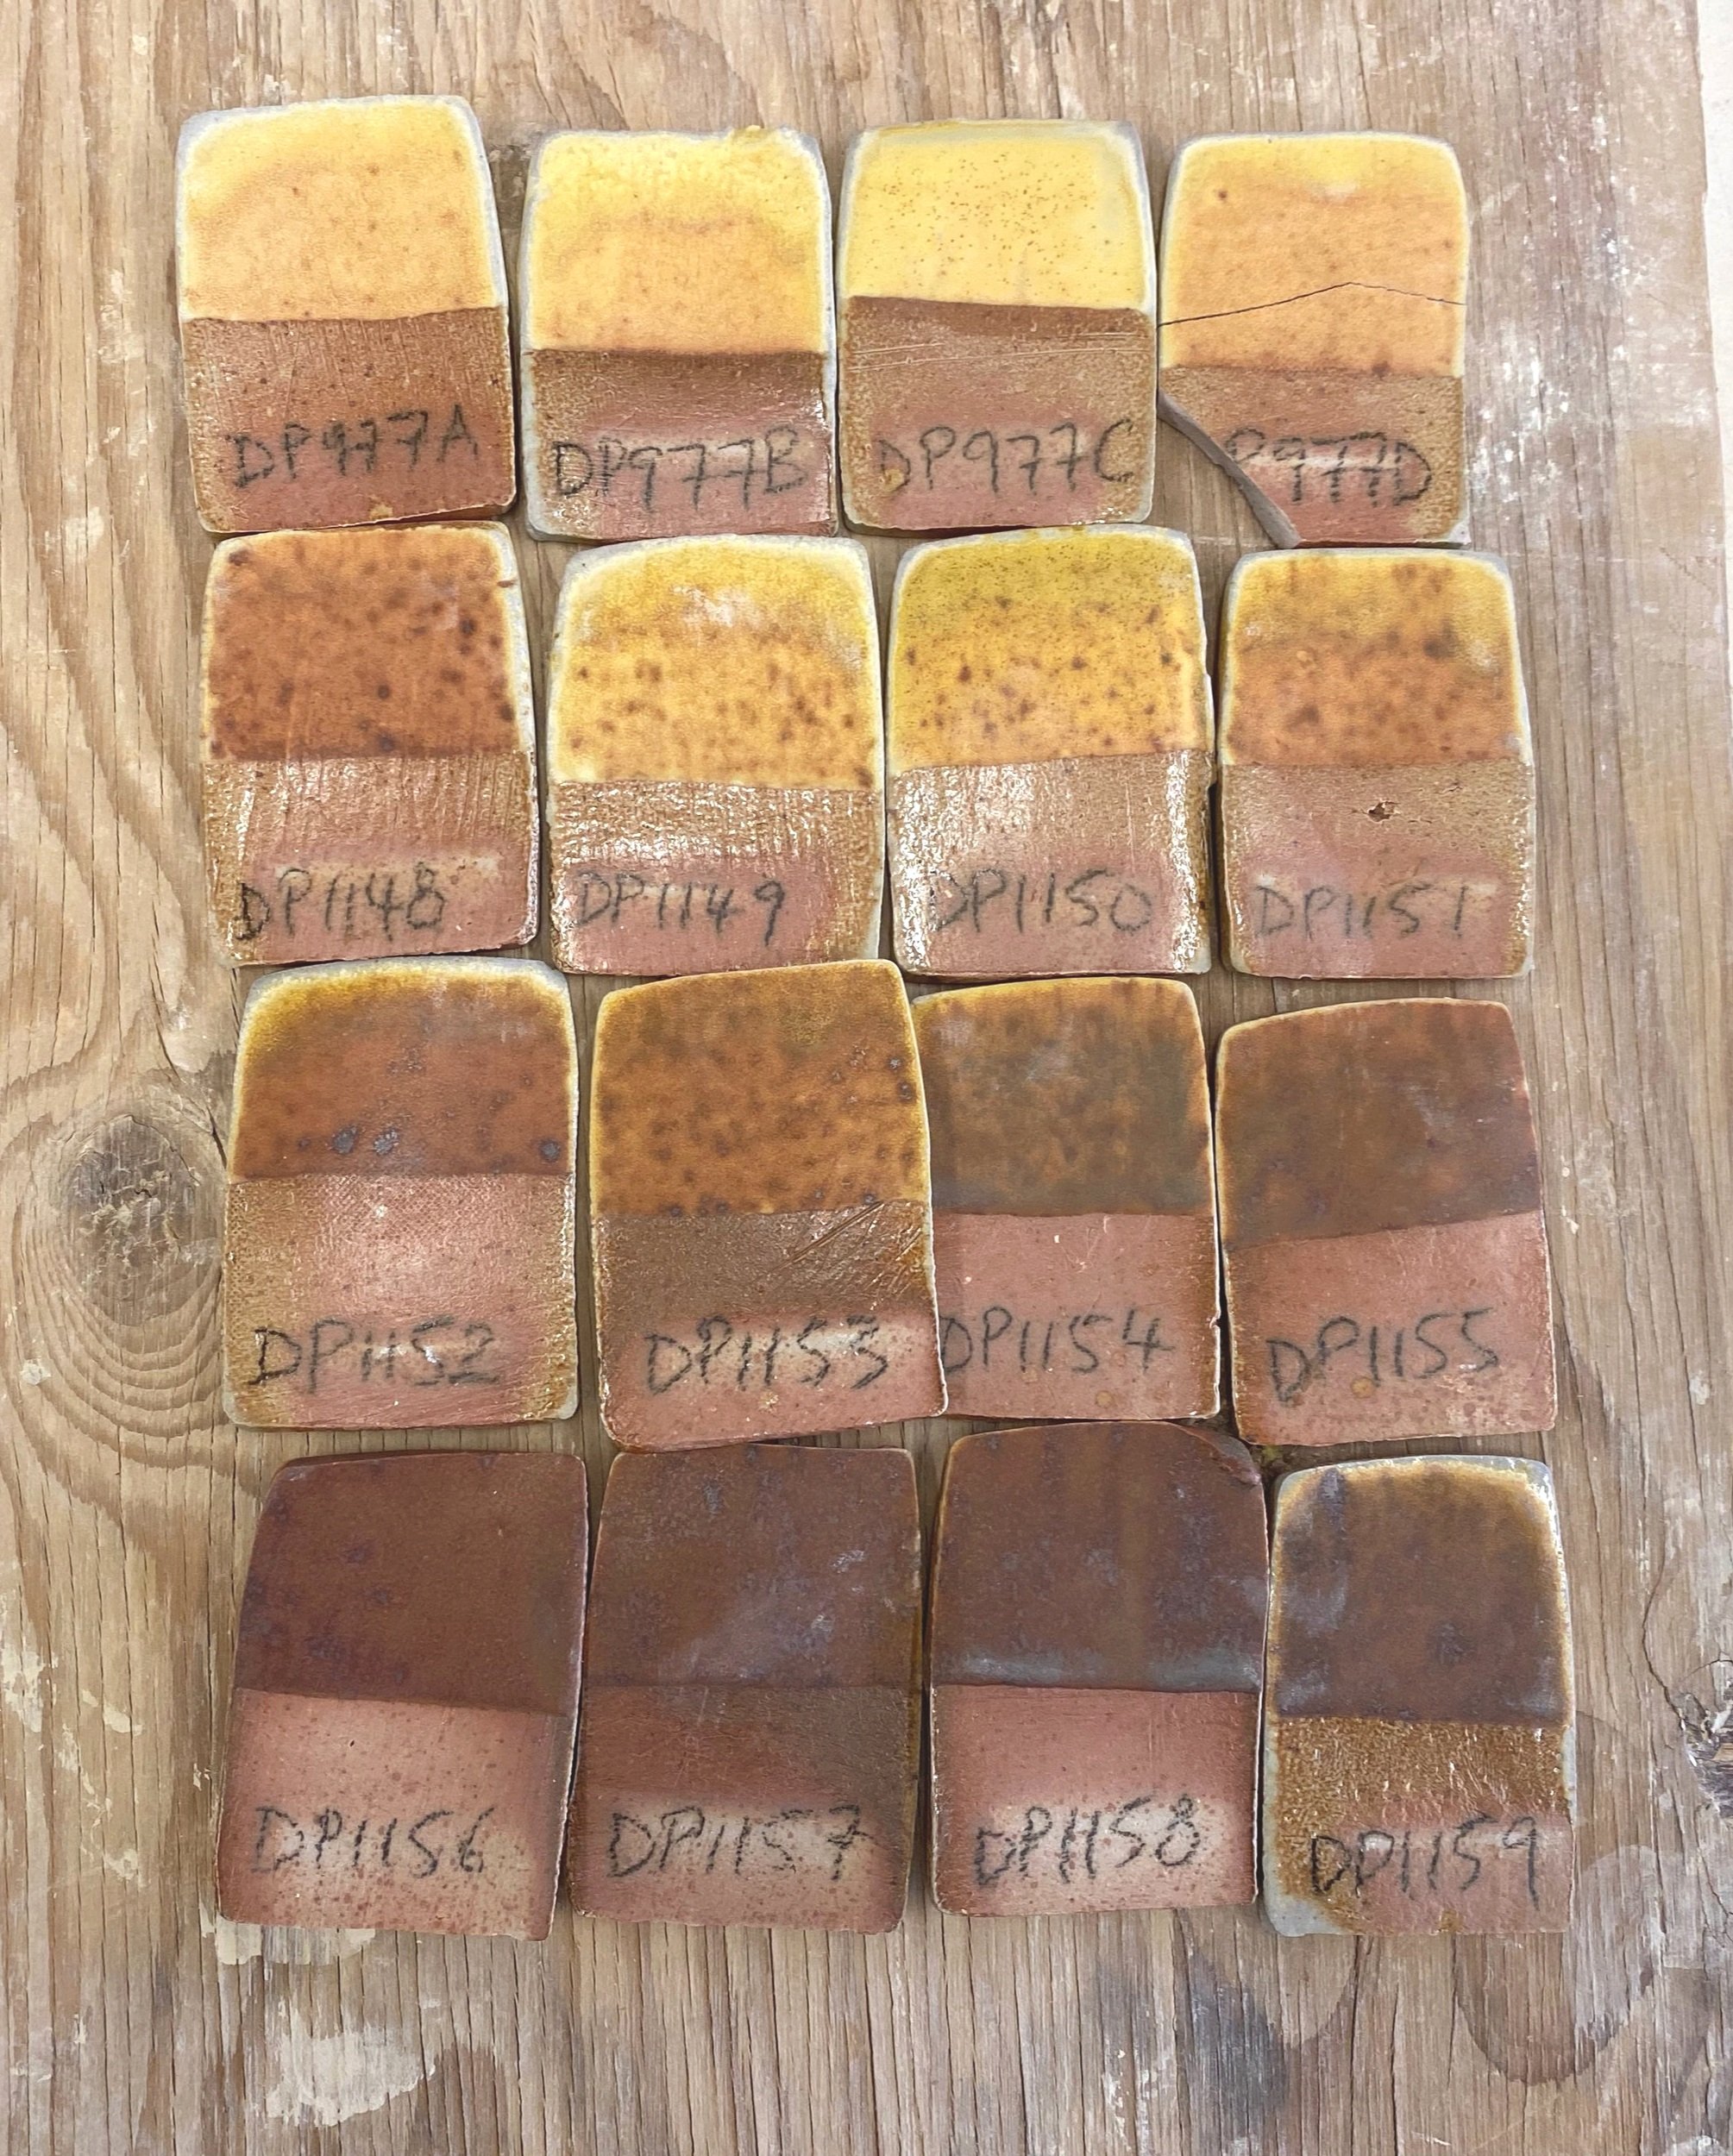
I was not that excited about these, initially. They’re kind of muddy. There is a potentially nice burgundy zone in the 7% range, but none of the orange I was hoping for. I think a large part of the issue is that the iron is not mixed in that well to the glaze tests. I always sieve my tests twice, but even so, you can see the iron specking.
Another avenue I think could be adding titanium dioxide and then a bit of iron potentially. I tried this with DP977 to see.
Here are the results…
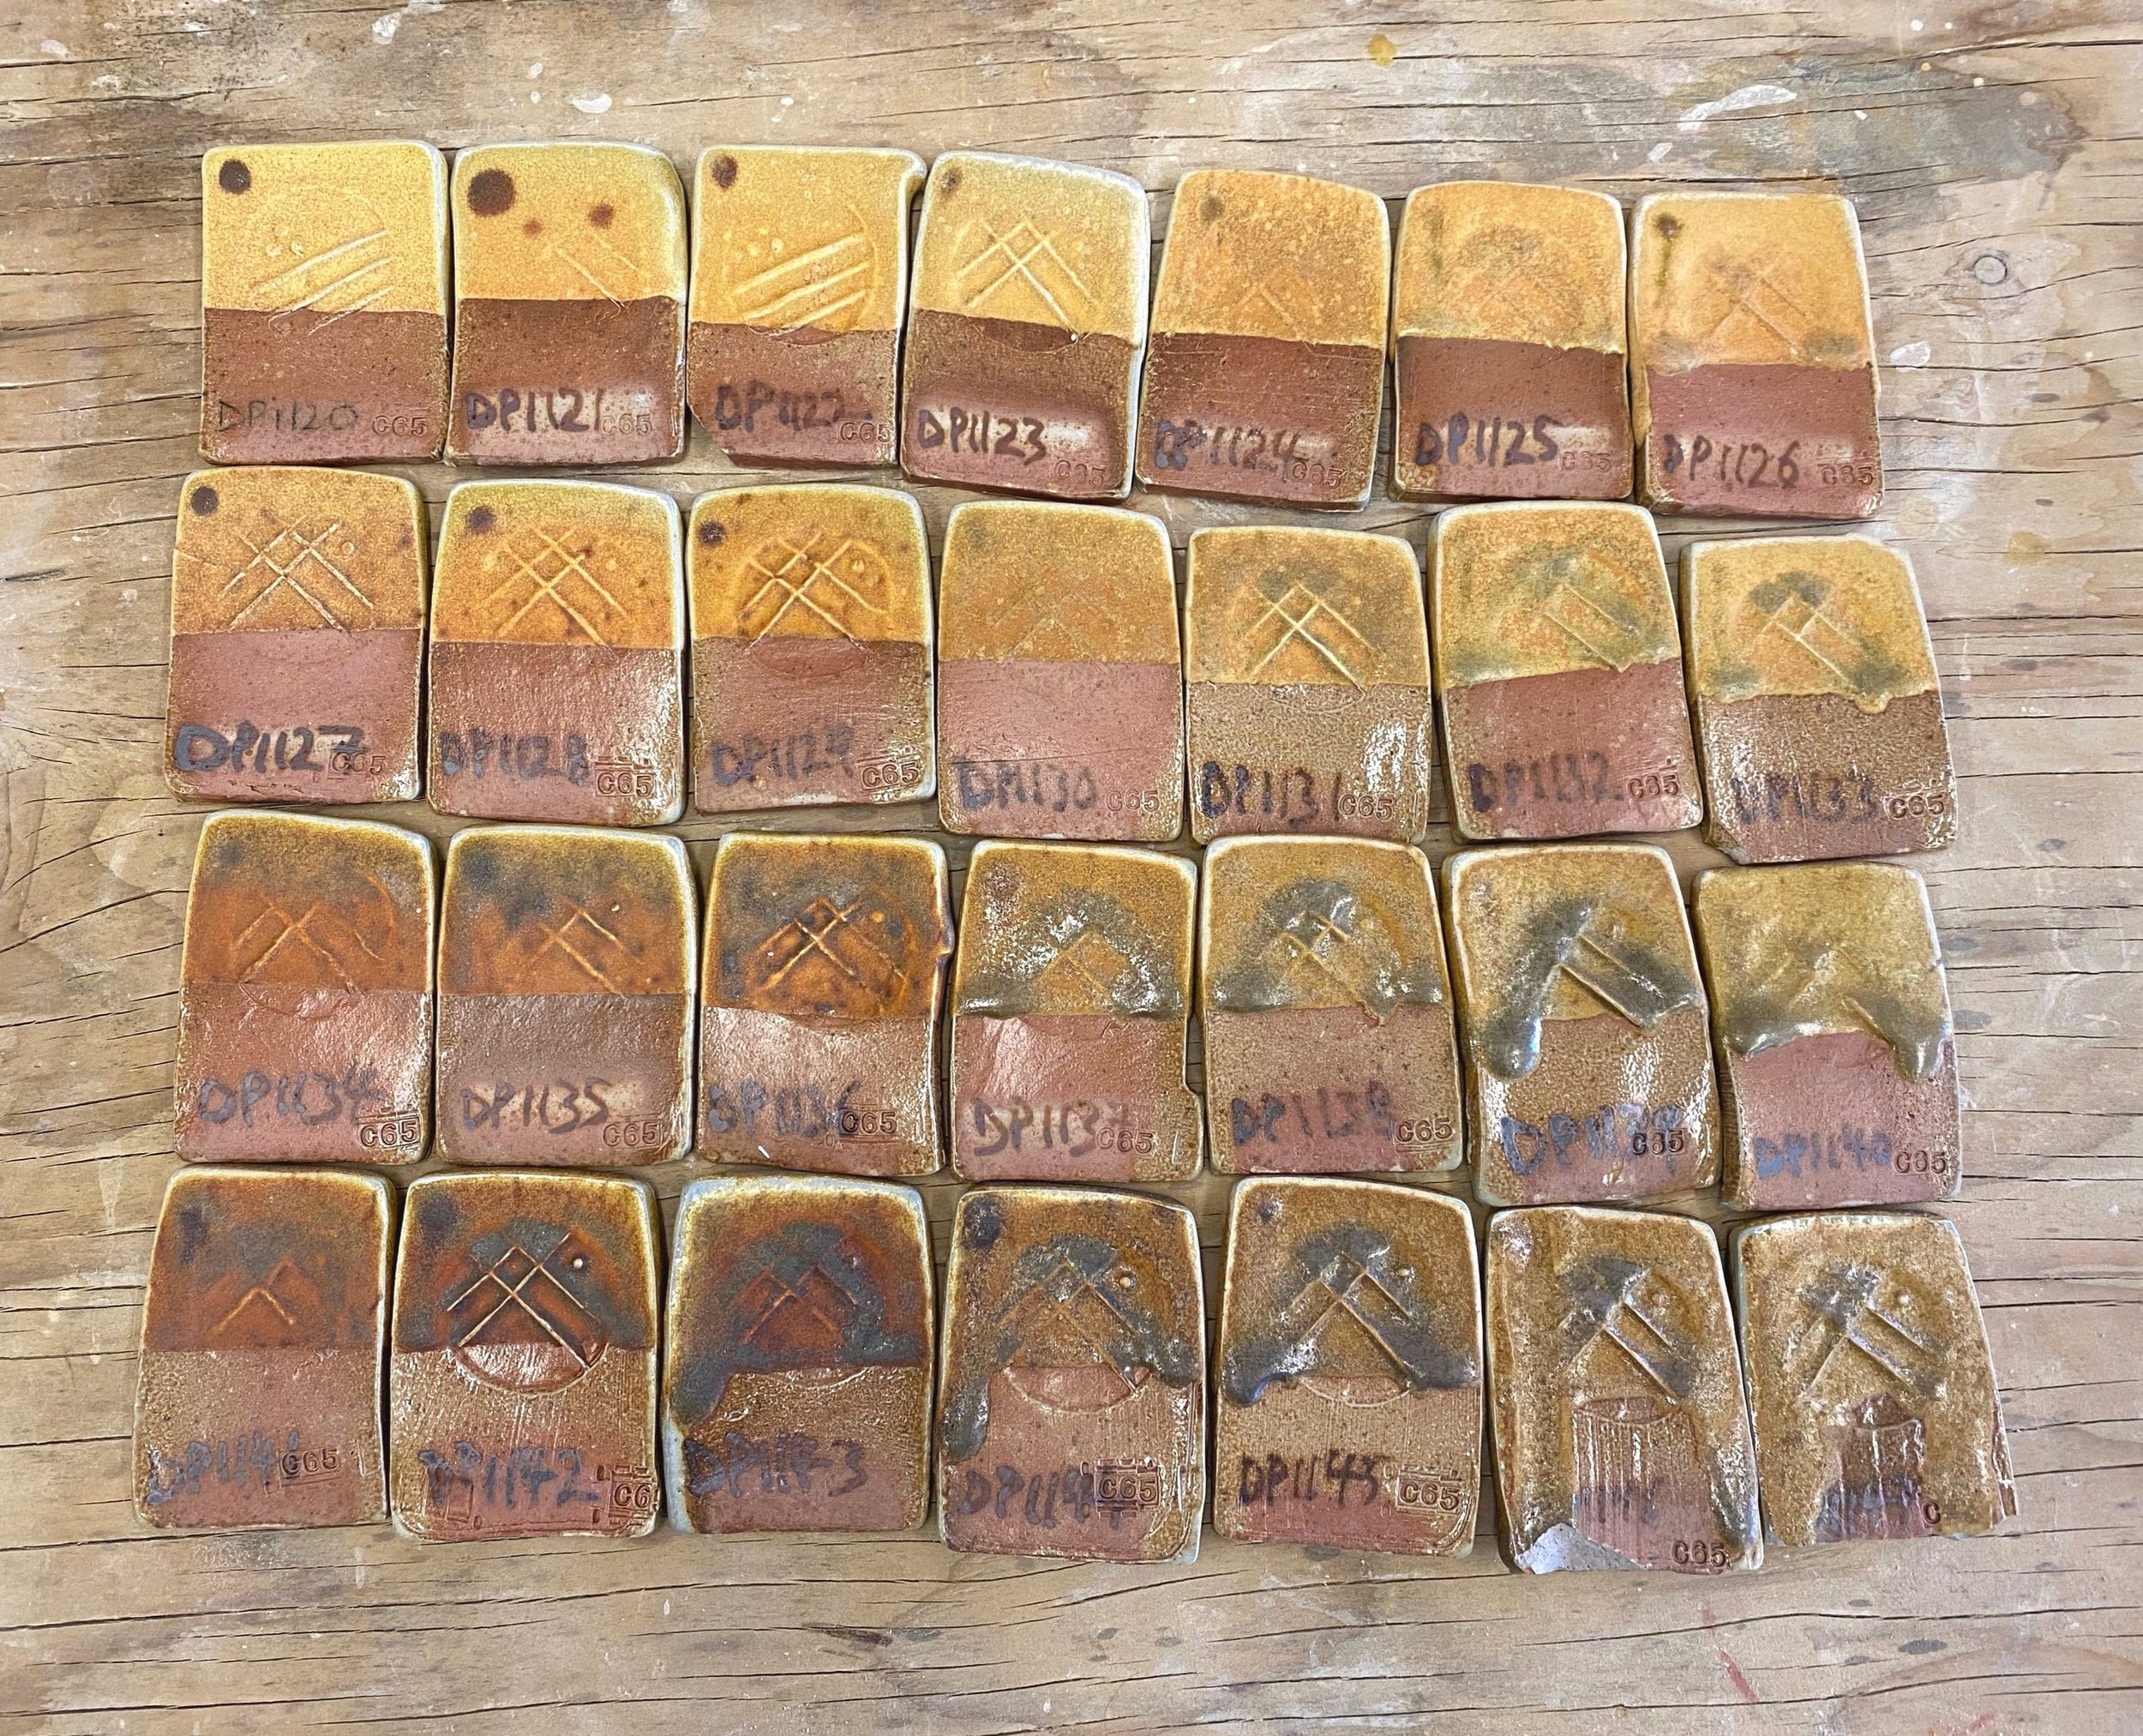
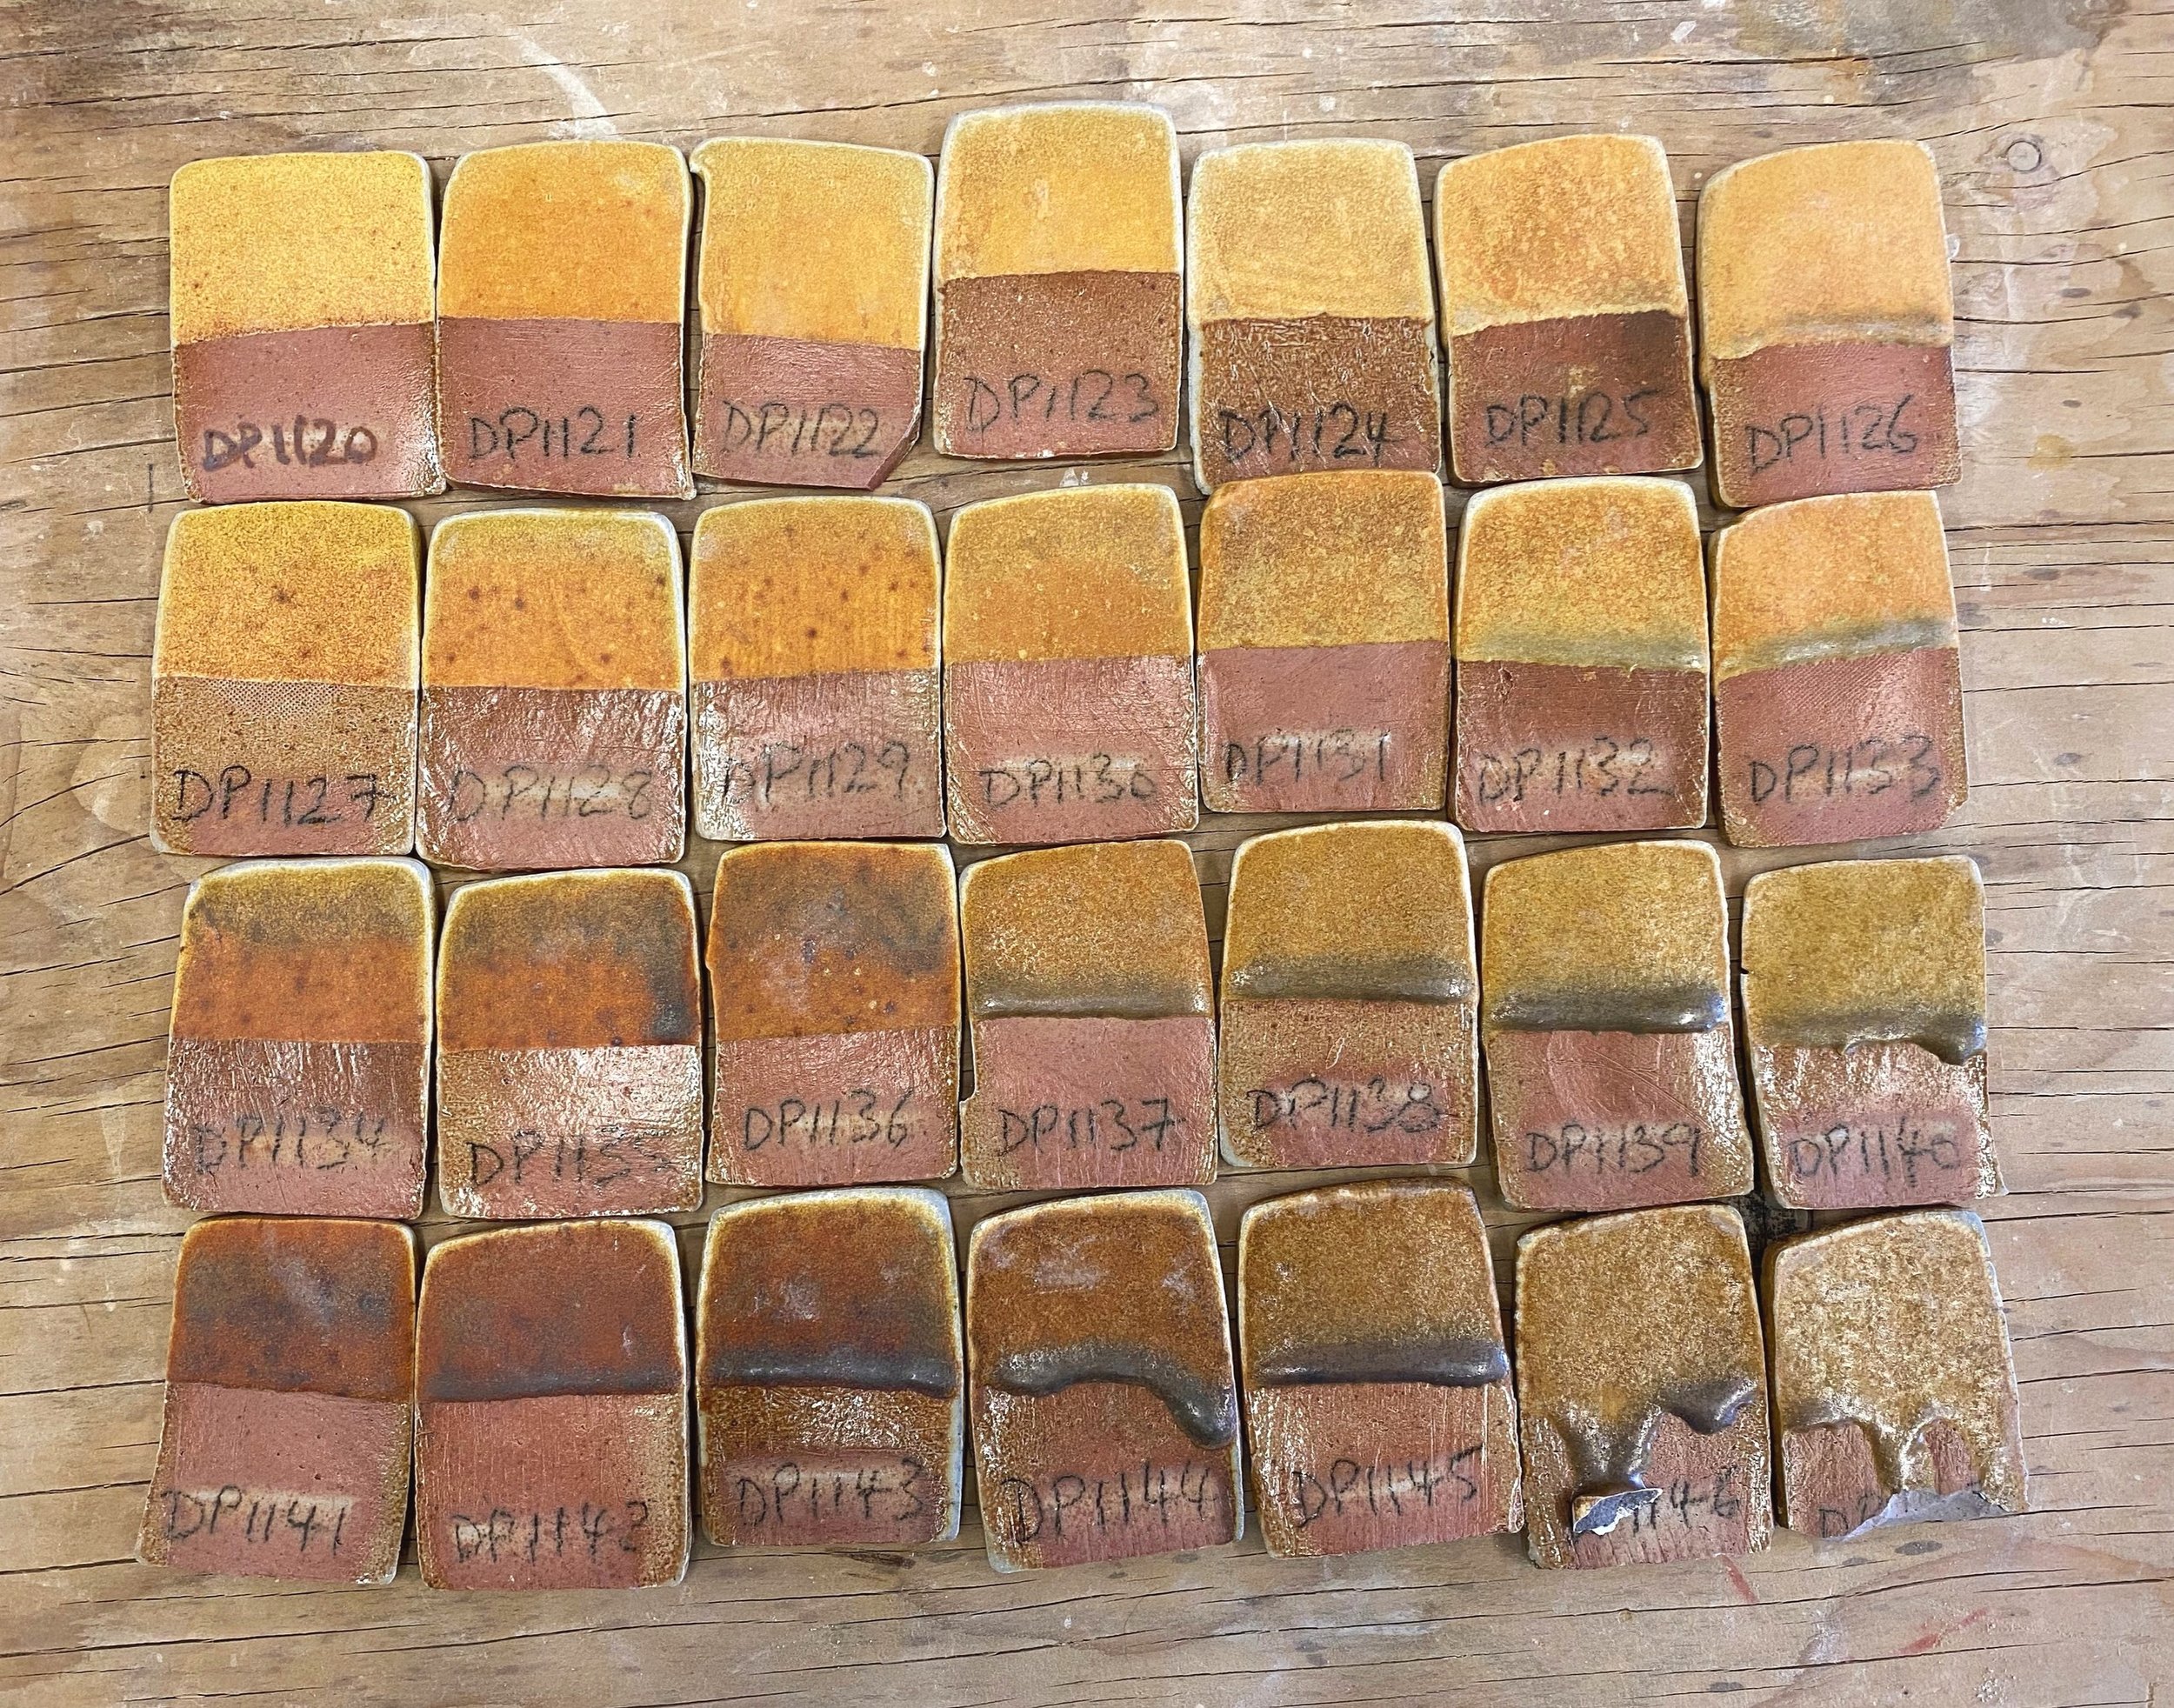
Examining these tests here, it seems like 2% titanium dioxide added does make the glaze warmer, toward orange. And with 1% iron even a little more so. I am thinking of ball milling a small batch of this to see if with the iron dispersed more it might be more orangey.
It seems like 4% is too much, but maybe 2% or 3% might be better. So I shall try this too. I will probably just ball mill the same glaze, take some out to dip a few test tiles, add another 1% iron and get the ball mill going again, to save material and cleaning.
There is also something potentially interesting happening with no added iron but 10% titania. This might be worth seeing on a pot, too.
Here are a few of the test tiles up close…


End note: I also fired these same glaze tests (different tiles) in gas reduction to see what would happen. I fired the kiln to cone 11 flat so the temp was a bit hotter than in the soda kiln, and I also did a heavier body reduction. Here are the results.
First here is the test where I added titanium dioxide and then iron (second row is with 1% RIO added, then 4% and finally 7%):
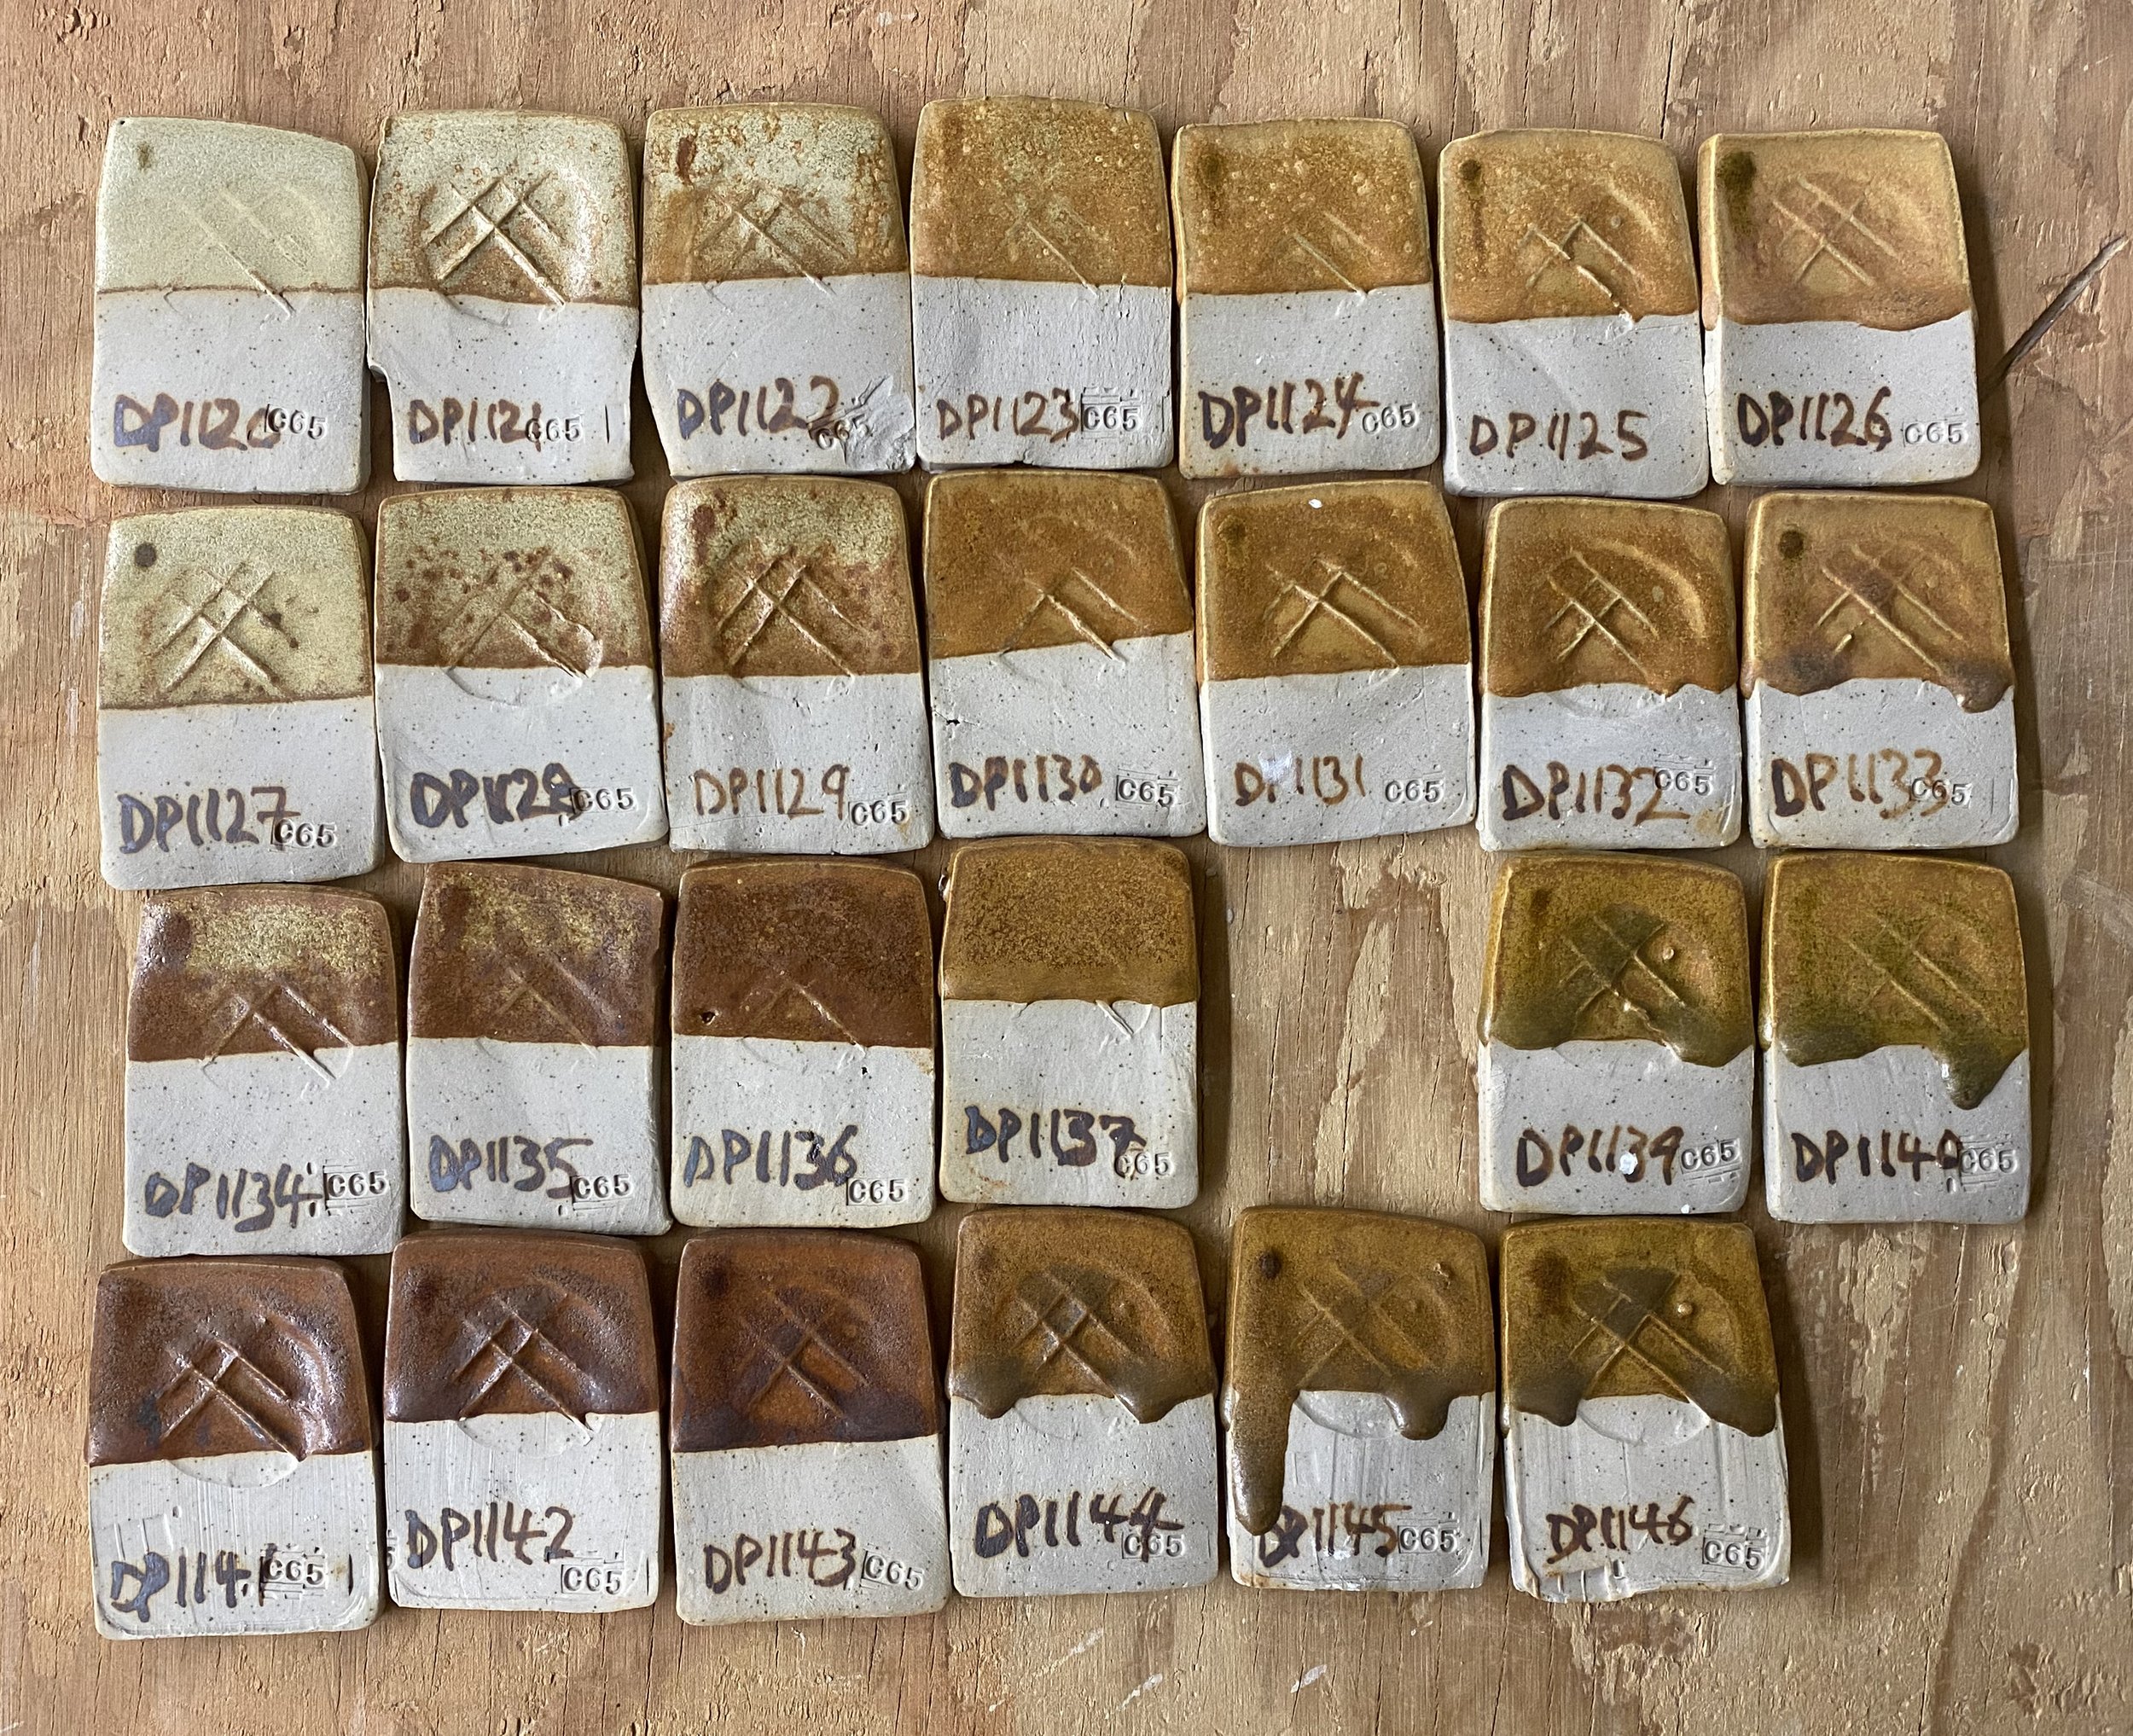
It is interesting to see that the glazes are less yellow but still in the same zone. The texture is similar but a bit less sort and satiny. The glazes are solid until you add a lot of titanium and iron.
Now here are the local dolomite tests…
And now with iron additions.

In general these glazes were less exciting than in soda but a few stood out…