
Devil's Playground Granite Glaze Tests Round 2: Video
This is the second batch of tests I made with my Devil’s Playground granite. Based on my initial tests I wanted to take a step back and do a few basic grid tests to discover more about the composition of the granite. I do intend to do an analysis of the granite soon but wanted to see what I could learn using Ian Currie’s grid method first.
Ian Currie has a couple of excellent books which outline his method. Here’s his website if you fancy getting them. There are still copies to be had out there.
I explain the basics of the grid method in this video, as well as the results of my testing.
Watching the video is probably an easier way to see the results than reading my notes but I will outline them in my next blog post anyway. I will document the results with photos and discuss them further. And also explain my plan for the next set of tests!
EnVision: a Woodfire Invitational — WOODFIRE NC 2022
The COVID-19 pandemic caused WOODFIRE NC to be postponed twice. It was great to be able to actually get together and make it happen!
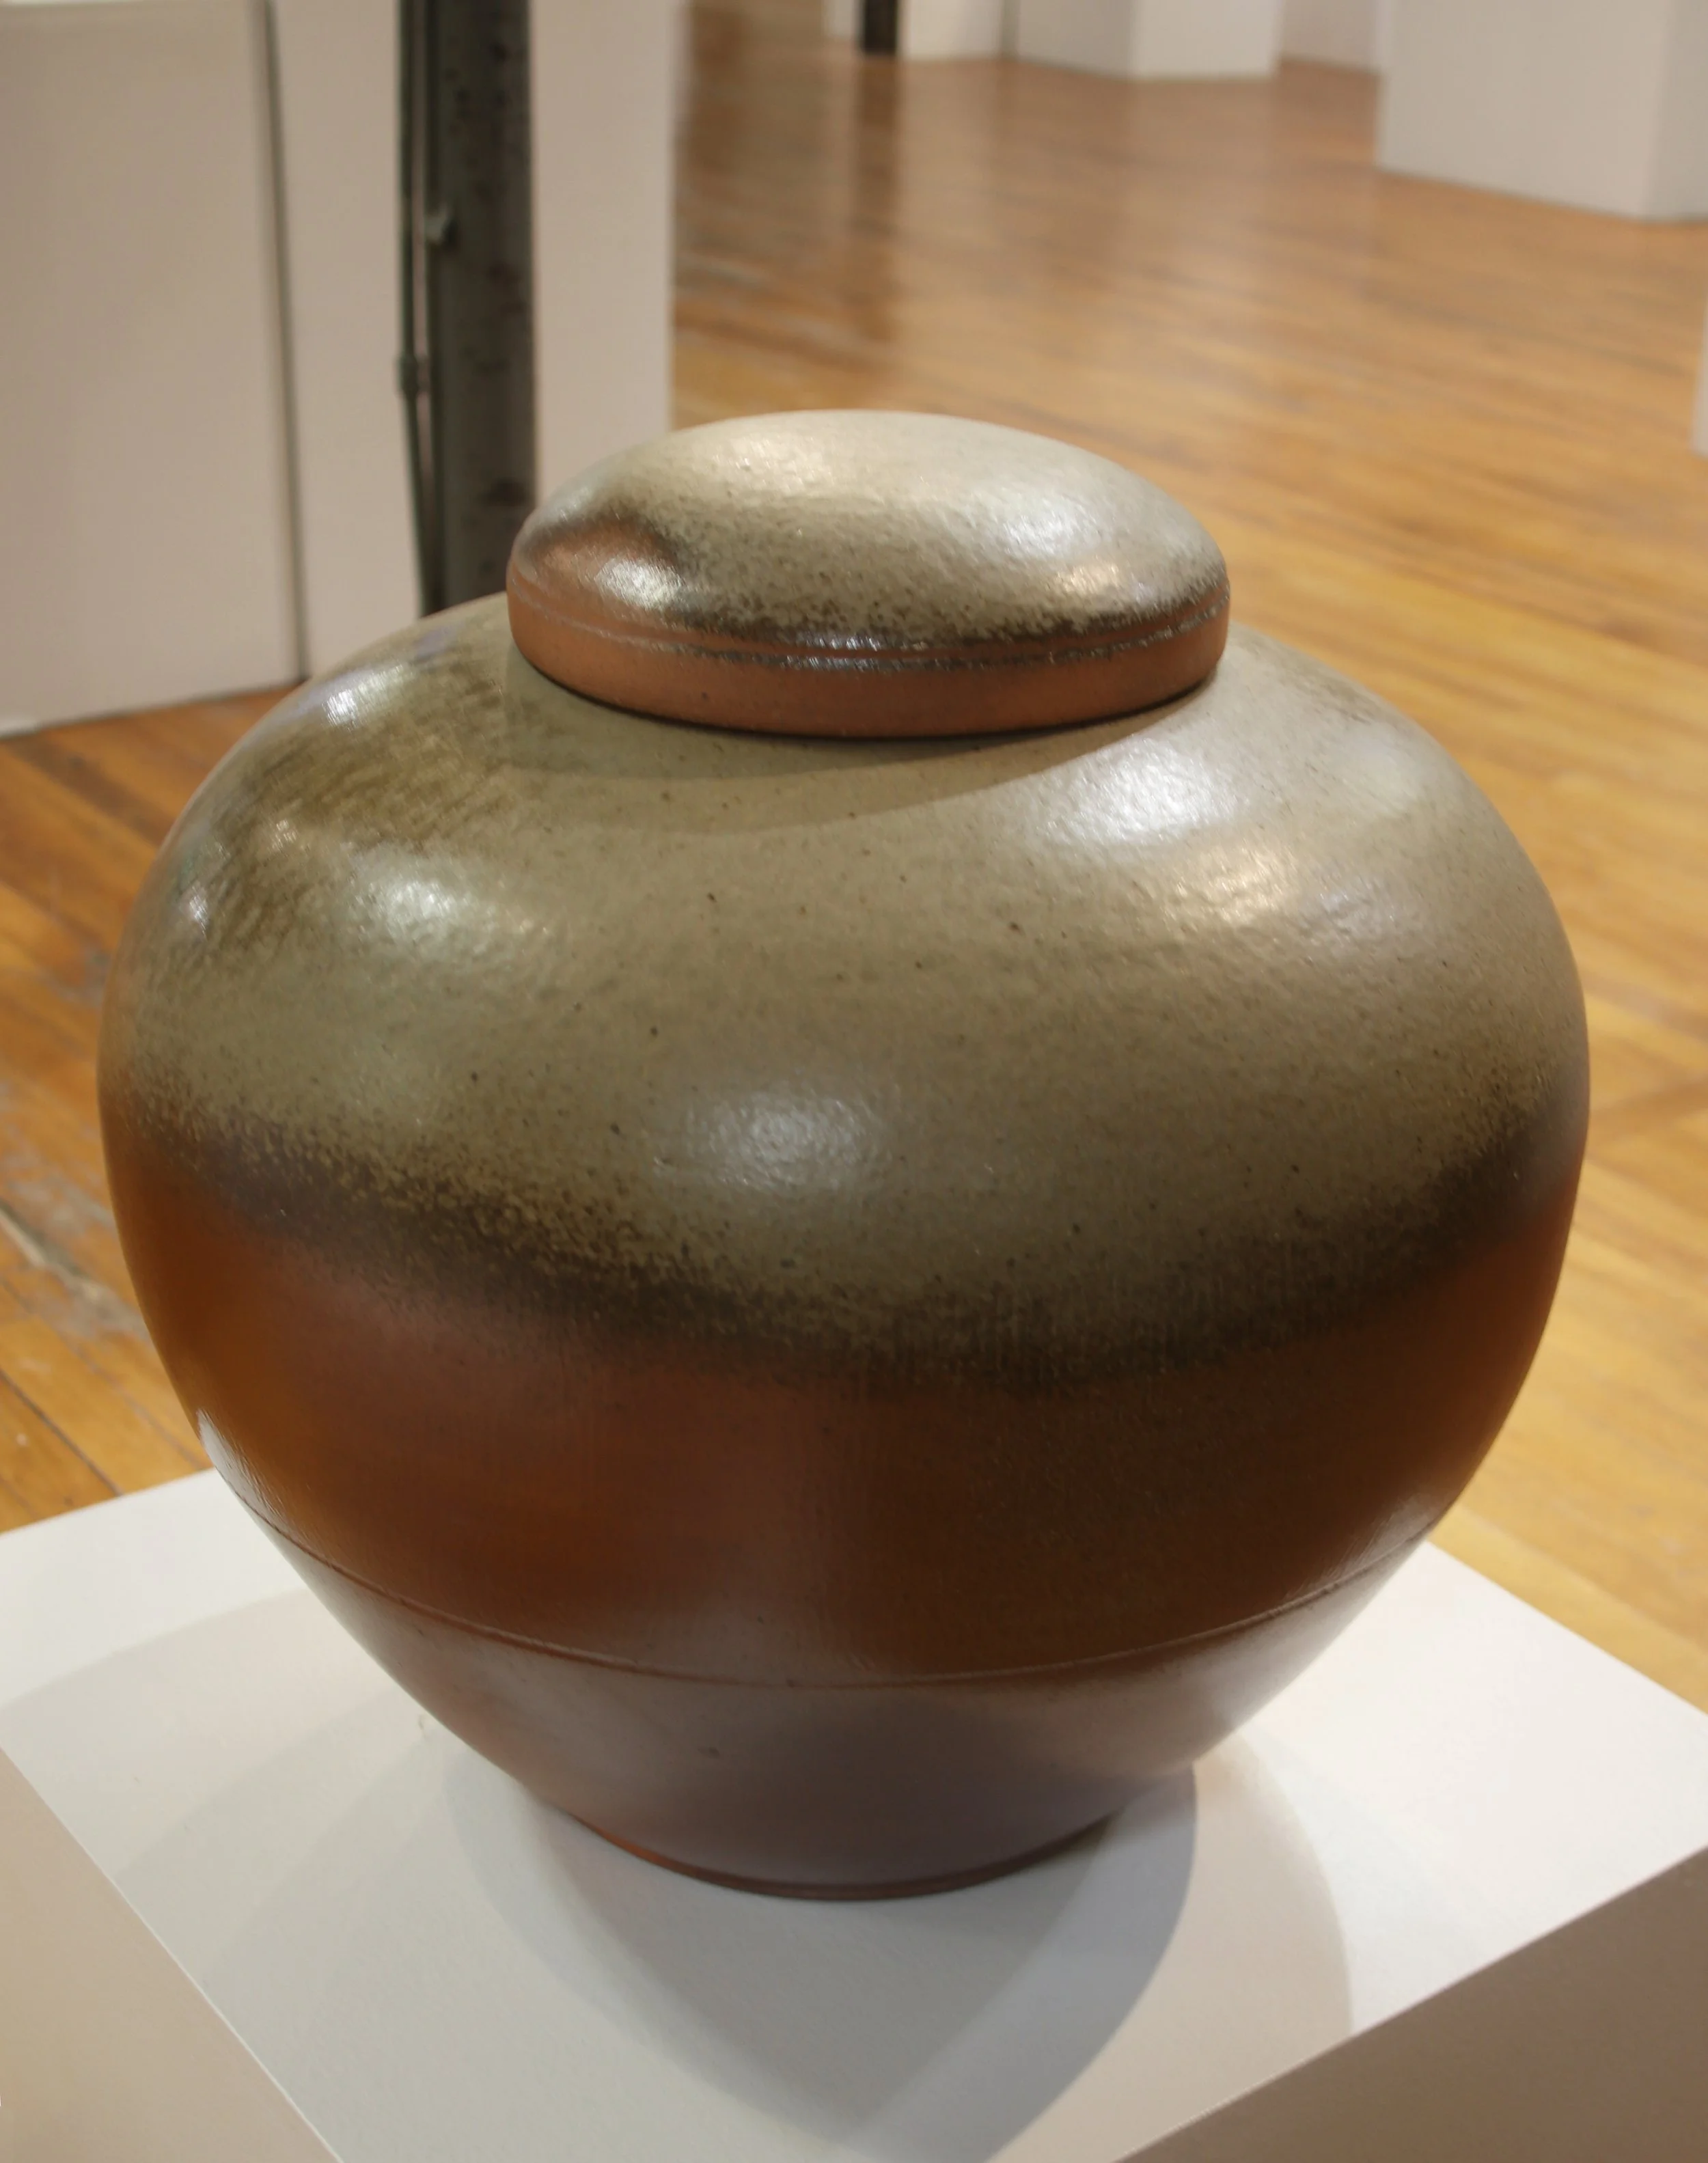
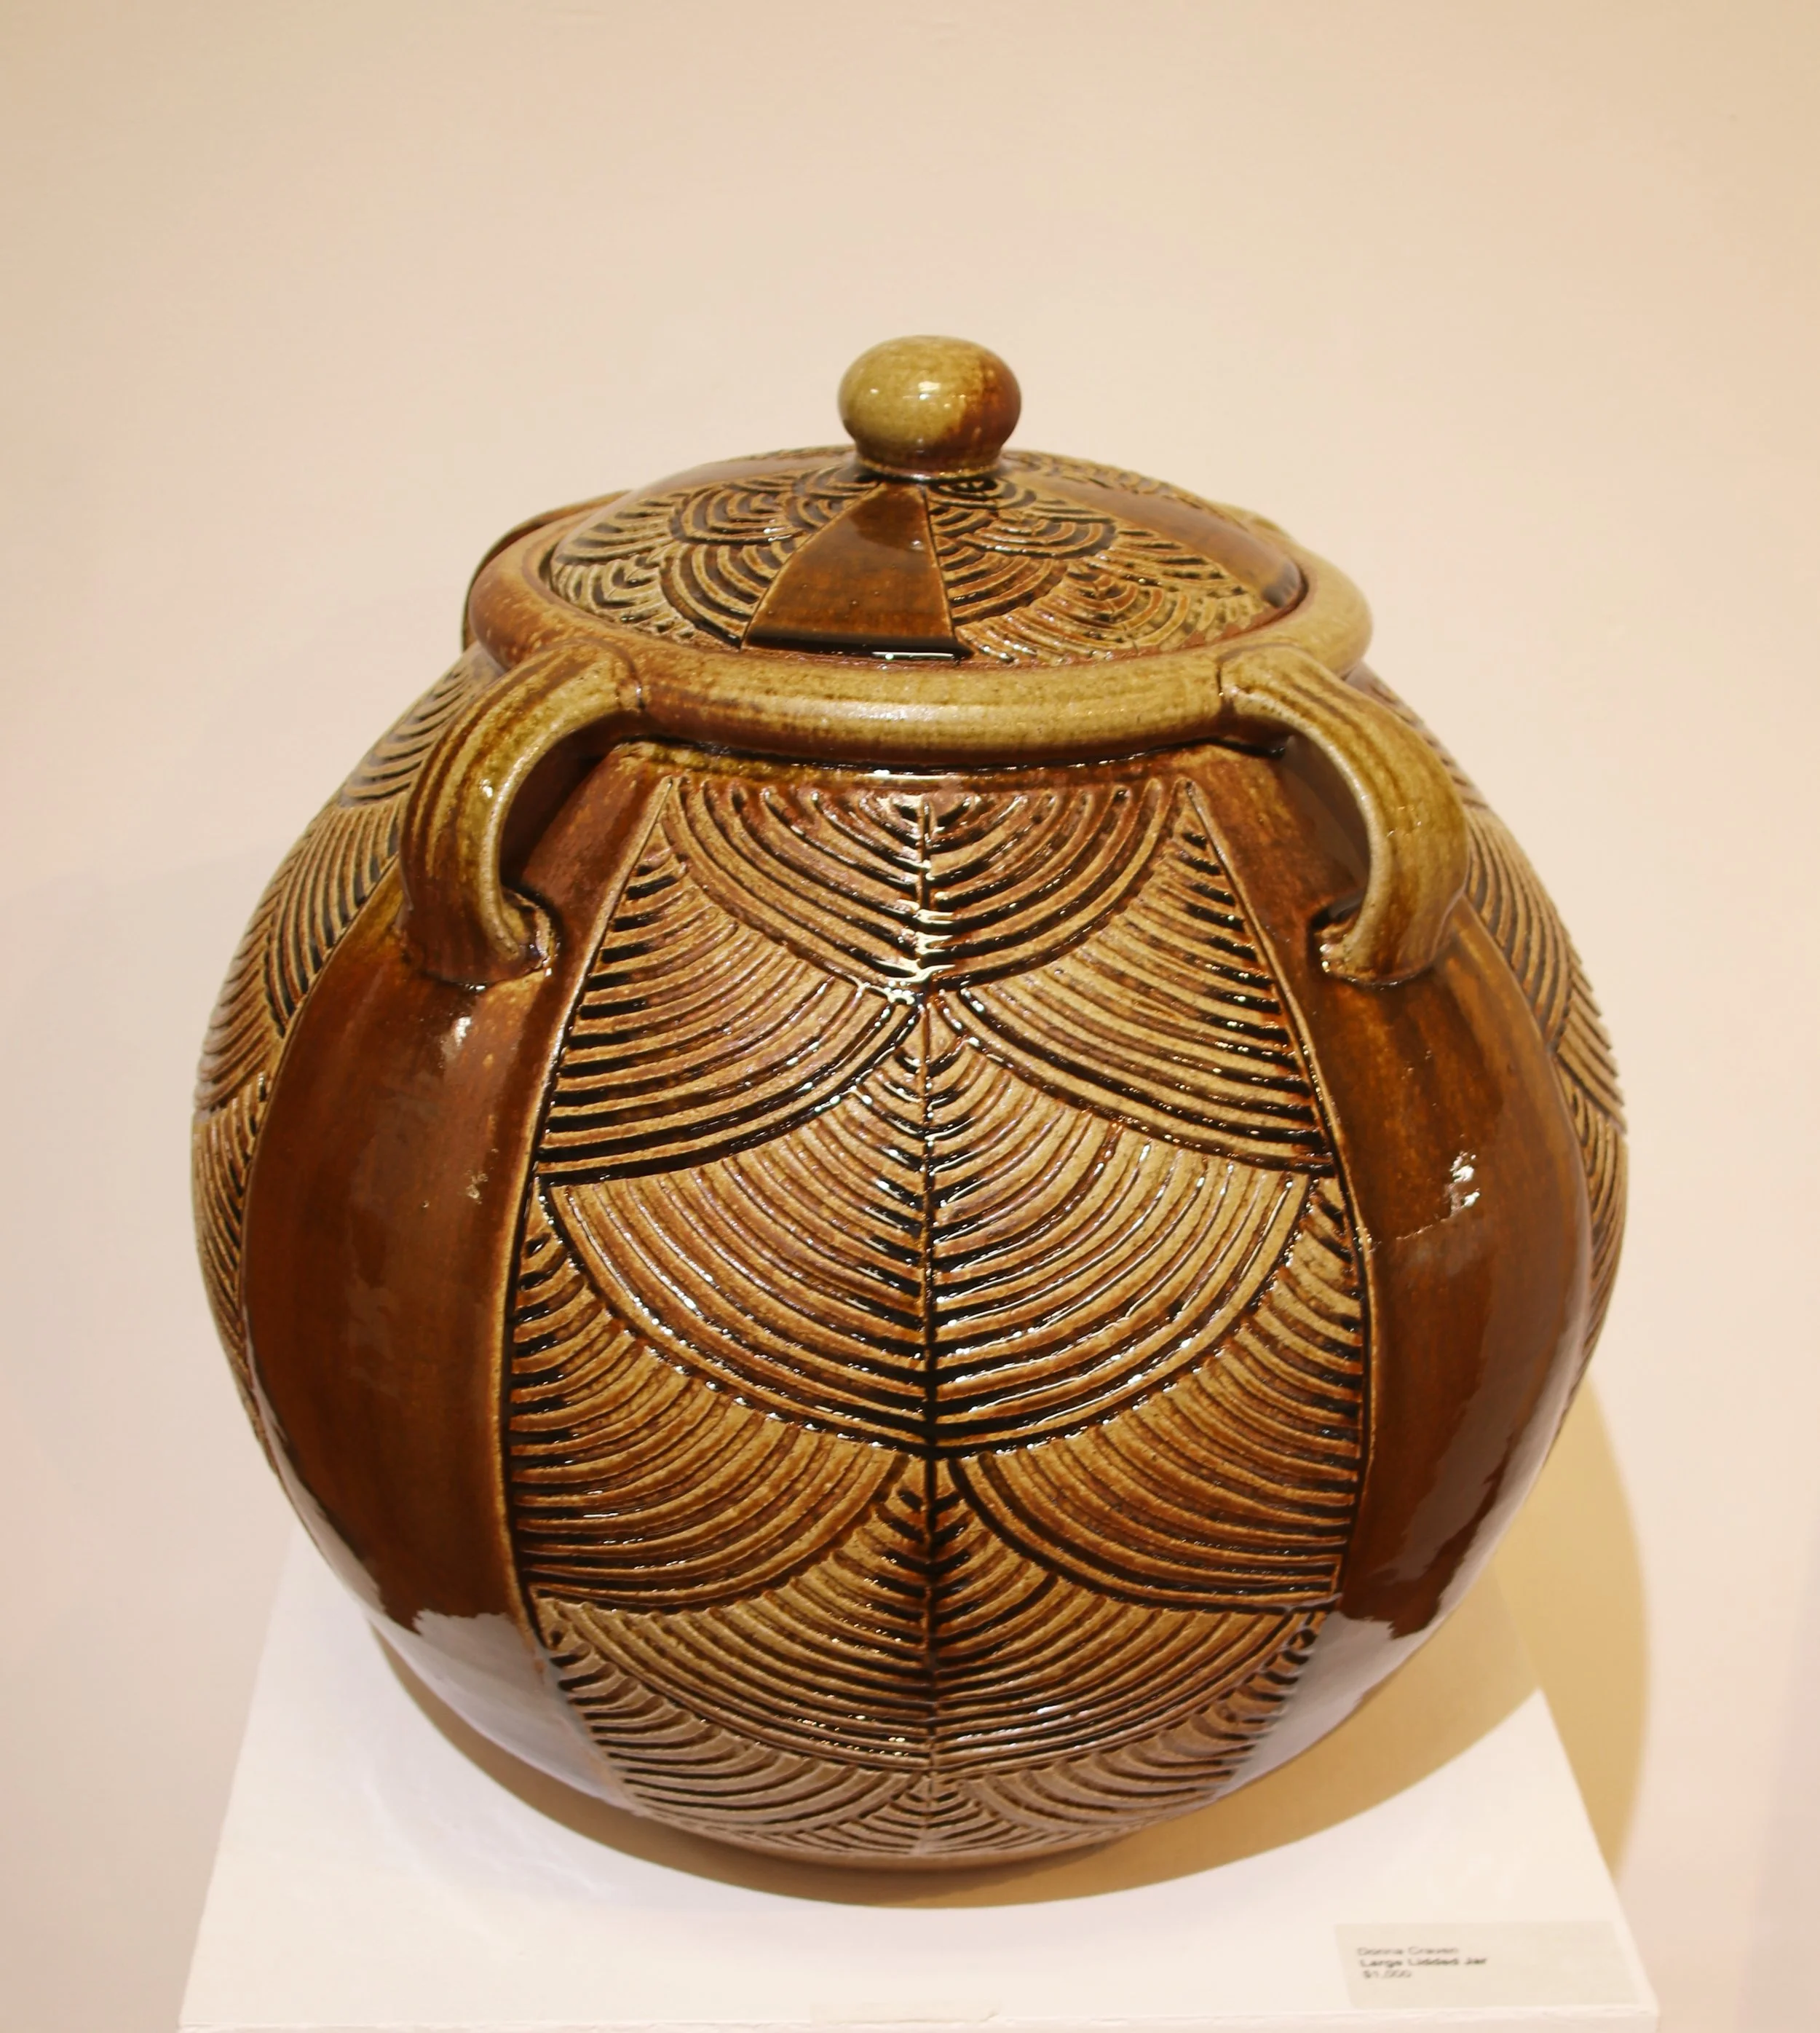
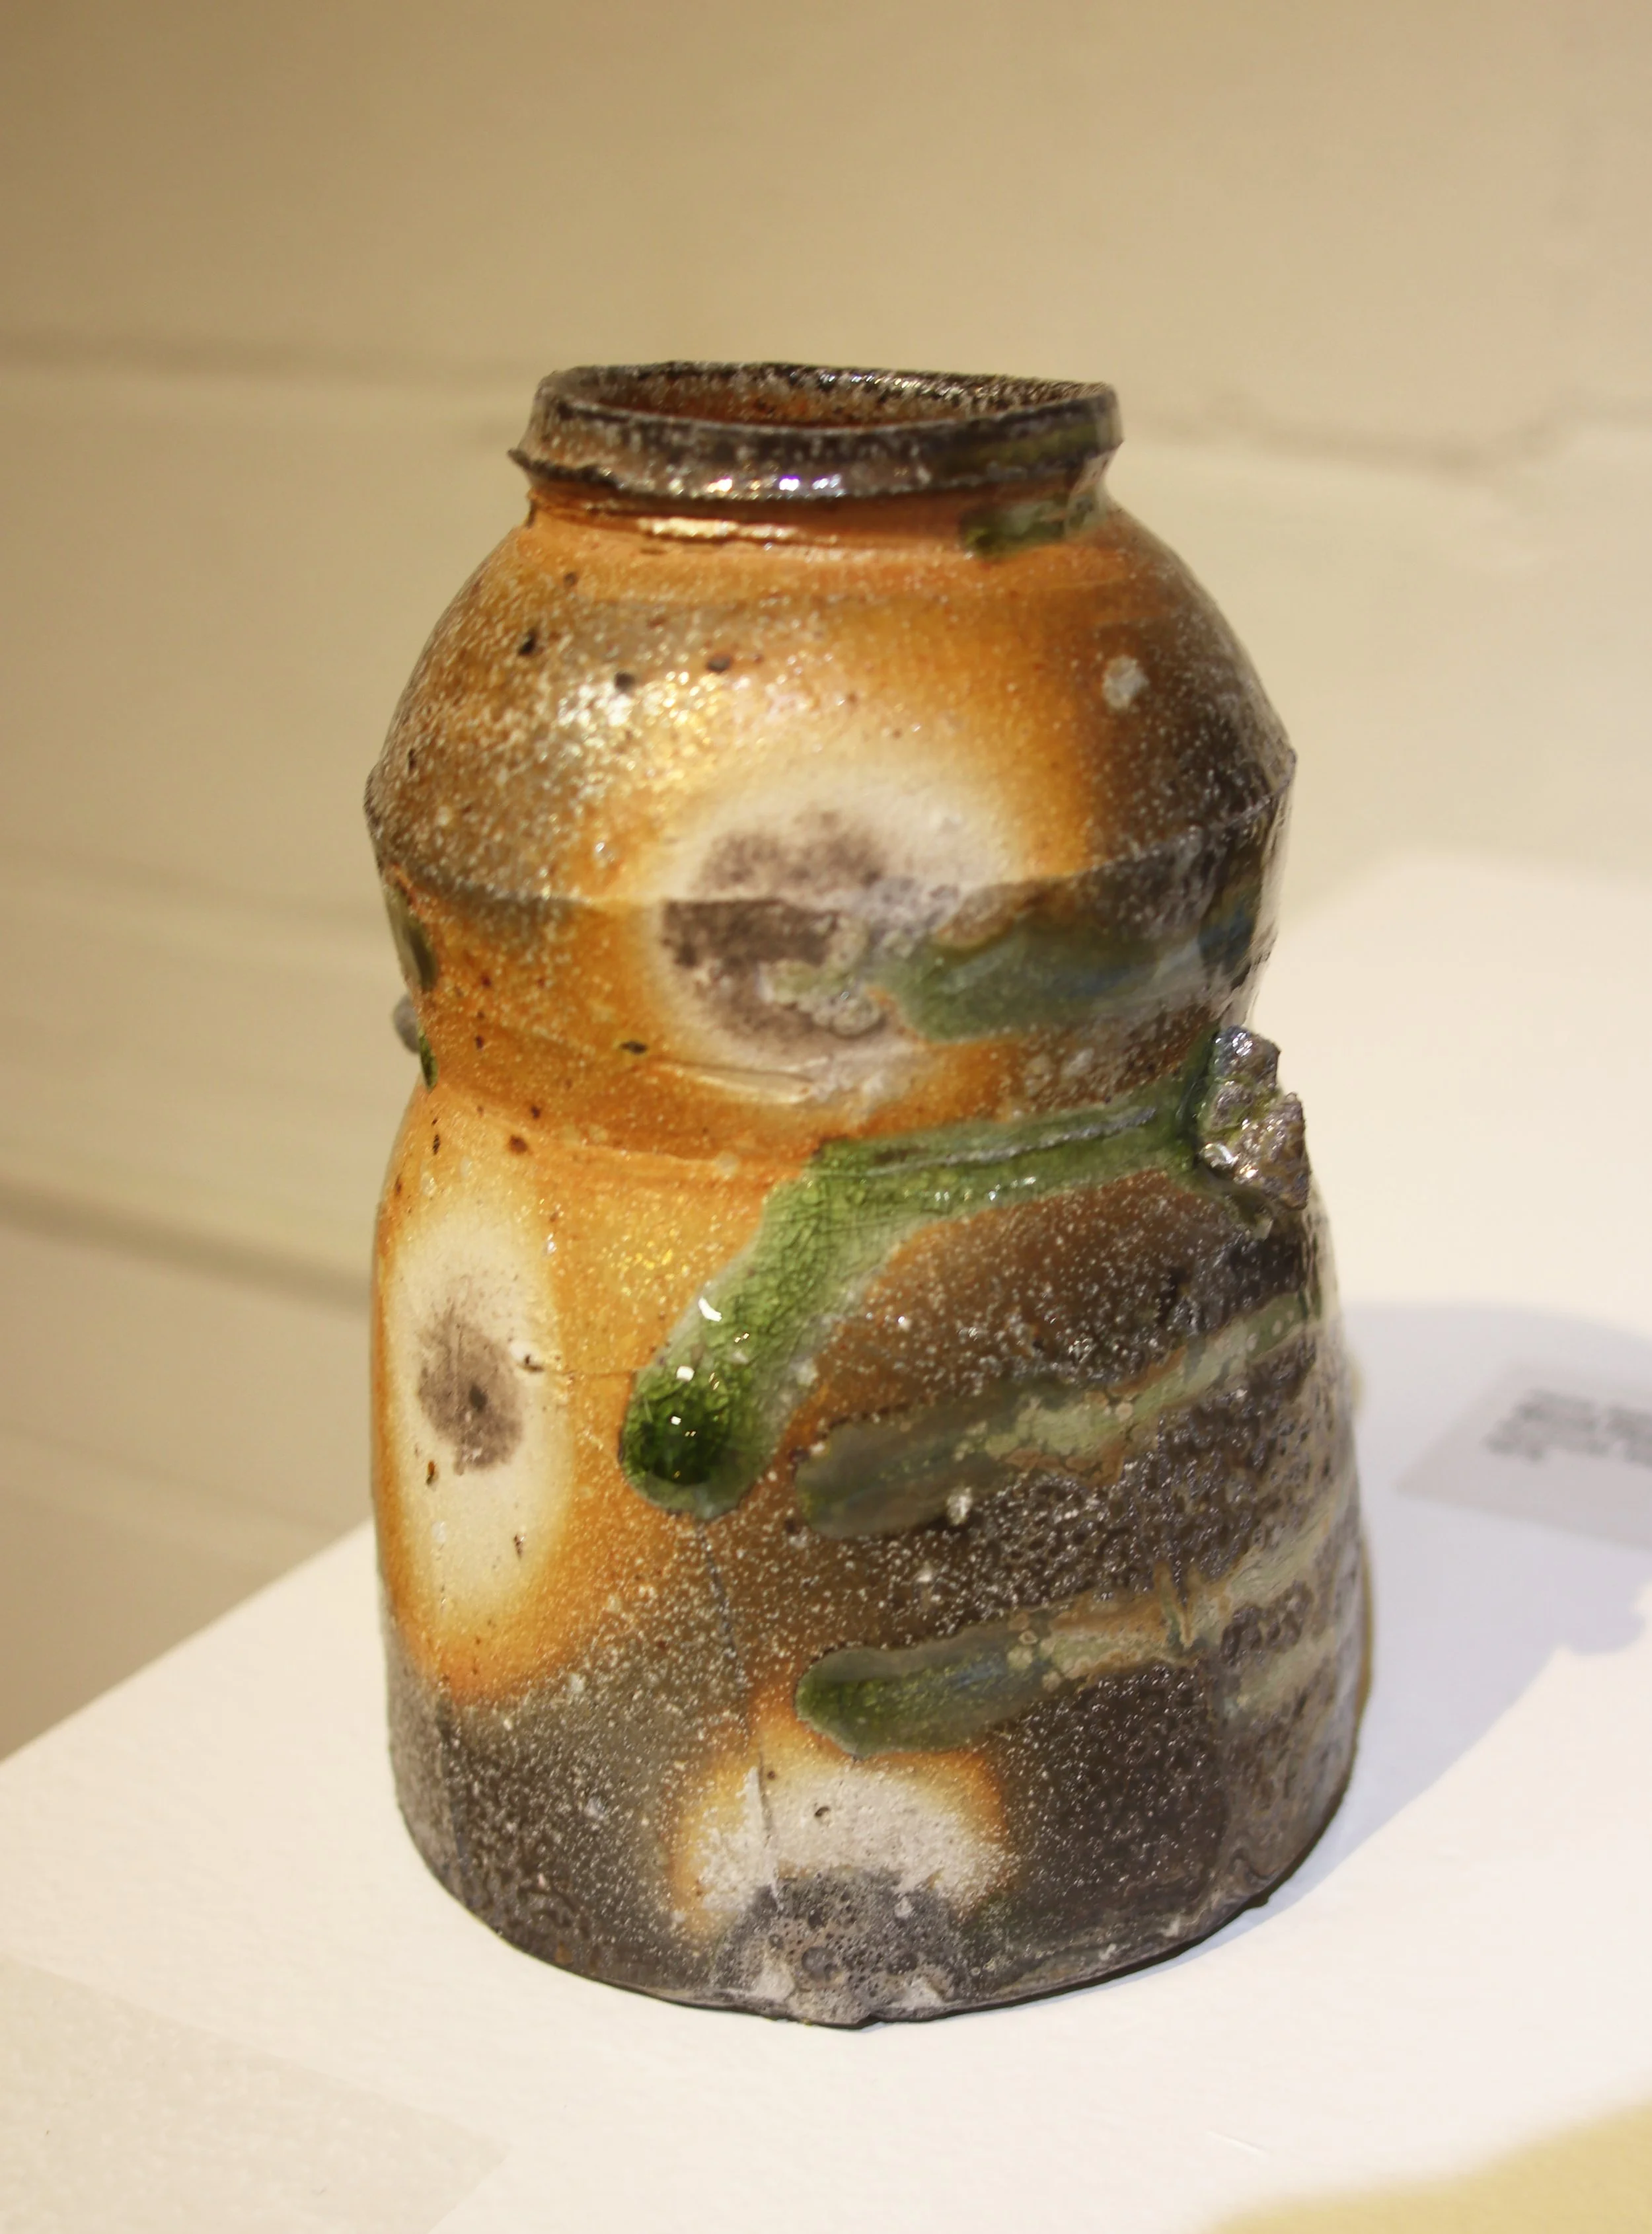
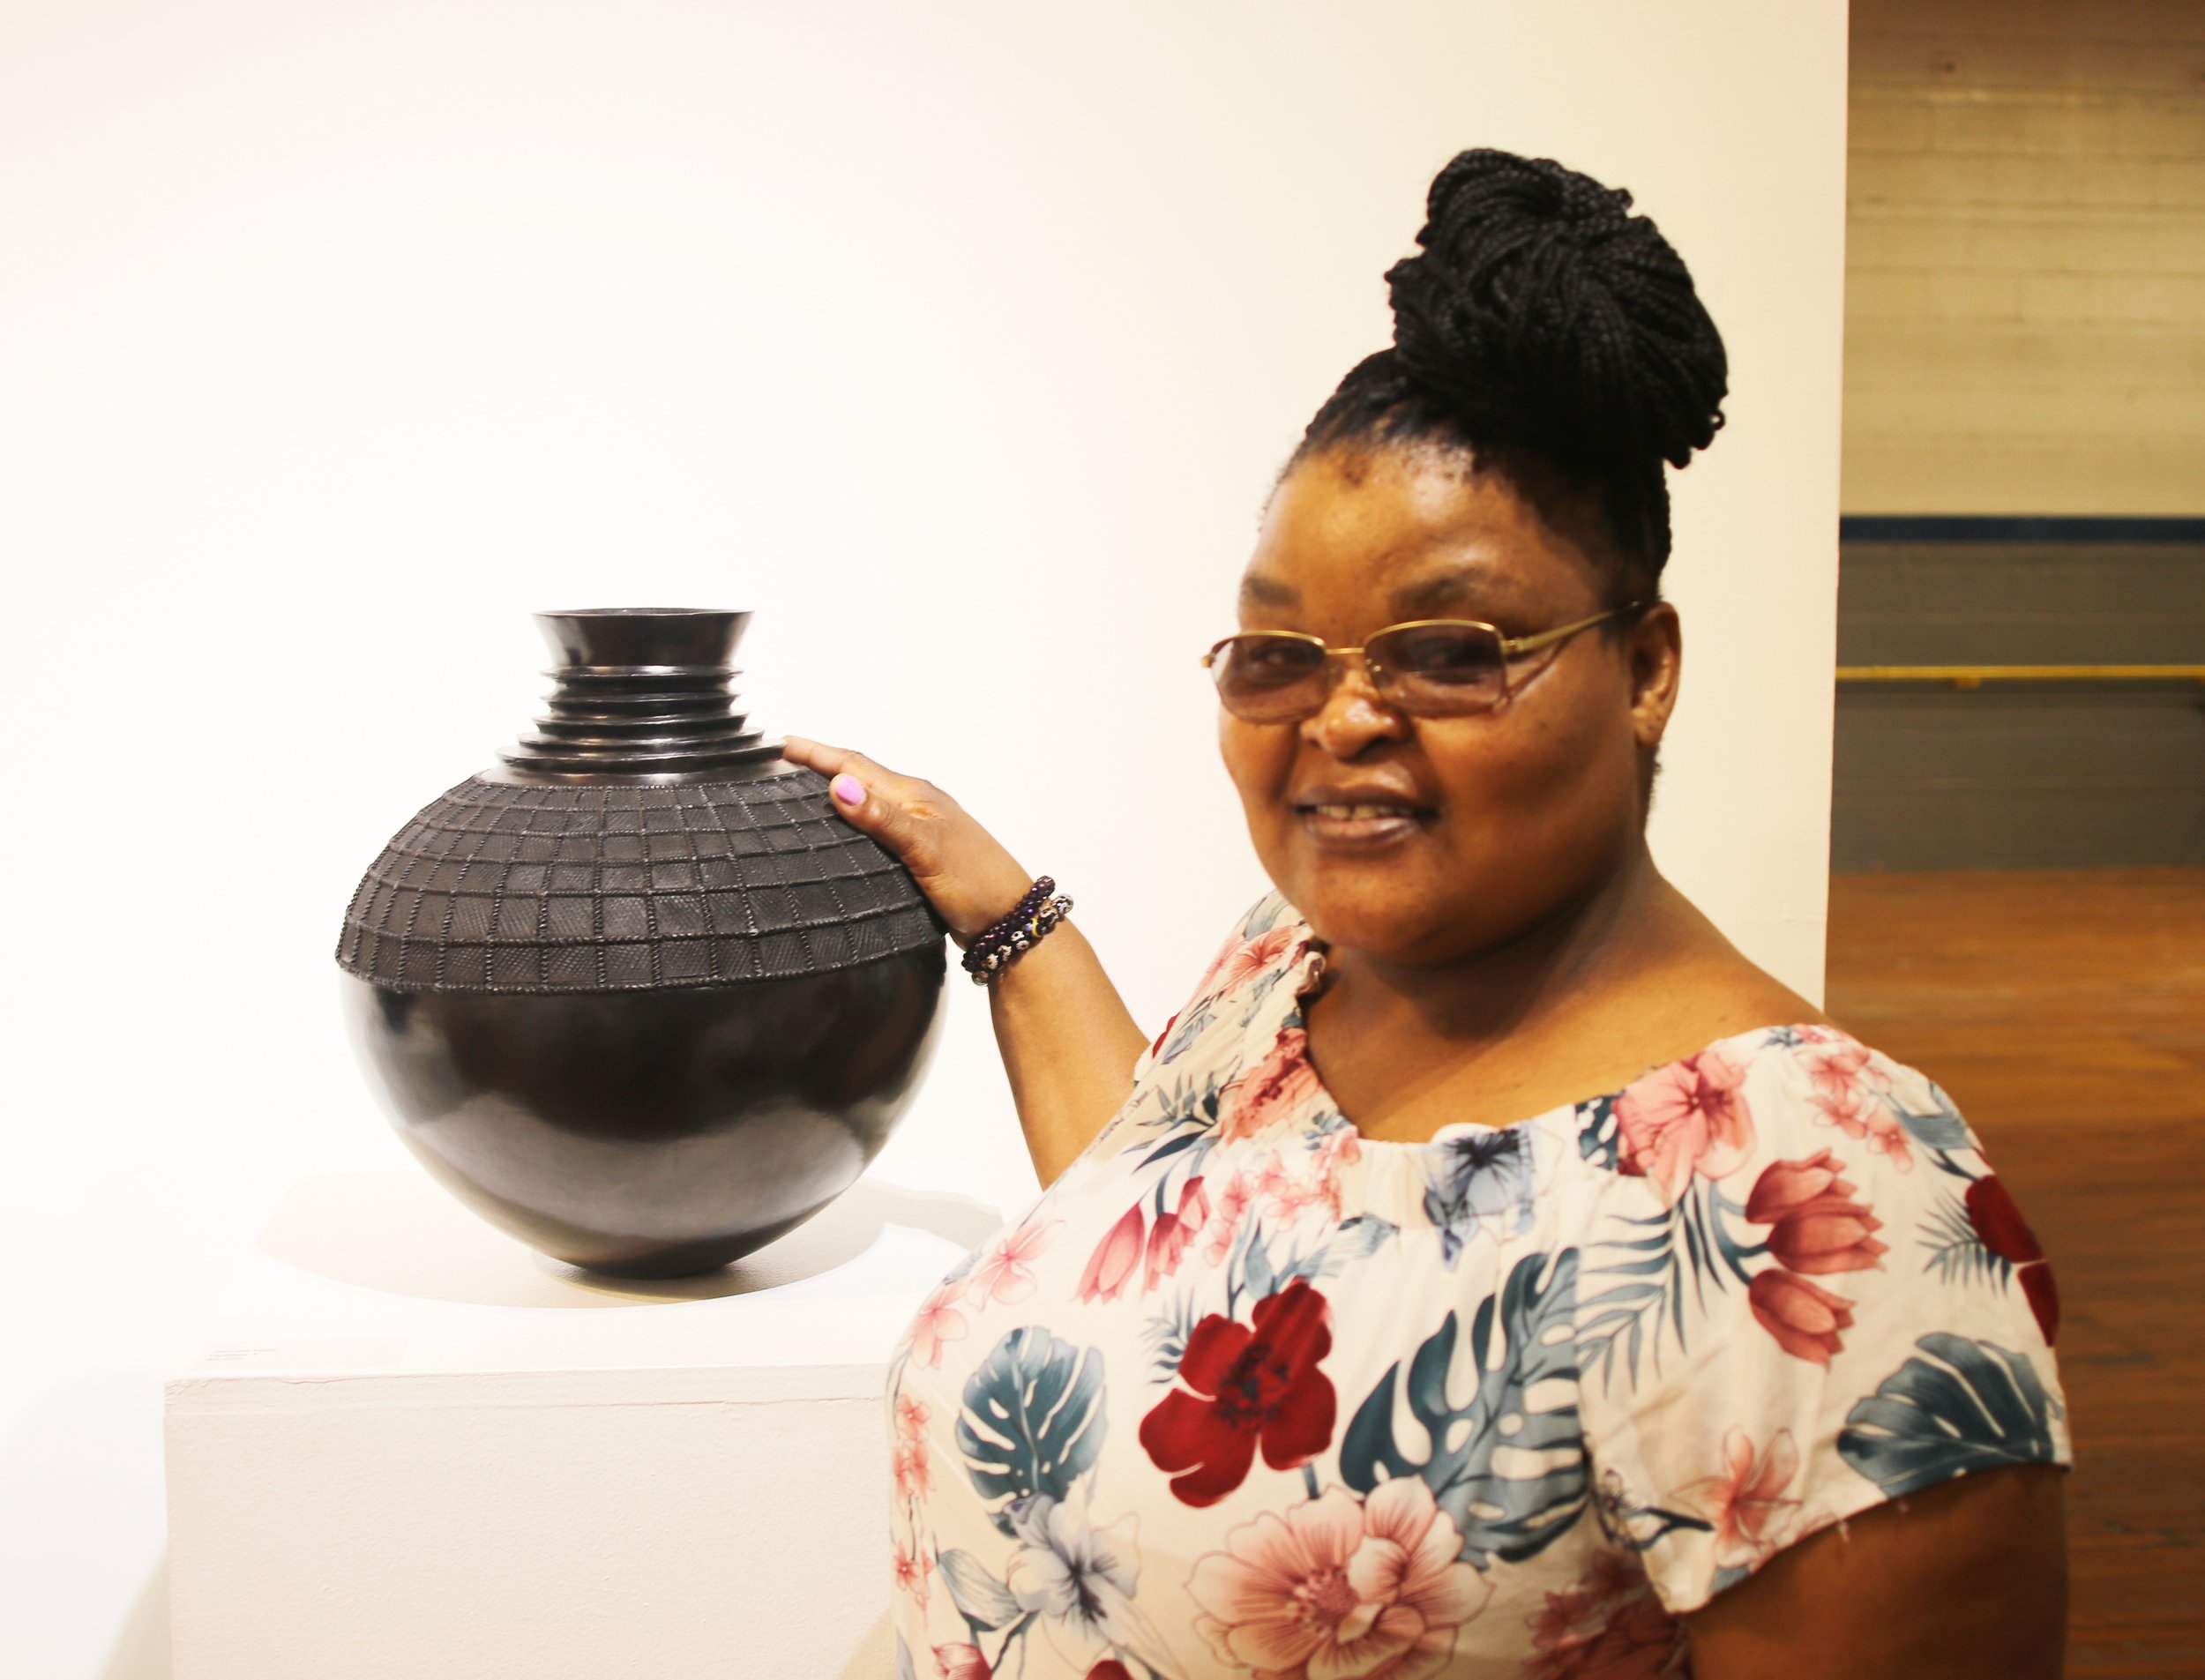
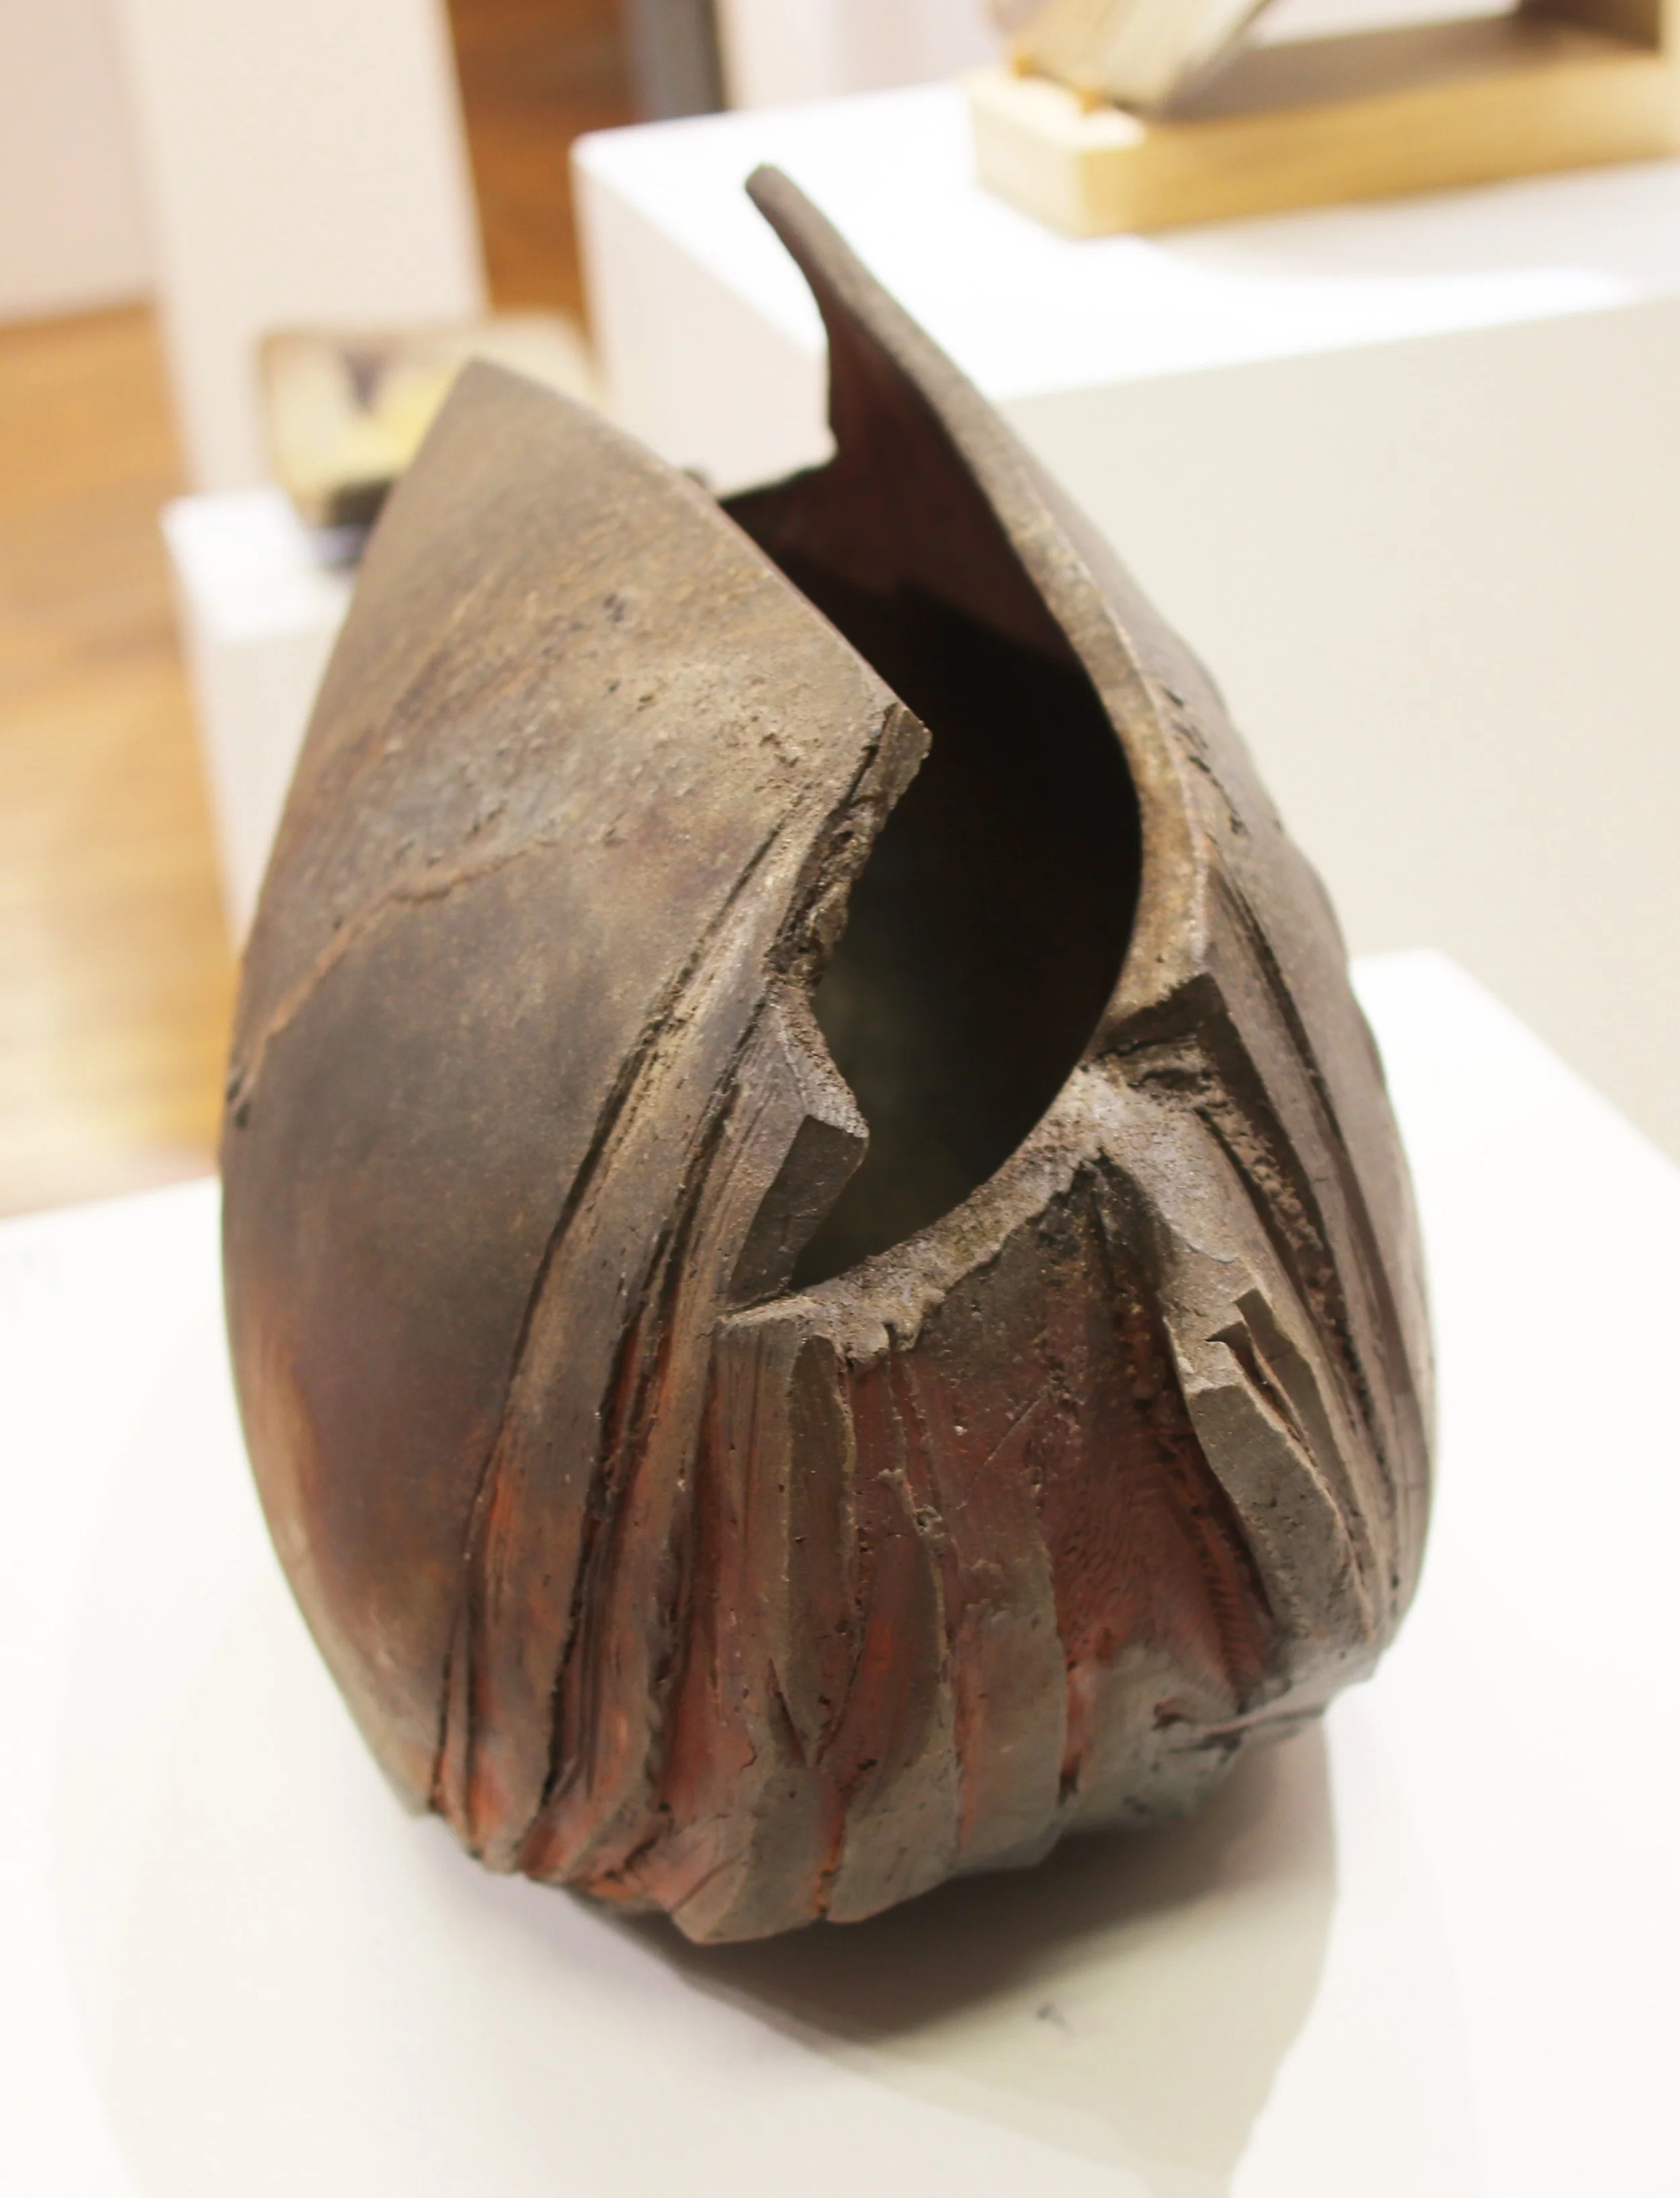
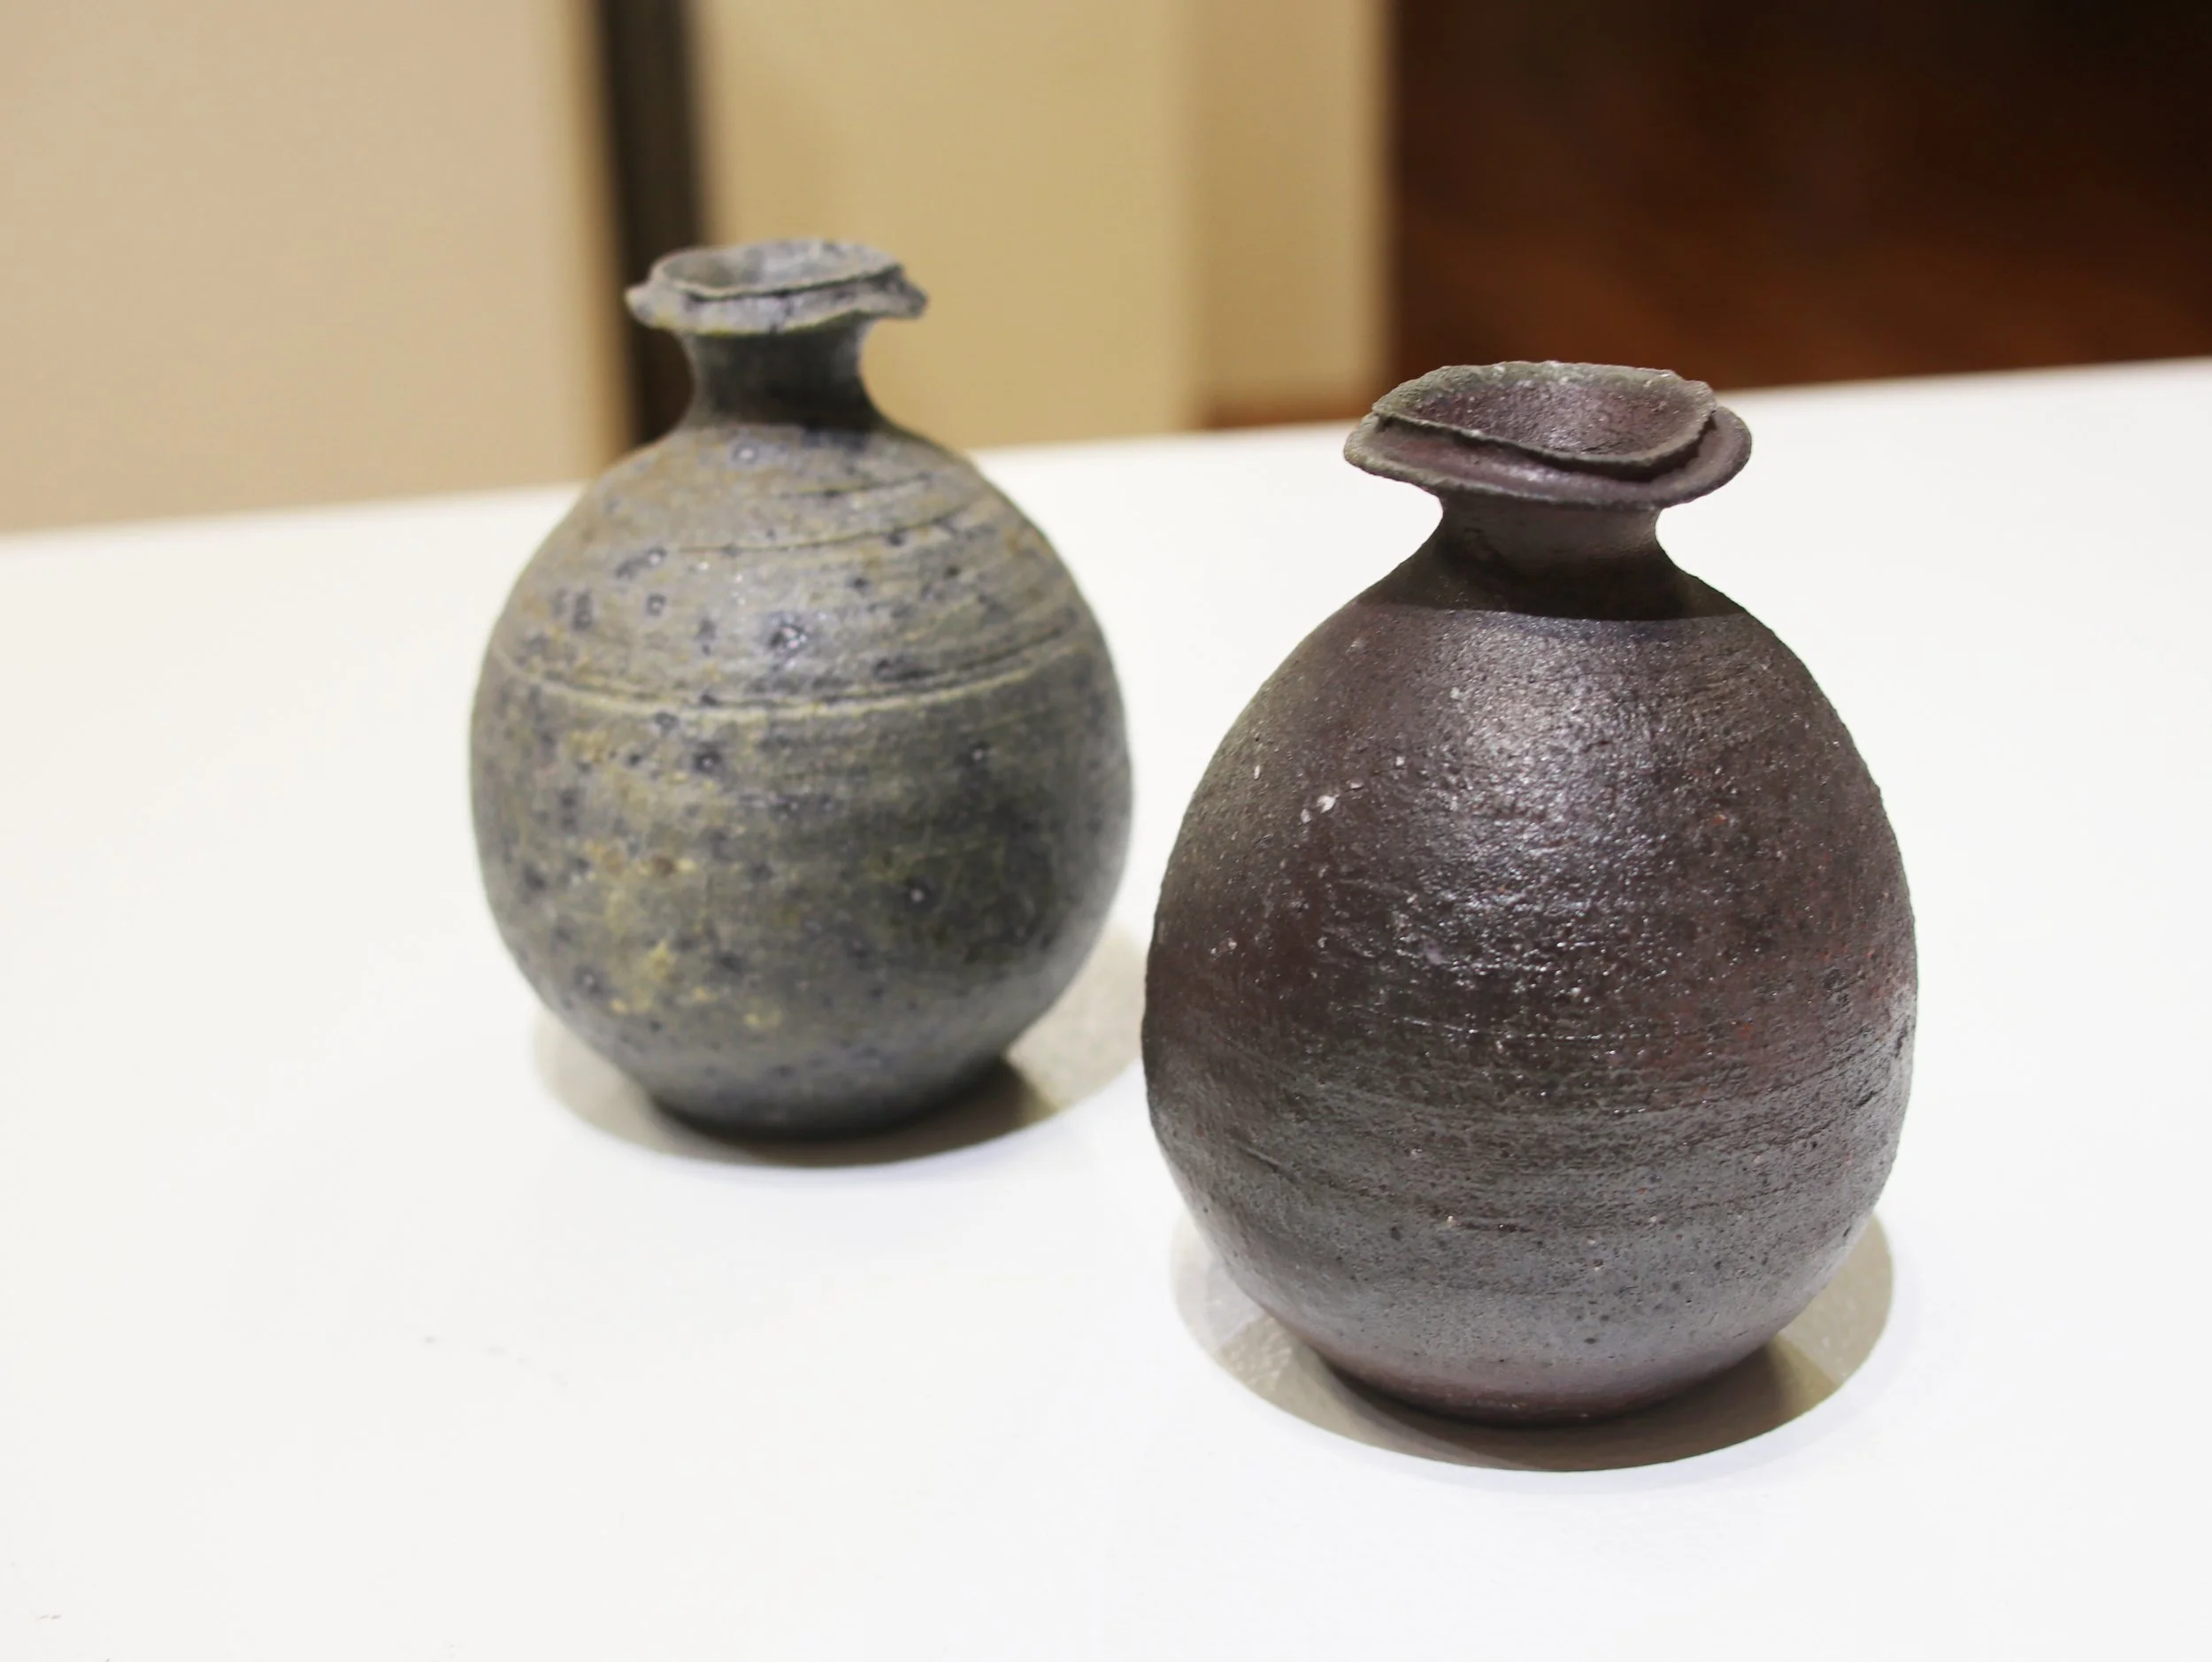
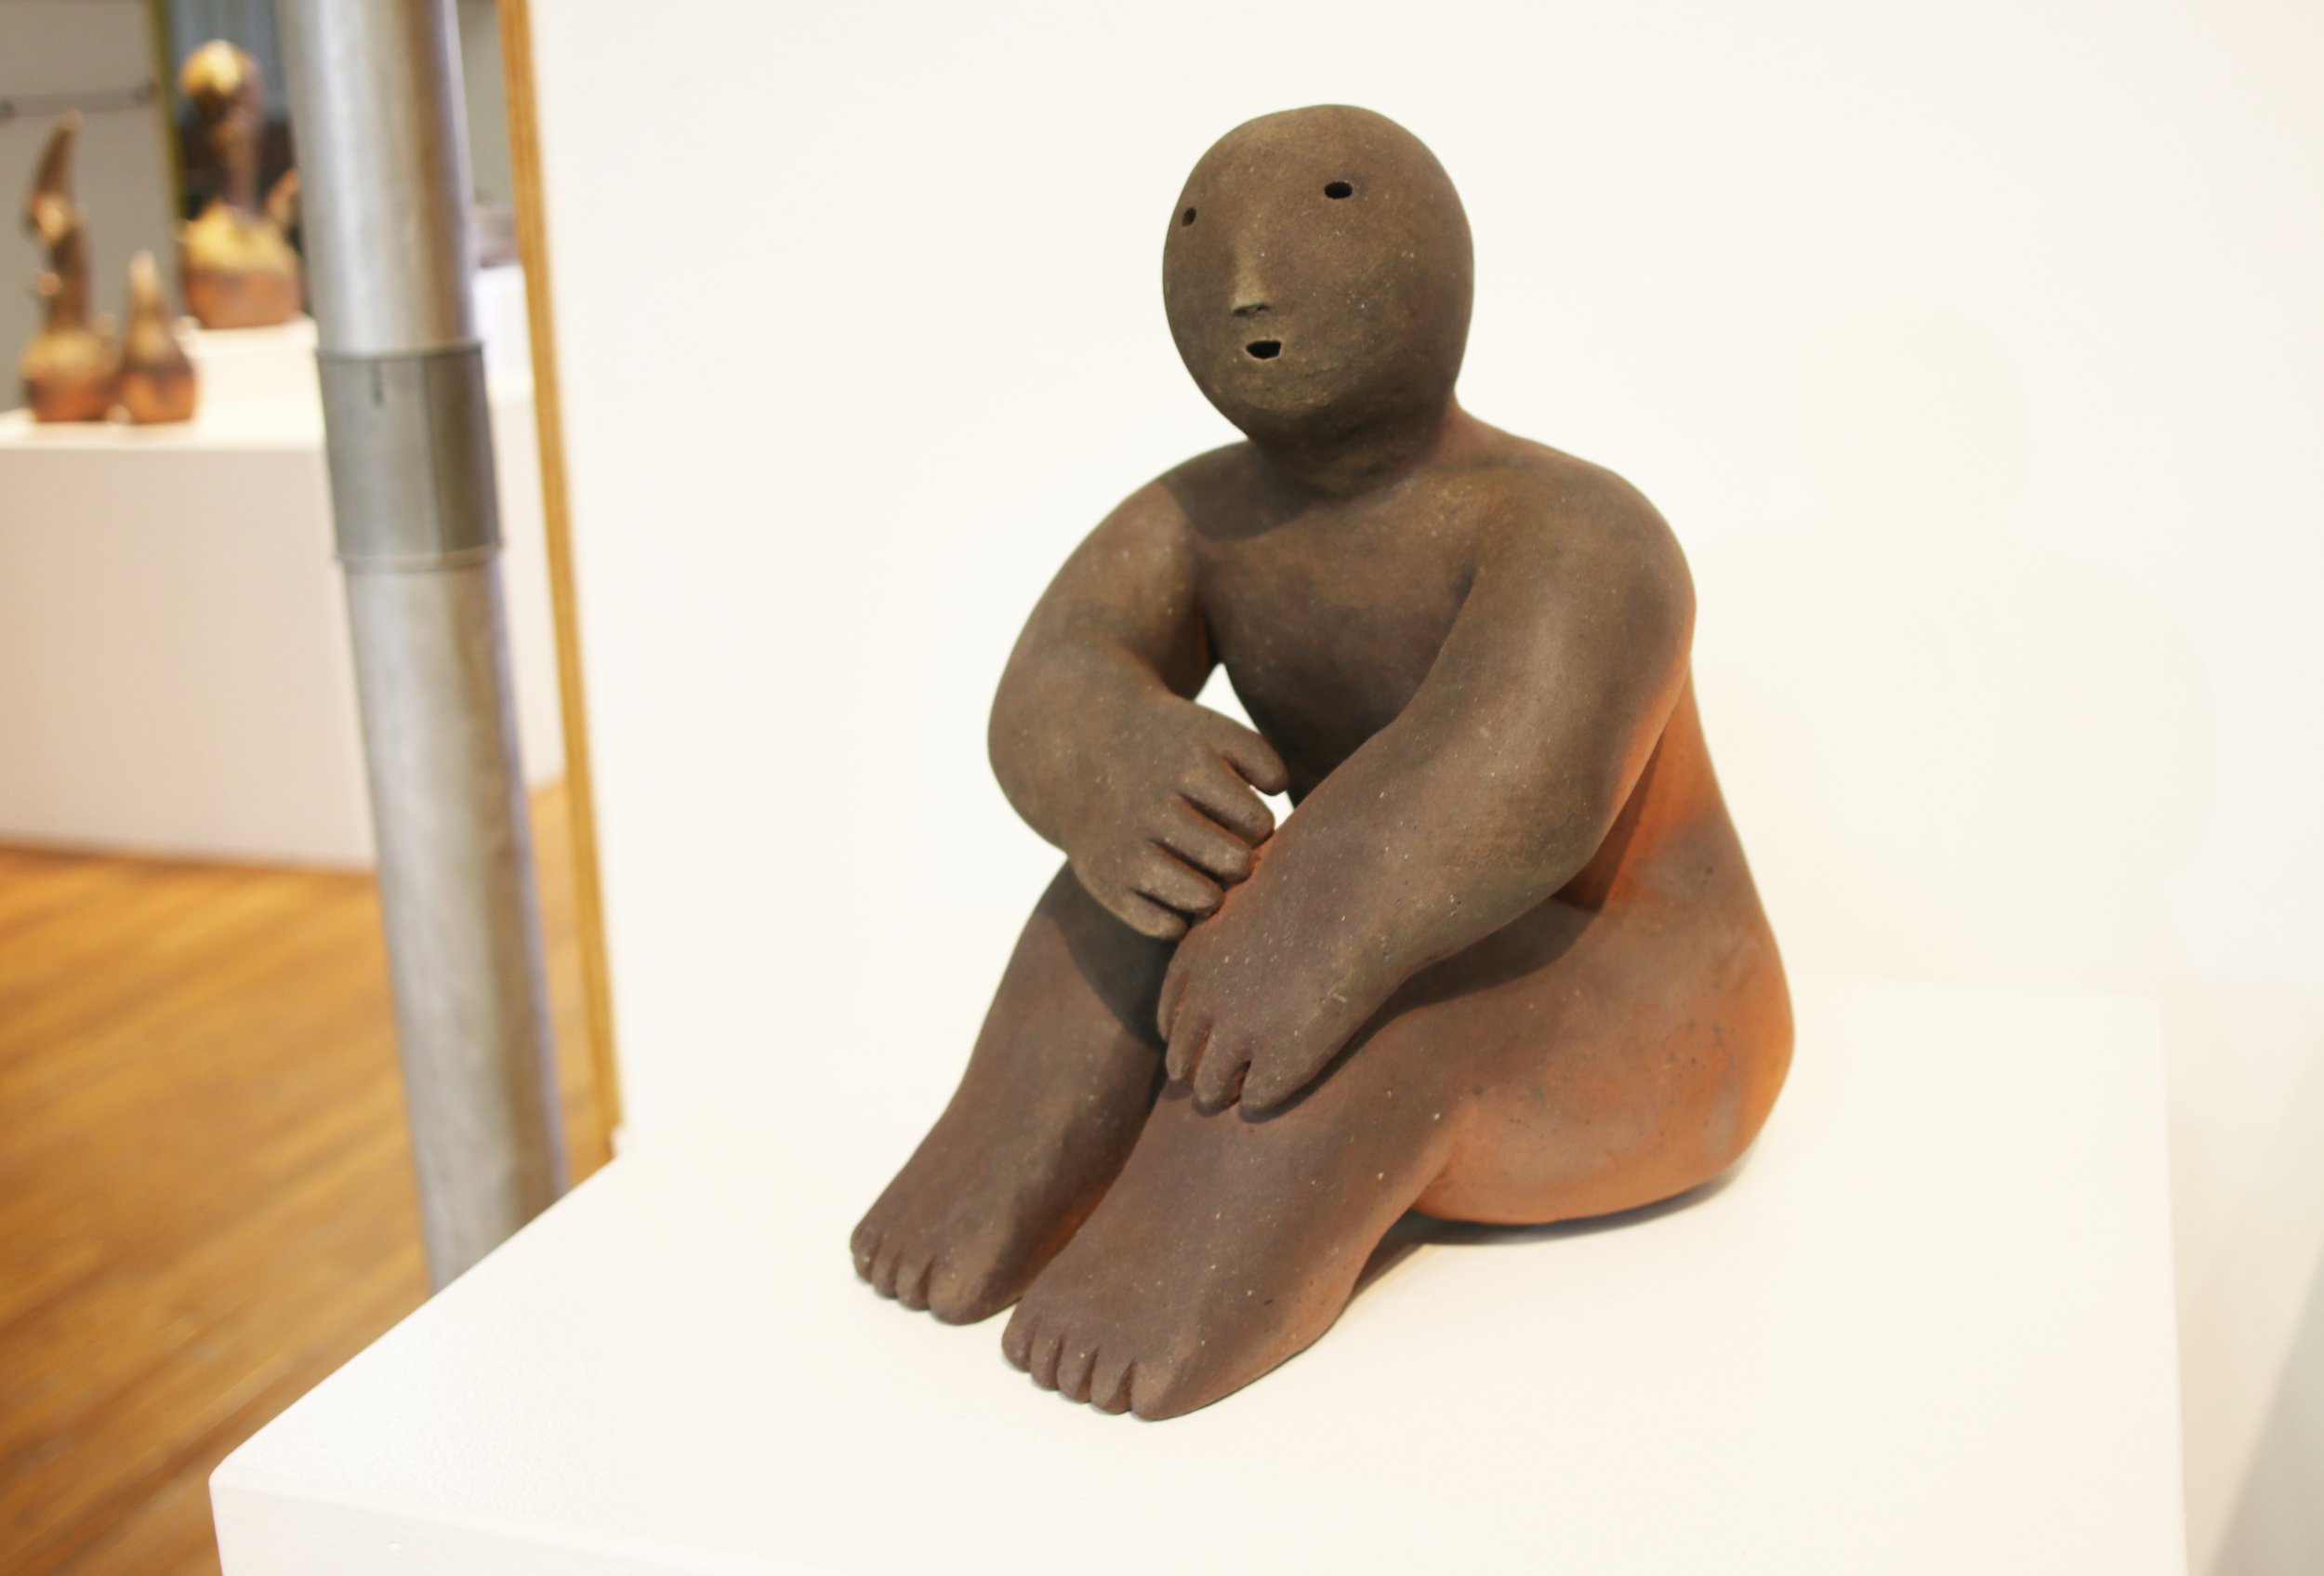
This blog documents the EnVision show that was set up at the conference. It had work from all of the presenters and artists invited to be part of WOODFIRE NC. It was fabulous being able to walk through the main hall and see these pieces throughout the conference. I have tried to document each piece and artist that were in the show but if I mislabelled any then please let me know!
For the first WOODFIRE NC conference back in 2017 I documented the show as well. You can check that out via the link below if you like:
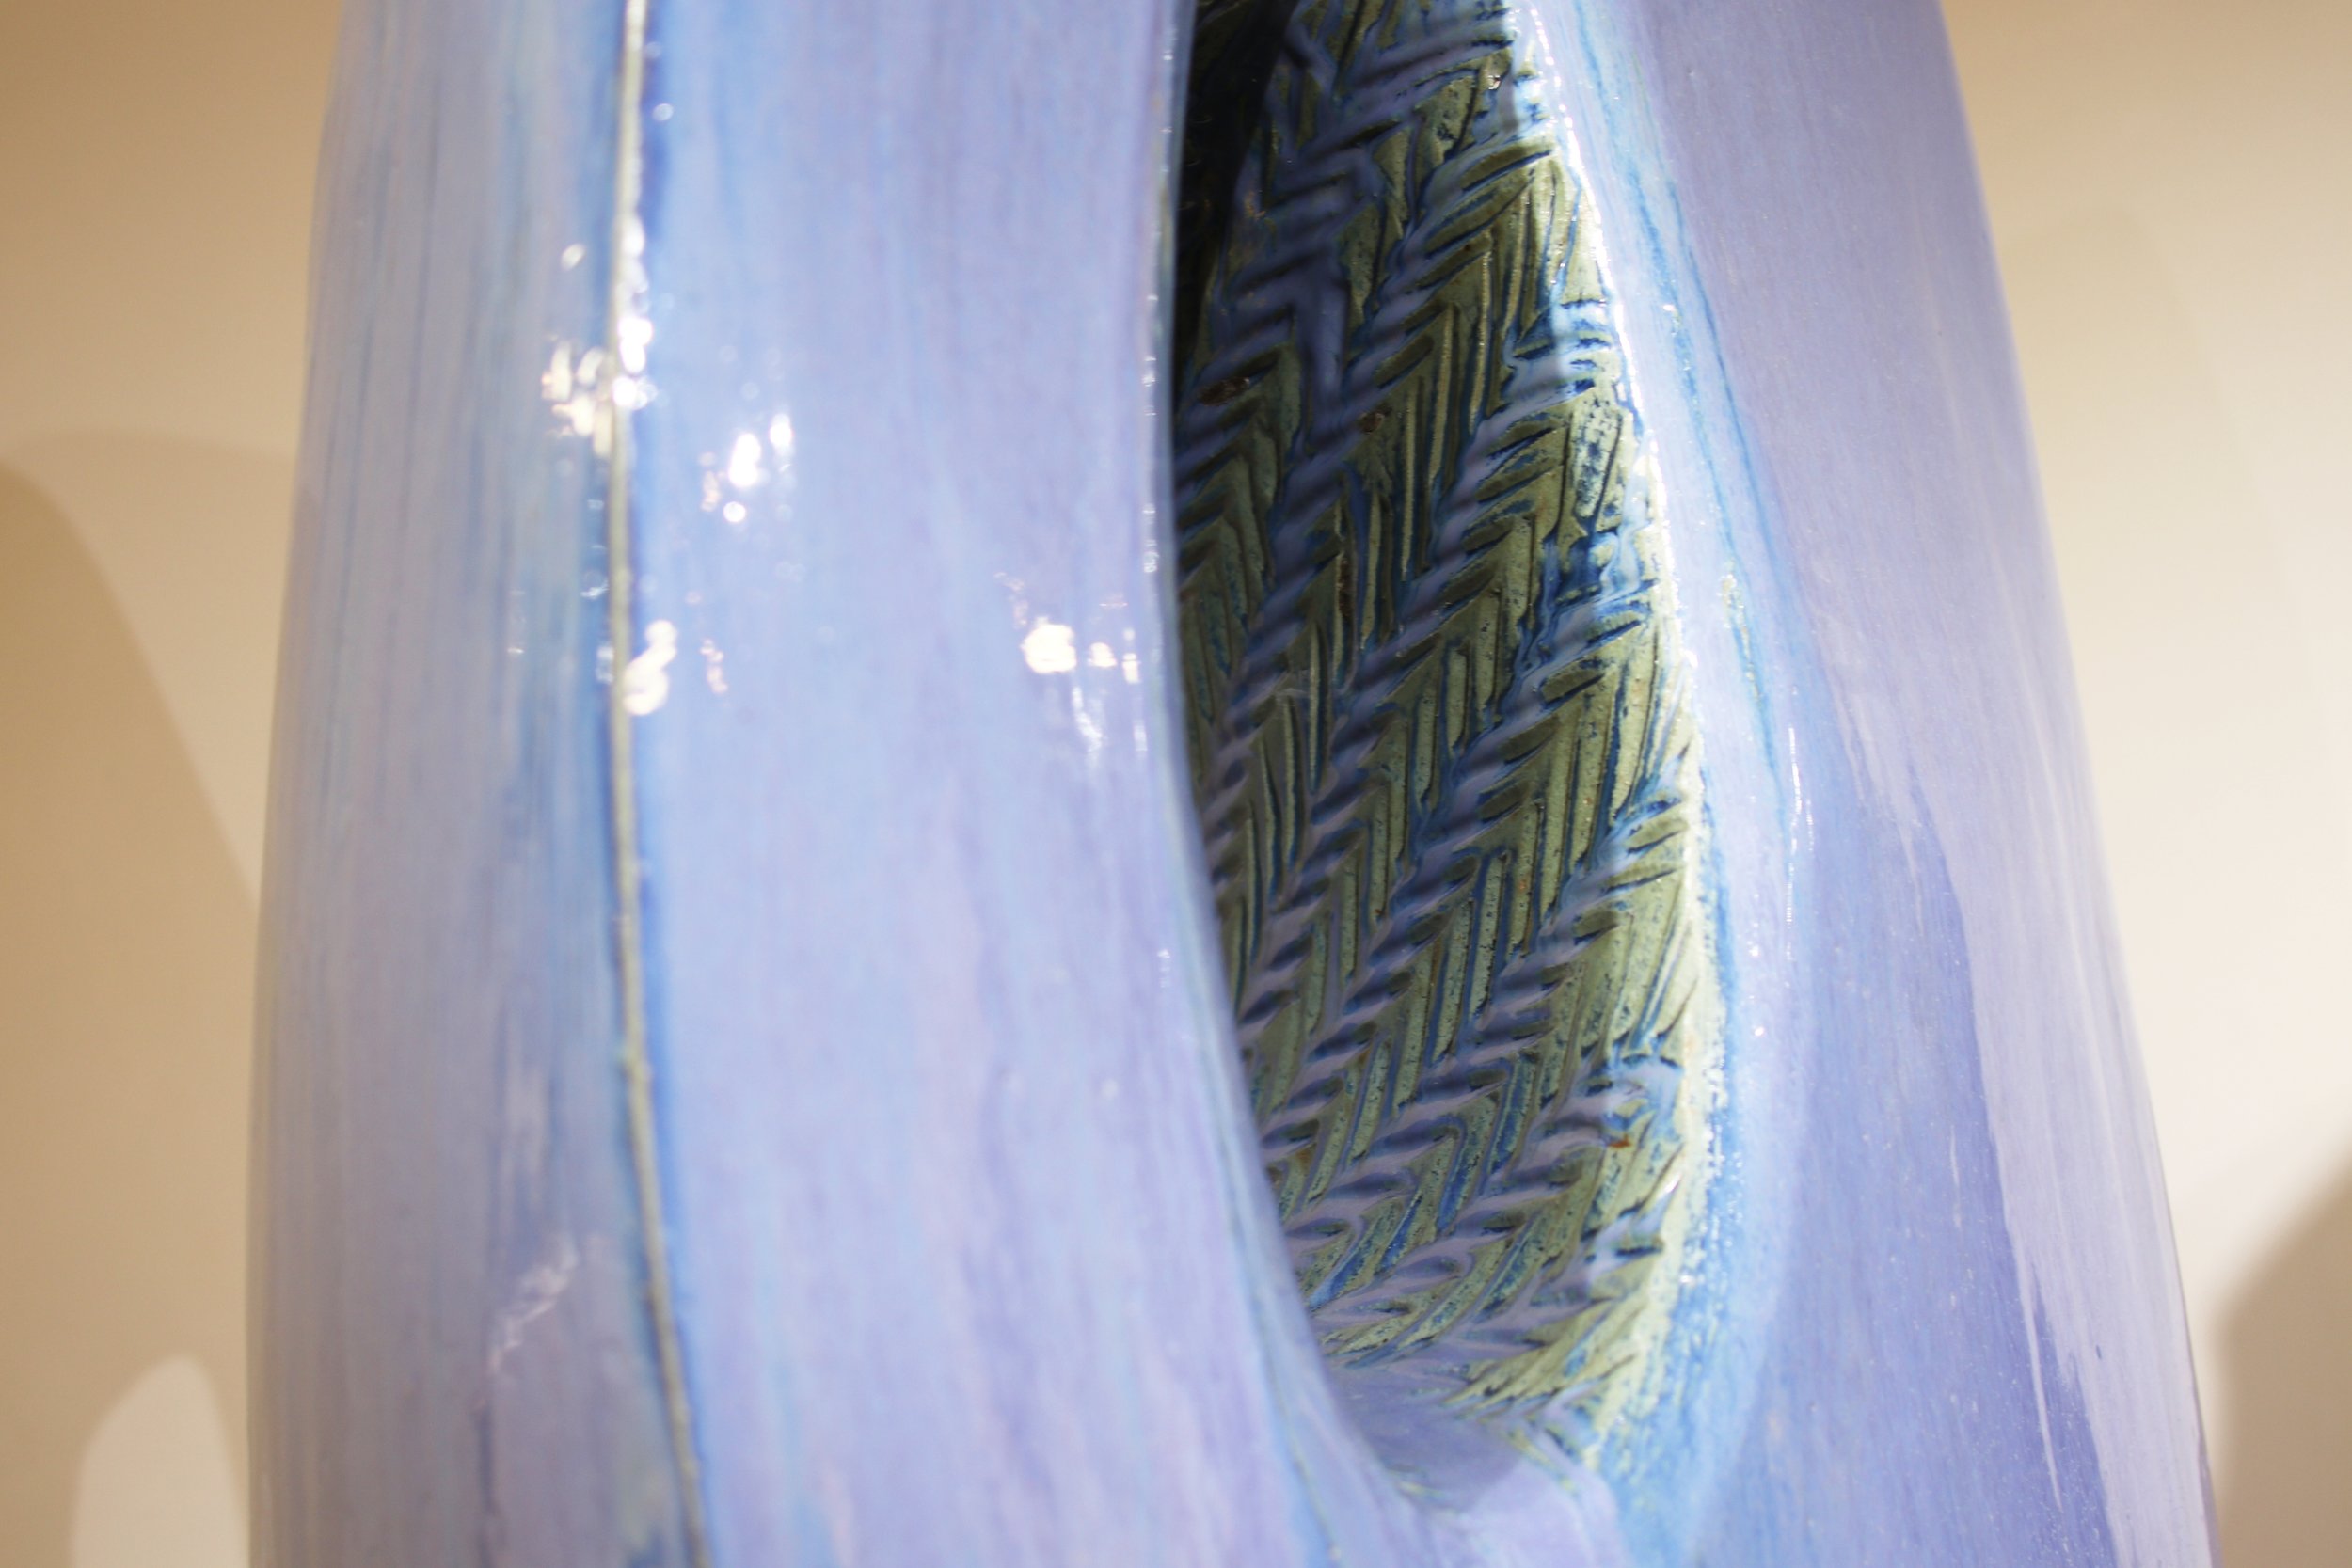
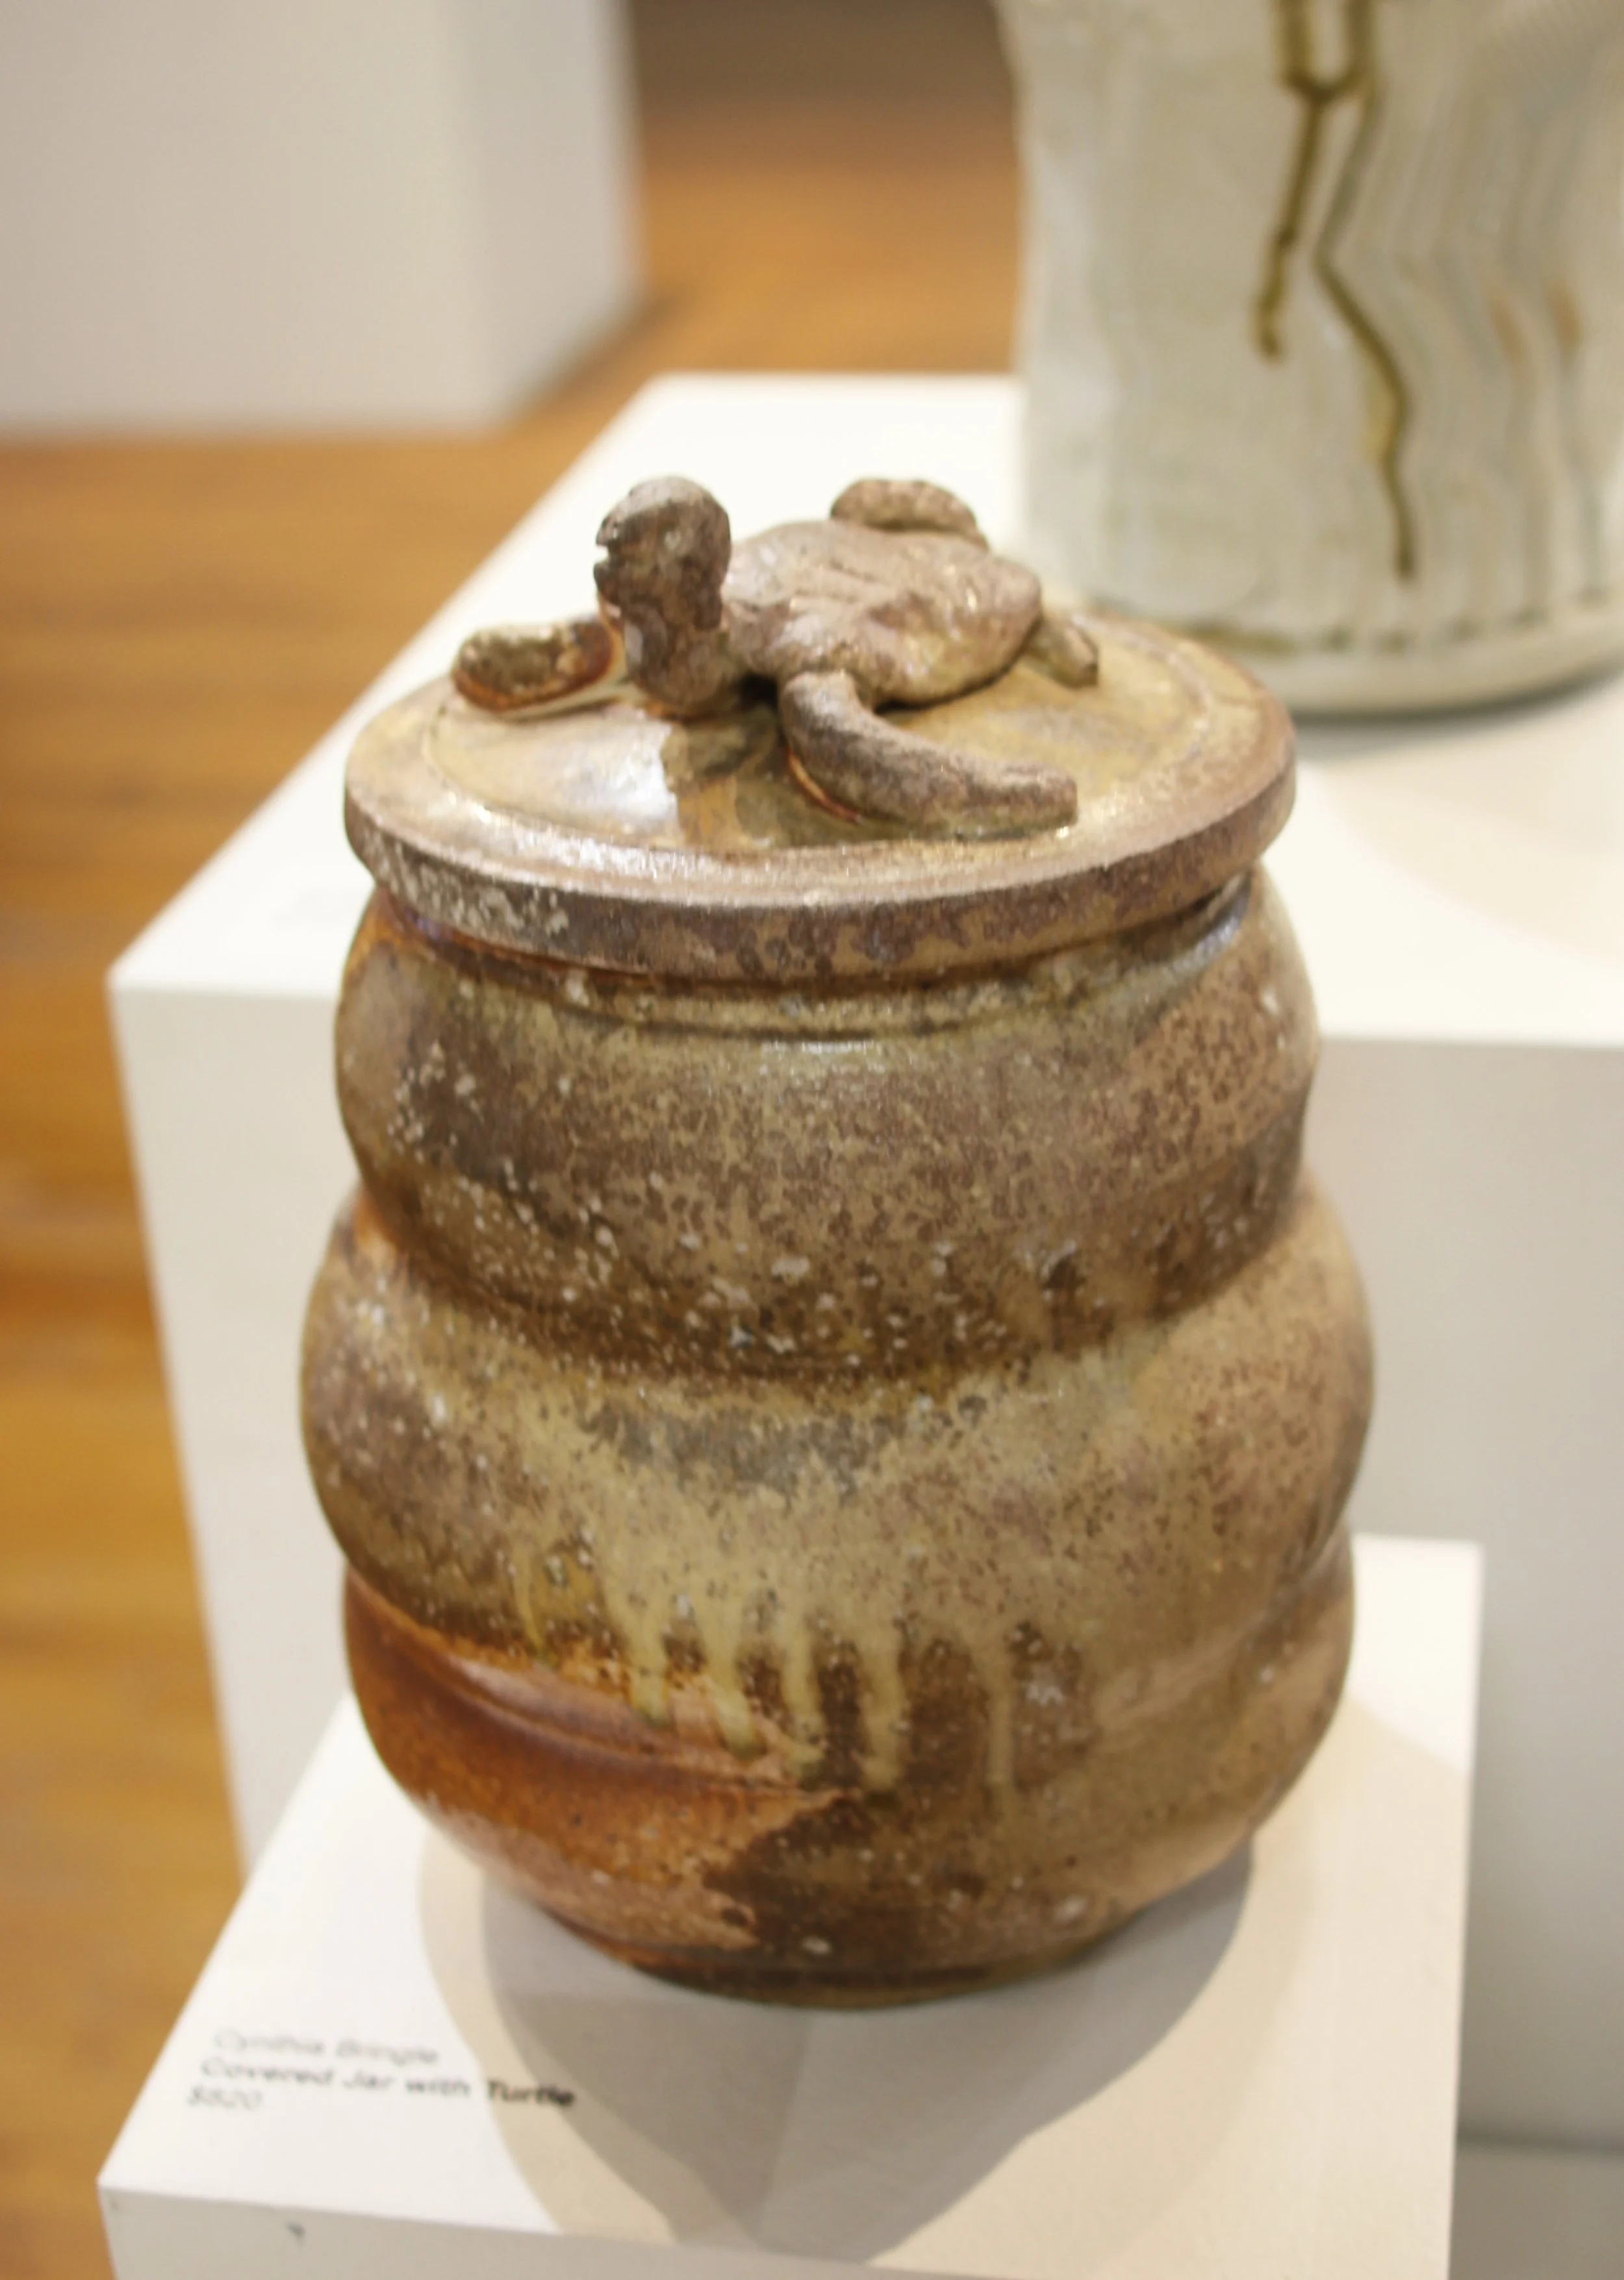
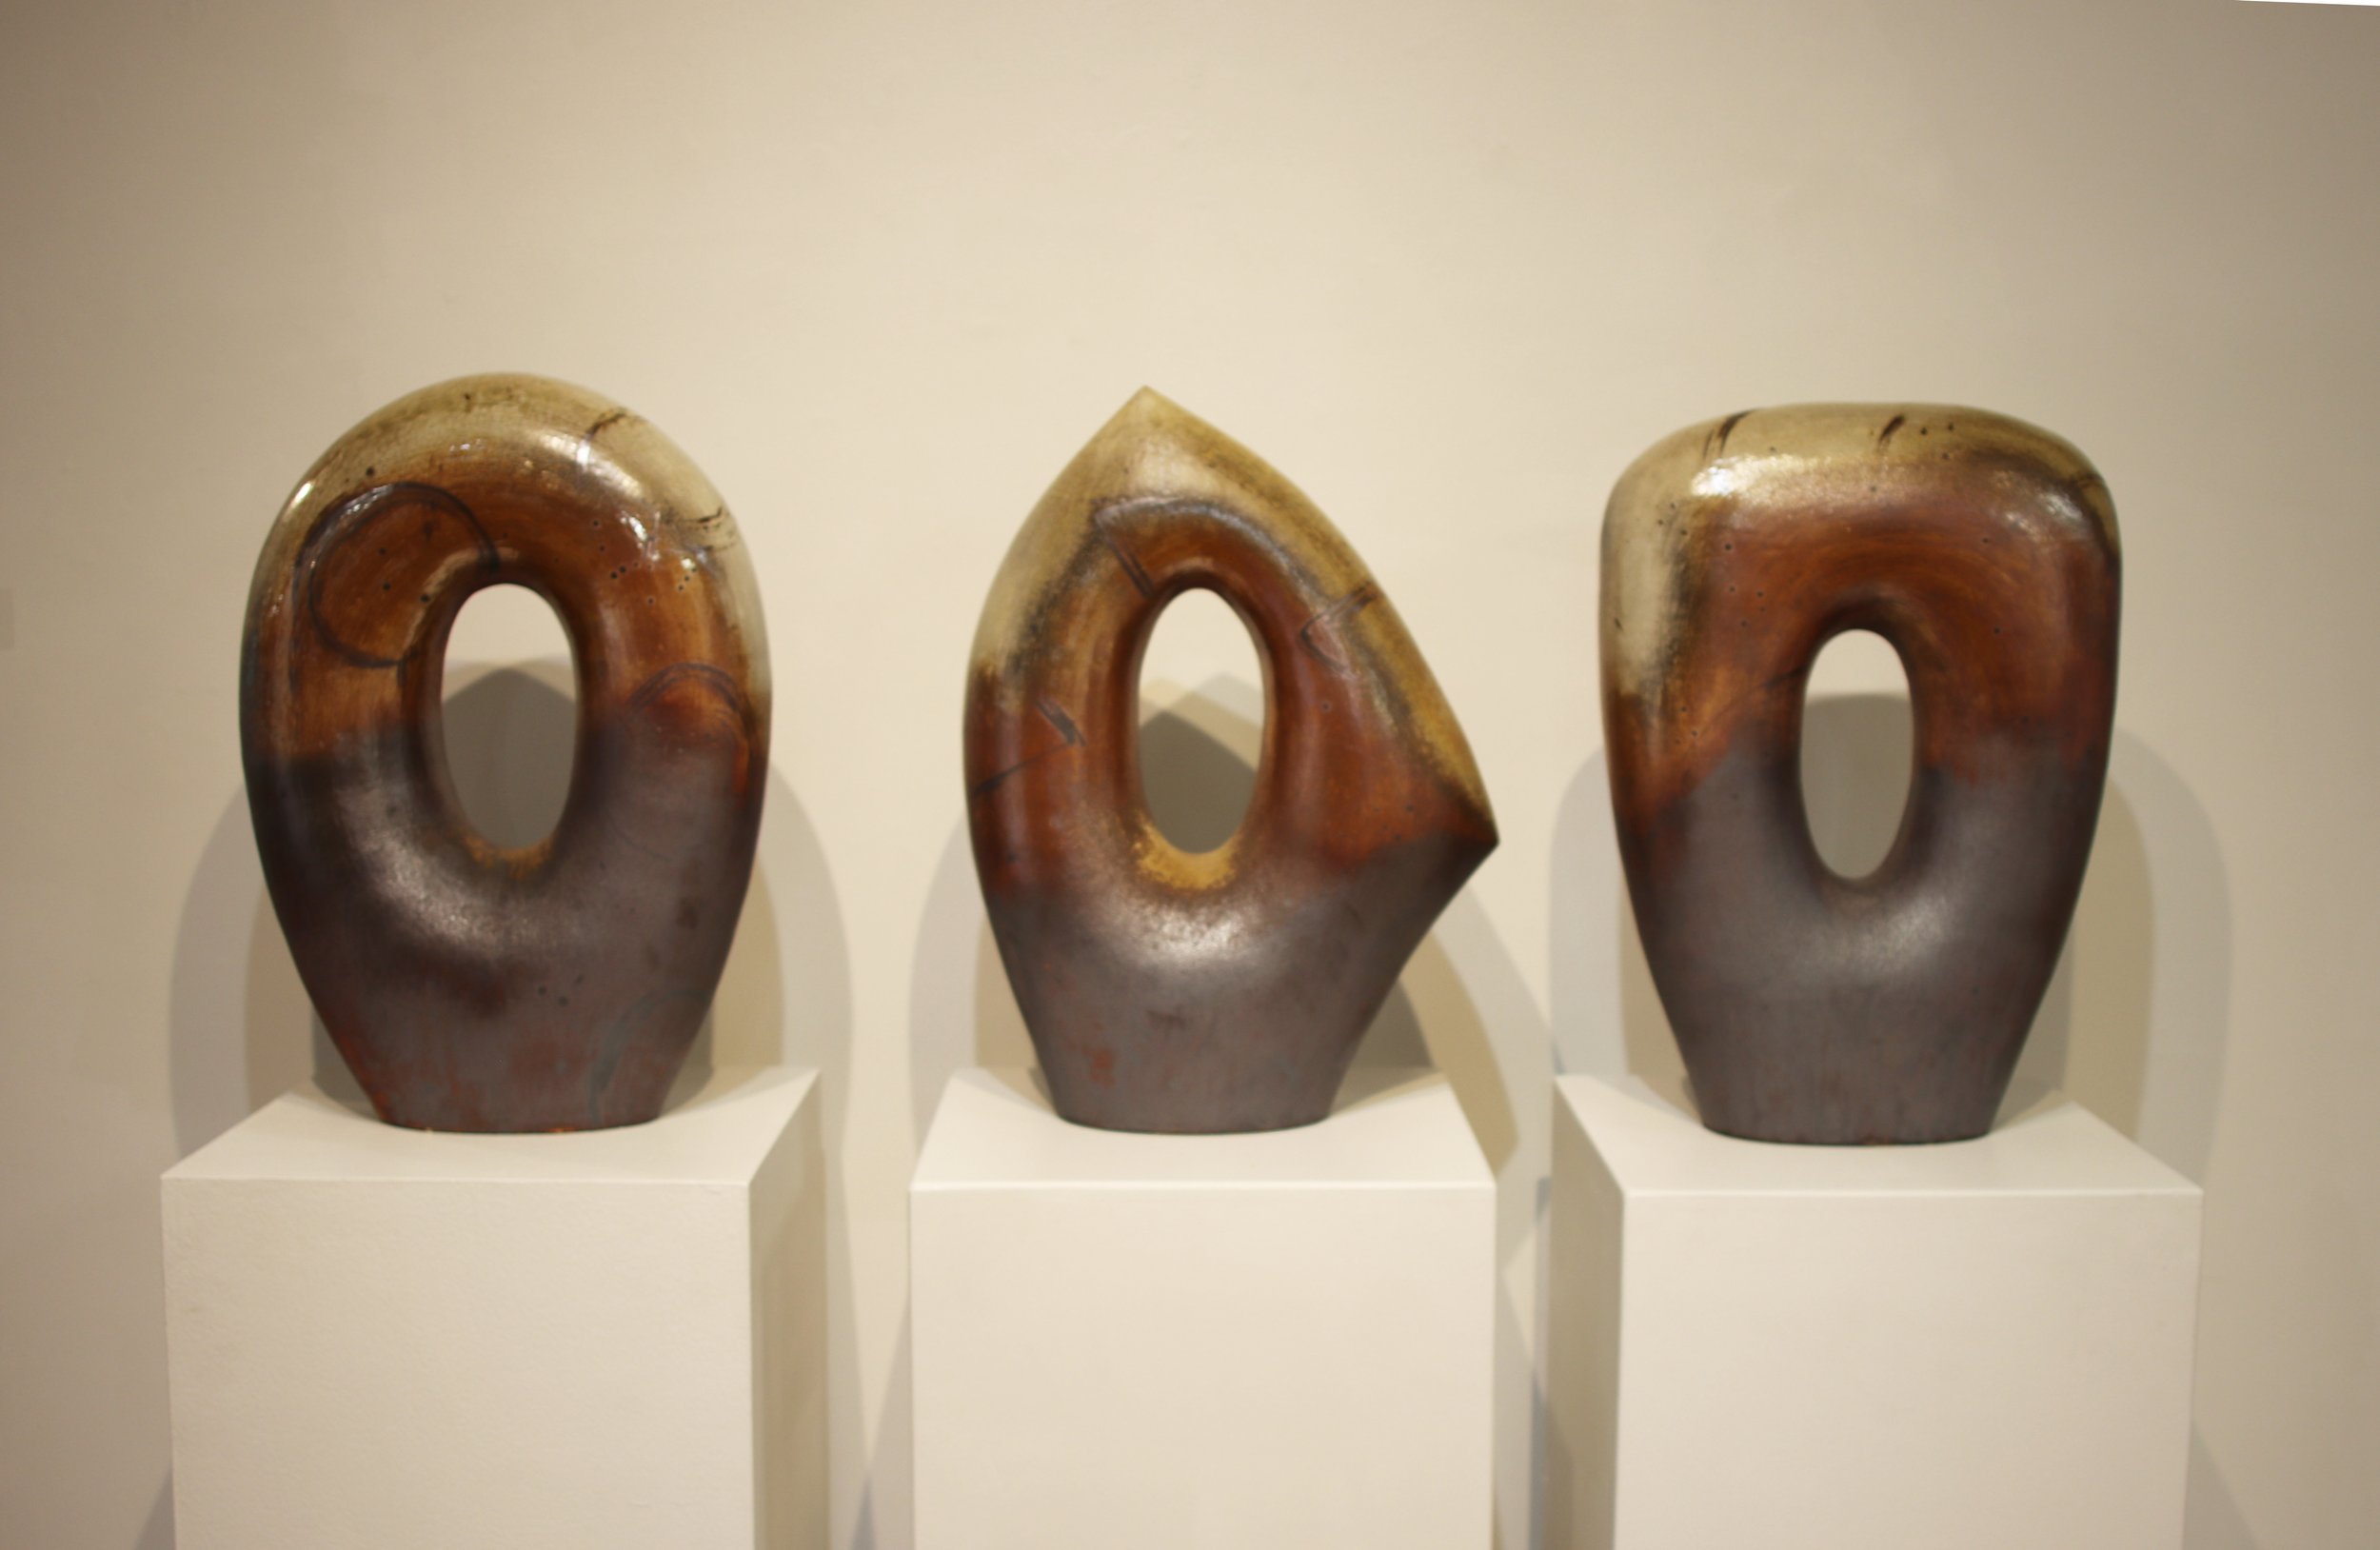
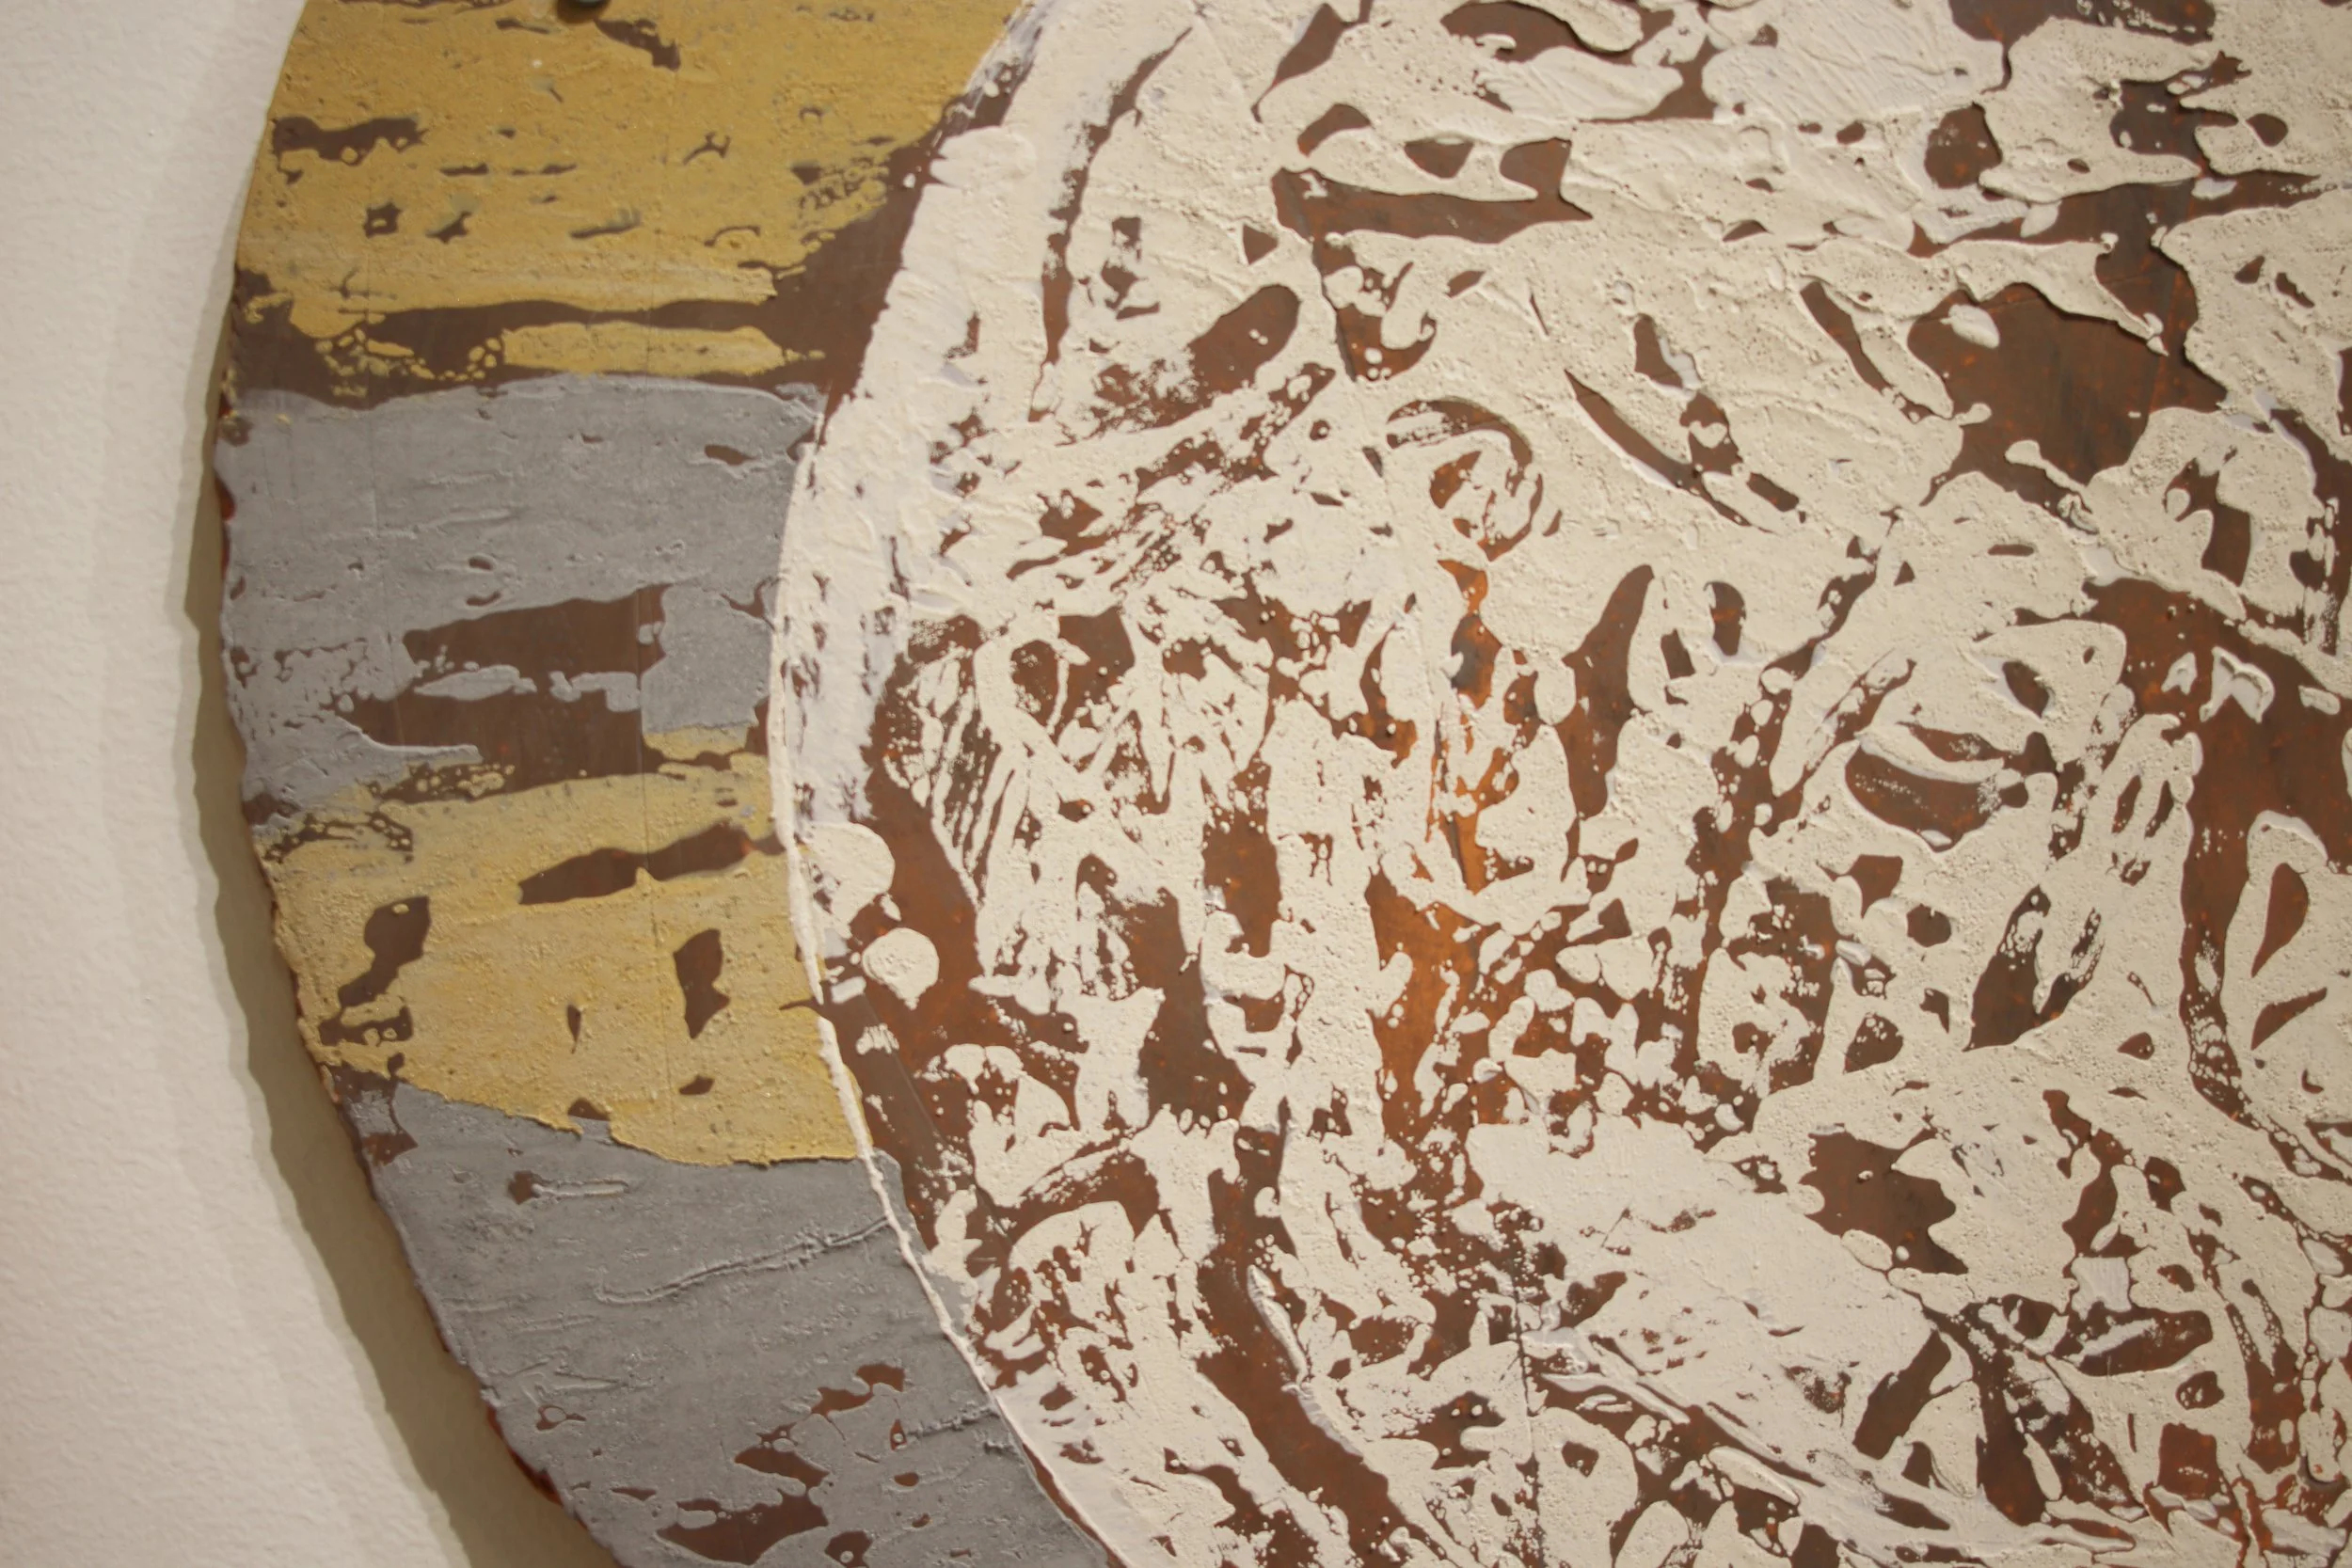
But now it is 2022! Below are images of almost all of the pieces in the EnVision show. The images below are all cropped square but clicking on any one of them will enlarge them. Then you can flick through the un-cropped images at leisure!


There were some other pieces on display at the conference. This was Anne Partna’s Invisible kiln, full of her work and other local artists such as Hannah Cupp and Stillman Browning-Howe.


Some of the wild clays that Takuro Shibata uses in his Starworks clay blends…


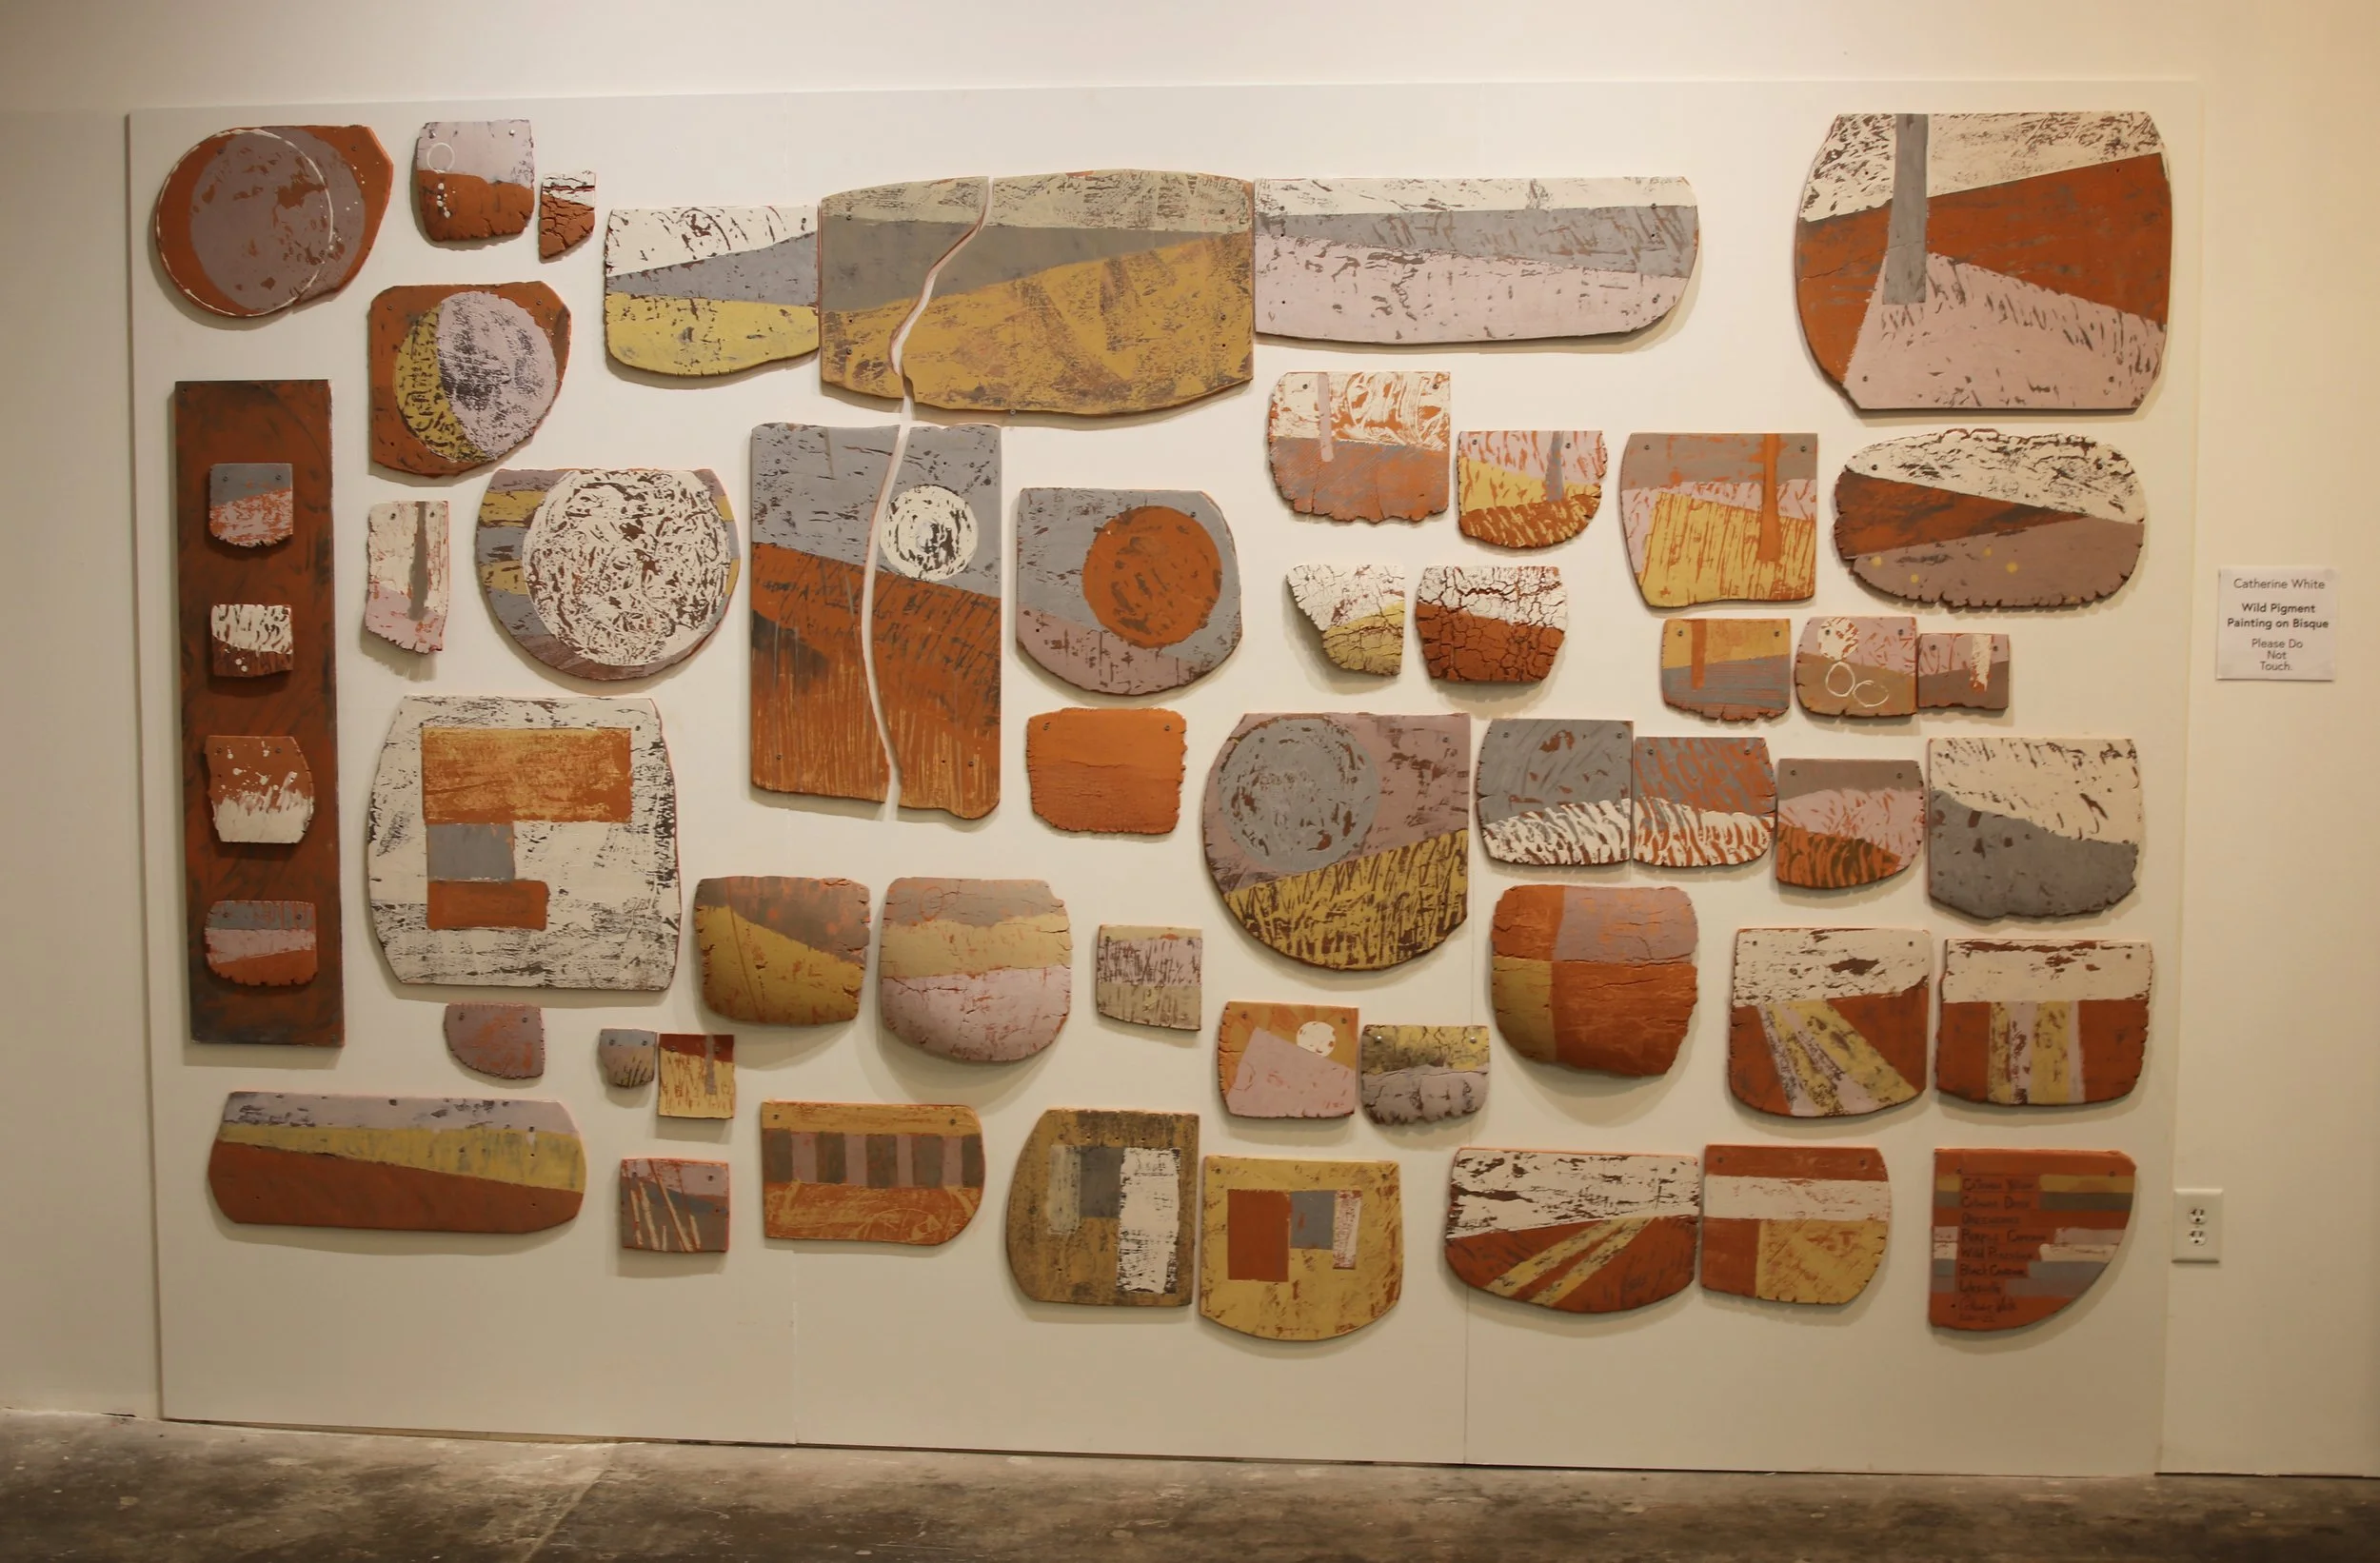
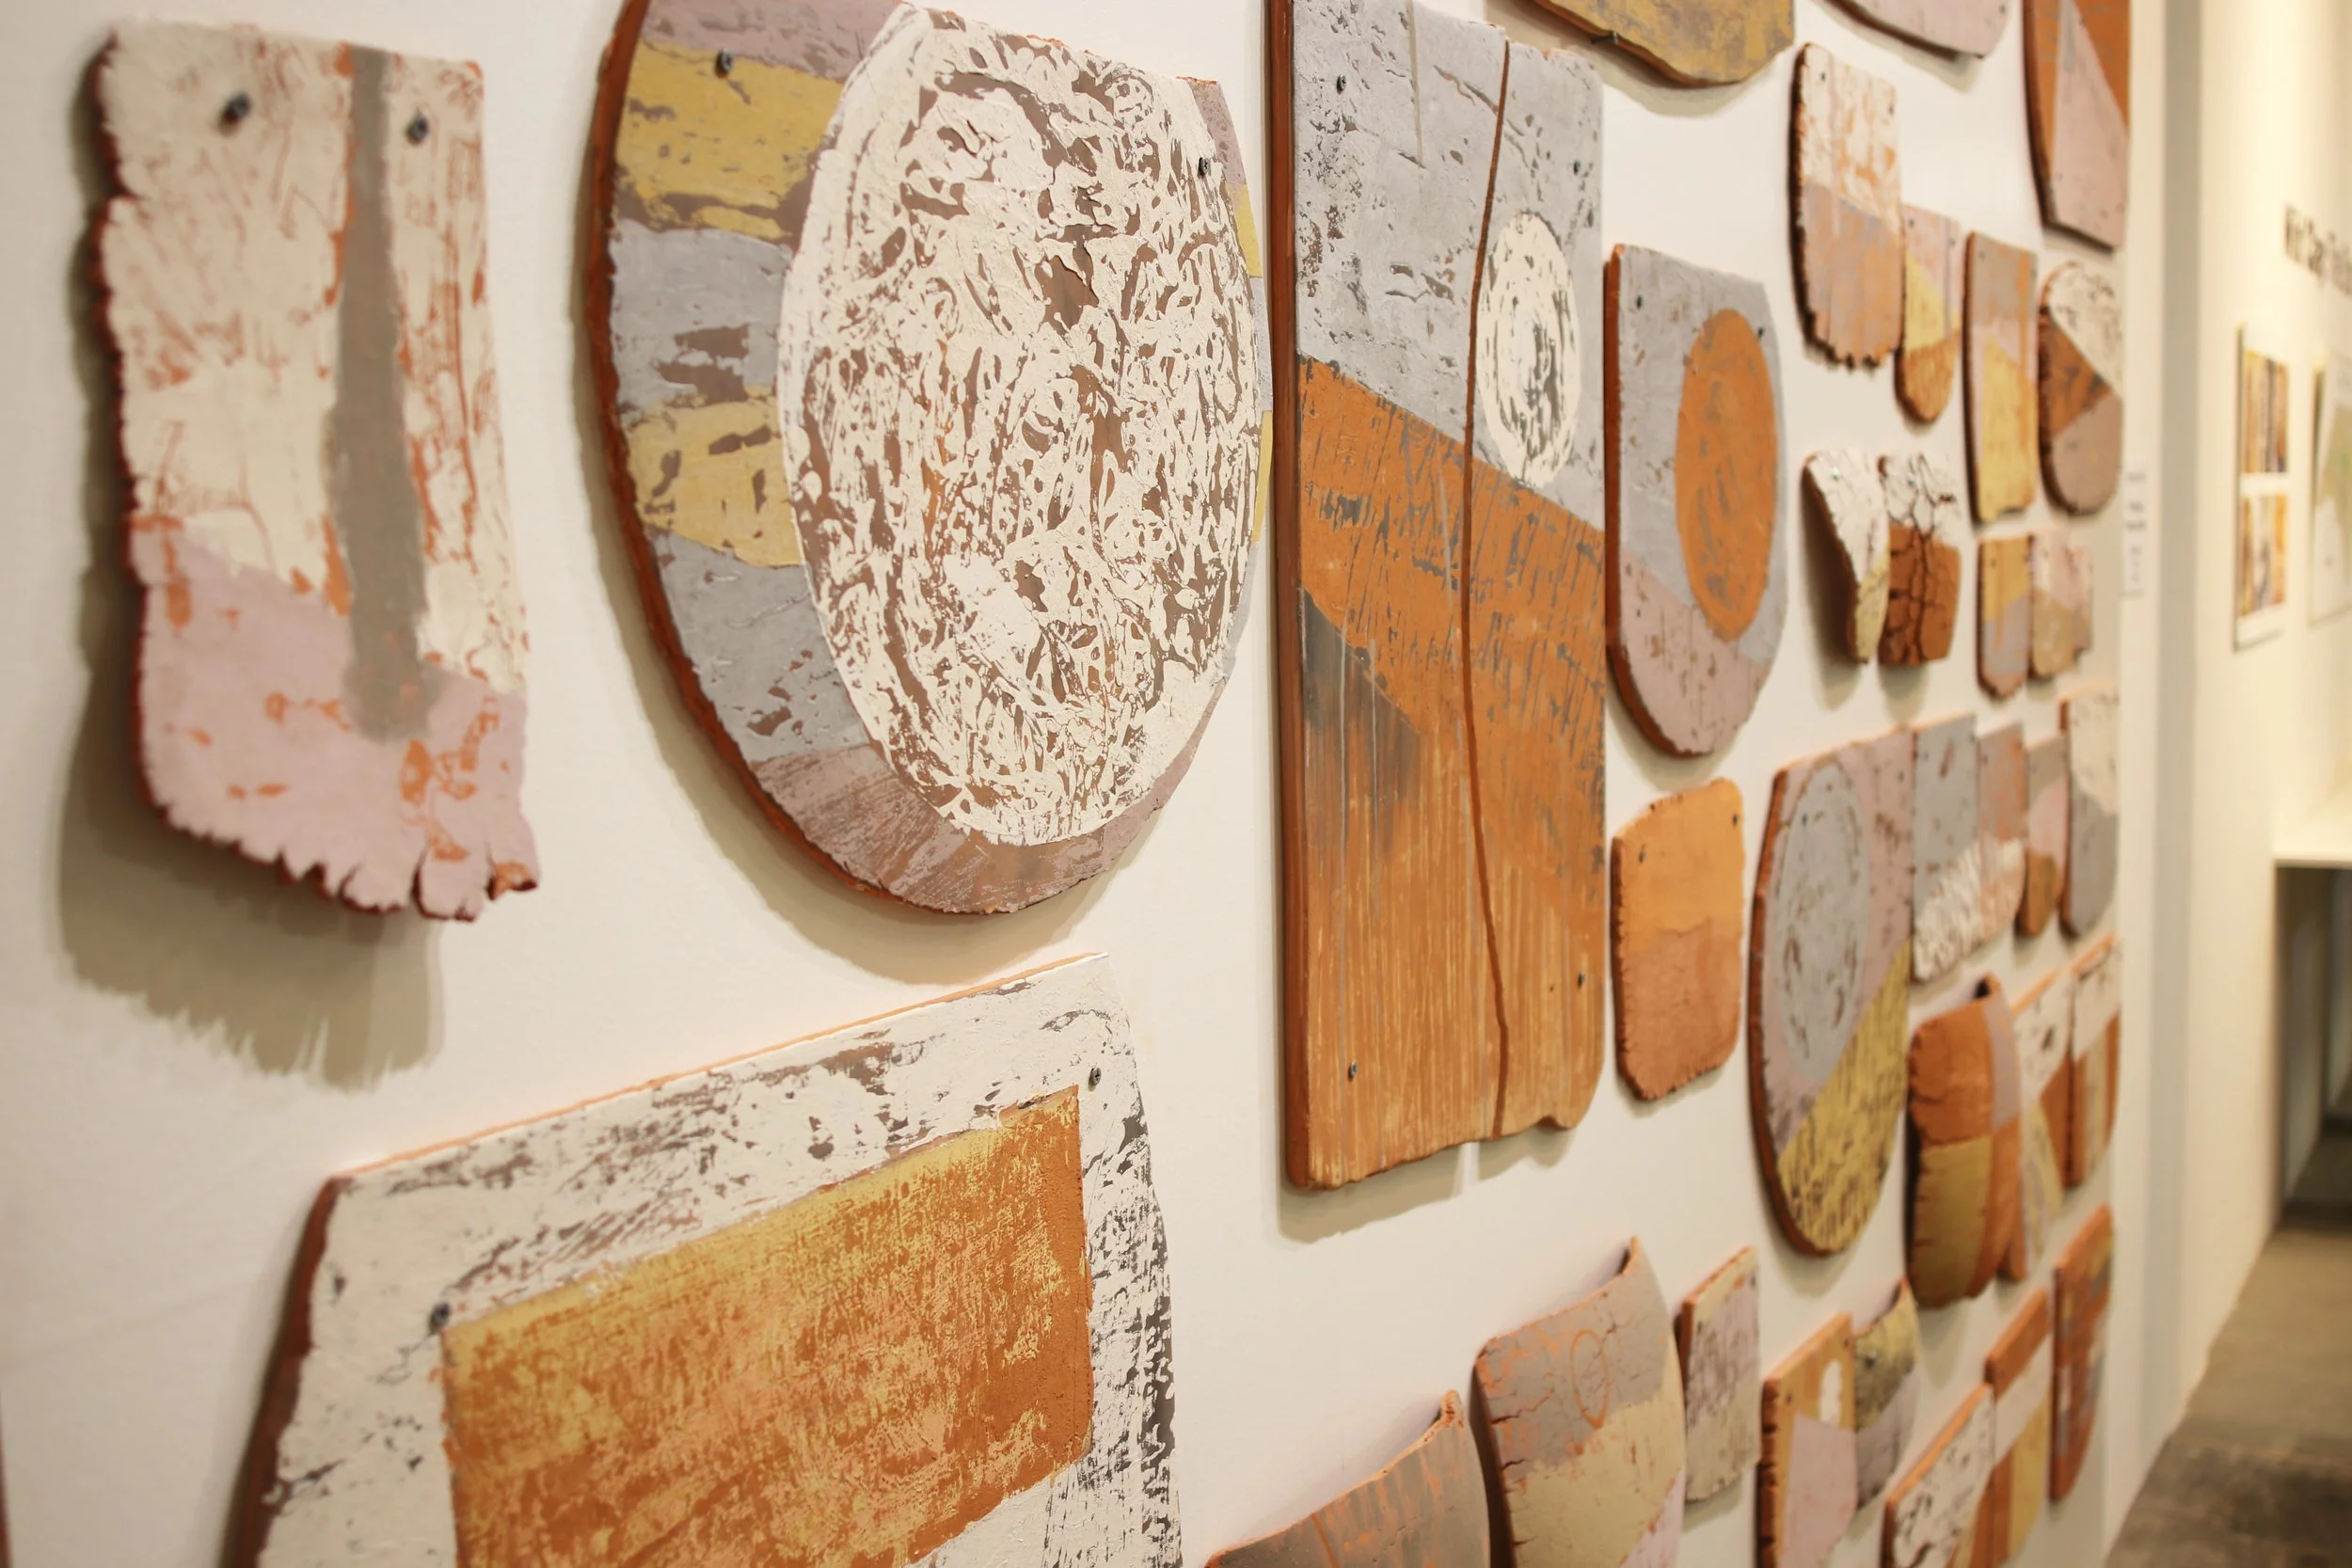
Catherine White’s clay paintings were particularly exciting to me. These were done with different colored unfired clays onto bisque tiles. Catherine calls them ‘Wild Pigment Paintings.’ I hope they stay on permanent display at Starworks.


Devil's Playground, Western Utah. The place!
Here is a little tour of where I am sourcing the granite to make granite glazes from. It is located in Western Utah. Very beautiful spot!
Here is a little video I took to get you situated…
And now some photographs of the place…


Wild glaze making: processing granite into fine granite powder for glazes.
I came to Utah State University to investigate turning rocks and minerals into glazes. Along the way I have also been experimenting with different materials in soda firing. The focus of my thesis show will be to investigate what I can do with one granite as a primary ingredient. I have collected a granite from Devil’s Playground in Western Utah and intend to make four or five distinct glazes from this material. I am setting the parameter for myself that these resulting glazes will contain at least 50% of this Devil’s Playground granite.

Why Devil’s Playground?
Well, a couple of reasons. The first being that the place is fabulous and made me want to keep returning to it. The second is that it makes an acceptable greyish green celadon all on its own with no additions at all. This means that it will provide a good base to experiment with.
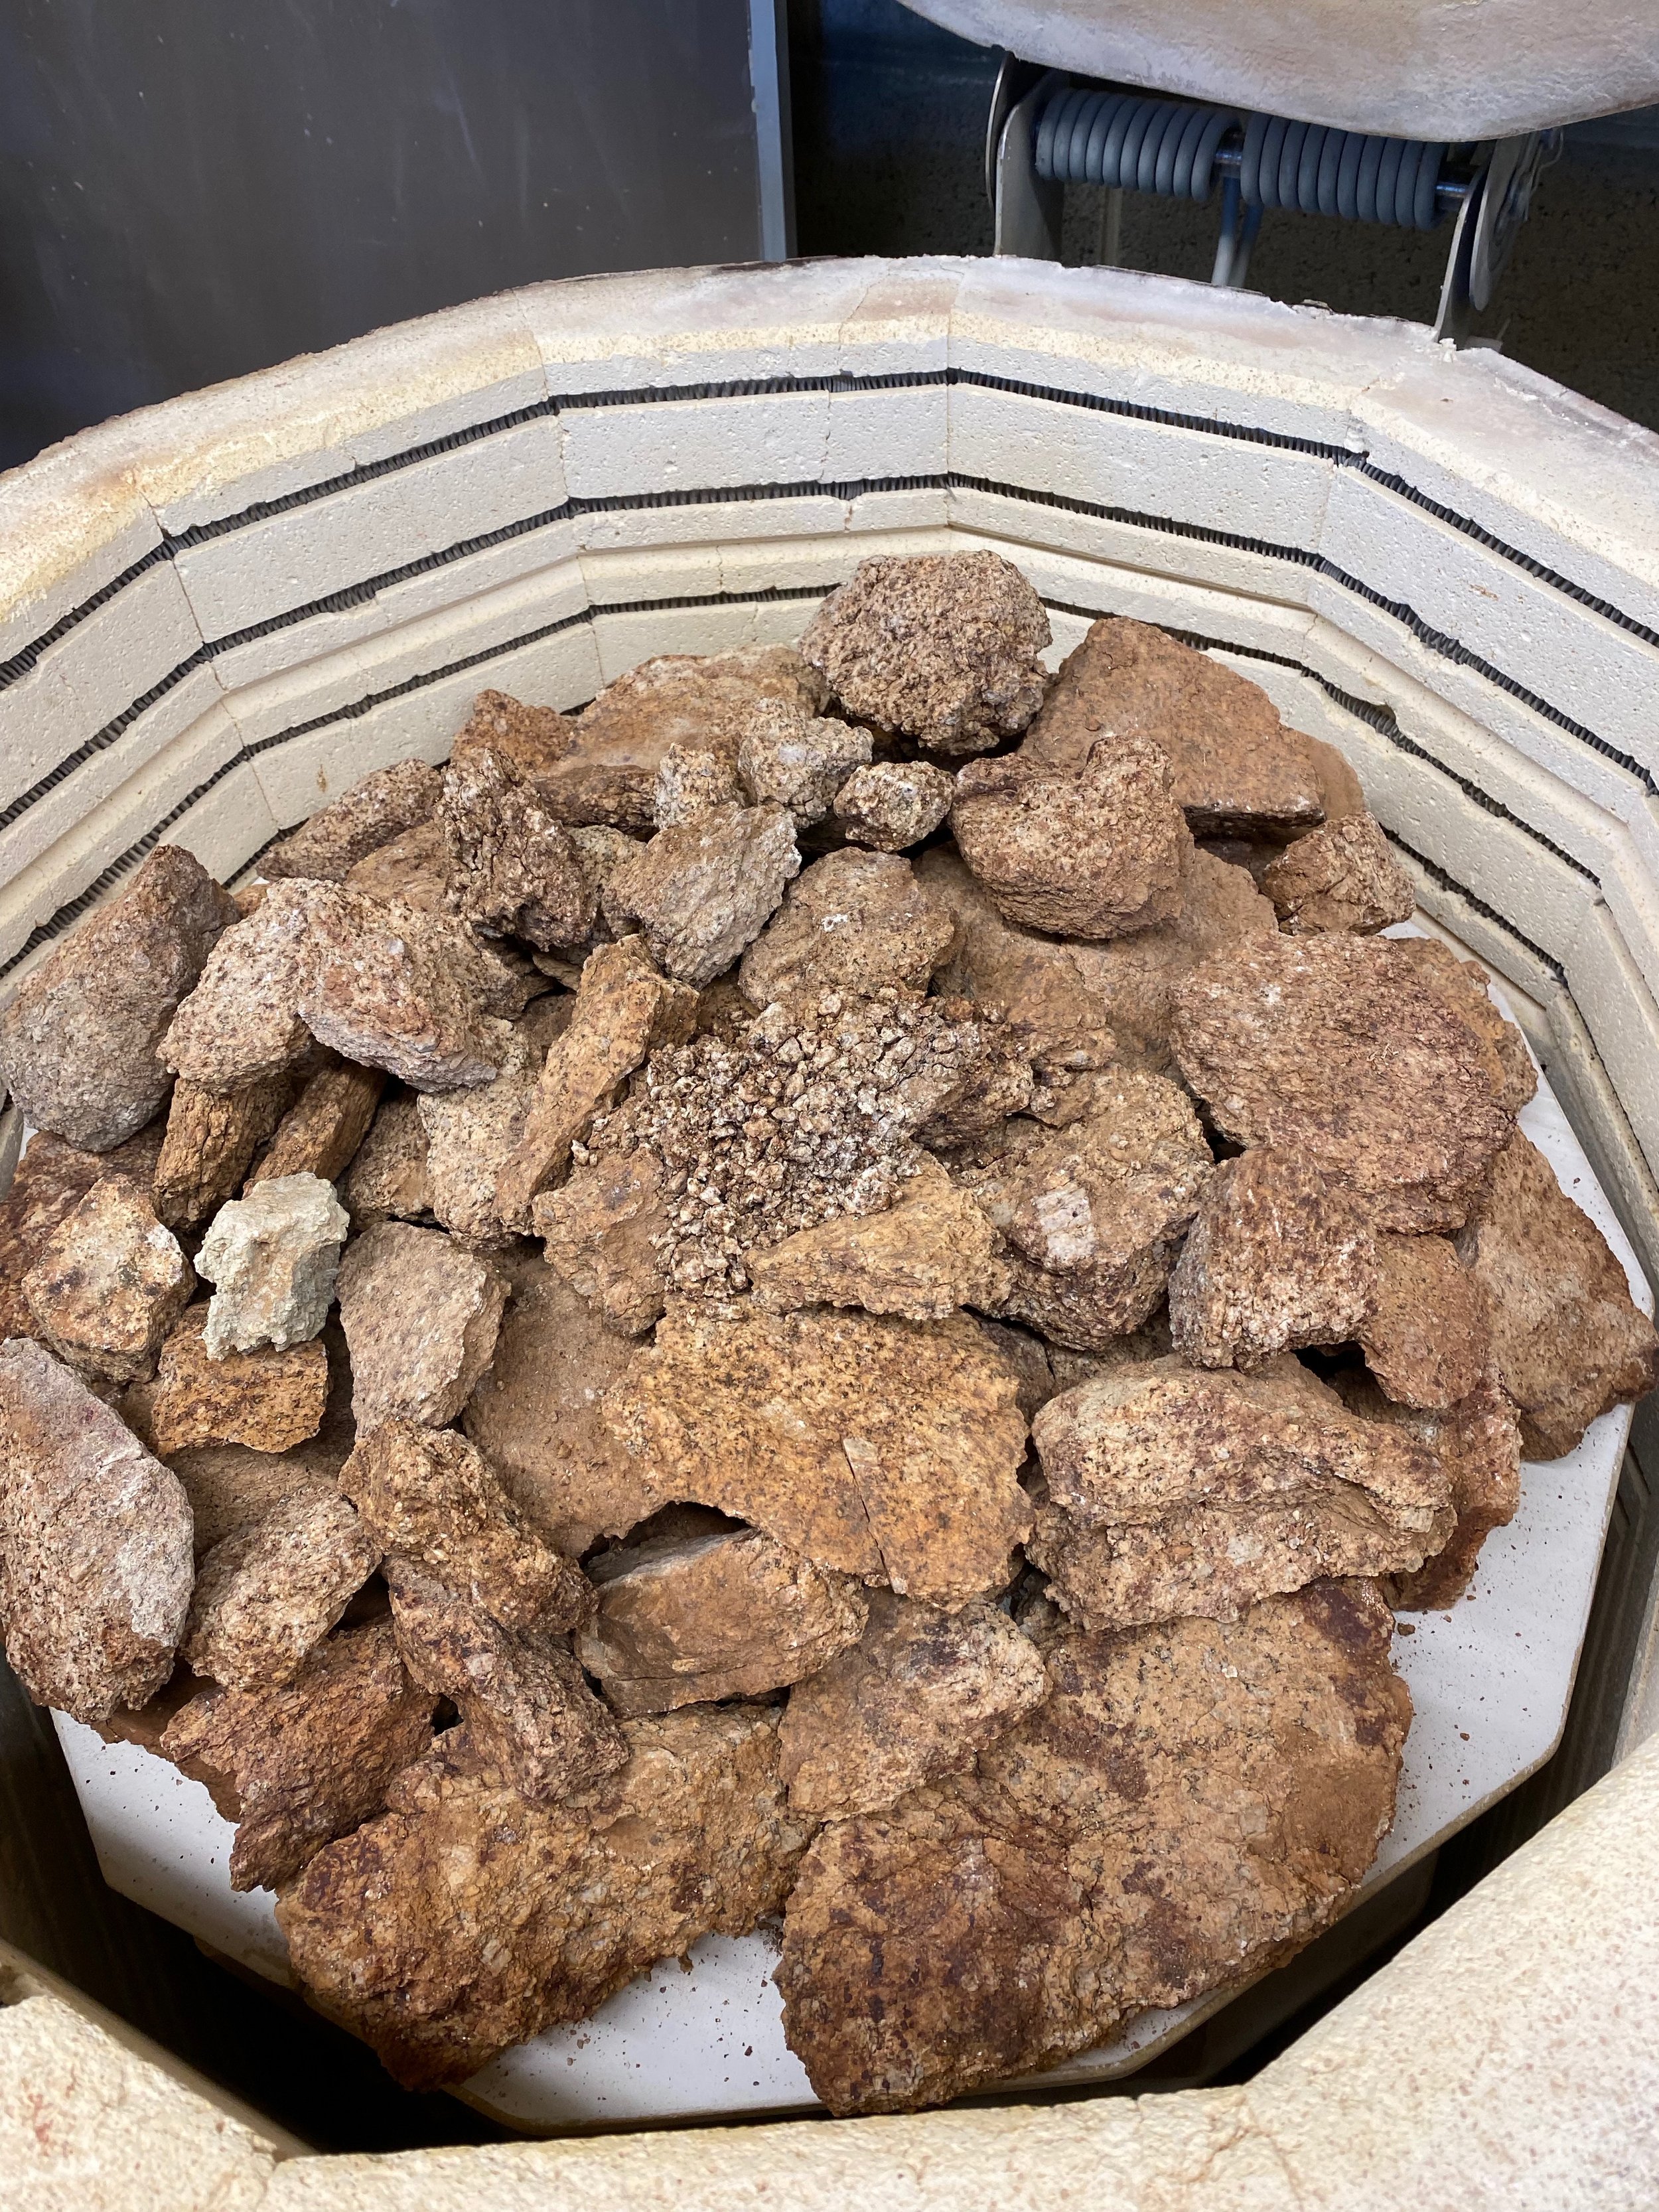
Before we get to the processing, here are some pictures of me collecting some granite with my trusty companion Wellington out in Devil’s Playground…


When I was collecting the granite I tried to get pieces that were already not too large. Once I had the granite back in the studio the hard work began. I wish I had a hammer-mill but the one at USU is currently out of action. Thankfully I had the help of my friend Jack Orgill who is an undergraduate student at USU. He is a rock crushing machine! So we went for it by hand. Jack and I were both leaving town to go to the NW Woodfire Pottery Conference so time was of the essence. We only had a few days to get the granite crushed up, milled and set out to dry. It was a bit hectic but we managed it!
The first step was to calcine the granite. This makes the rock expand and contract and loosens the bonds between the minerals present in the granite. I loaded an electric kiln full with the rock and fired it slowly to 1400°F. When I say slowly here is the schedule: 50°F an hour ramp up to 180°F, held for 3 hours. 50°F ramp up to 480°F, hold for 3 hours, then 100°F an hour ramp up to 1400°F. No hold at the top. I did not experience any major blow ups. Some of the rocks did crumble and break apart but there was no high drama! You can see how the color changed: the redder rock on the right has been calcined.

The calcined granite is much easier to break up. I know from trying both! Definitely much easier calcined. Here are some pictures of Jack going at the calcined granite with hammer and brick. He did an initial crush to break up the large chunks into smaller ones with a hammer and then took a brick to these smaller chunks to get them down to pea size. The brick worked well as it had a larger surface area. The calcined granite did not need heavily pummeling to get it to break up, just lots of small bashes. I have a sieve that lets through pea size pieces so we sieved the rock and re-crushed the ones that did not fit through. The yellow bucket at the end of this sequence shows the rock after the first crush and the smaller pea sized granite in the blue bucket.


After this step the small pea sized granite was small enough to go into the ball mill. We ground the granite overnight (10 hours or so) and then strained it, sieved it and cleaned out the ball mill thoroughly.


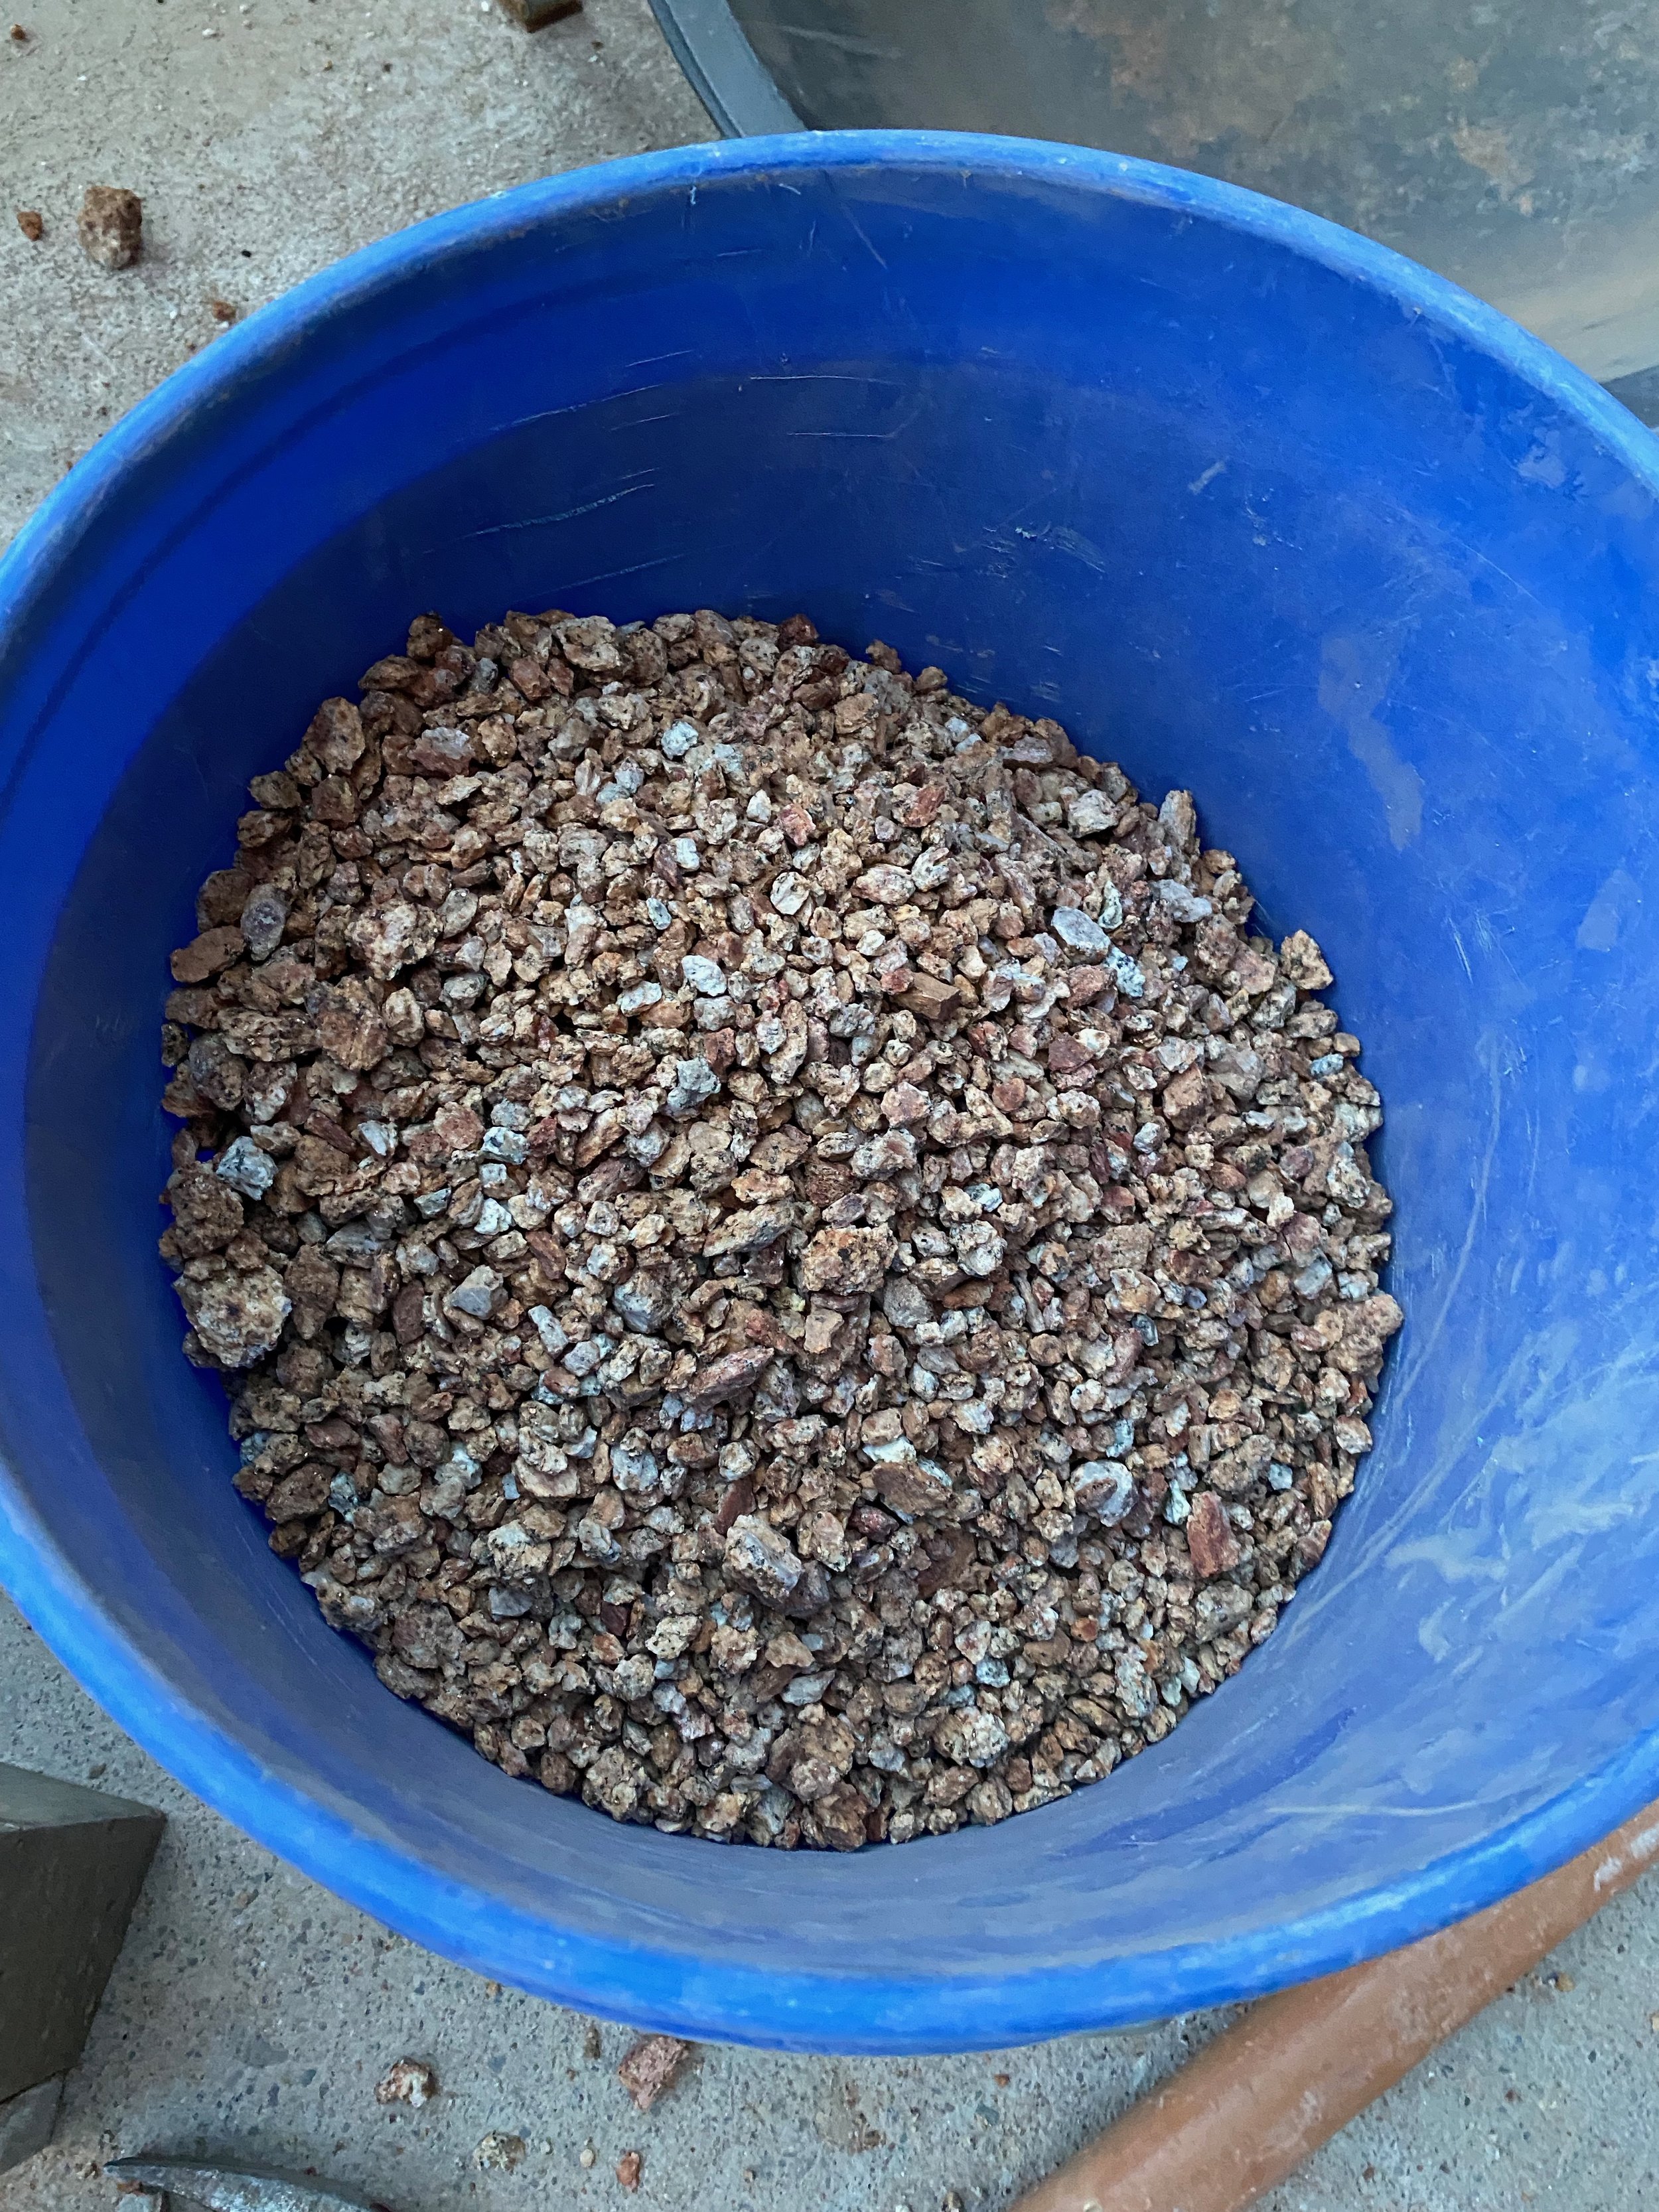
After sieving the granite through a 40 mesh screen we set the granite out to dry on home made racks, lined with sheets…


A few weeks later I came back and found beautiful dry granite dust waiting for me. Ready to turn into a multitude of glaze test!
Here is a video showing this whole process:
And finally, this is where Devil’s Playground is in case you want to visit…

Devil's Playground Granite Glaze Tests: Round 1
In this blog post I will show the results from first round of tests with a granite from Devil’s Playground in West Utah. In my next blog post I will show the steps getting to this point: how I processed the rock into useable fine powder.
I am currently at Utah State University working towards my thesis show which will be up in the Tippetts and Eccles Gallery next April/May. The plan is to present pots dressed with a variety of glazes made from this Devil’s Playground granite. I want to make 4 or 5 distinct glazes with at least 50% of this granite. The tests presented in this blog post are just the beginning. I anticipate several more rounds of testing and honing in after this.

Lets start with this video that describes this initial round of tests and findings. I found that filming my test results was a more satisfying way to document them rather than just flat photographs.
I dipped 4 small test tiles and one larger extruded test tile in each individual glaze formulation (100g dry material topped up to about 160ml glaze). The tests were all fired to cone 10. The larger extruded tile and one of the smaller tiles were fired in a gas reduction blaauw kiln, one went into a gas kiln fired in oxidation and then one went into a soda kiln that was fired in a neutral atmosphere with a natural cooling cycle. Here is a picture of some of the tiles in the soda kiln…

Now I will list each set of tests. Firstly here’s the tests where I add iron. In the photograph below I ran two similar but different tests. To the set on top I added red iron oxide to 100% Devil’s Playground granite (DP) in these increments: 0.25%, 0.5%, 0.75%, 1%, 1.5%, 2%, 3%, 4%, 5%, 6%, 7%, 8%, 9%, 10%, 11%, 12%, 20%, and 30%. So each test has 100% DP granite plus these percentages of iron.
I used a different base for the lower set in this photograph. Instead of 100%DP granite I chose a previous formulation — DP31 — which is 80% DP granite, 10% lime and 10% minspar. I added the same % additions of yellow iron oxide to this base. The difference was quite remarkable. The lower set were more responsive and produced more varied and interesting results. Talking with John Neely he said that the difference in color response was due the addition of lime and minspar rather than the difference in yellow to red iron oxide. He said that the yellow and red iron oxide should act the same when fired. I want to do a further test to confirm this.
Overall I was particularly into the tests in the lower set with iron added between 3-7% and plan on expanding this test area. I also plan to make a quadraxial blend of the DP granite with one corner being higher silica, one higher alumina and one higher flux with 3,4,5,6,7% iron added across all of the tests. This will show me how the iron content and color is affected by fluctuations in silica, alumina and flux content.

In this next test I added a local red clay from porcupine dam to Devil’s Playground granite (DP) in these increments: 0.25%, 0.5%, 0.75%, 1%, 1.5%, 2%, 3%, 4%, 5%, 6%, 7%, 8%, 9%, 10%, 11%, 12%, 20%, and 30%. So each test has 100% DP granite plus these percentages of red clay. I expected the additions of red clay to have more of an impact. I found that this local red clay, whilst being red, actually did not have that high a percentage of iron in it.

In the test below I did a line blend between the DP granite and a basalt collected from near Craters of the Moon in Idaho. On the left is 5% basalt to 95% DP granite, and then with each subsequent test I add 5% basalt and remove 5% granite. All the way to the right is a 50:50 blend of basalt and granite. I expected this test to produce greater variation. Most of these tests looked like persimmon or kaki glazes. I would like to use some of this basalt to create an iron rich glaze, such as a tenmoku, so want to test more in this area. I will try to add some iron to these tests and try some other tactics too.

In this test I added talc to the DP granite. From the left I added 2% talc, then 4%, 6%, 8%, 10%, 12%, 14%, 16%, 20%, 30%. As you can see the talc lightens the glaze and also makes it more opaque and matte.

In this test I compare washed and unwashed wood ash additions to the DP granite. From left to right is a line blend going from 95% DP granite with 5% ash to 50/50 granite and ash on the right. The washed and unwashed ashes acted very similarly. At about 25% plus the glazes became quite runny. The biggest difference was that the unwashed ash tiles developed an orange halo line under the glaze line. The washed version did this partially but not as pronounced or bright. Unless I really wanted this orange mark then I think I would opt for washed ash as it is less caustic in use.
I did enjoy the light bright glaze that resulted from DP granite plus 15 or 20% ash. I will definitely pursue this in further testing.

This test was adding a ryolite to my granite as a line blend. The results were unspectacular so I will not pursue this! I got similar results when running the same test with nephrite tuff addition.

In this test I added titanium dioxide to my base DP31 glaze (80% DP granite plus 10% lime and 10% minspar). I added 1%, 2%, 3%, 4%, 5%, 6%, 7%, 8%, 9%, 10%, 20%, and 30%. Up to 6% the glaze just tends to get darker and richer but then from 7-10% you get some pretty interesting and varied surfaces. 20% was curiously lighter blue and then 30% a tan color. I want to do a further test that fills in 11-29% to see this change play out. I do see some potential in these glazes, especially in soda, as the glazes look quite varied depending on how much soda hits them.

Thanks for reading!
I’m in England right now but when I get back to Utah I will get stuck into running the second round of tests and post about the progress.
But in my next blog post I will show how I turned my granite rocks into powder fit for making these glaze tests!
Artifact: Max Saunders MFA thesis show, USU, April 2022
It’s hard to believe that we are halfway through April already and the two ceramic grad students, Max Saunders and Austin Riddle, have installed their thesis shows. I posted about Austin’s show yesterday, so check that out if you missed it.
In my first year at USU, I was impressed with Ayla Murray, Matt Sloan and Josh Scott’s thesis shows… but that’s feeling very far away for me. This year, with these shows going up, I am feeling the pressure build up to mine next year. Anyway, enough of my anxiety, this is a blog post is to document Max’s show for anyone who could not make it in person.
First up, here’s Max’s statement about the exhibition:

“ARTIFACT”
“My work is heavily inspired by archeology, geology, and a sense of time. Clay, deposited in the soil years ago, is wedged and shaped to pleasing forms. Often I will sketch in clay for months or years as I search for the correct weight and balance for the pot. Once I am happy with the shape, I use it as a canvas for a pallet of gestural marks. I carve, stretch, and beat the clay in ways that emphasize or change its form. These marks are often read as a sign of geological weathering or erosion. I chose to woodfire my work as it adds an extra layer of dynamic marks to the piece, which can be controlled with careful loading and firing strategies.
The overall goal is to create objects that can be interacted with in a variety of ways. Cups are drunk from and their surface is explored, revealing exciting moments from the creation and firing processes. My current series of sculptural vessels allows me to take this mark making process and explore it more deeply, as the ultimate form has no need to be functional. Ultimately these forms are for both visual and tactile exploration. I seek to create work that is visually and physically dynamic, carrying a sense of age while remaining fresh and immediate.”
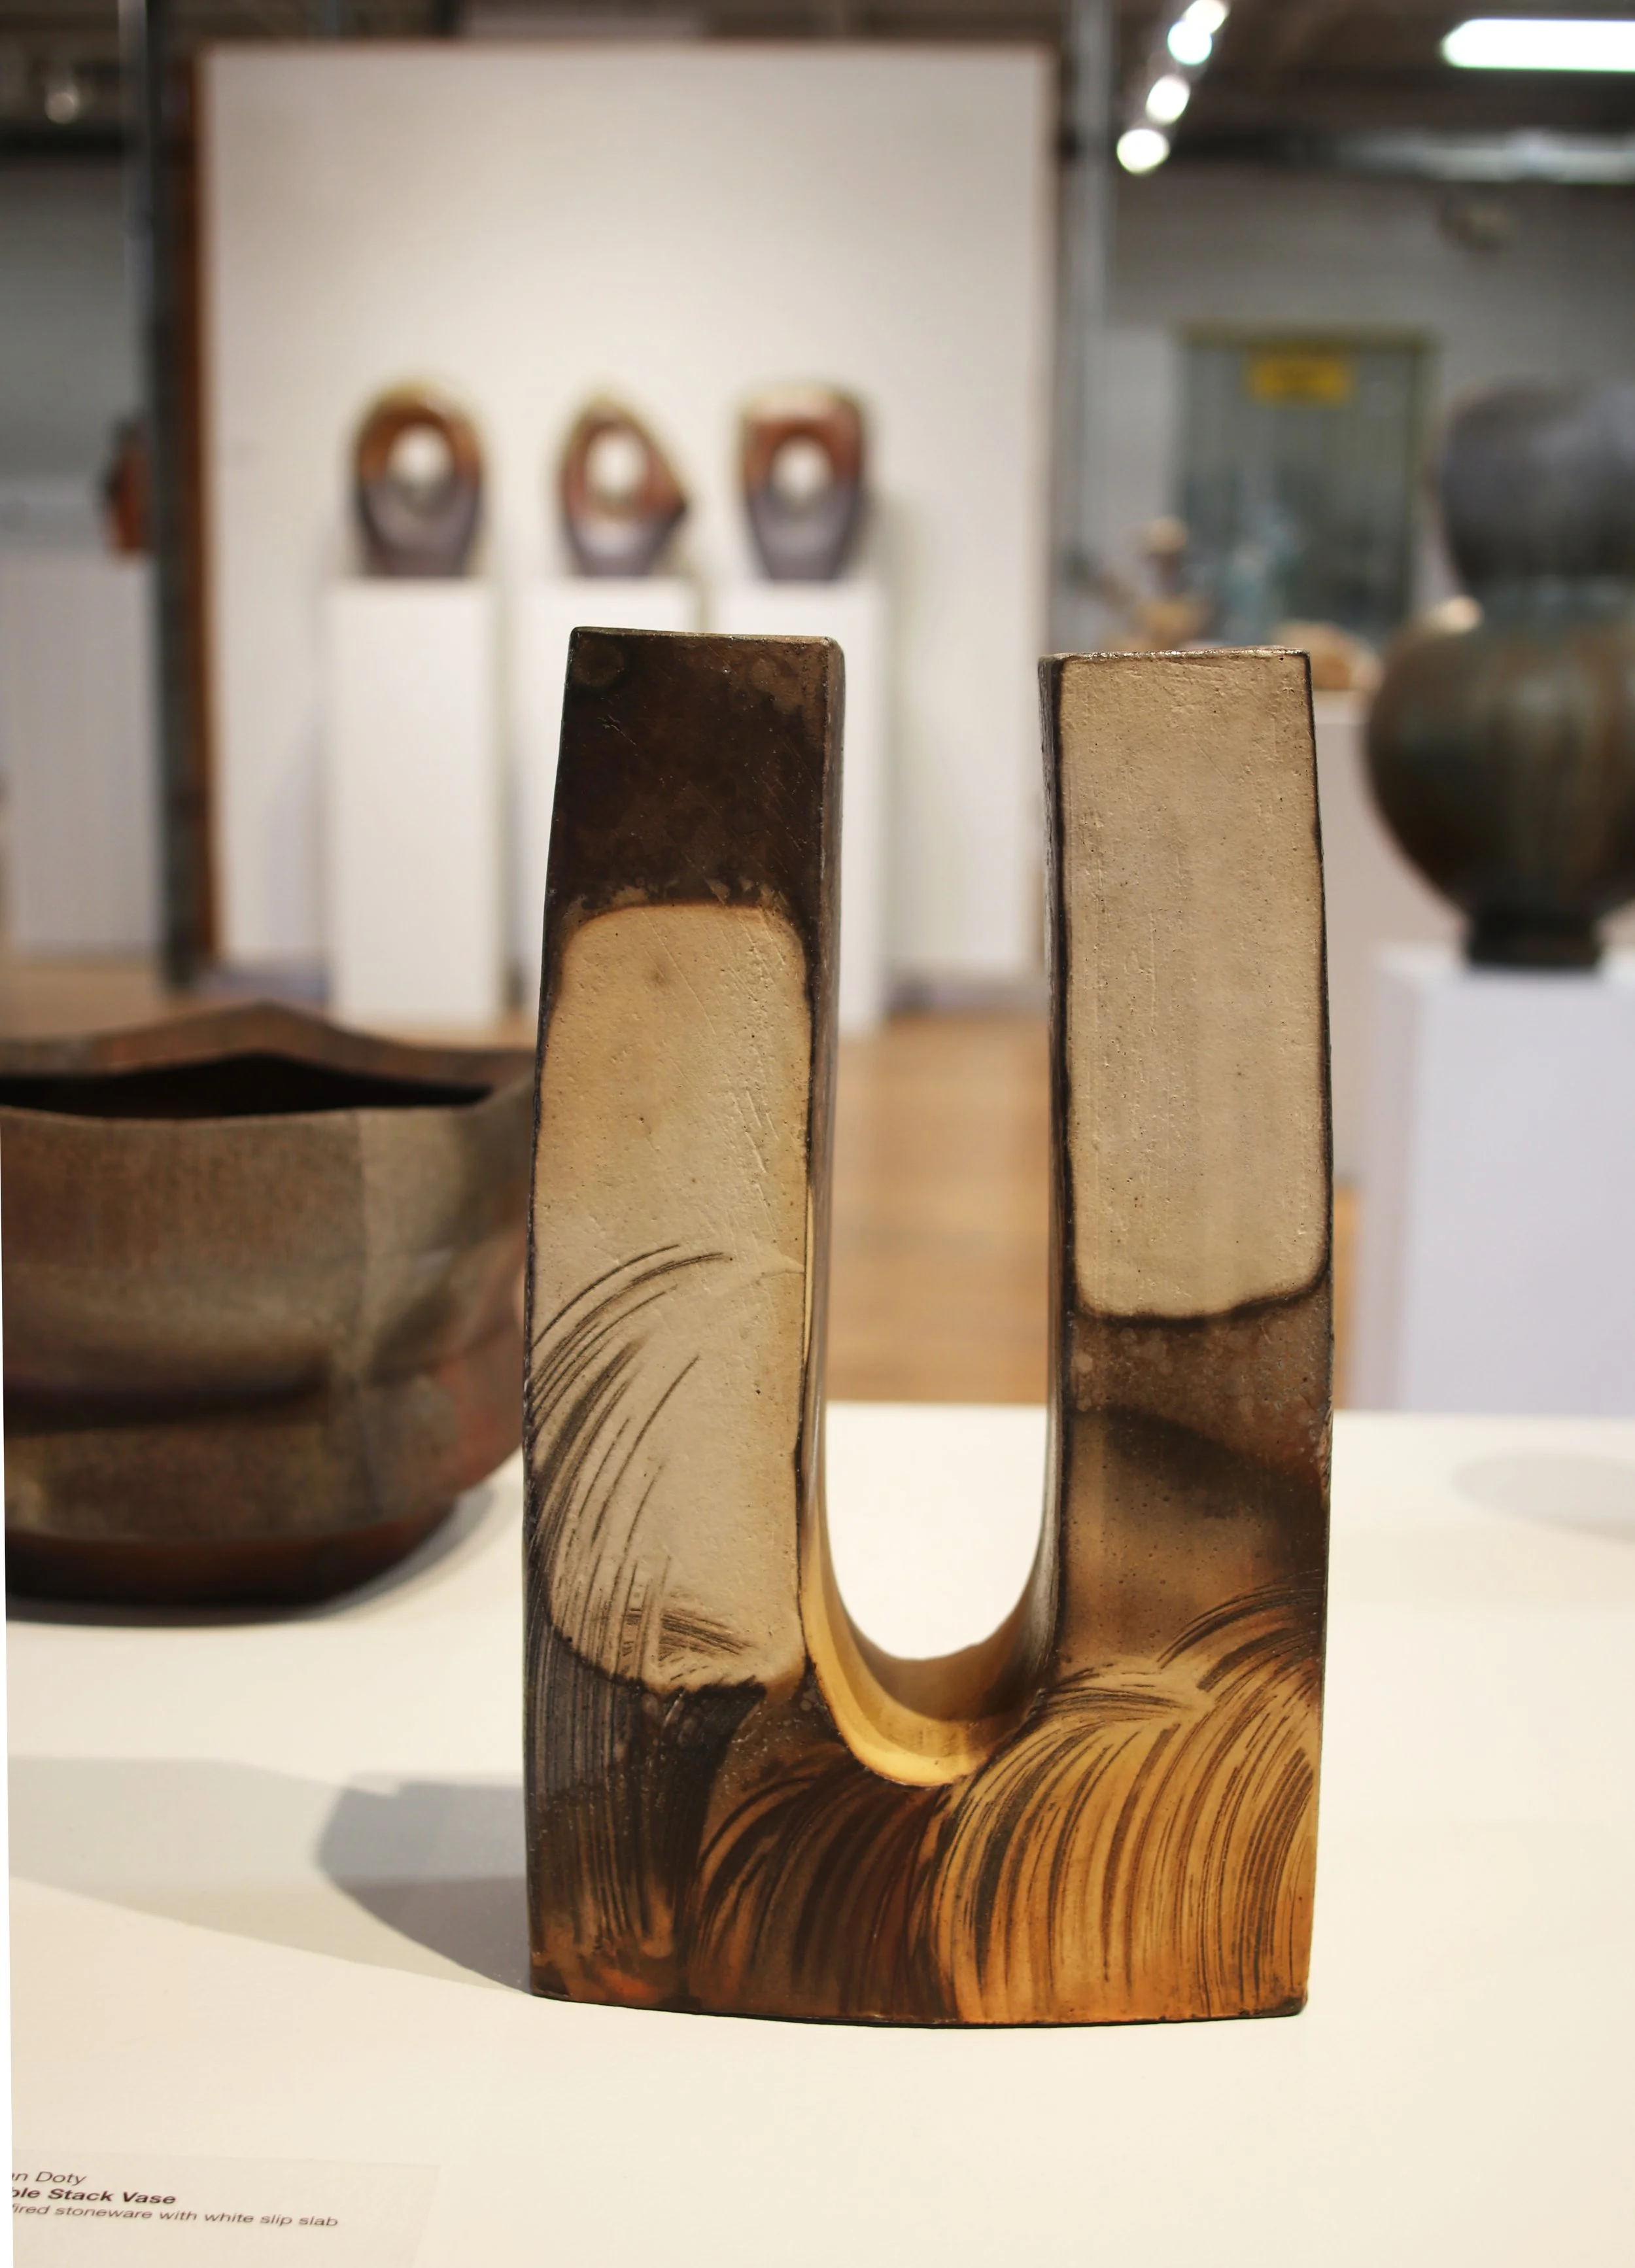
Here’s a couple of wide shots to show you how “Artifact” looks in the gallery:


For anyone into wood firing, this show is a treat! Since I have been at USU, Max has been the main wood firer on campus. He has tried many approaches with different clays, slips and washes and different firing and cooling schedules. The pots and sculptures in “Artifact” came from 6 or 7 different train kiln firings. The firings ranged from cone 10 to cone 13 (possibly hotter even in some spots). Max saved the best from each firing over the last year for this exhibition.
I’ve seen his method, particularly in the sculptural forms, develop a lot over the past couple of years. Max has really honed in on the marks he makes and tying the forms to the wood fired surfaces. More than anything, the variation of surface Max achieved is remarkable.
Lets start with some photos of his sculptural axe pieces:


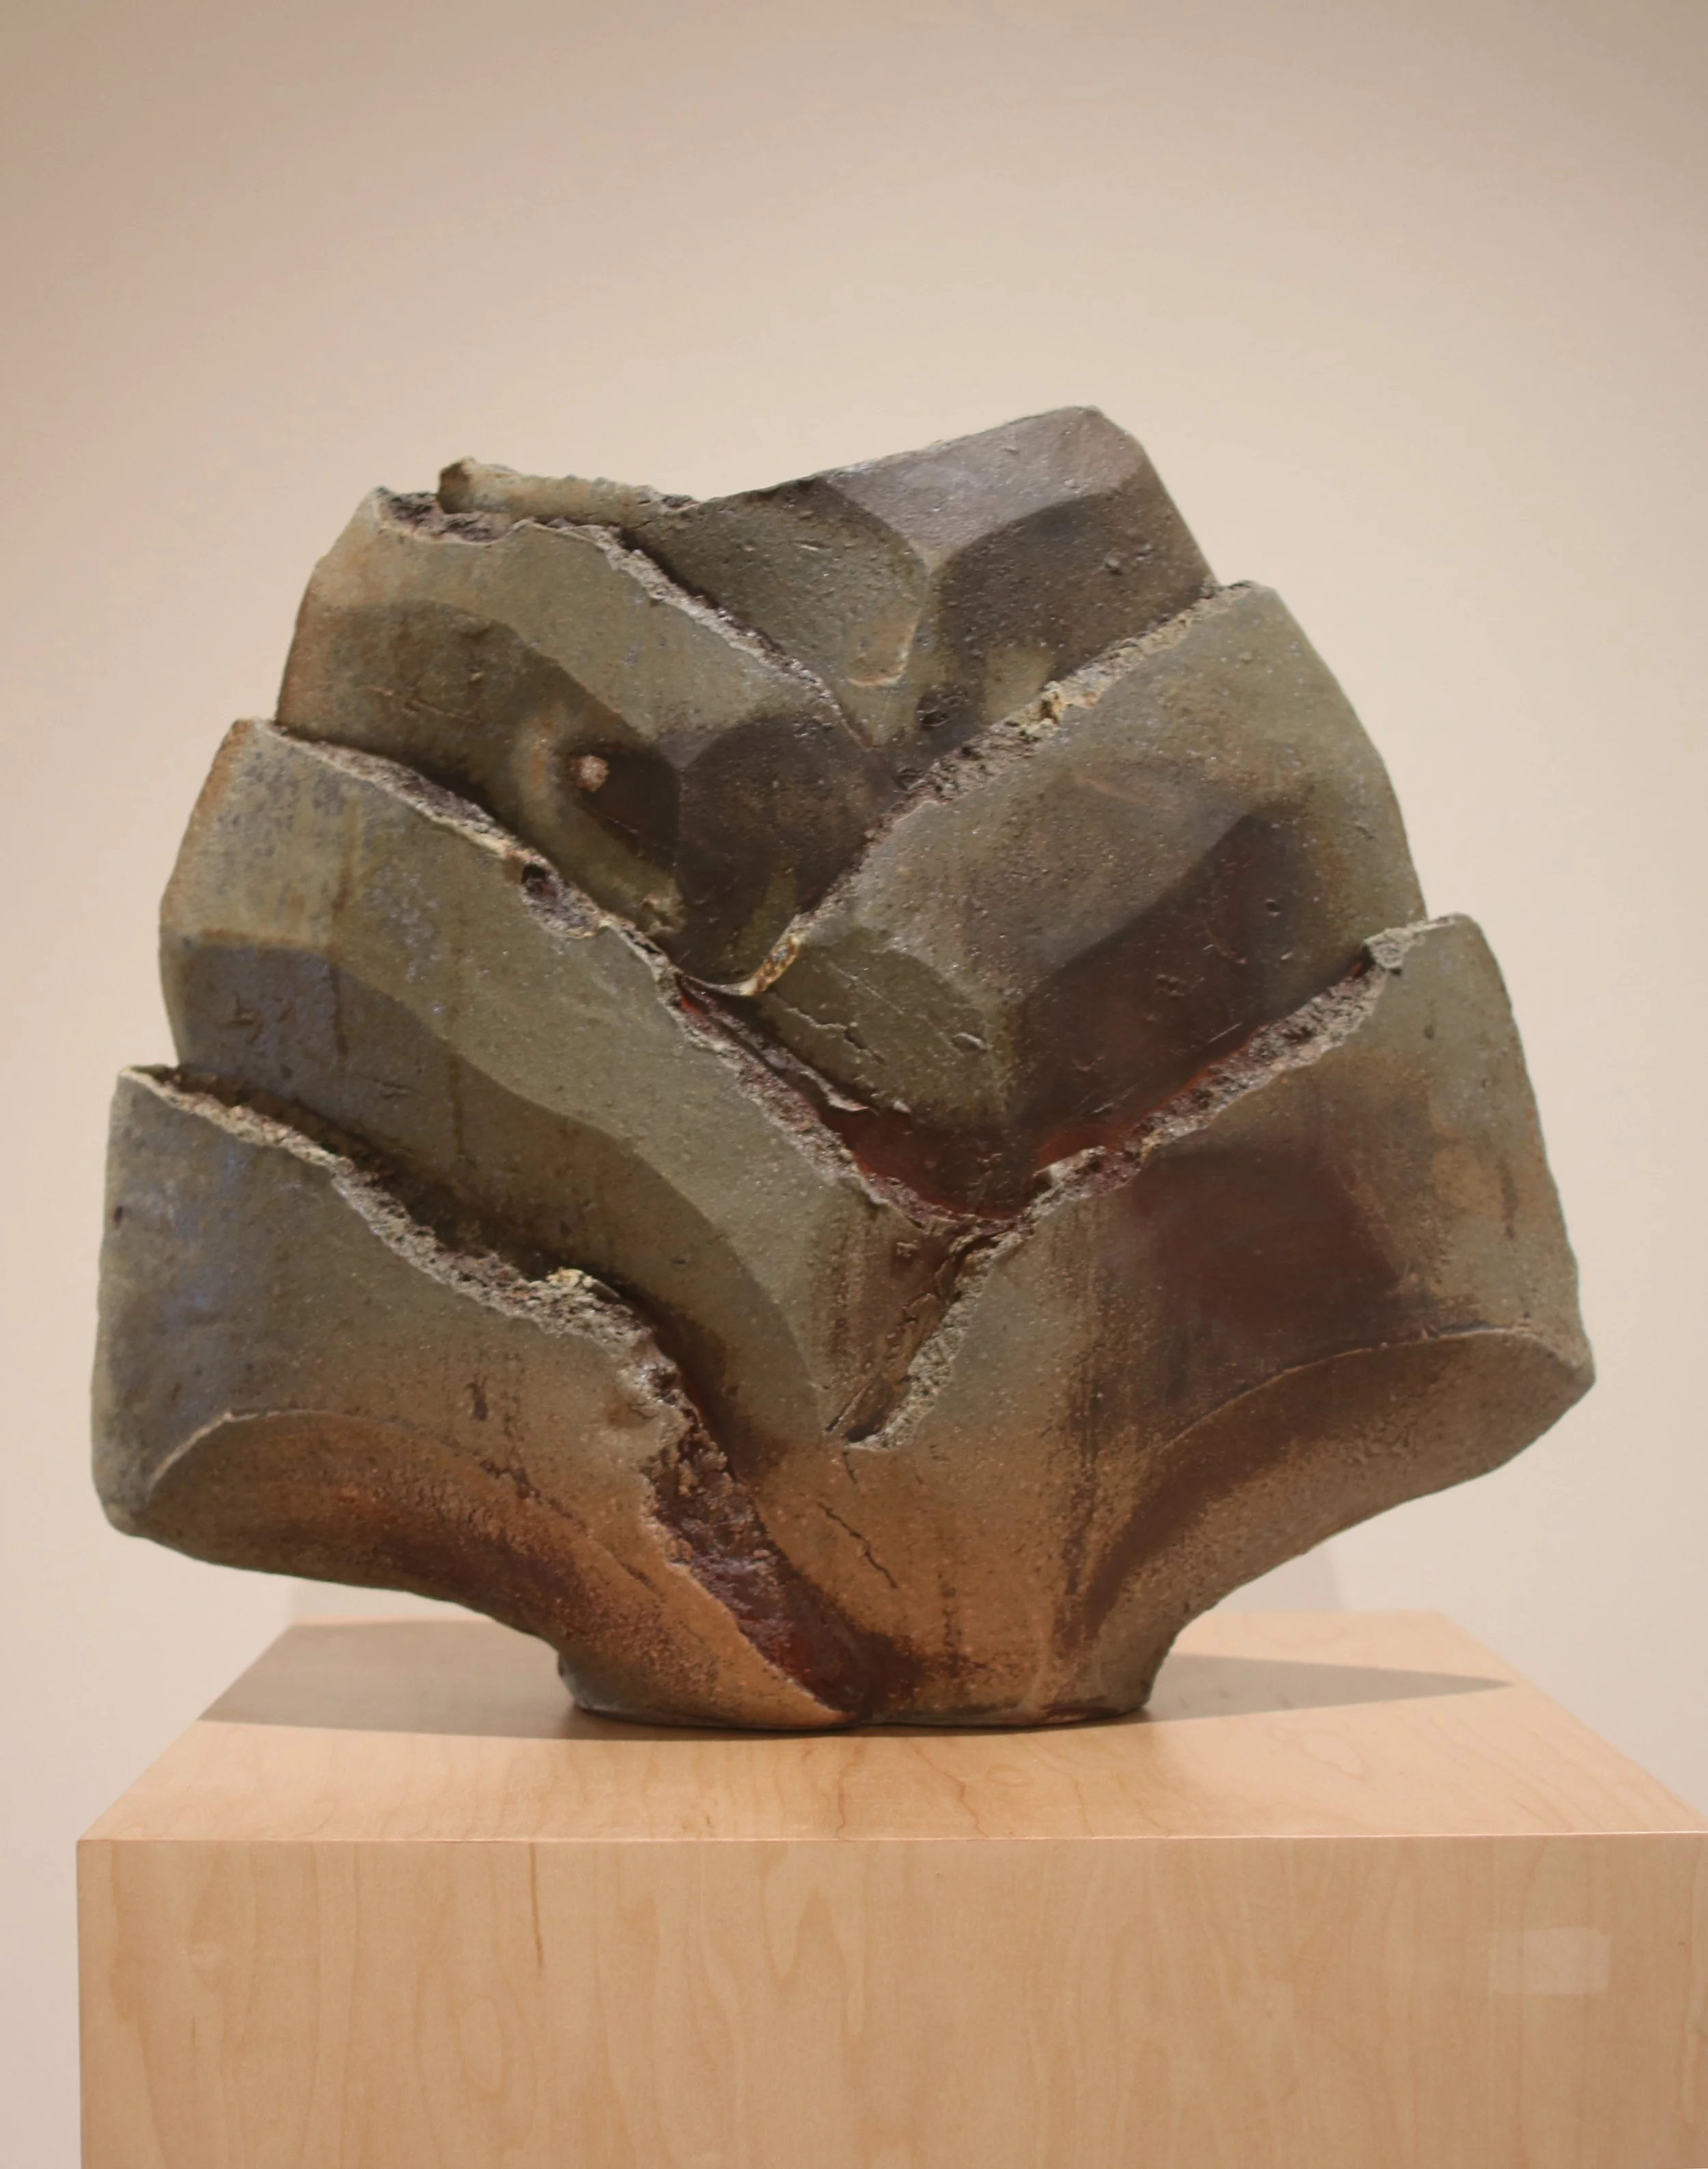


Here are some close ups:


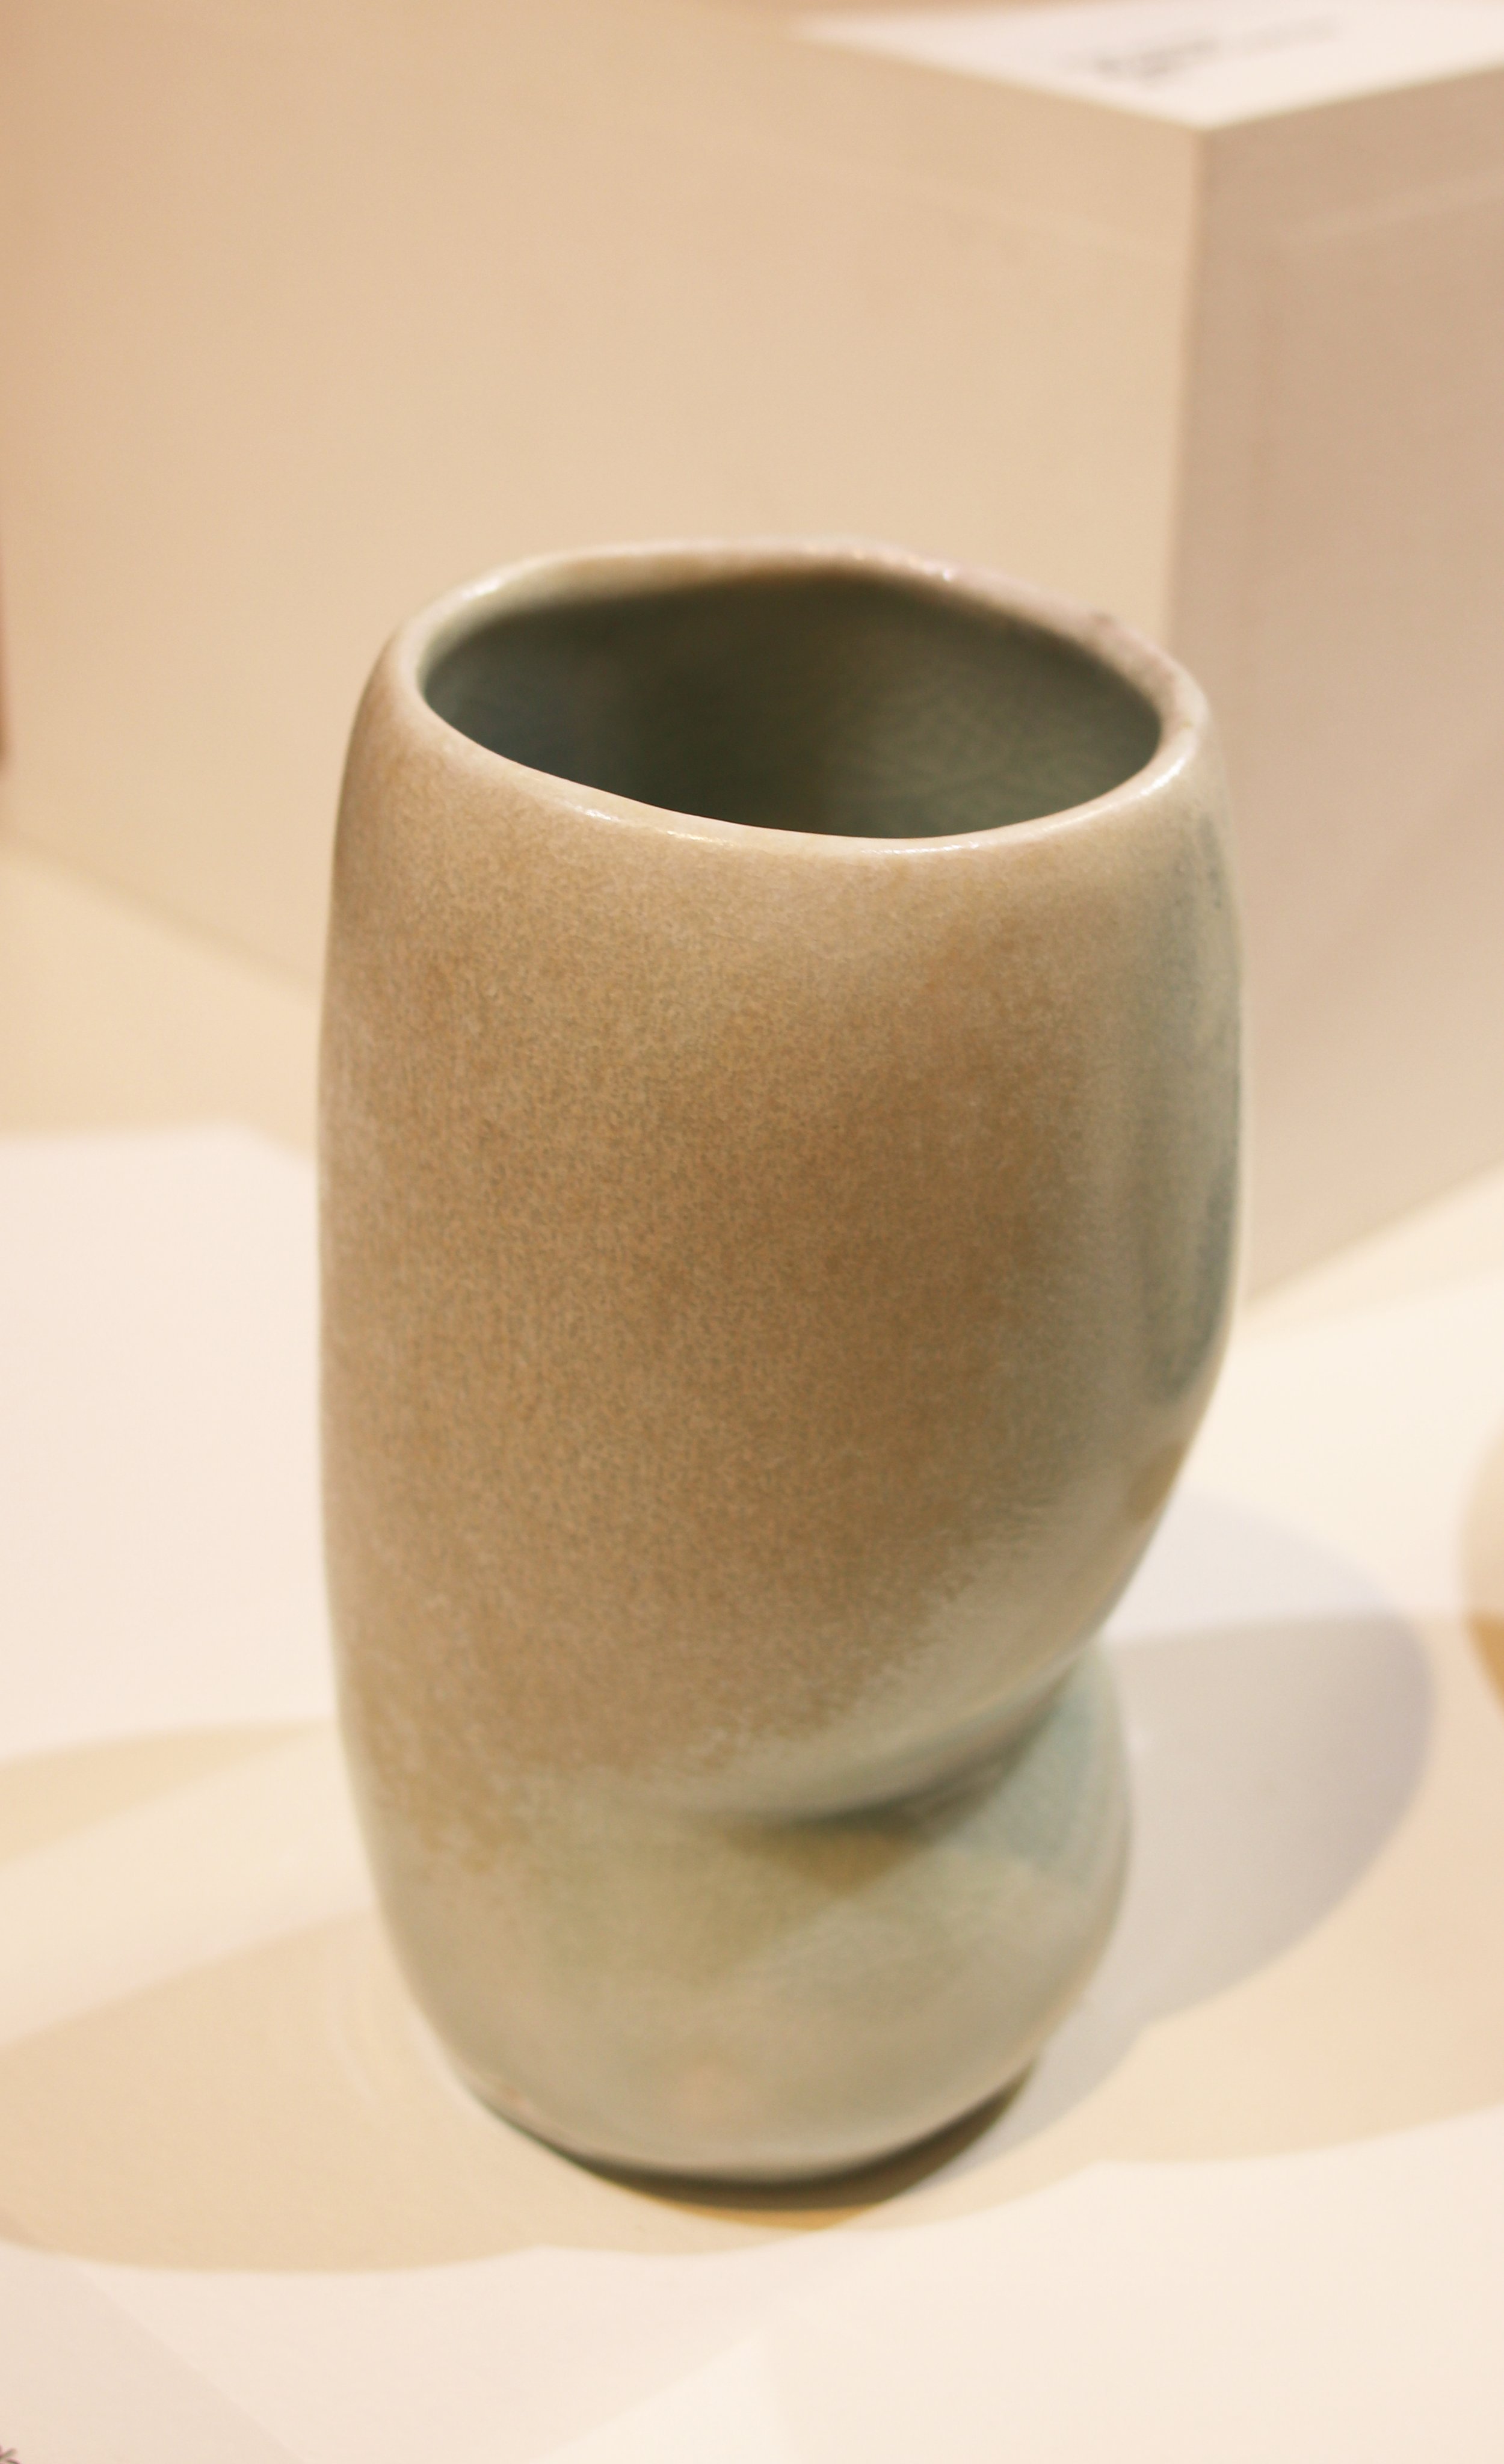
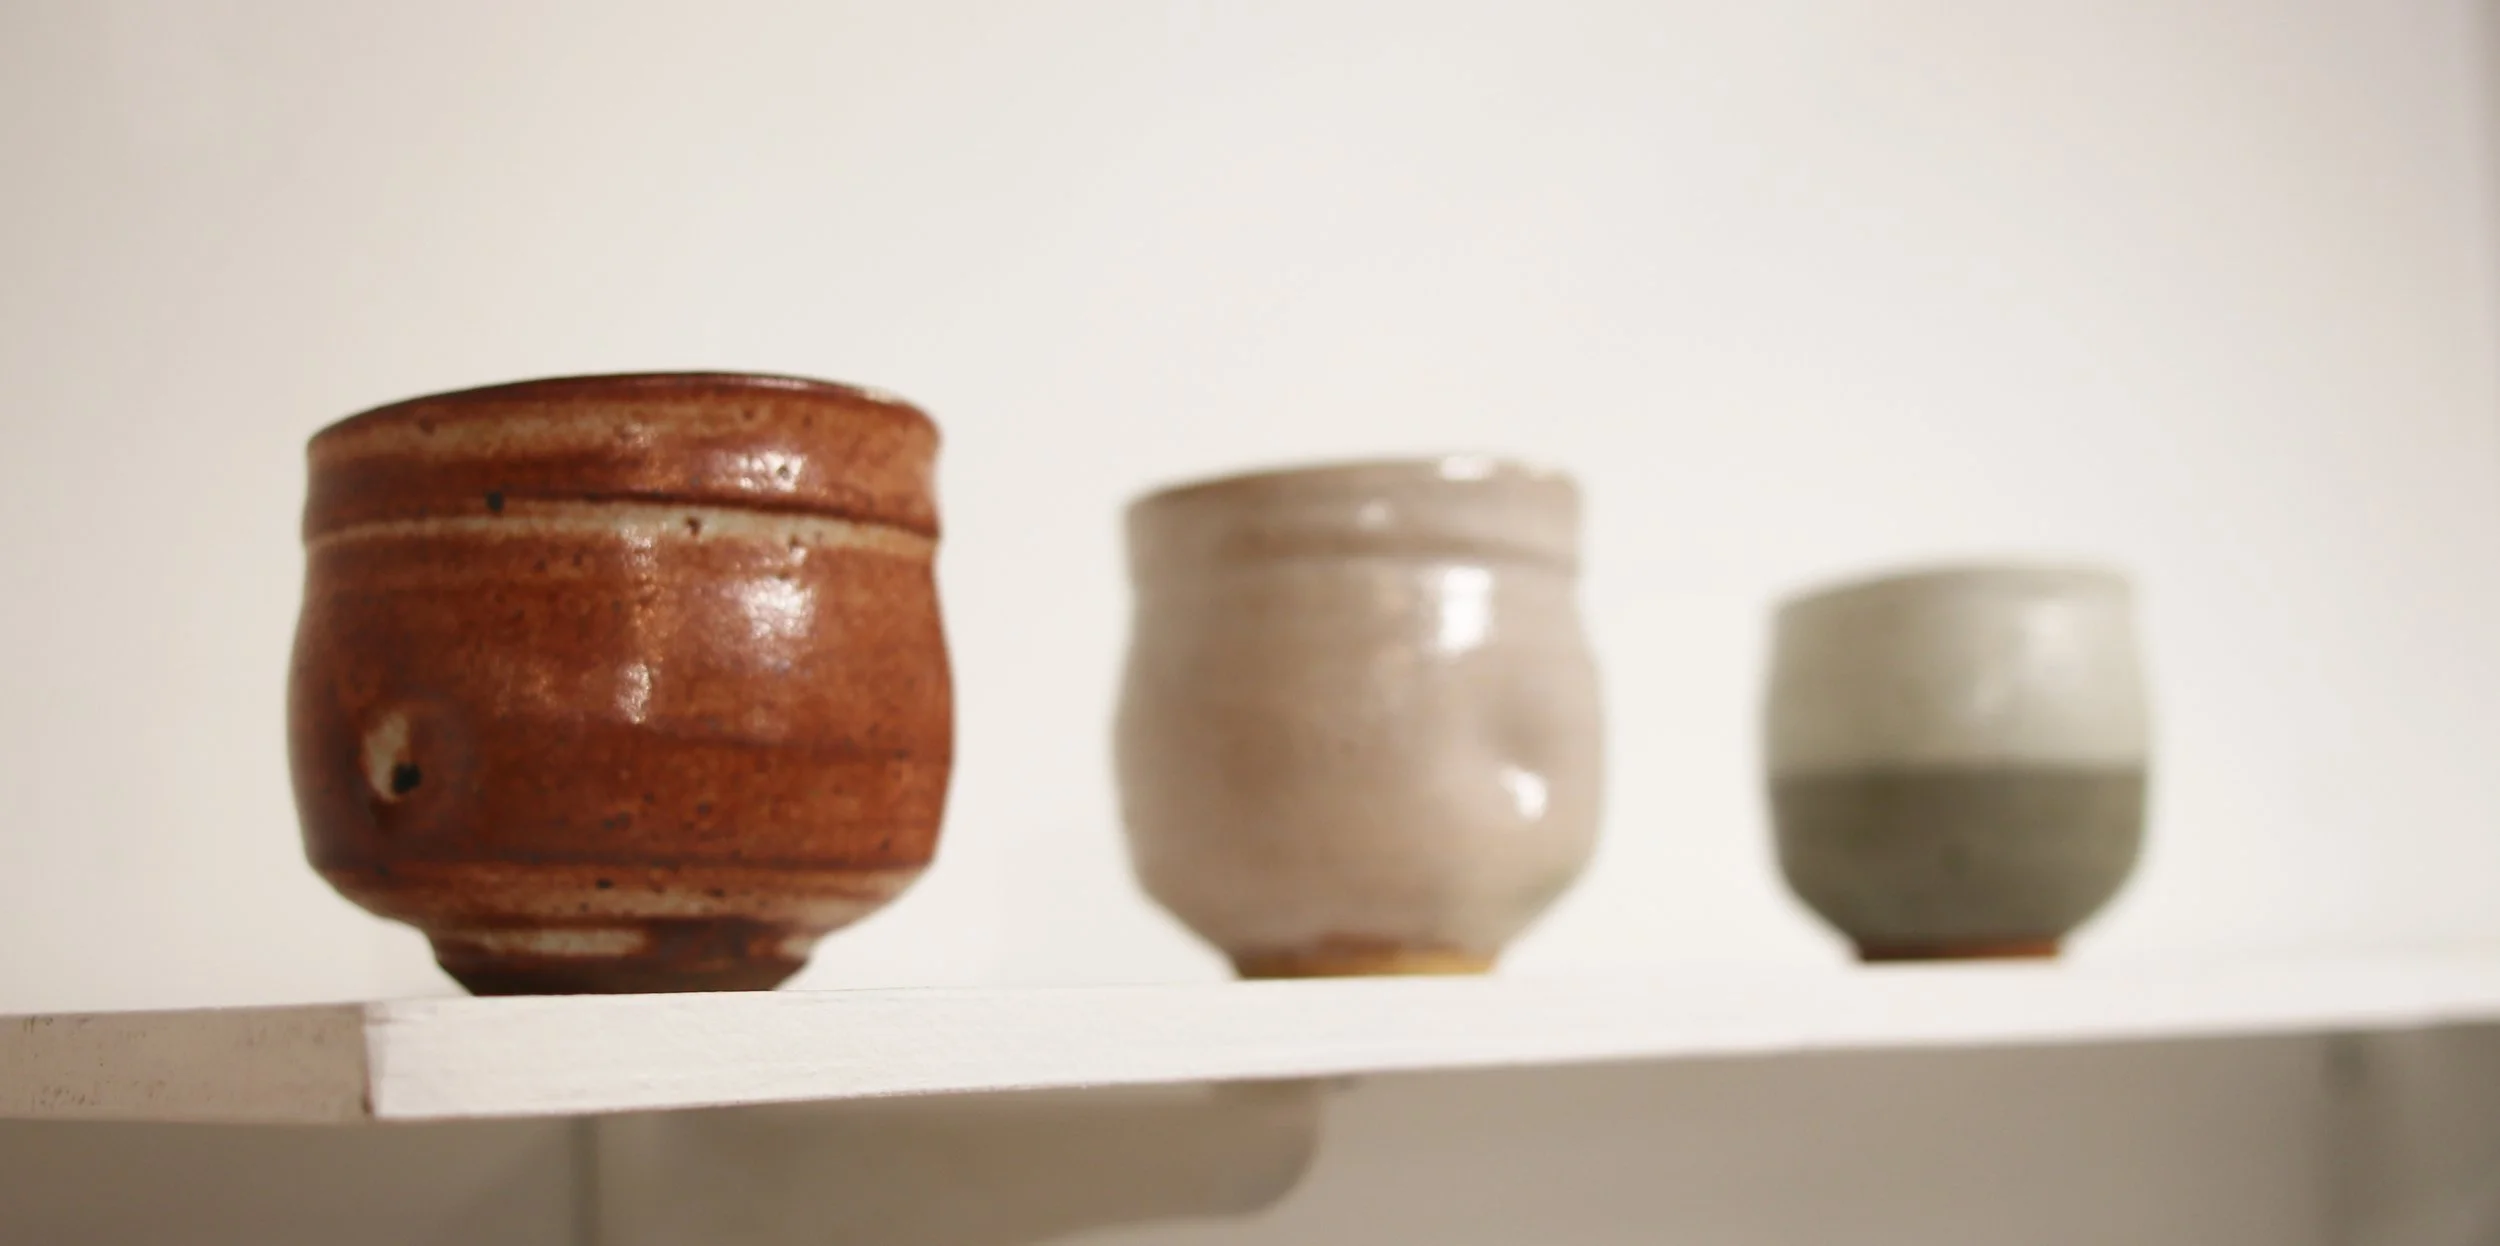
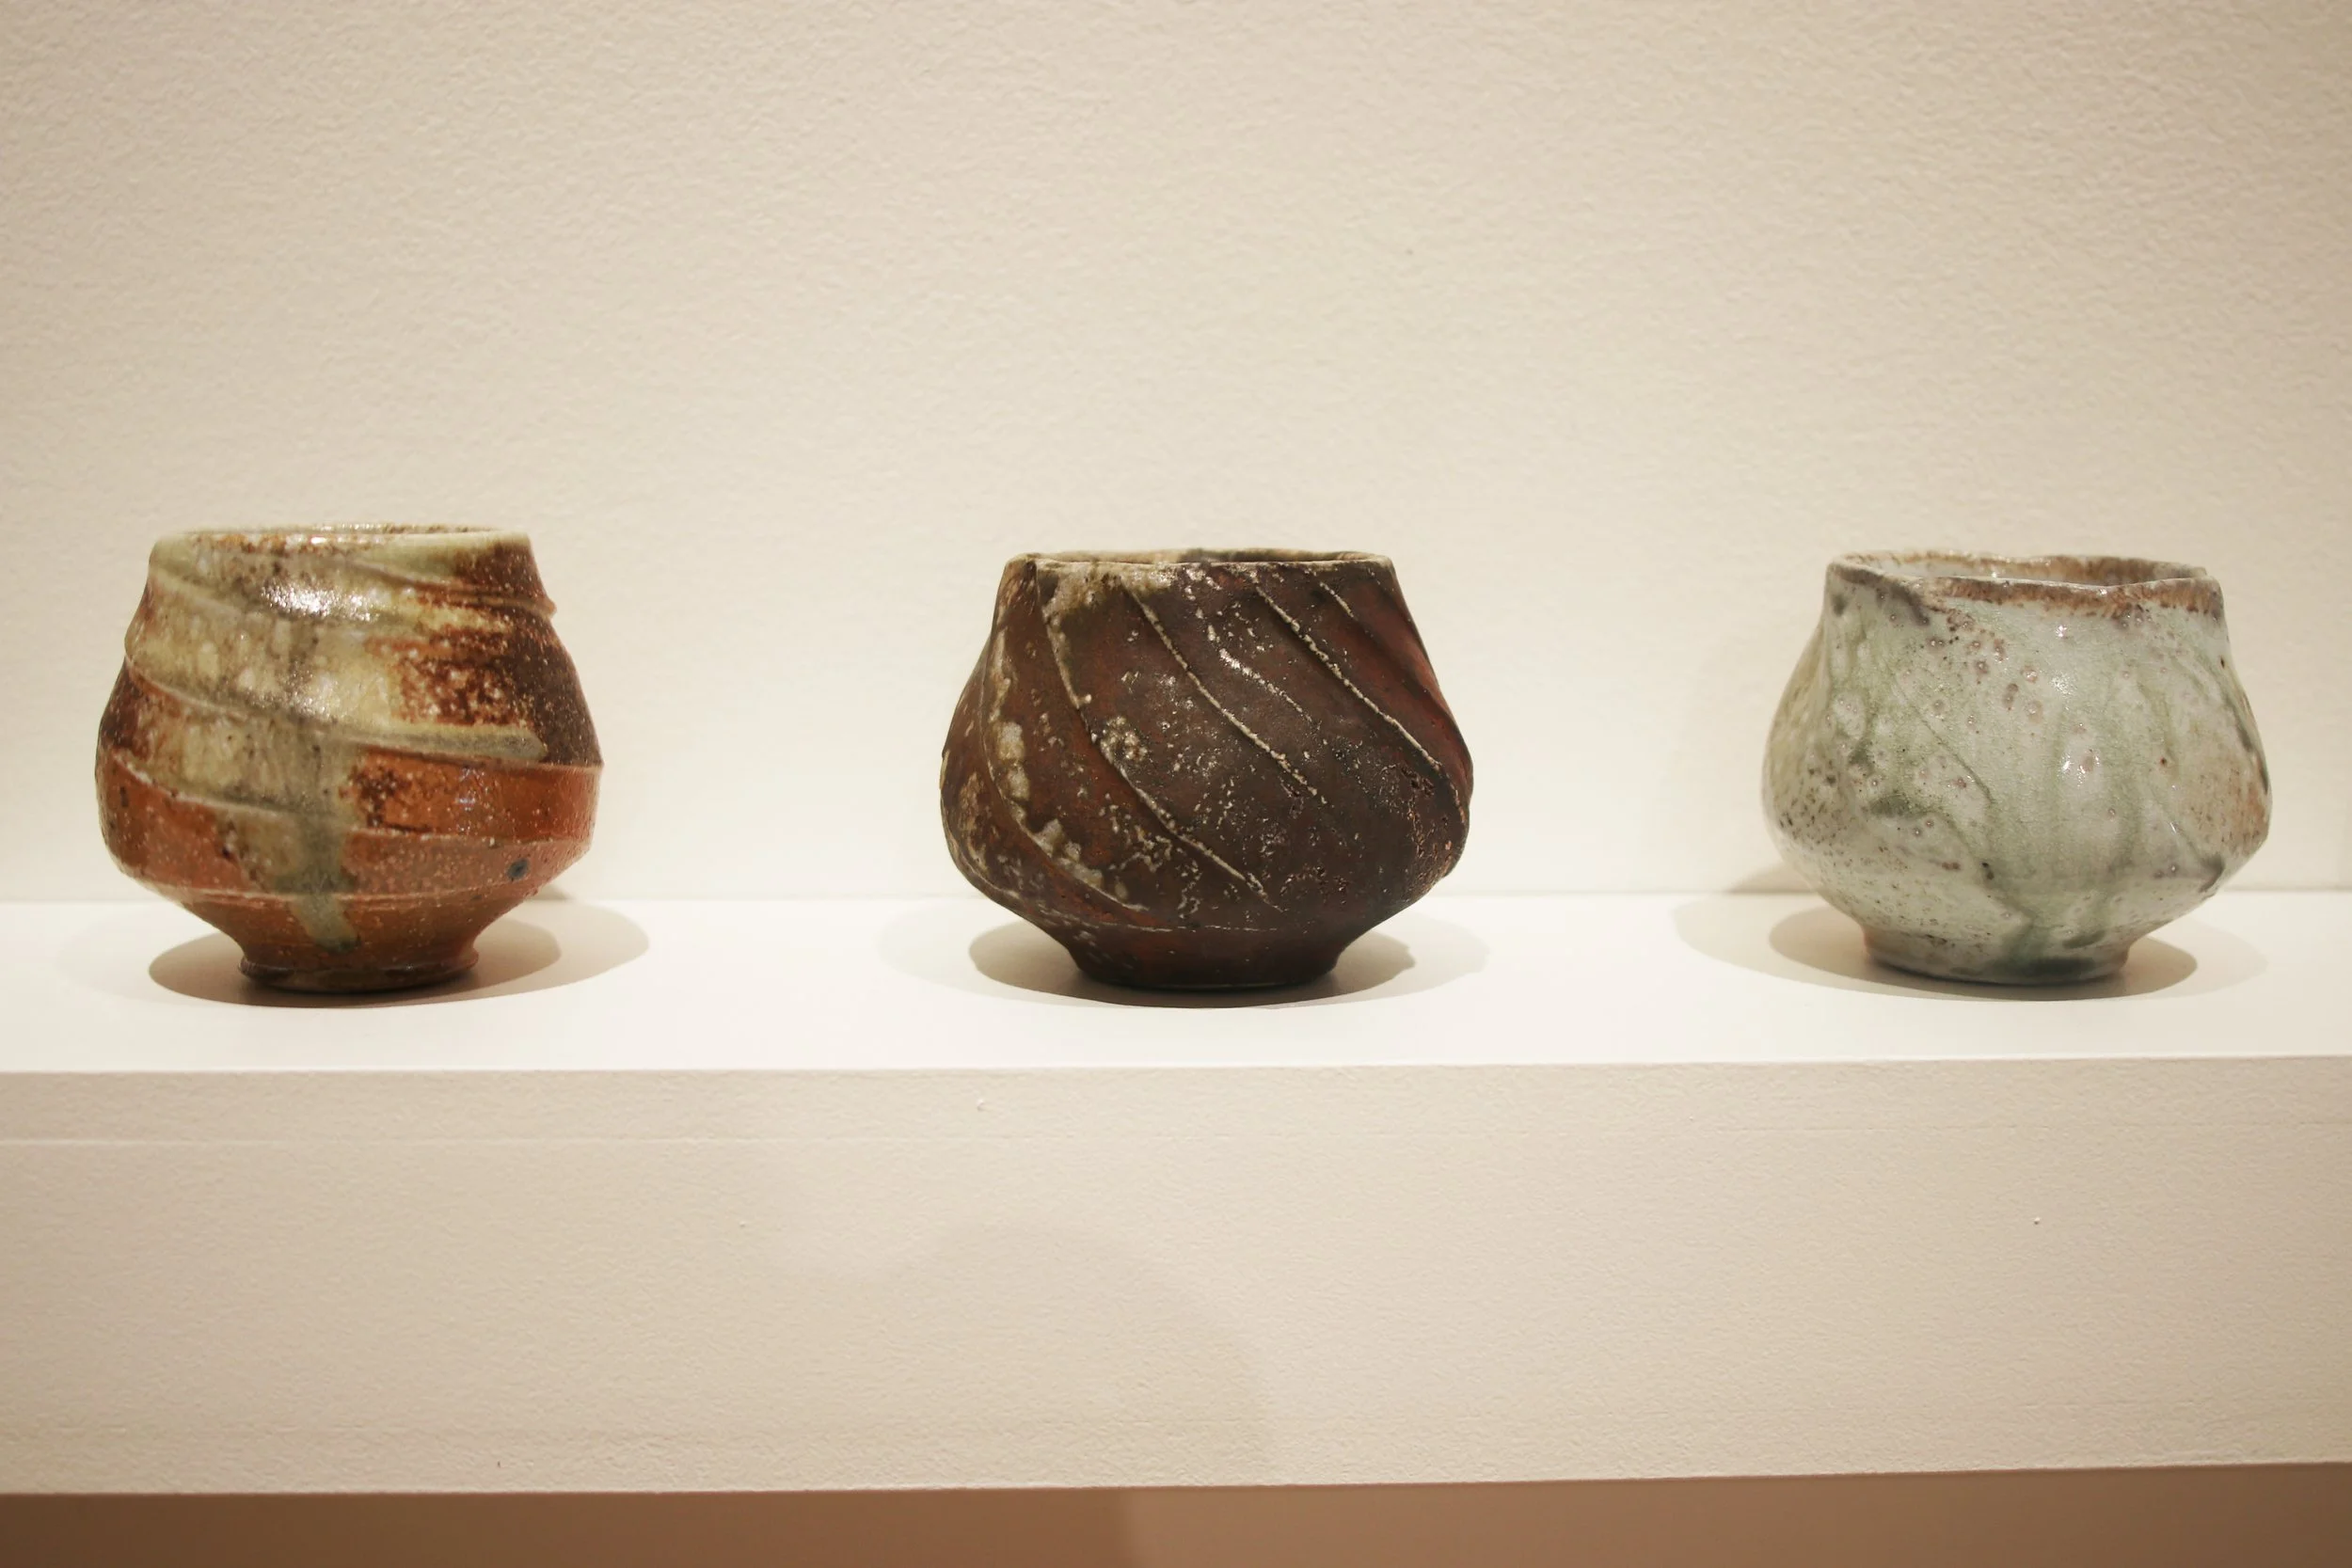
Alongside these sculptural vessels Max displayed an array of cups and teapots too. These show off the variety of wood fired surfaces he achieved on smaller canvases.


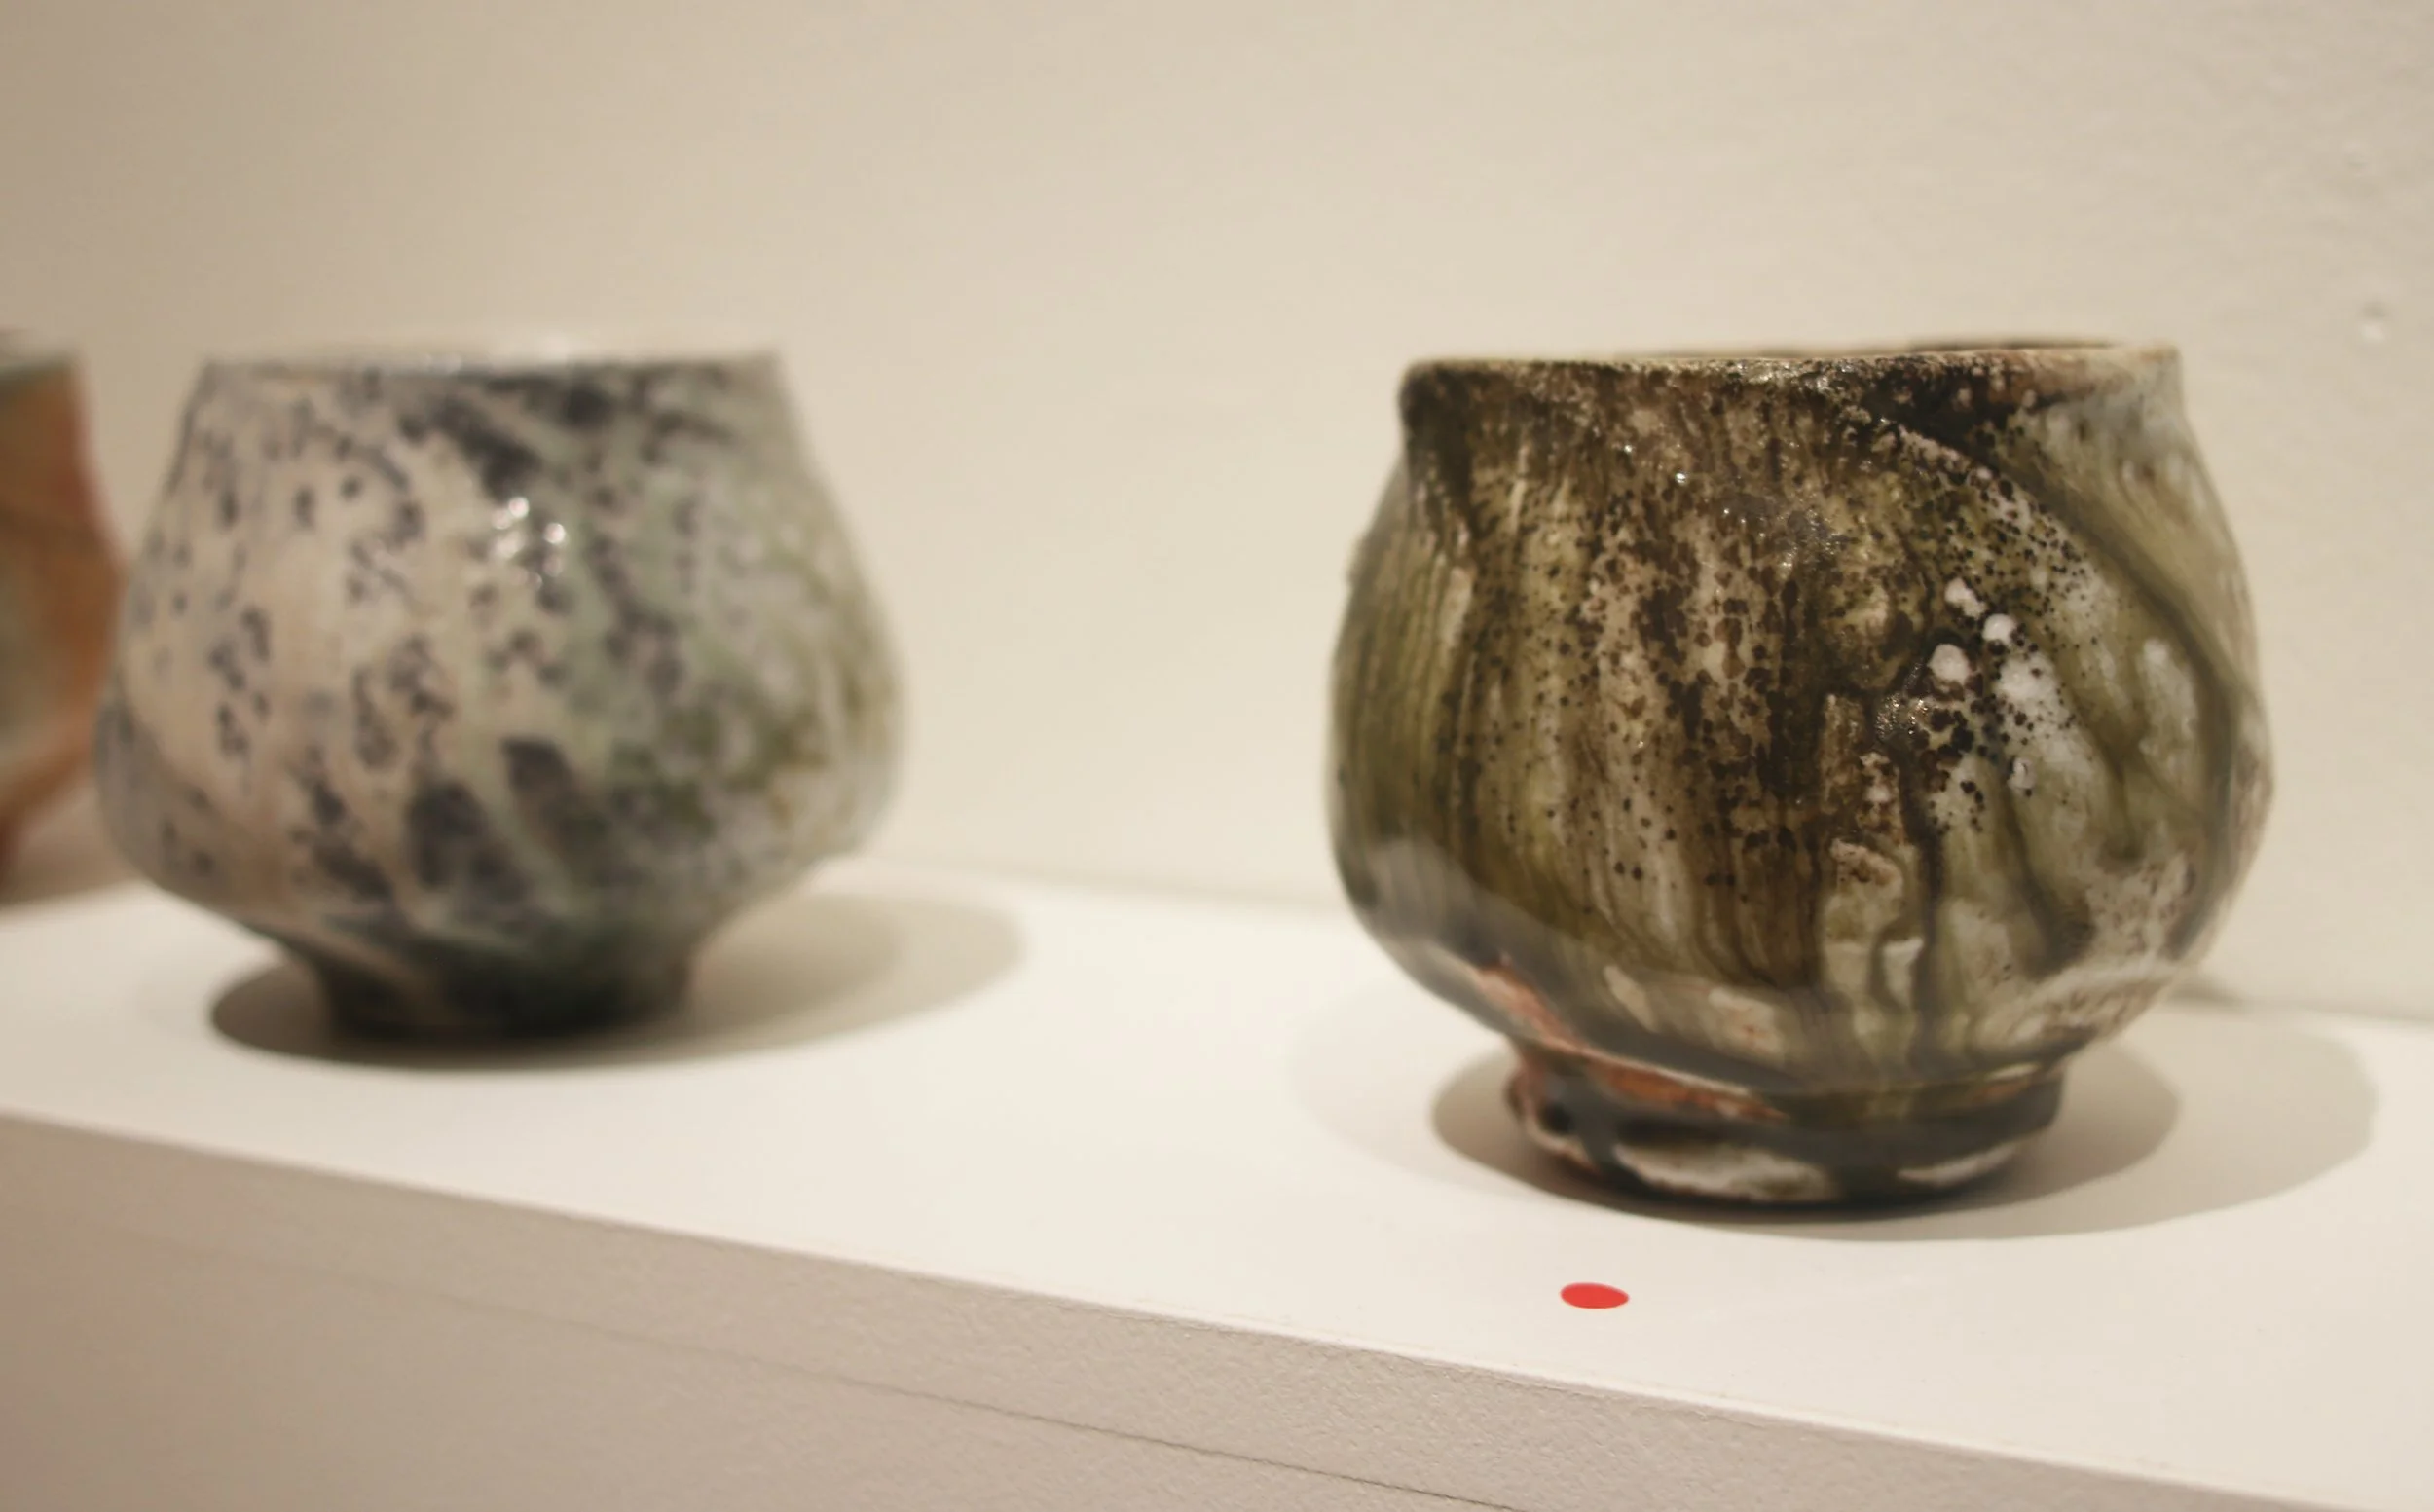
Now on to the teapots! As you may know, I am a bit obsessed with teapots and had to acquire one of these. The first one pictured here is coming home with me!


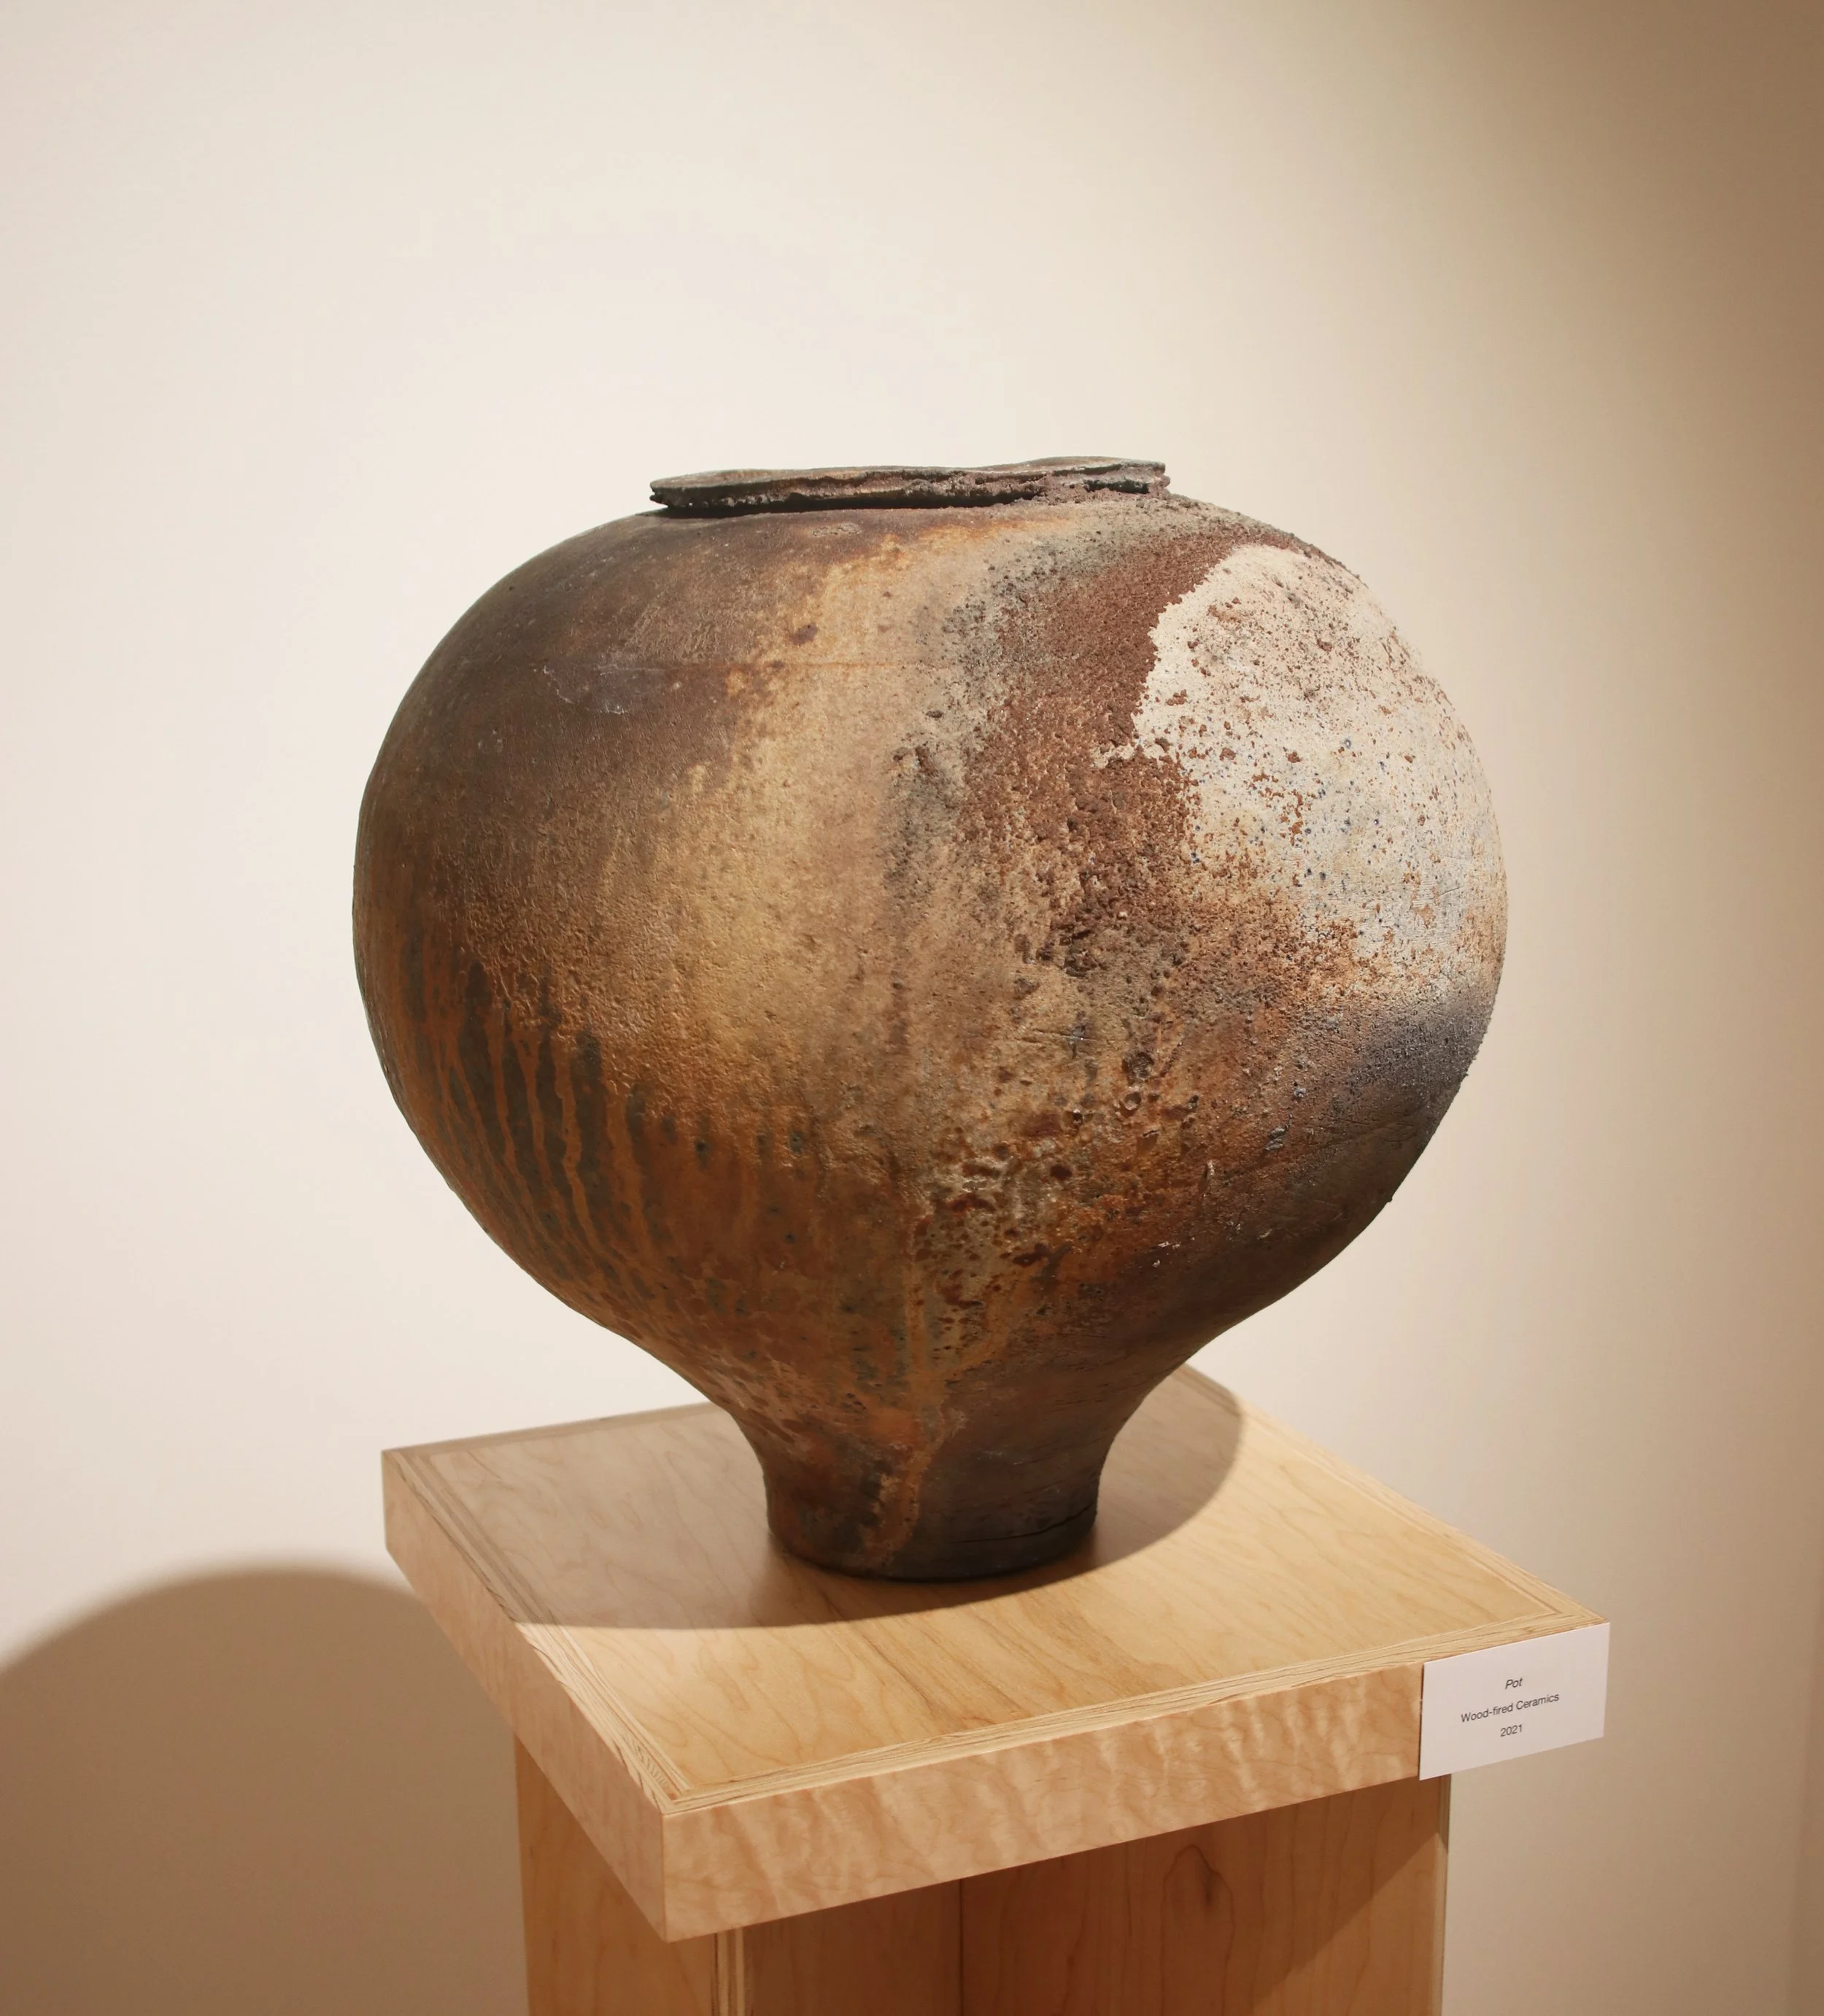
Max also showed one of his voluminous coil pots in the show. This one has a particularly intriguing surface:

Let’s end with some pictures during the opening reception (including two very cute pictures: one of Max and his dad, and one of my daughter, Juniper):


“Artifact” is up in the Tippets and Eccles Gallery at USU until Friday 22nd April; come on over if you live anywhere close!