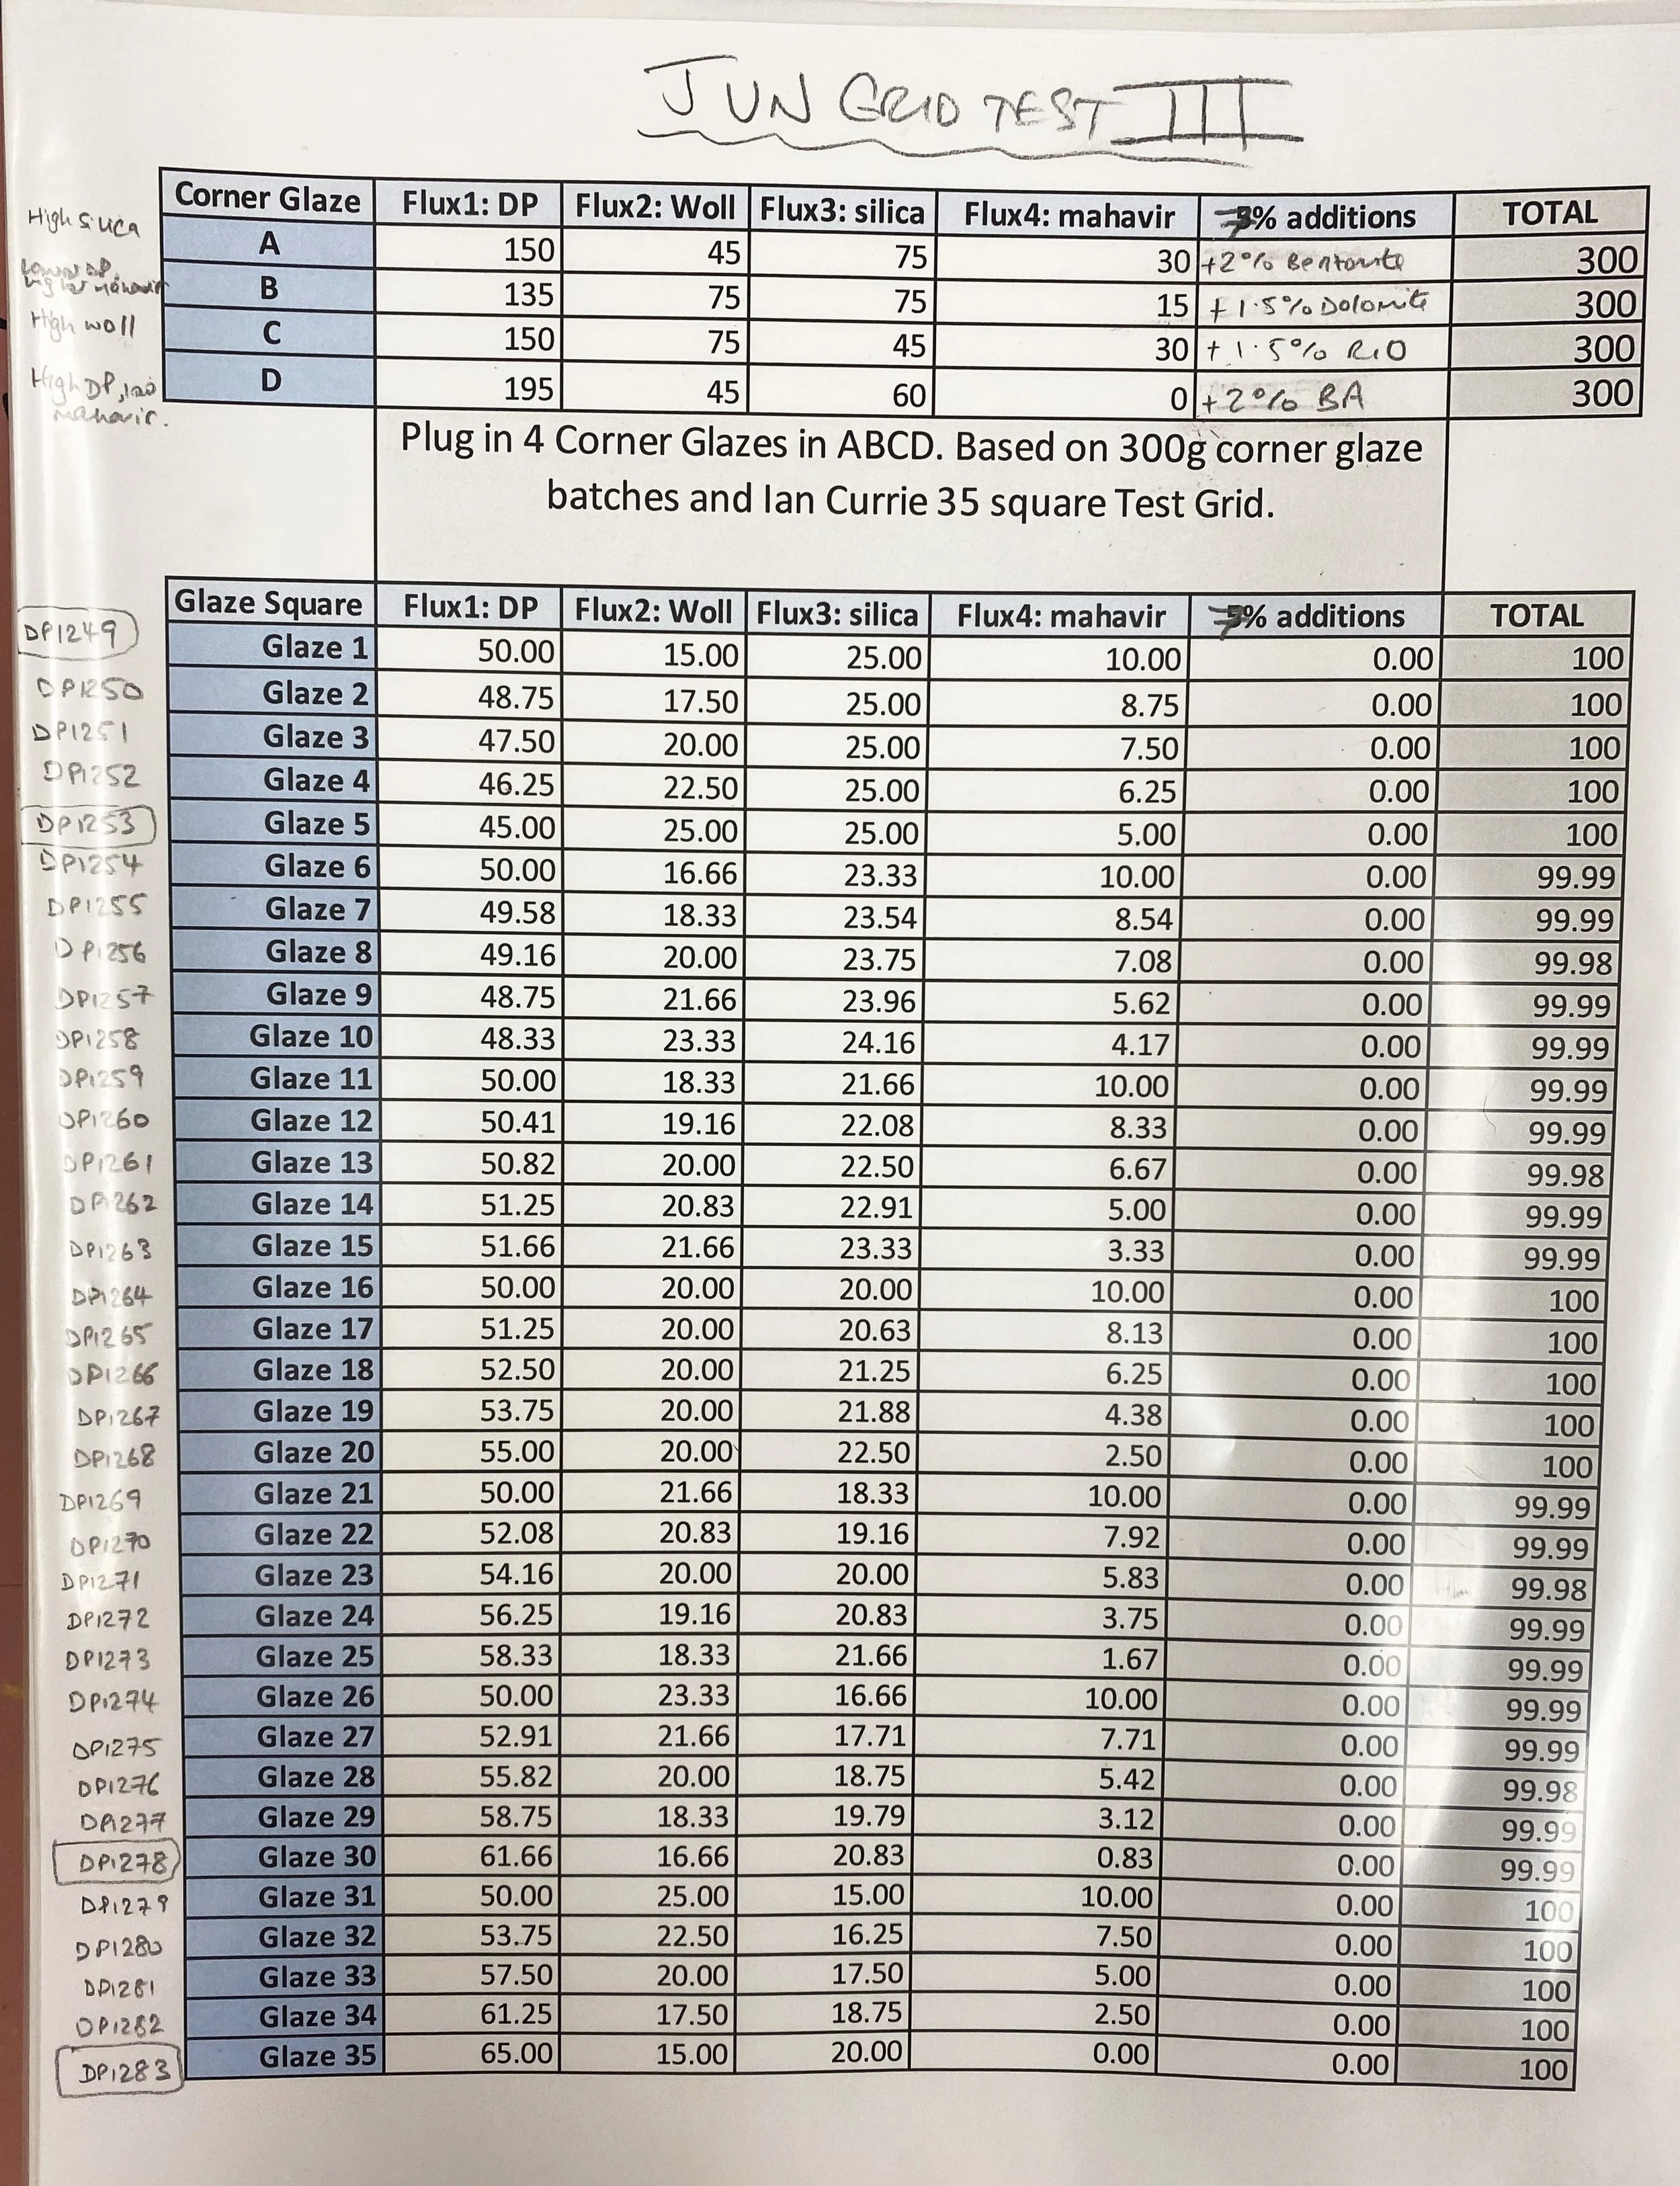
Jun (Chün) glaze tests: Reduction cooling (down firing)
My results from Grid III (see my previous post) demonstrated the importance of reduction to achieving opalescent blue Jun effects.
So in this next test, I decided to fire in a more reduced atmosphere on the way up, and also during an intentionally slower cooling or down firing. On the grid test tiles I indicate this firing with “SLOW COOL.”
I did this in a medium-sized gas kiln at USU (mixed in with various tenmoku tests also)…
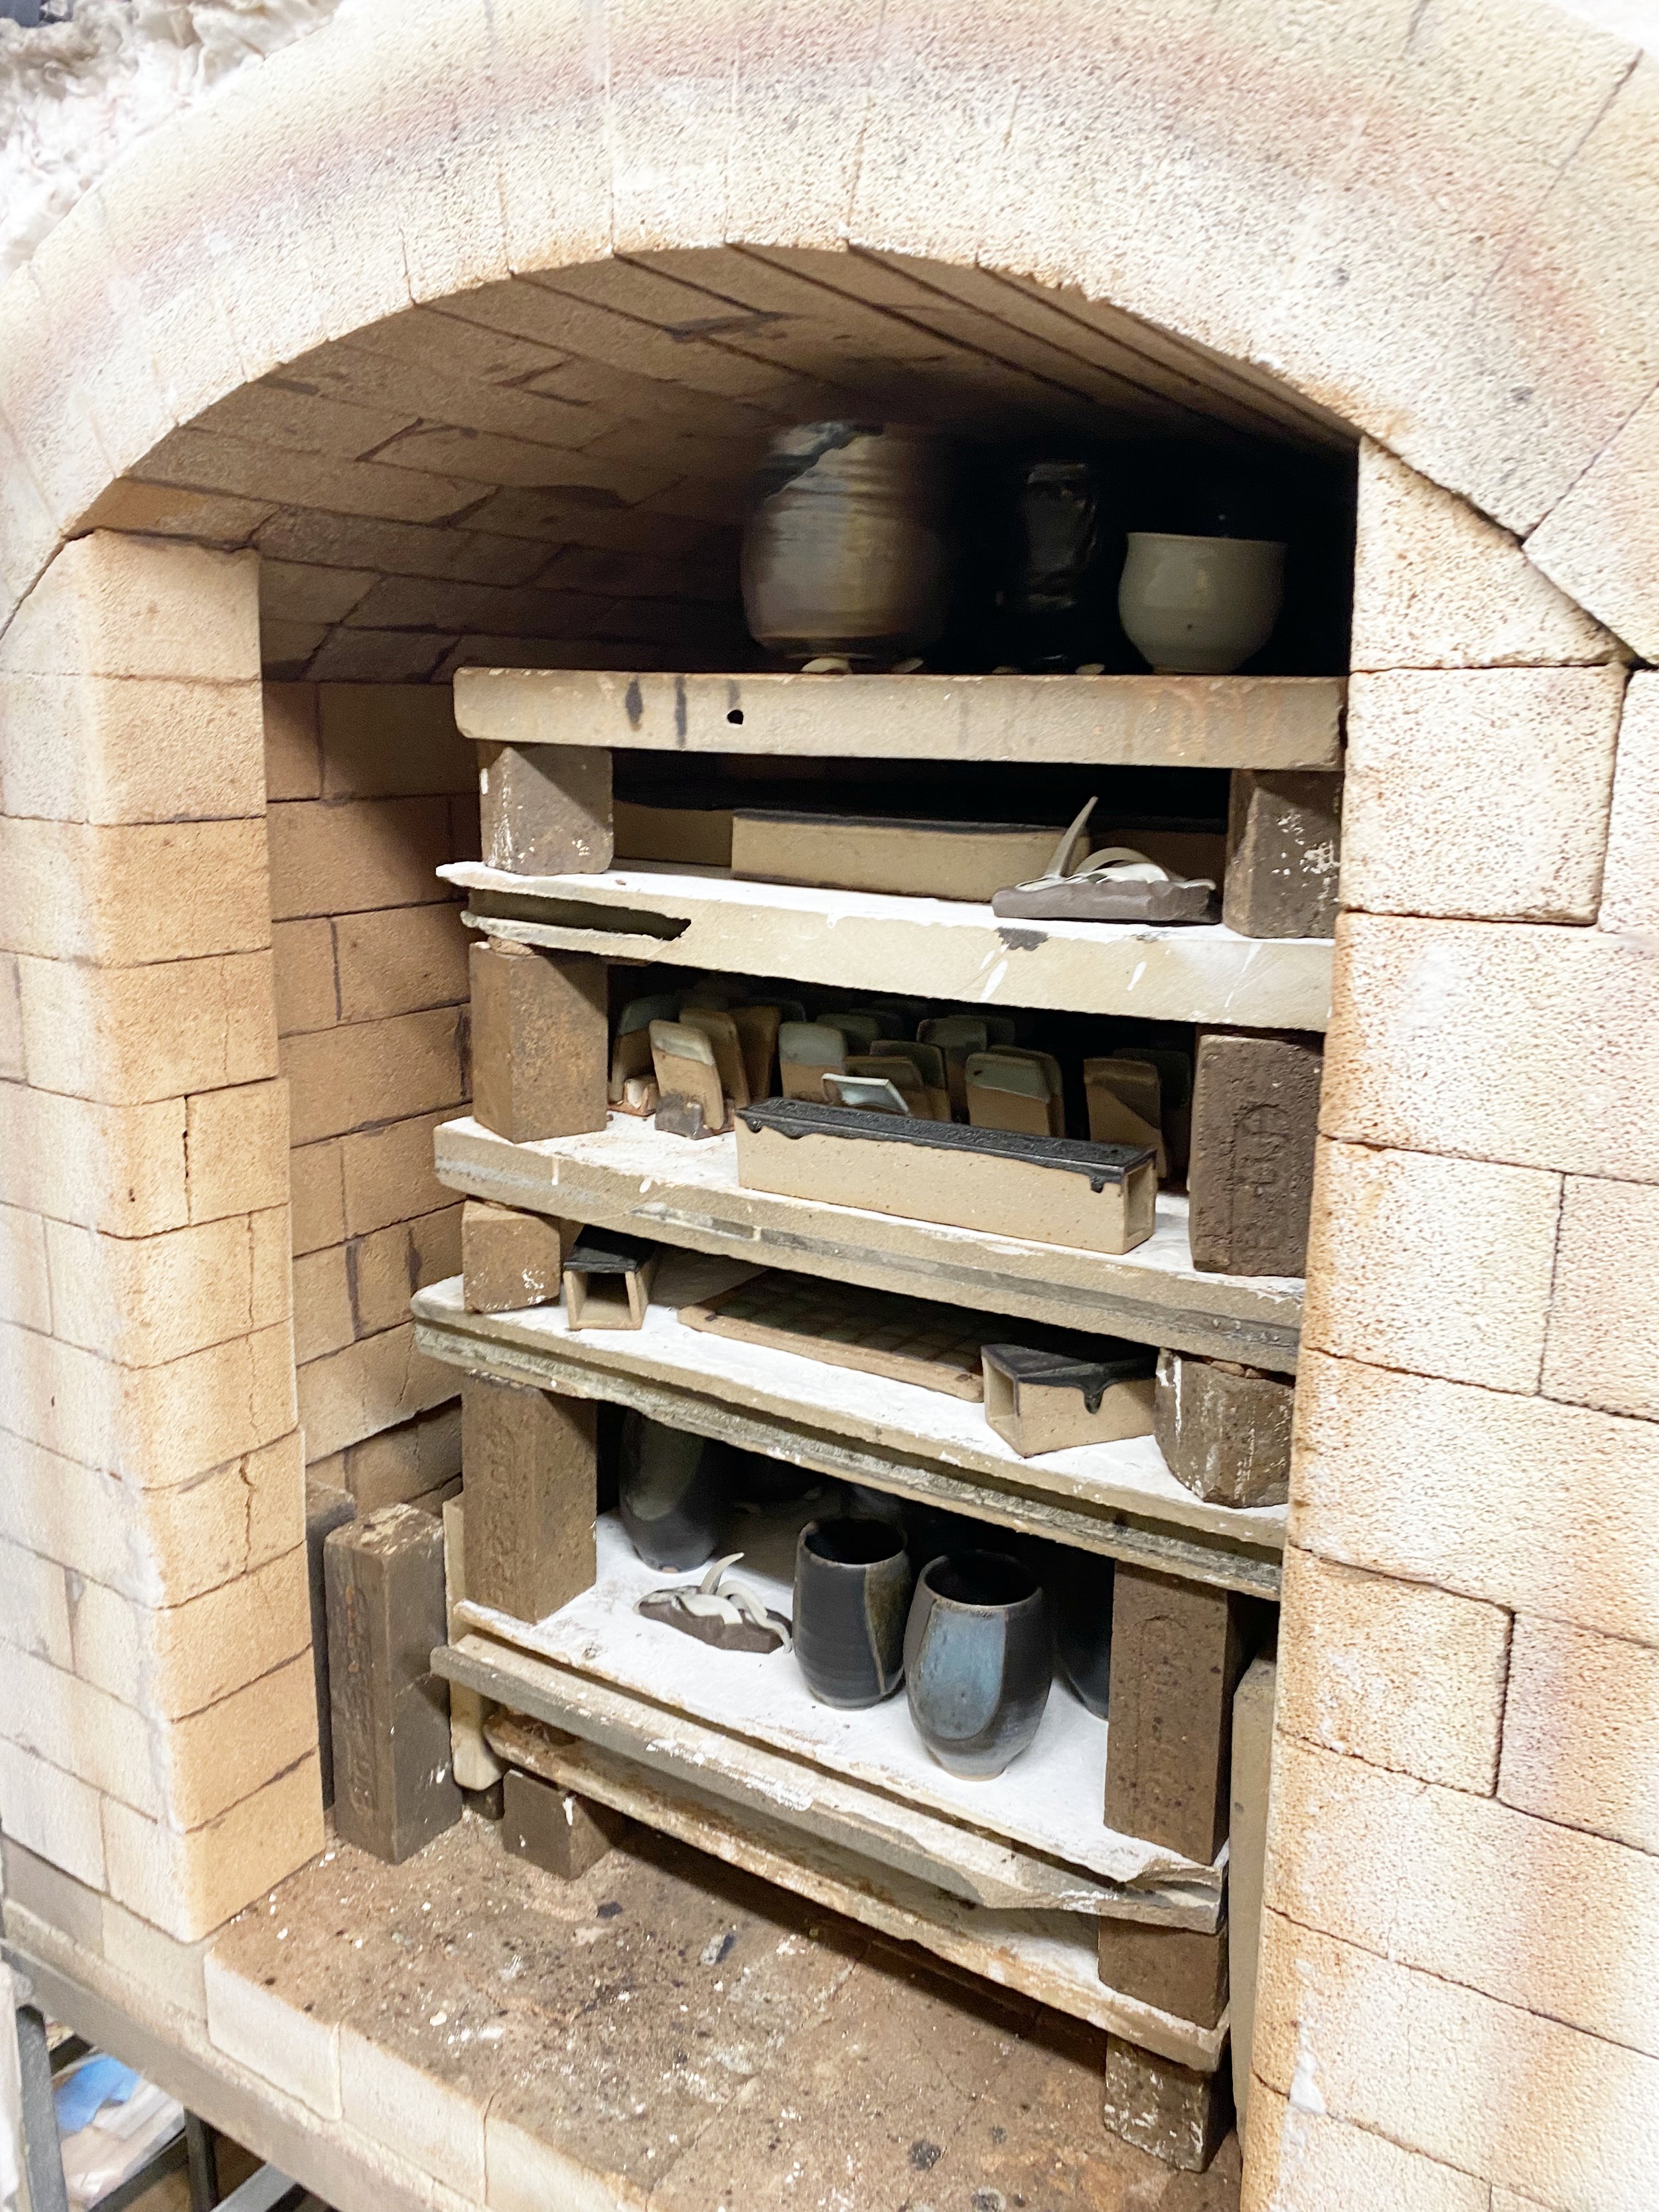
Here is the kiln log:.
This firing style had a significant effect on the glazes. Up until now, I have been firing in a very standard way: going up to cone 10 in medium reduction, with an hour of body reduction when cone 011 goes down. I have been letting the kiln cool naturally from the time when cone 10 touches down… in these small test gas kilns that means the glazes cool off very rapidly.
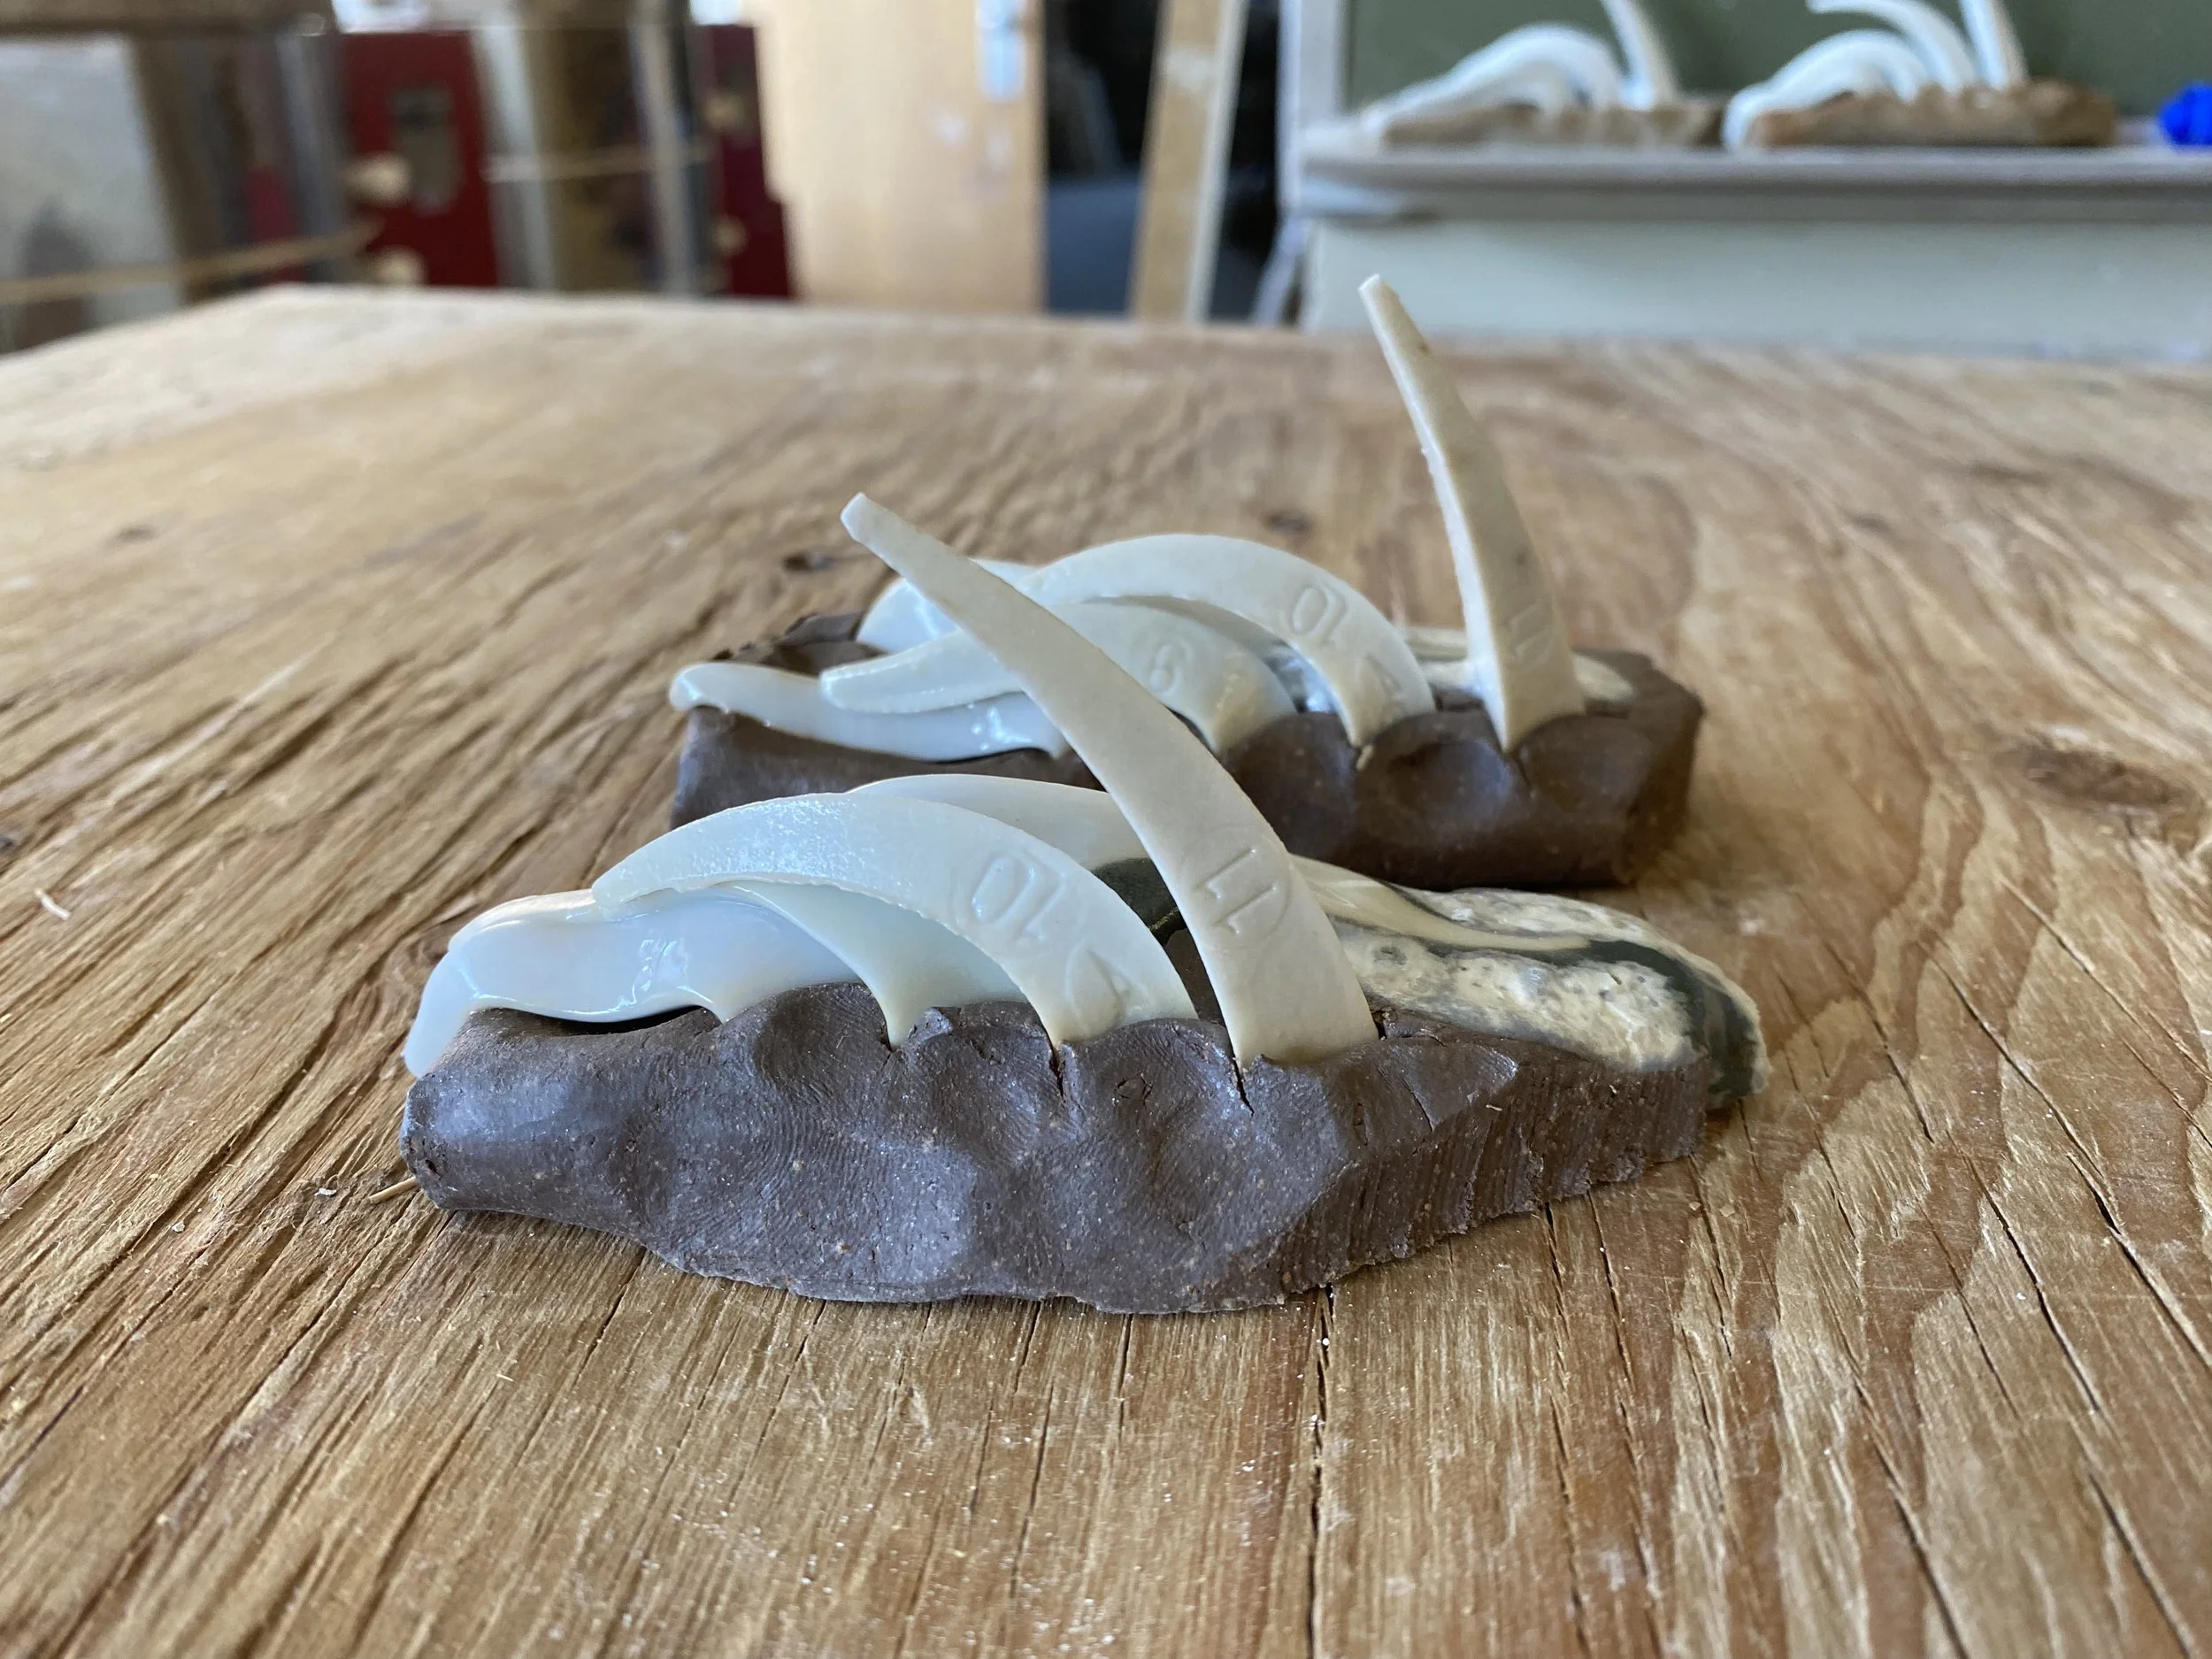
In this firing, I reduced a lot more on the way up and also on the way down. You can see this from the clay color on these cone packs (and the tone of all the test tiles to follow). The darker cone packs were from this firing and the lighter one was in a previous firing. These cone packs were made of the same clay, so they offer a good indication of the different atmospheres.

I slowed the cooling down (in reduction) for 8 hours, with a 4 hour hold around 1850*F. I was expecting the extra reduction on the way up and during the cooling to make the blues richer and darker, but this was not the case. In fact, the opposite happened. It did make the opalescent Jun effect much more prominent, however.
Let’s take a look at the tests. I included test tiles from my grids 1, 2, 3 and my initial 12 tests in this firing, so there is a lot to lay out and compare.
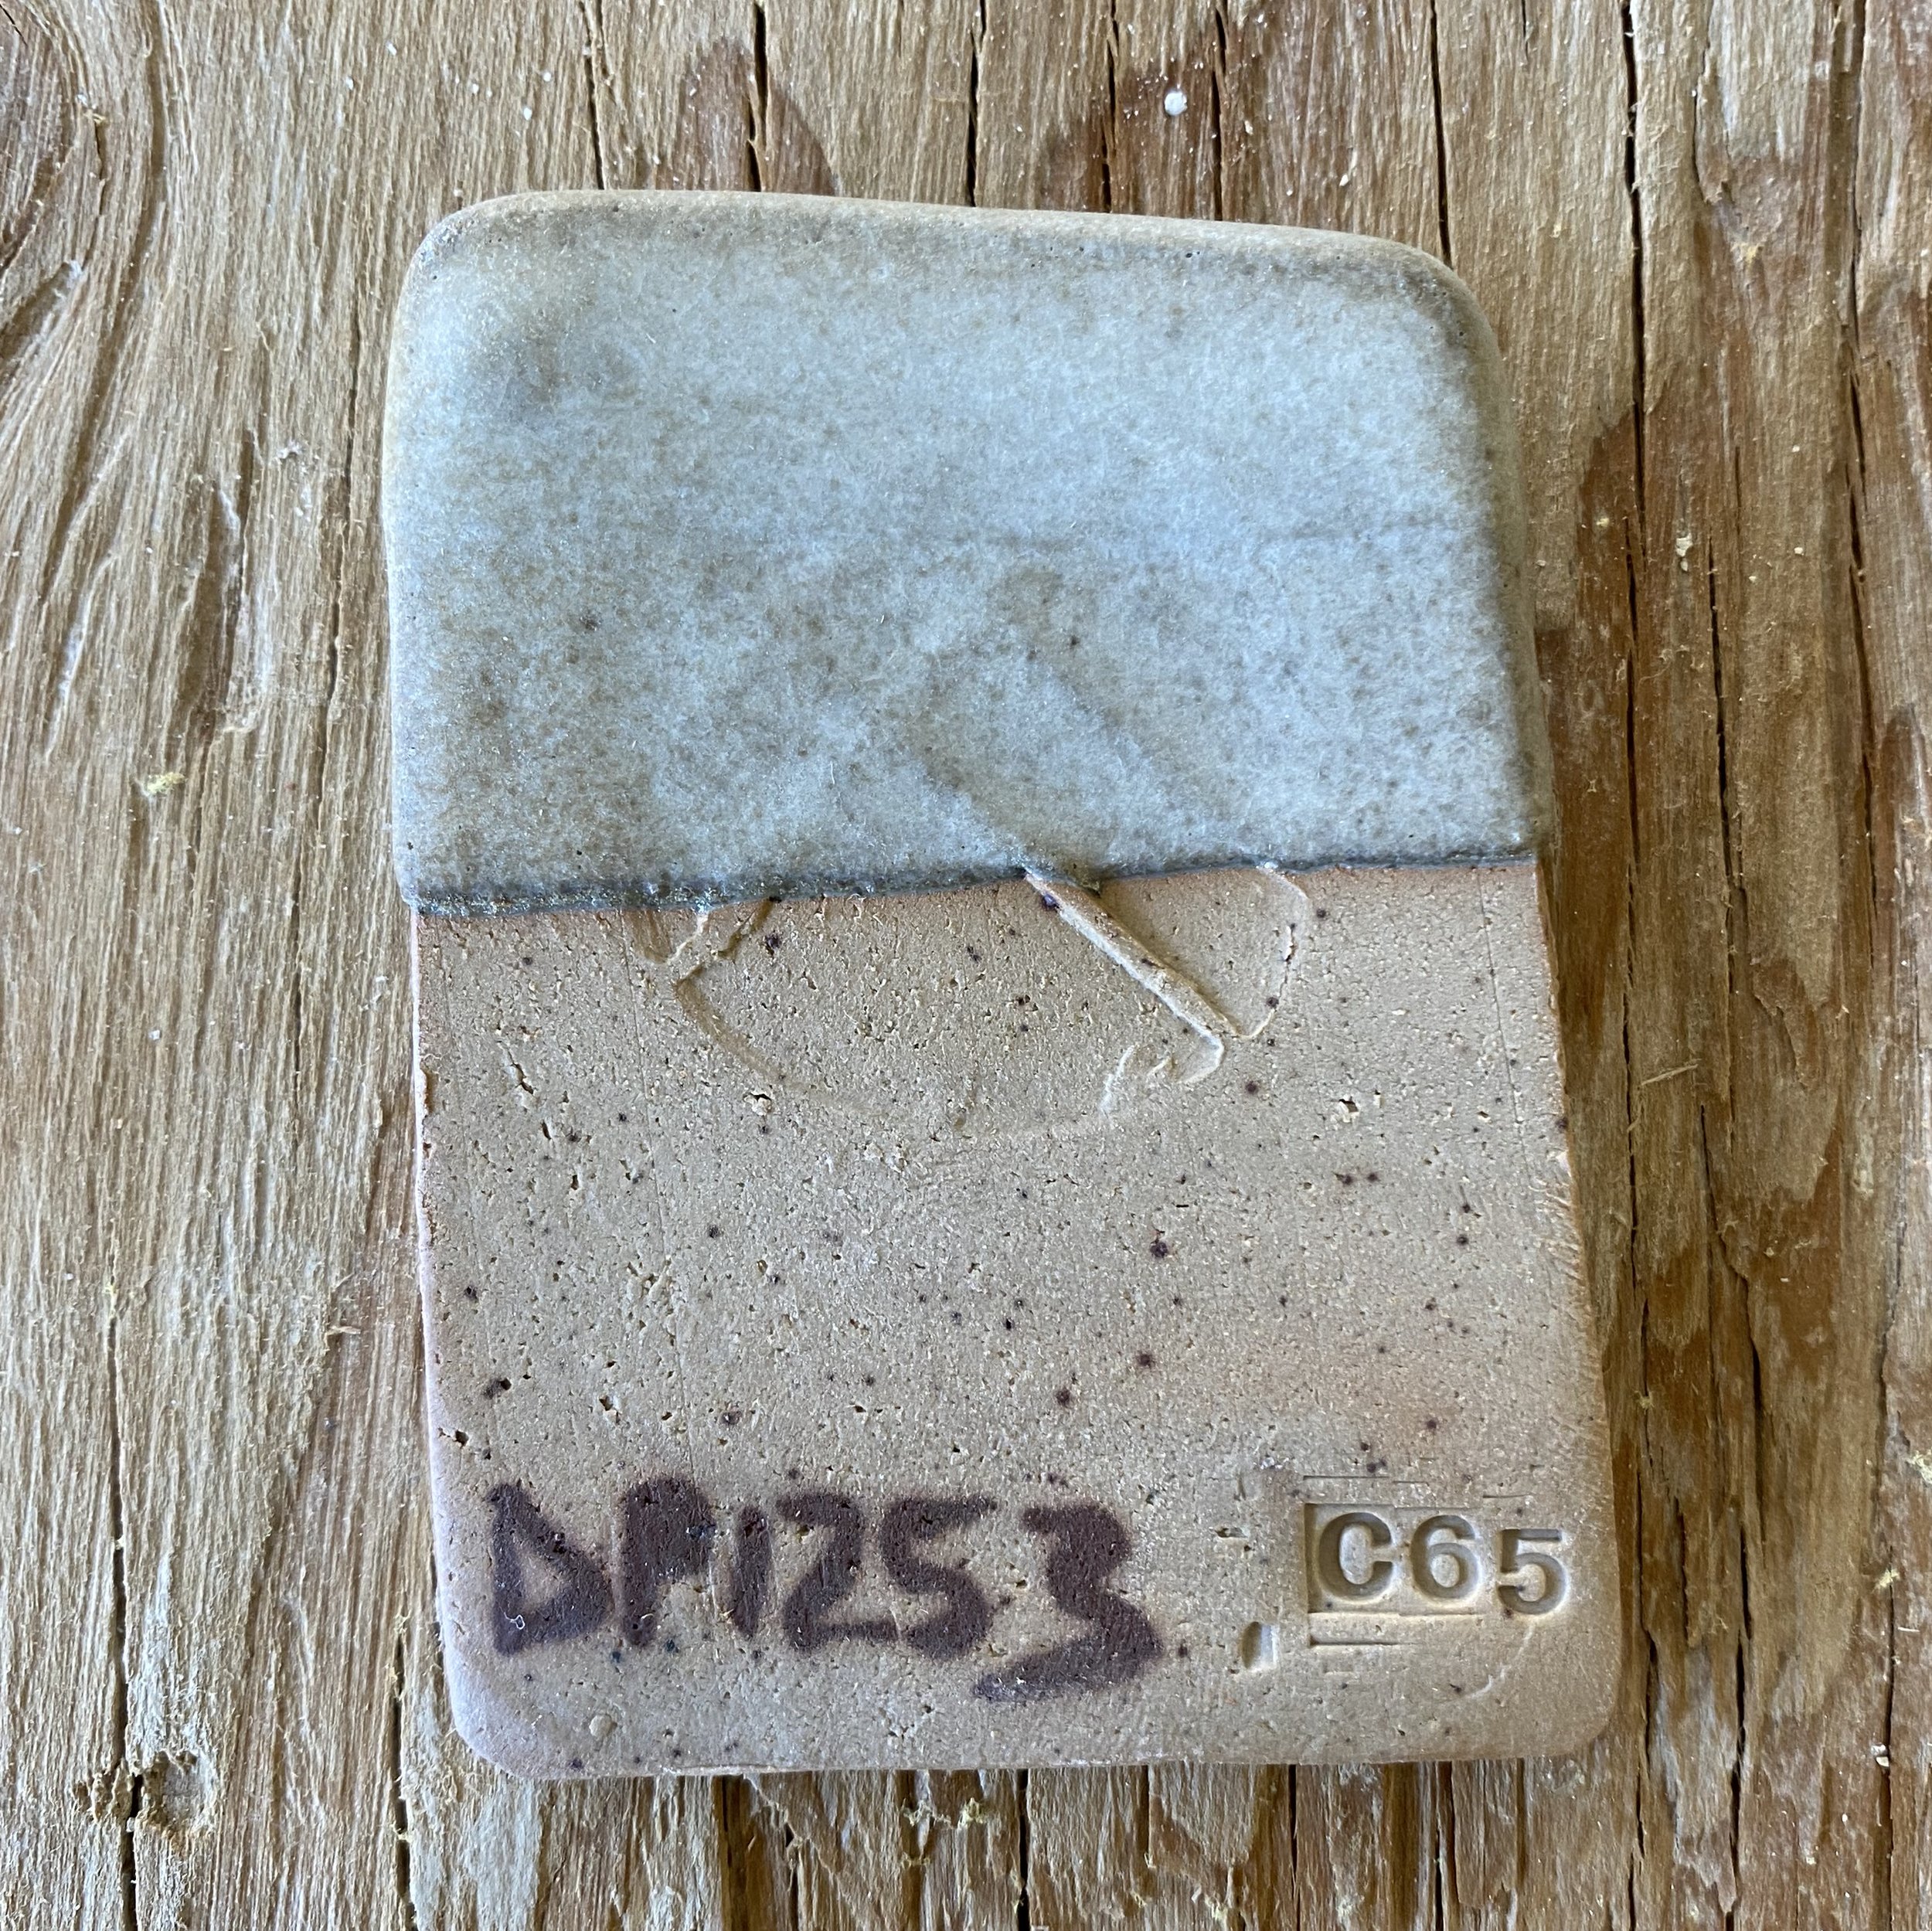
First let’s look at my first grid test…
You can see a marked difference in these tiles. They were made at the same time, with the same materials and application, just fired differently.
Here are the corner tiles, too. On the left, we have them from their gas reduction firing to cone 10 and on the right are the same tests but in this slow-cooled kiln firing.


Here are the backs of these same tiles…


What do we notice? The second firing with more reduction brought out blues from the glazes rather than greens. There was also more Jun opalescence present. You can check out the exact recipes of these glaze in this previous blog post.
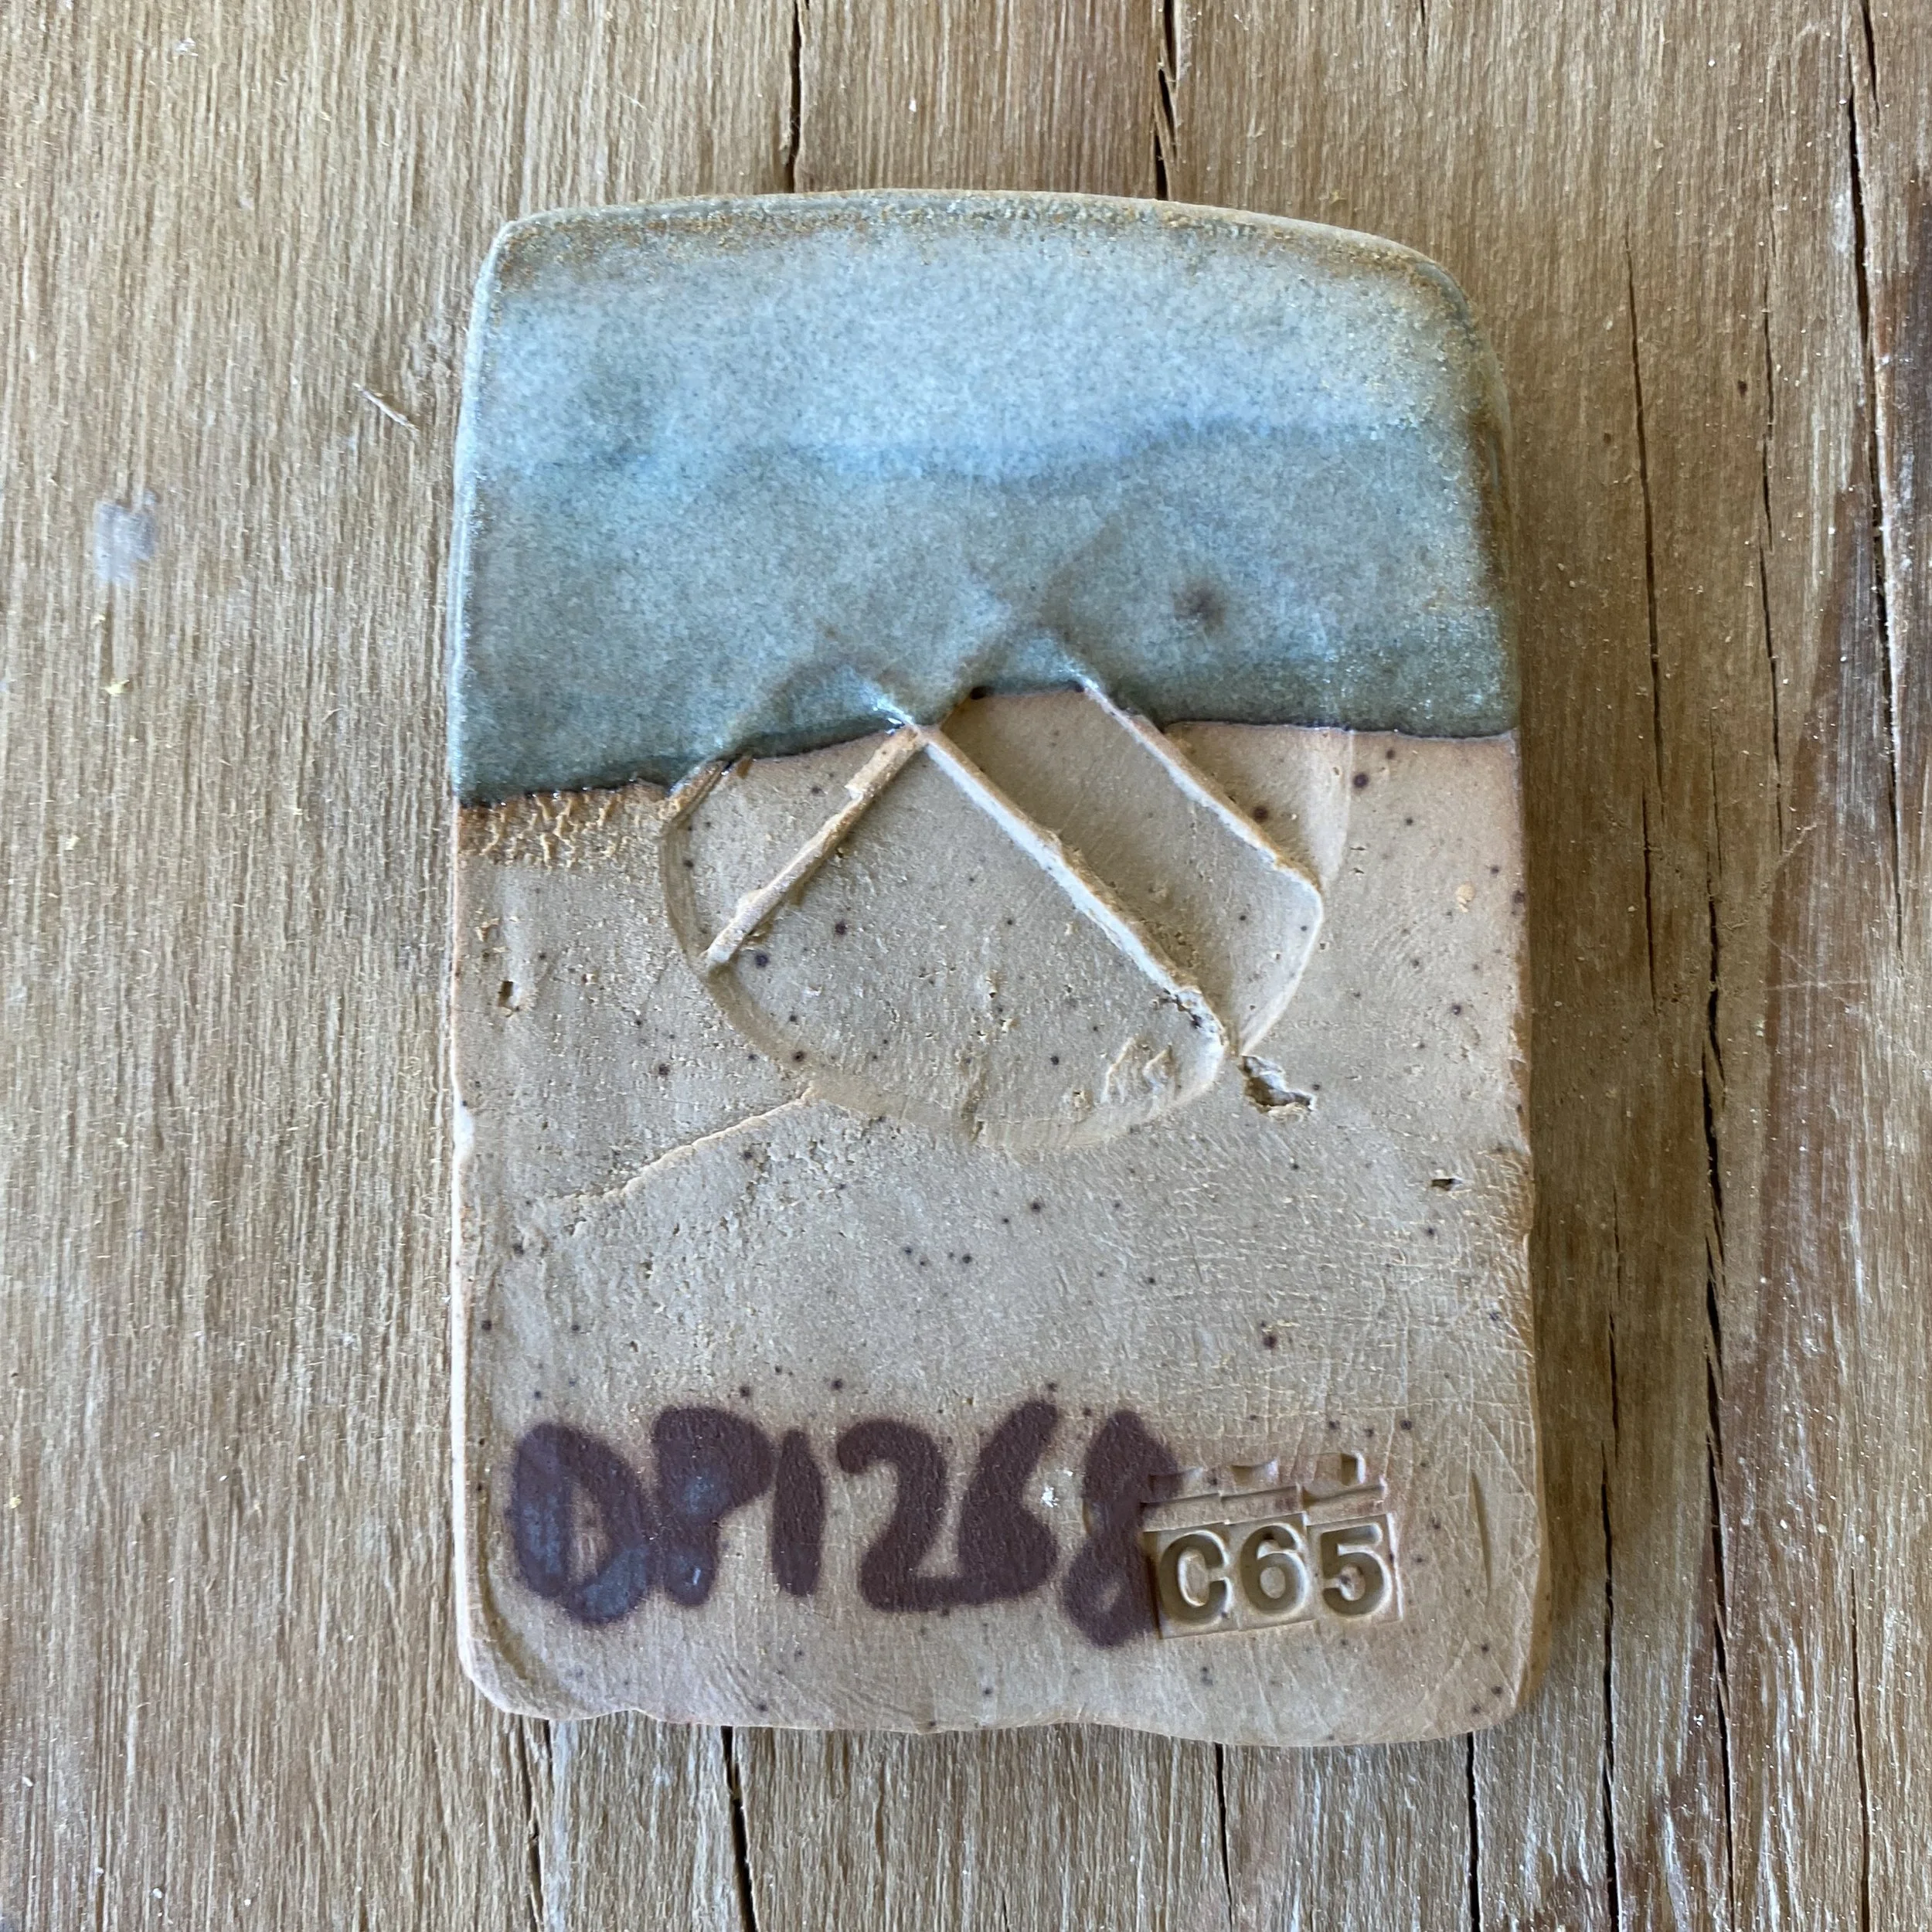
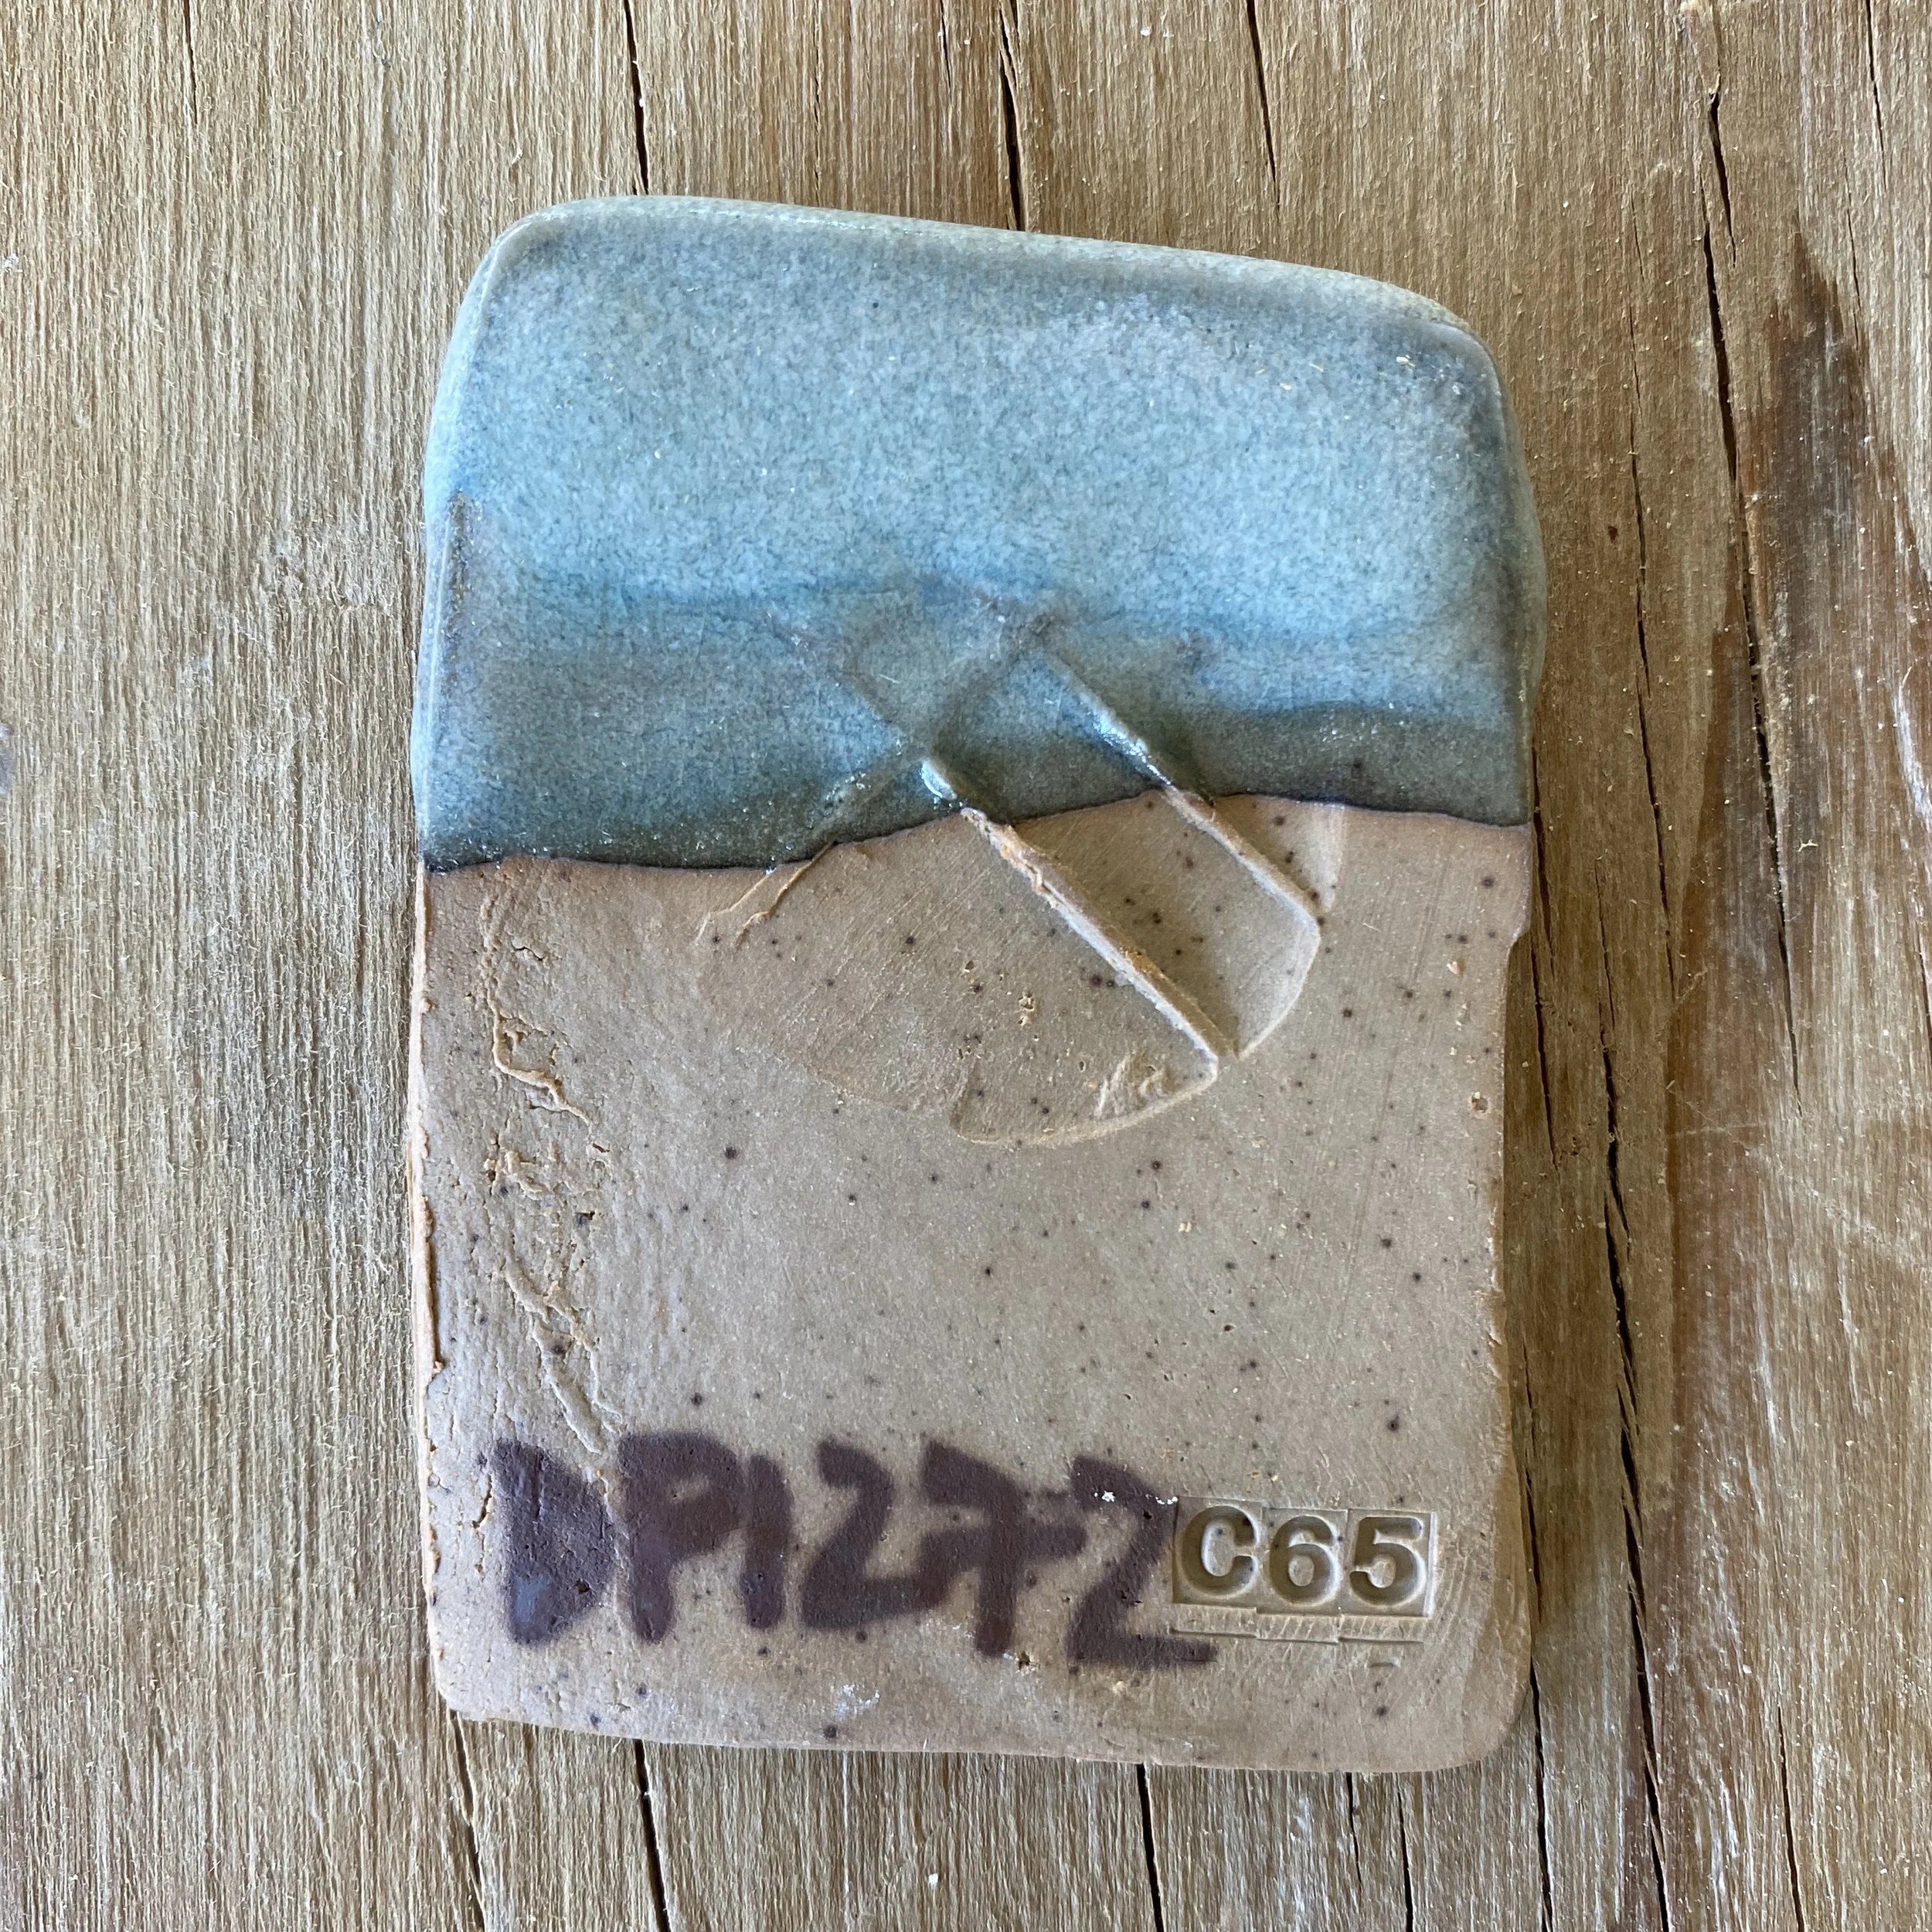
Now let’s look at the second grid test…
This is actually really interesting, I think. The more successful glazes in the initial cone 10 gas firing (on the left) were in the center and the row just to the left of the center. This was confirmed by the vertically fired test tiles. See this previous blog post for a closer look.
In this firing though, the more successful glazes were in the center and the row to the right of center. The ones to the left of center were too dry and lacked that blue opalescent color. The slow cooling in reduction had the effect of creating the Jun opalescence in glazes with less silica content.
Here are the vertical test tiles next to each other. Front side…

Back side…
There is a dramatic shift here. I think you would be able to see it easier if I had mixed the corner glazes a bit thicker. Lesson learned! But it is clear to me that in the first regular gas firing with no reduction, the central line down the tile had the most promising Jun glazes. In the slow cooled reduction firing, the line of glazes to the right of center were most promising.
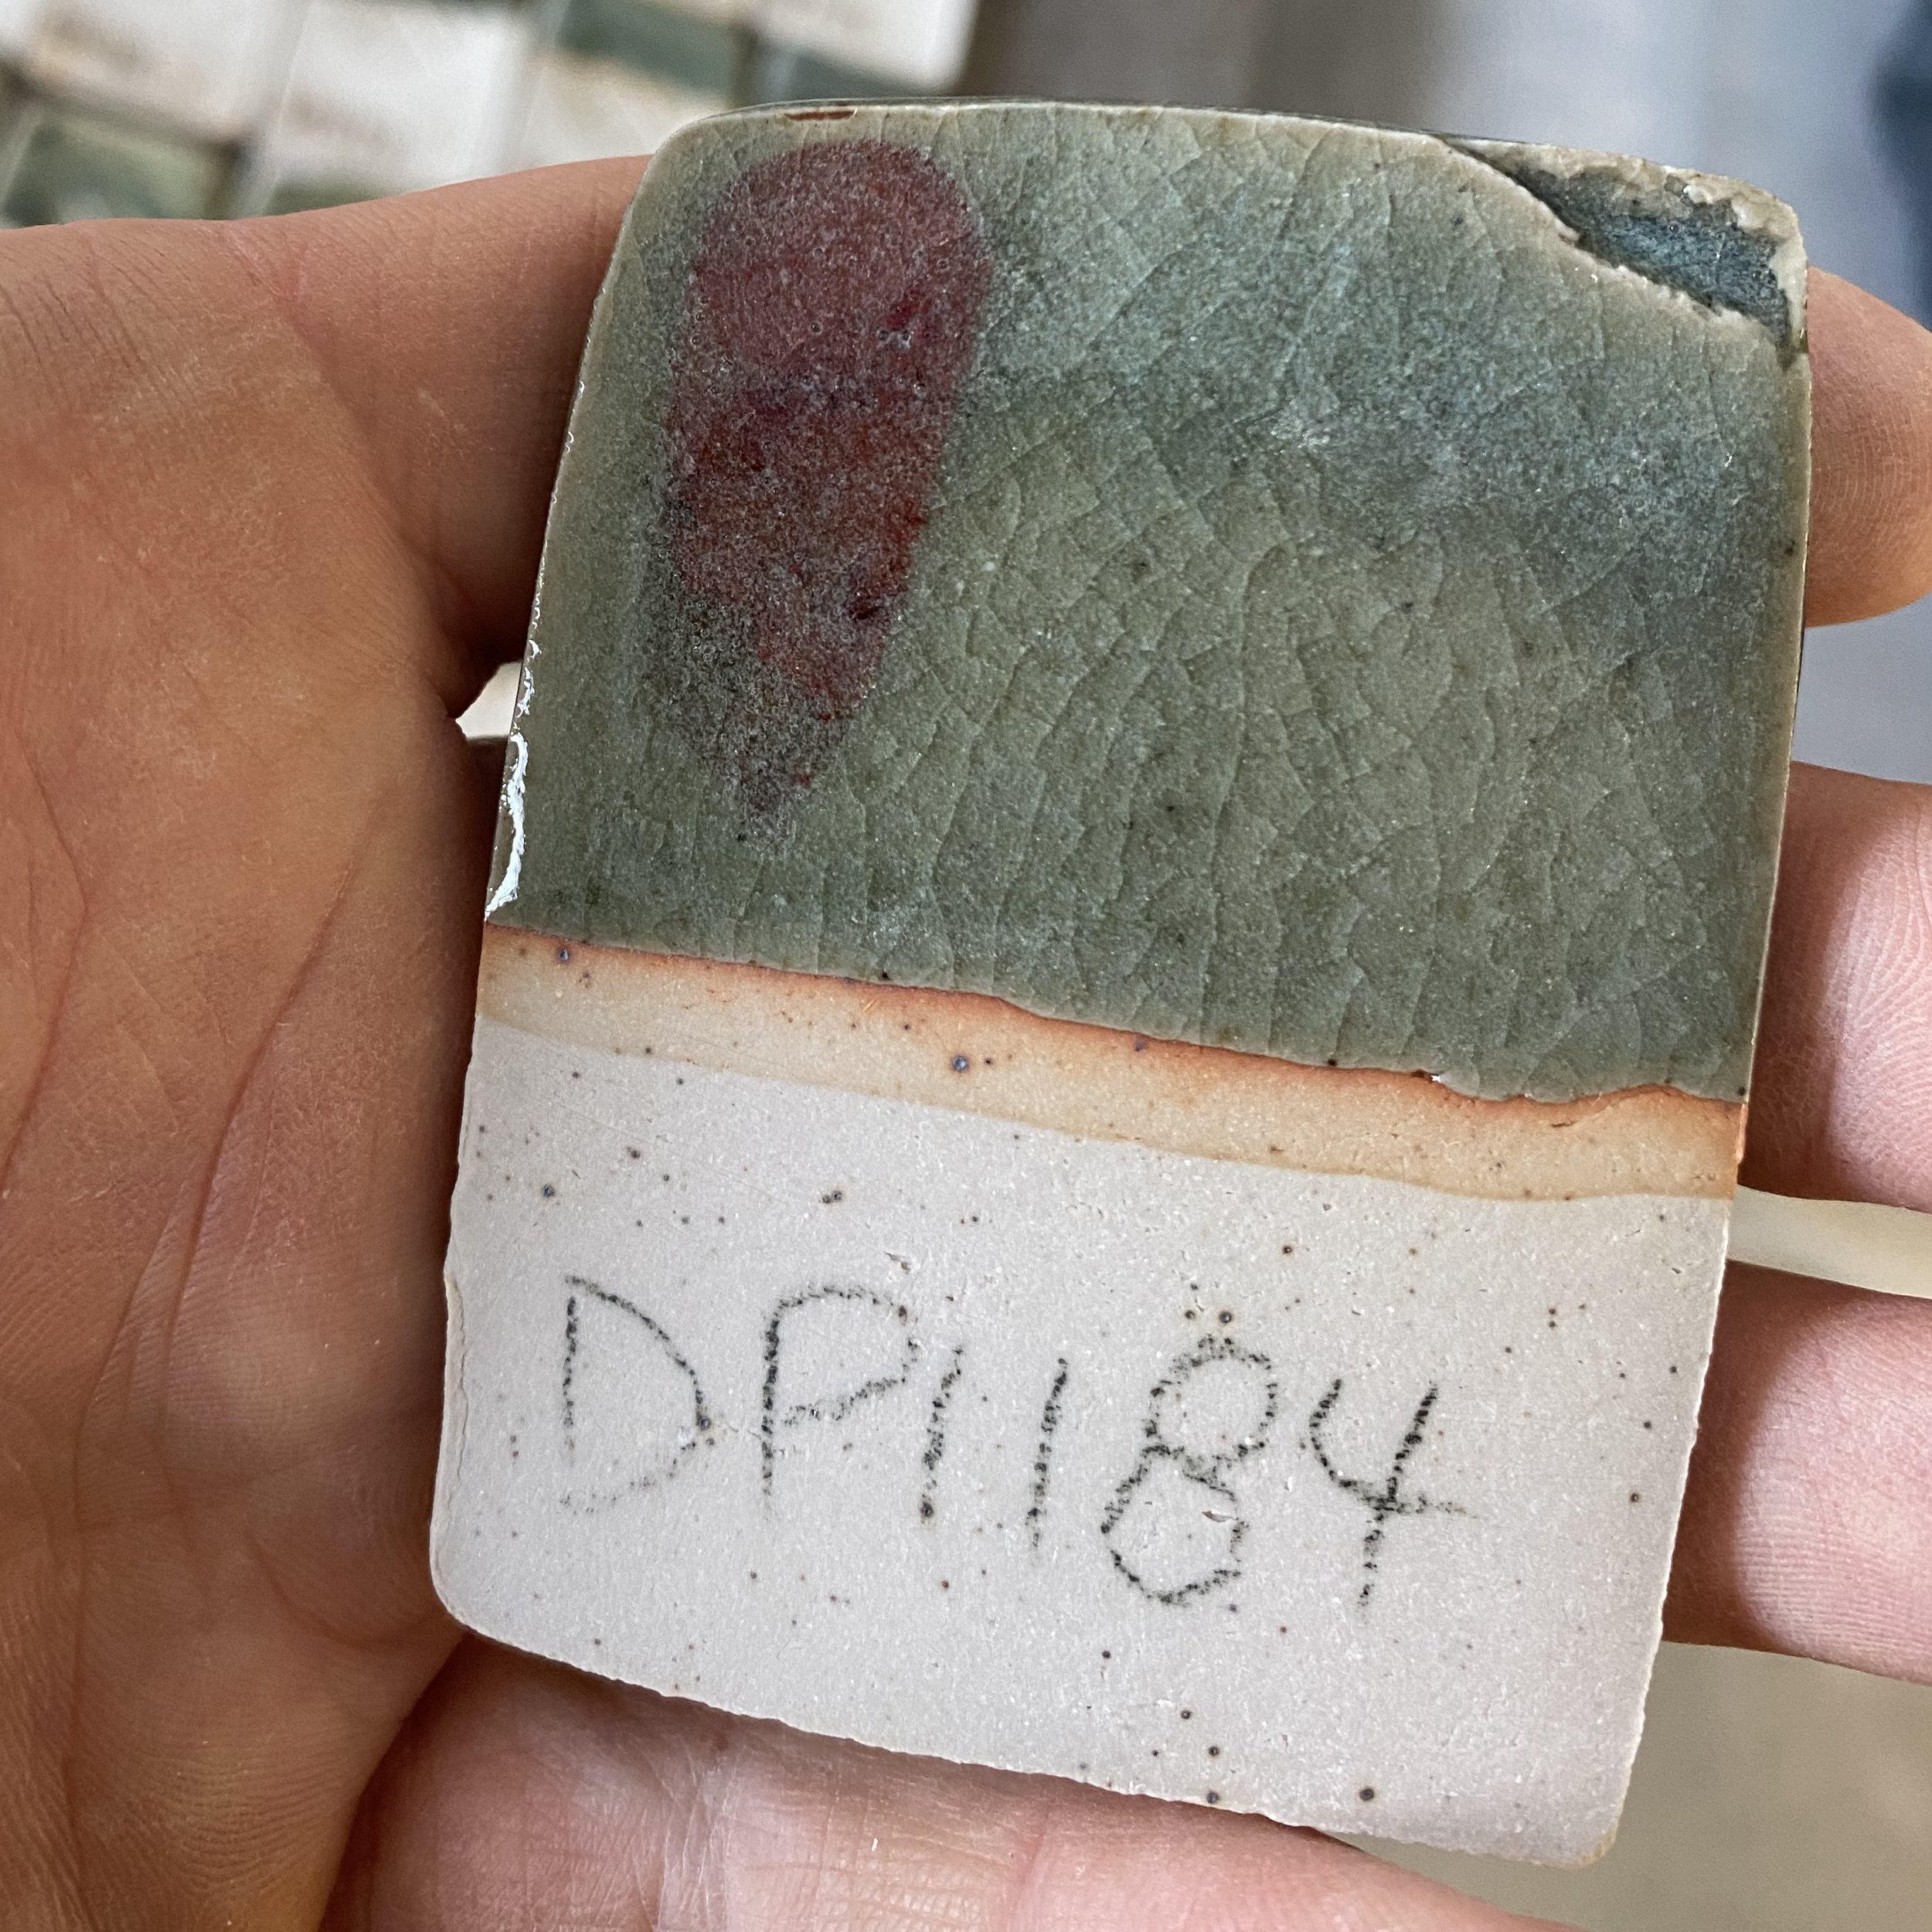
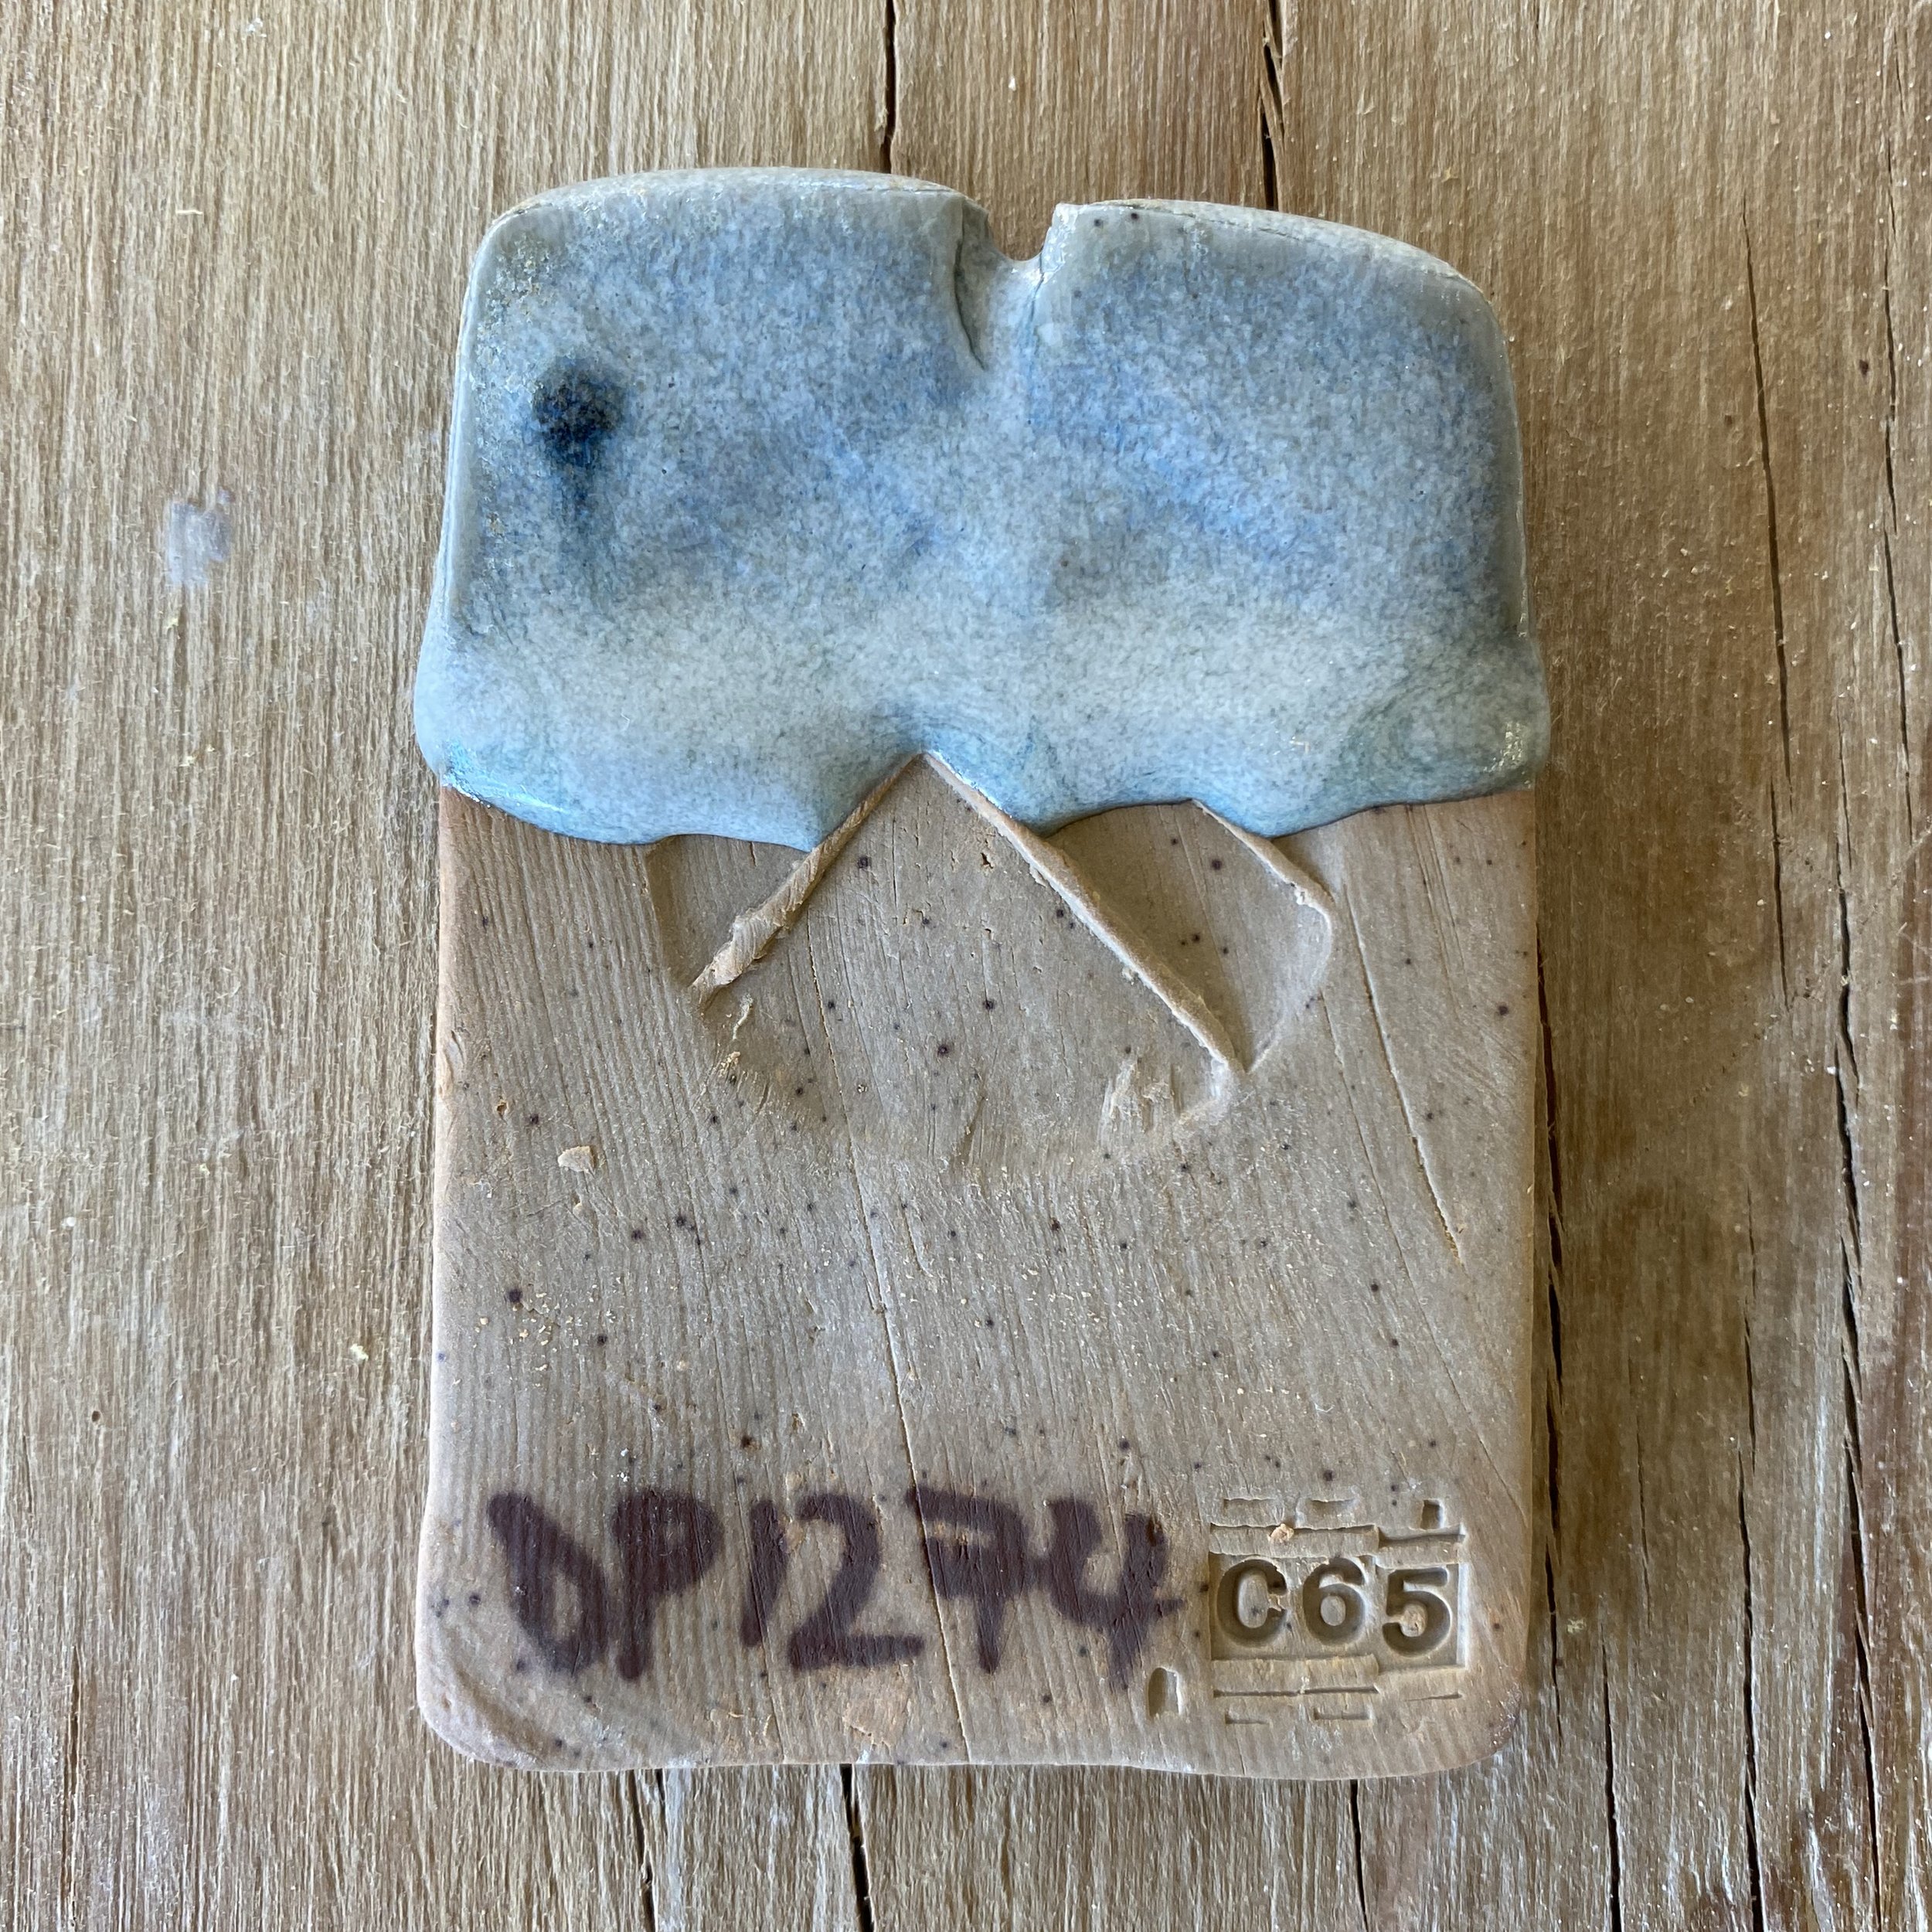
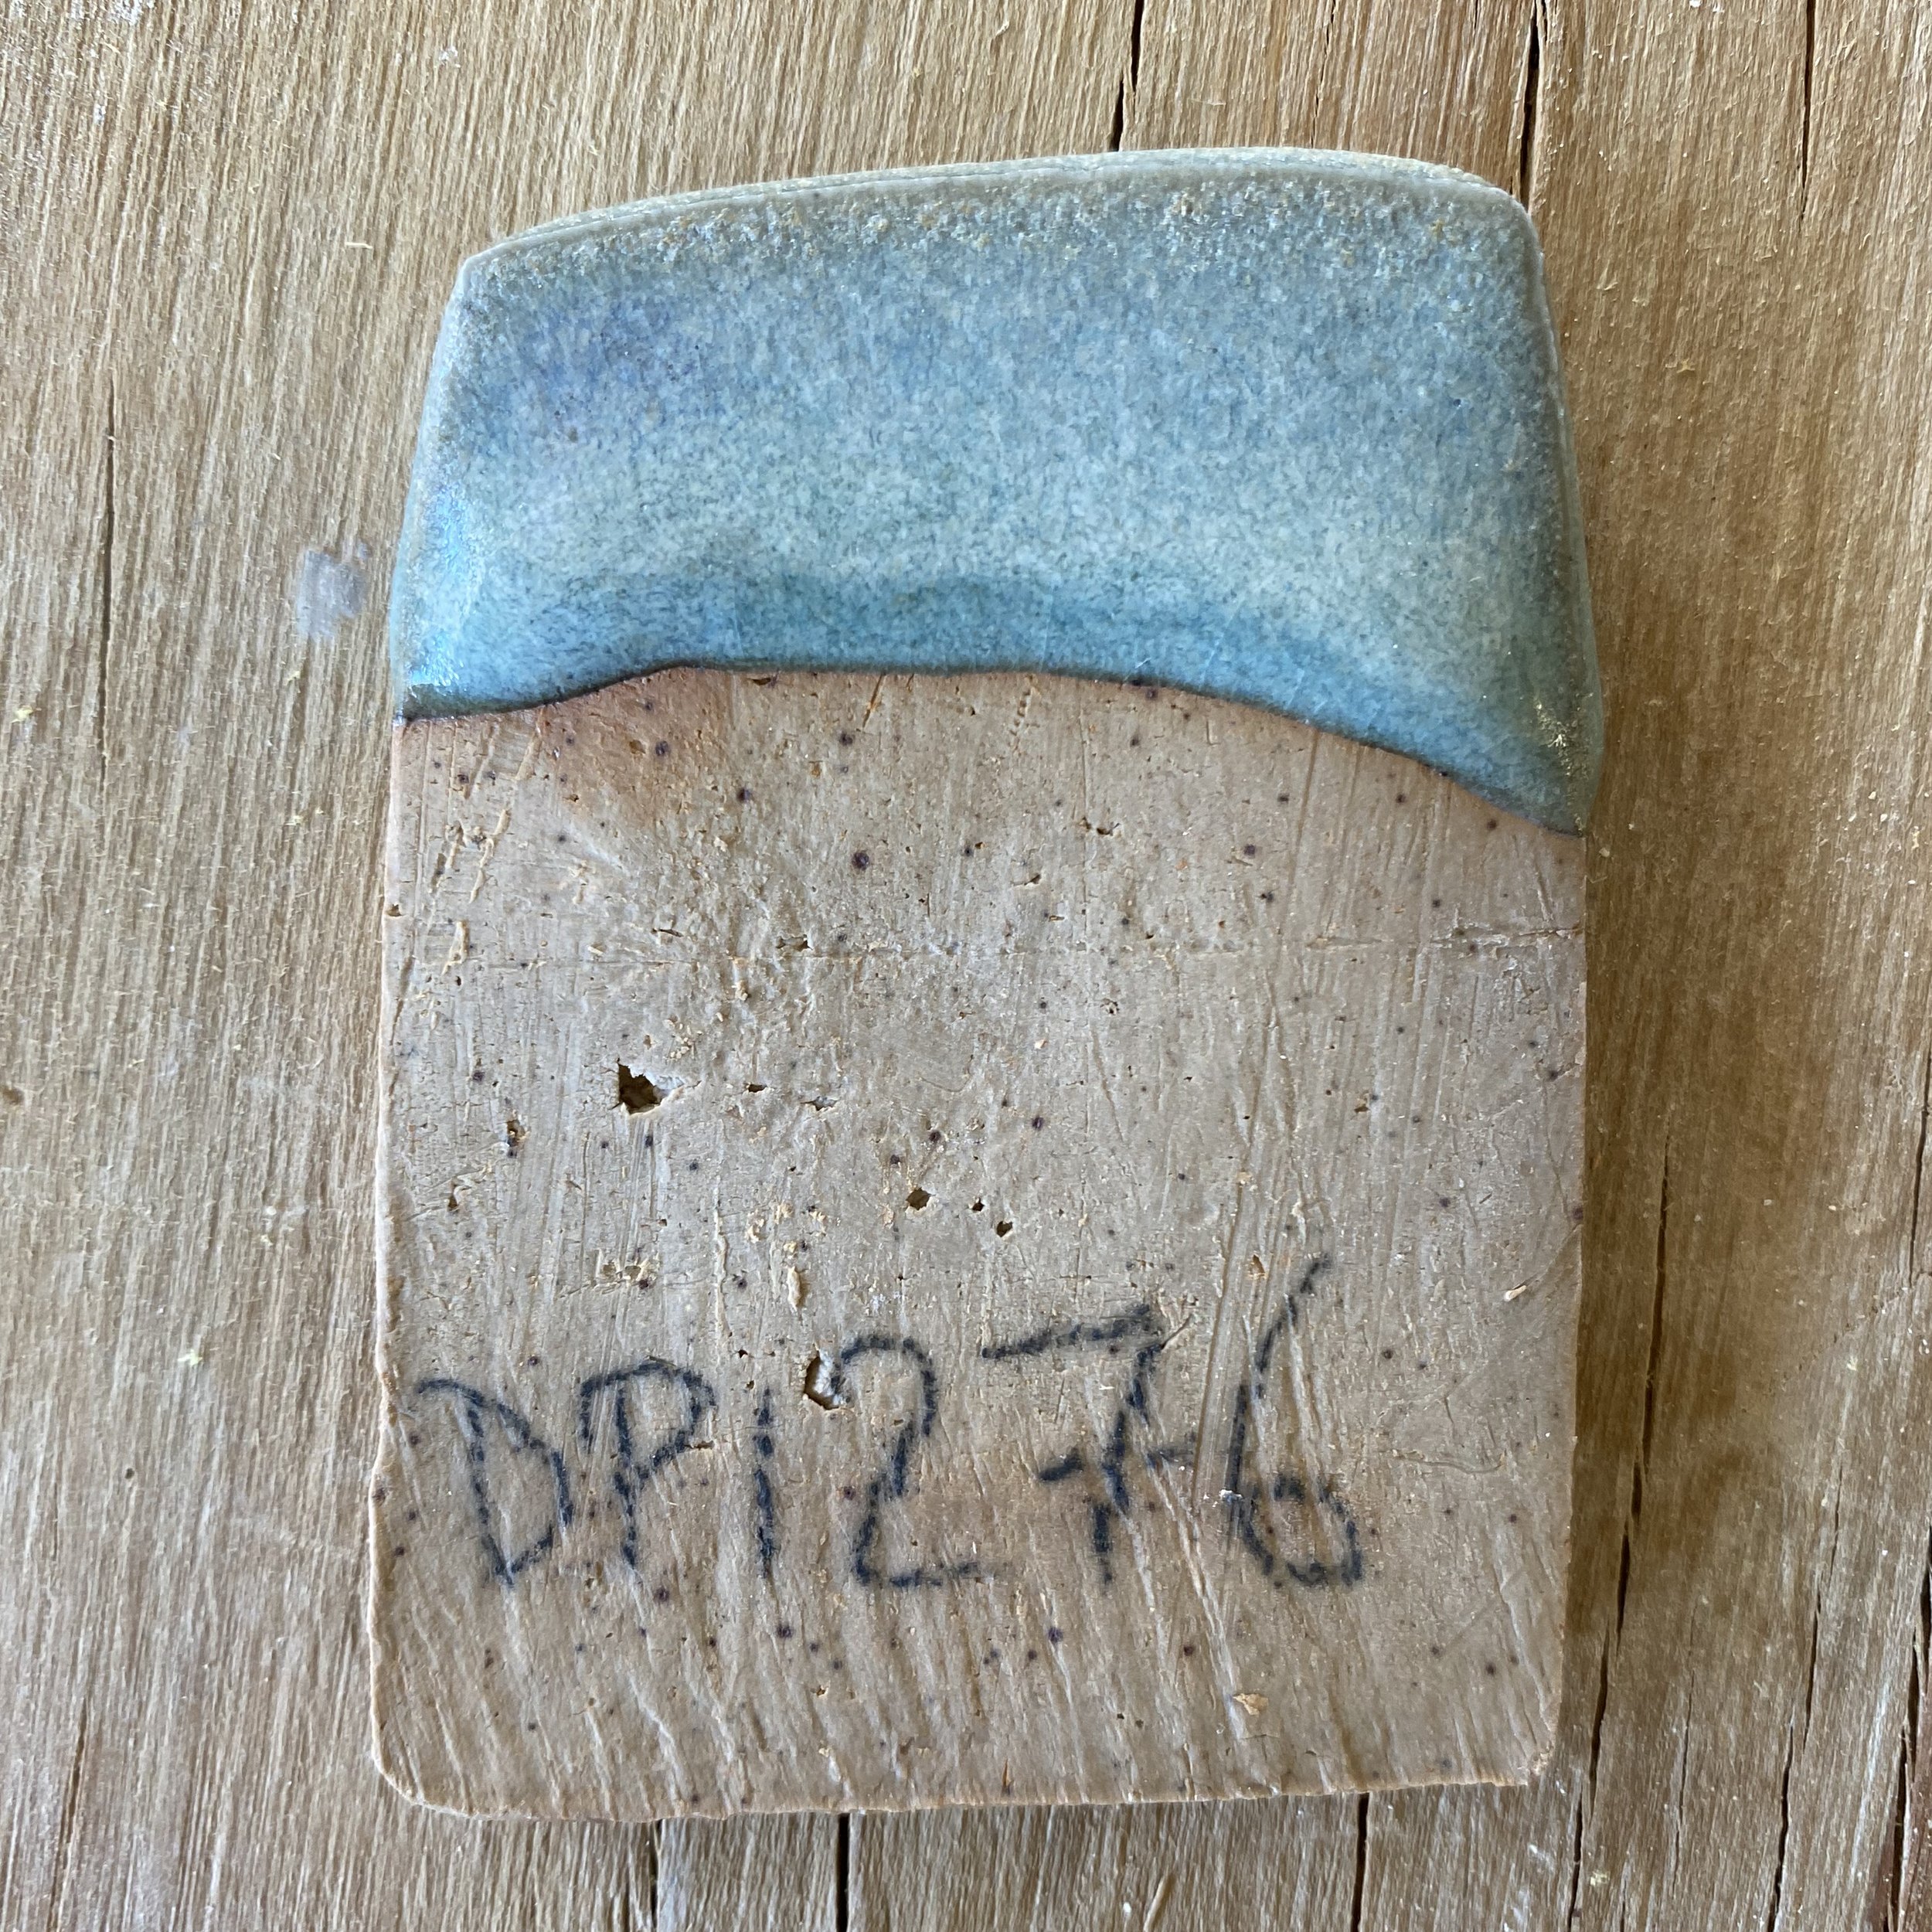
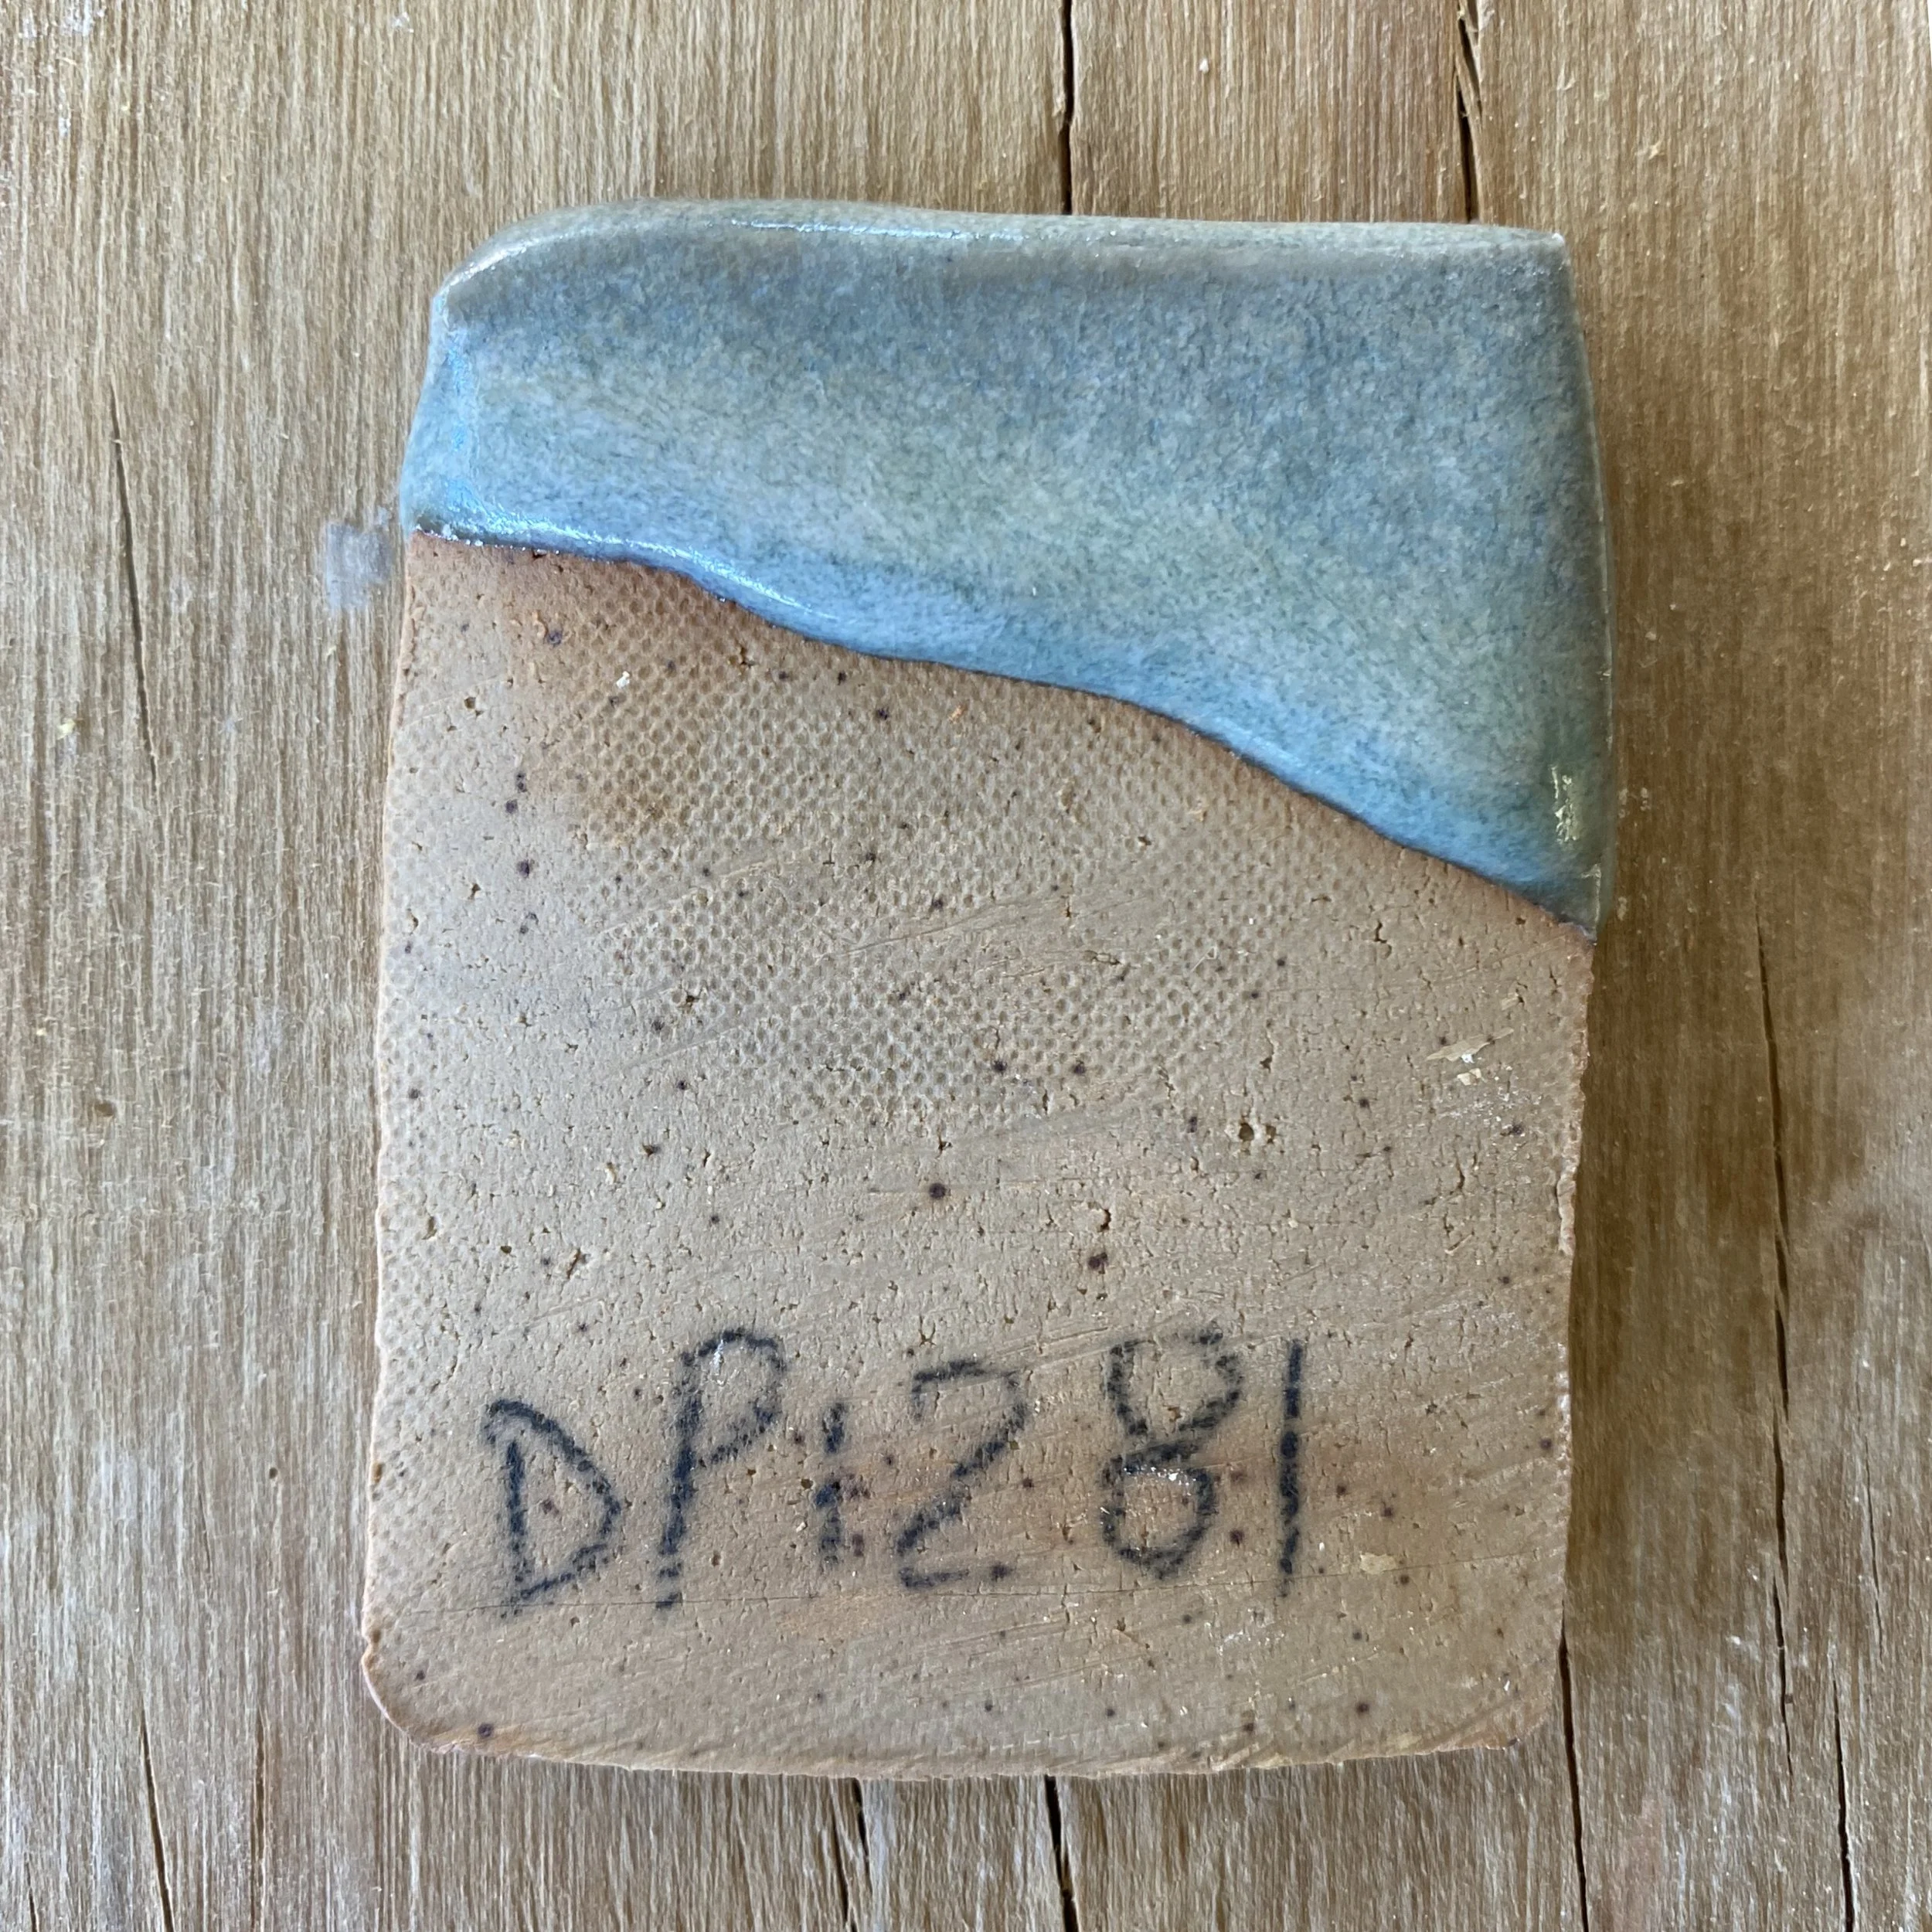
To illustrate this, let’s look at DP140-142…
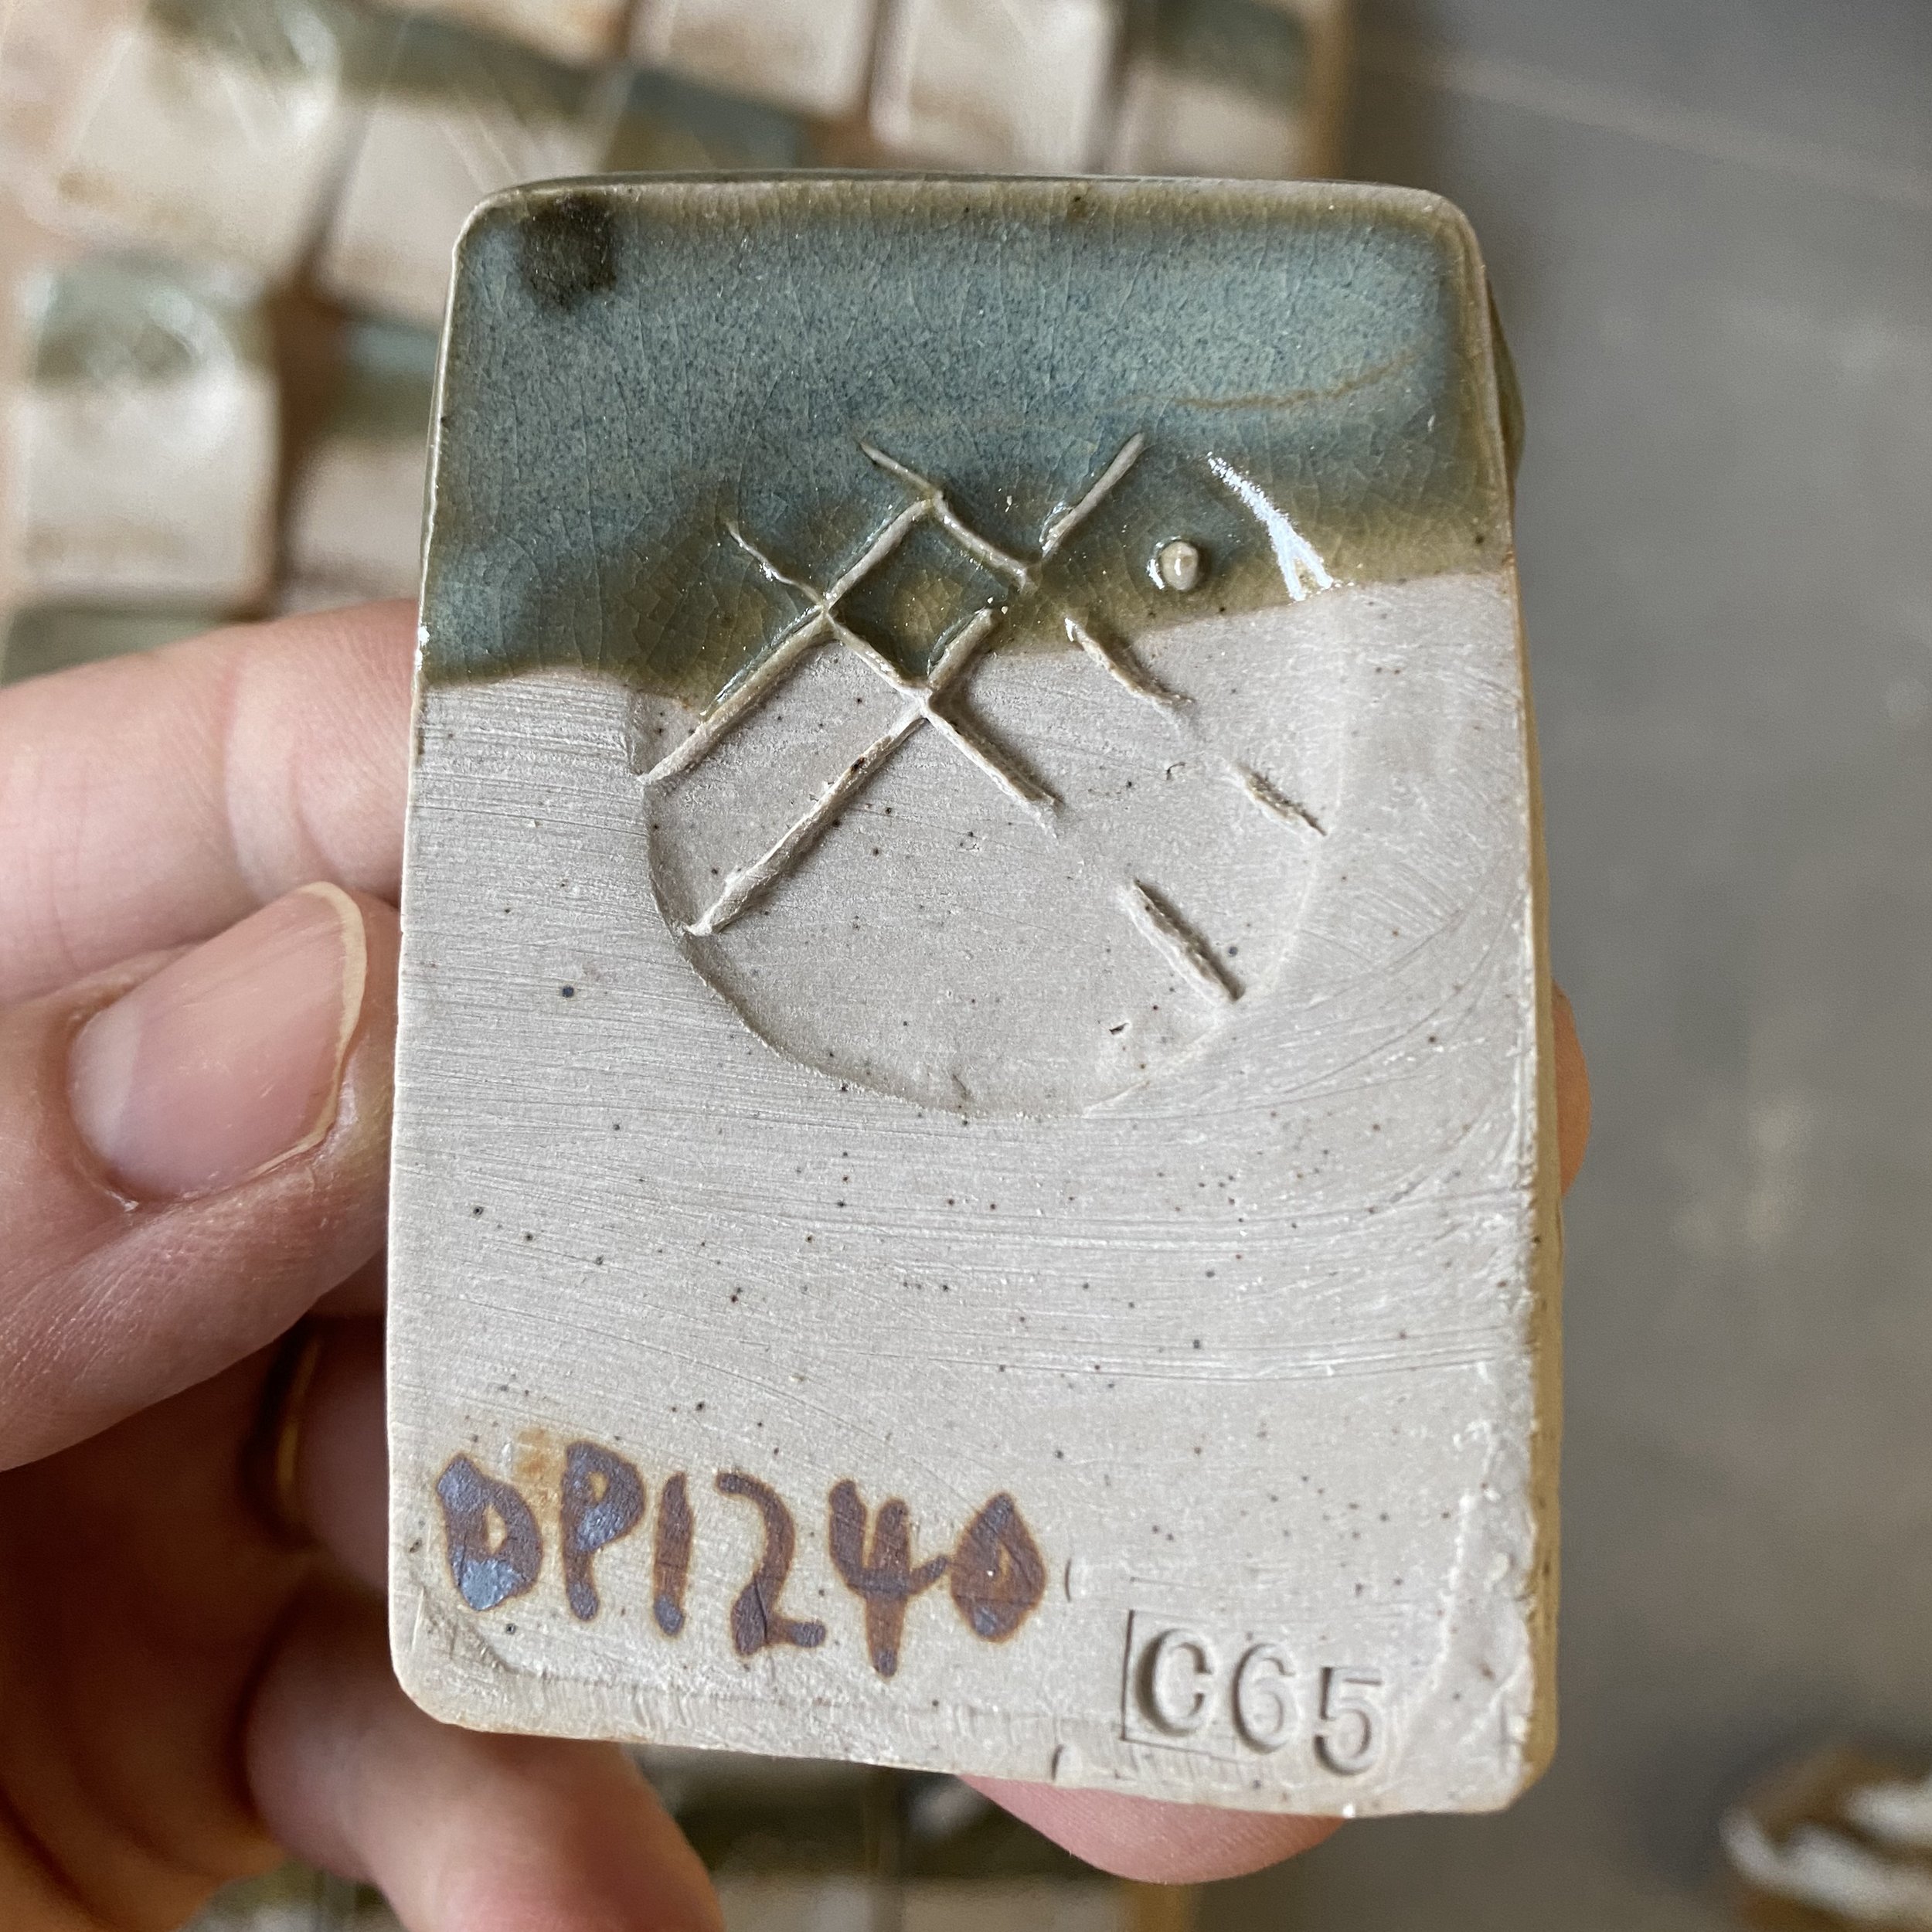
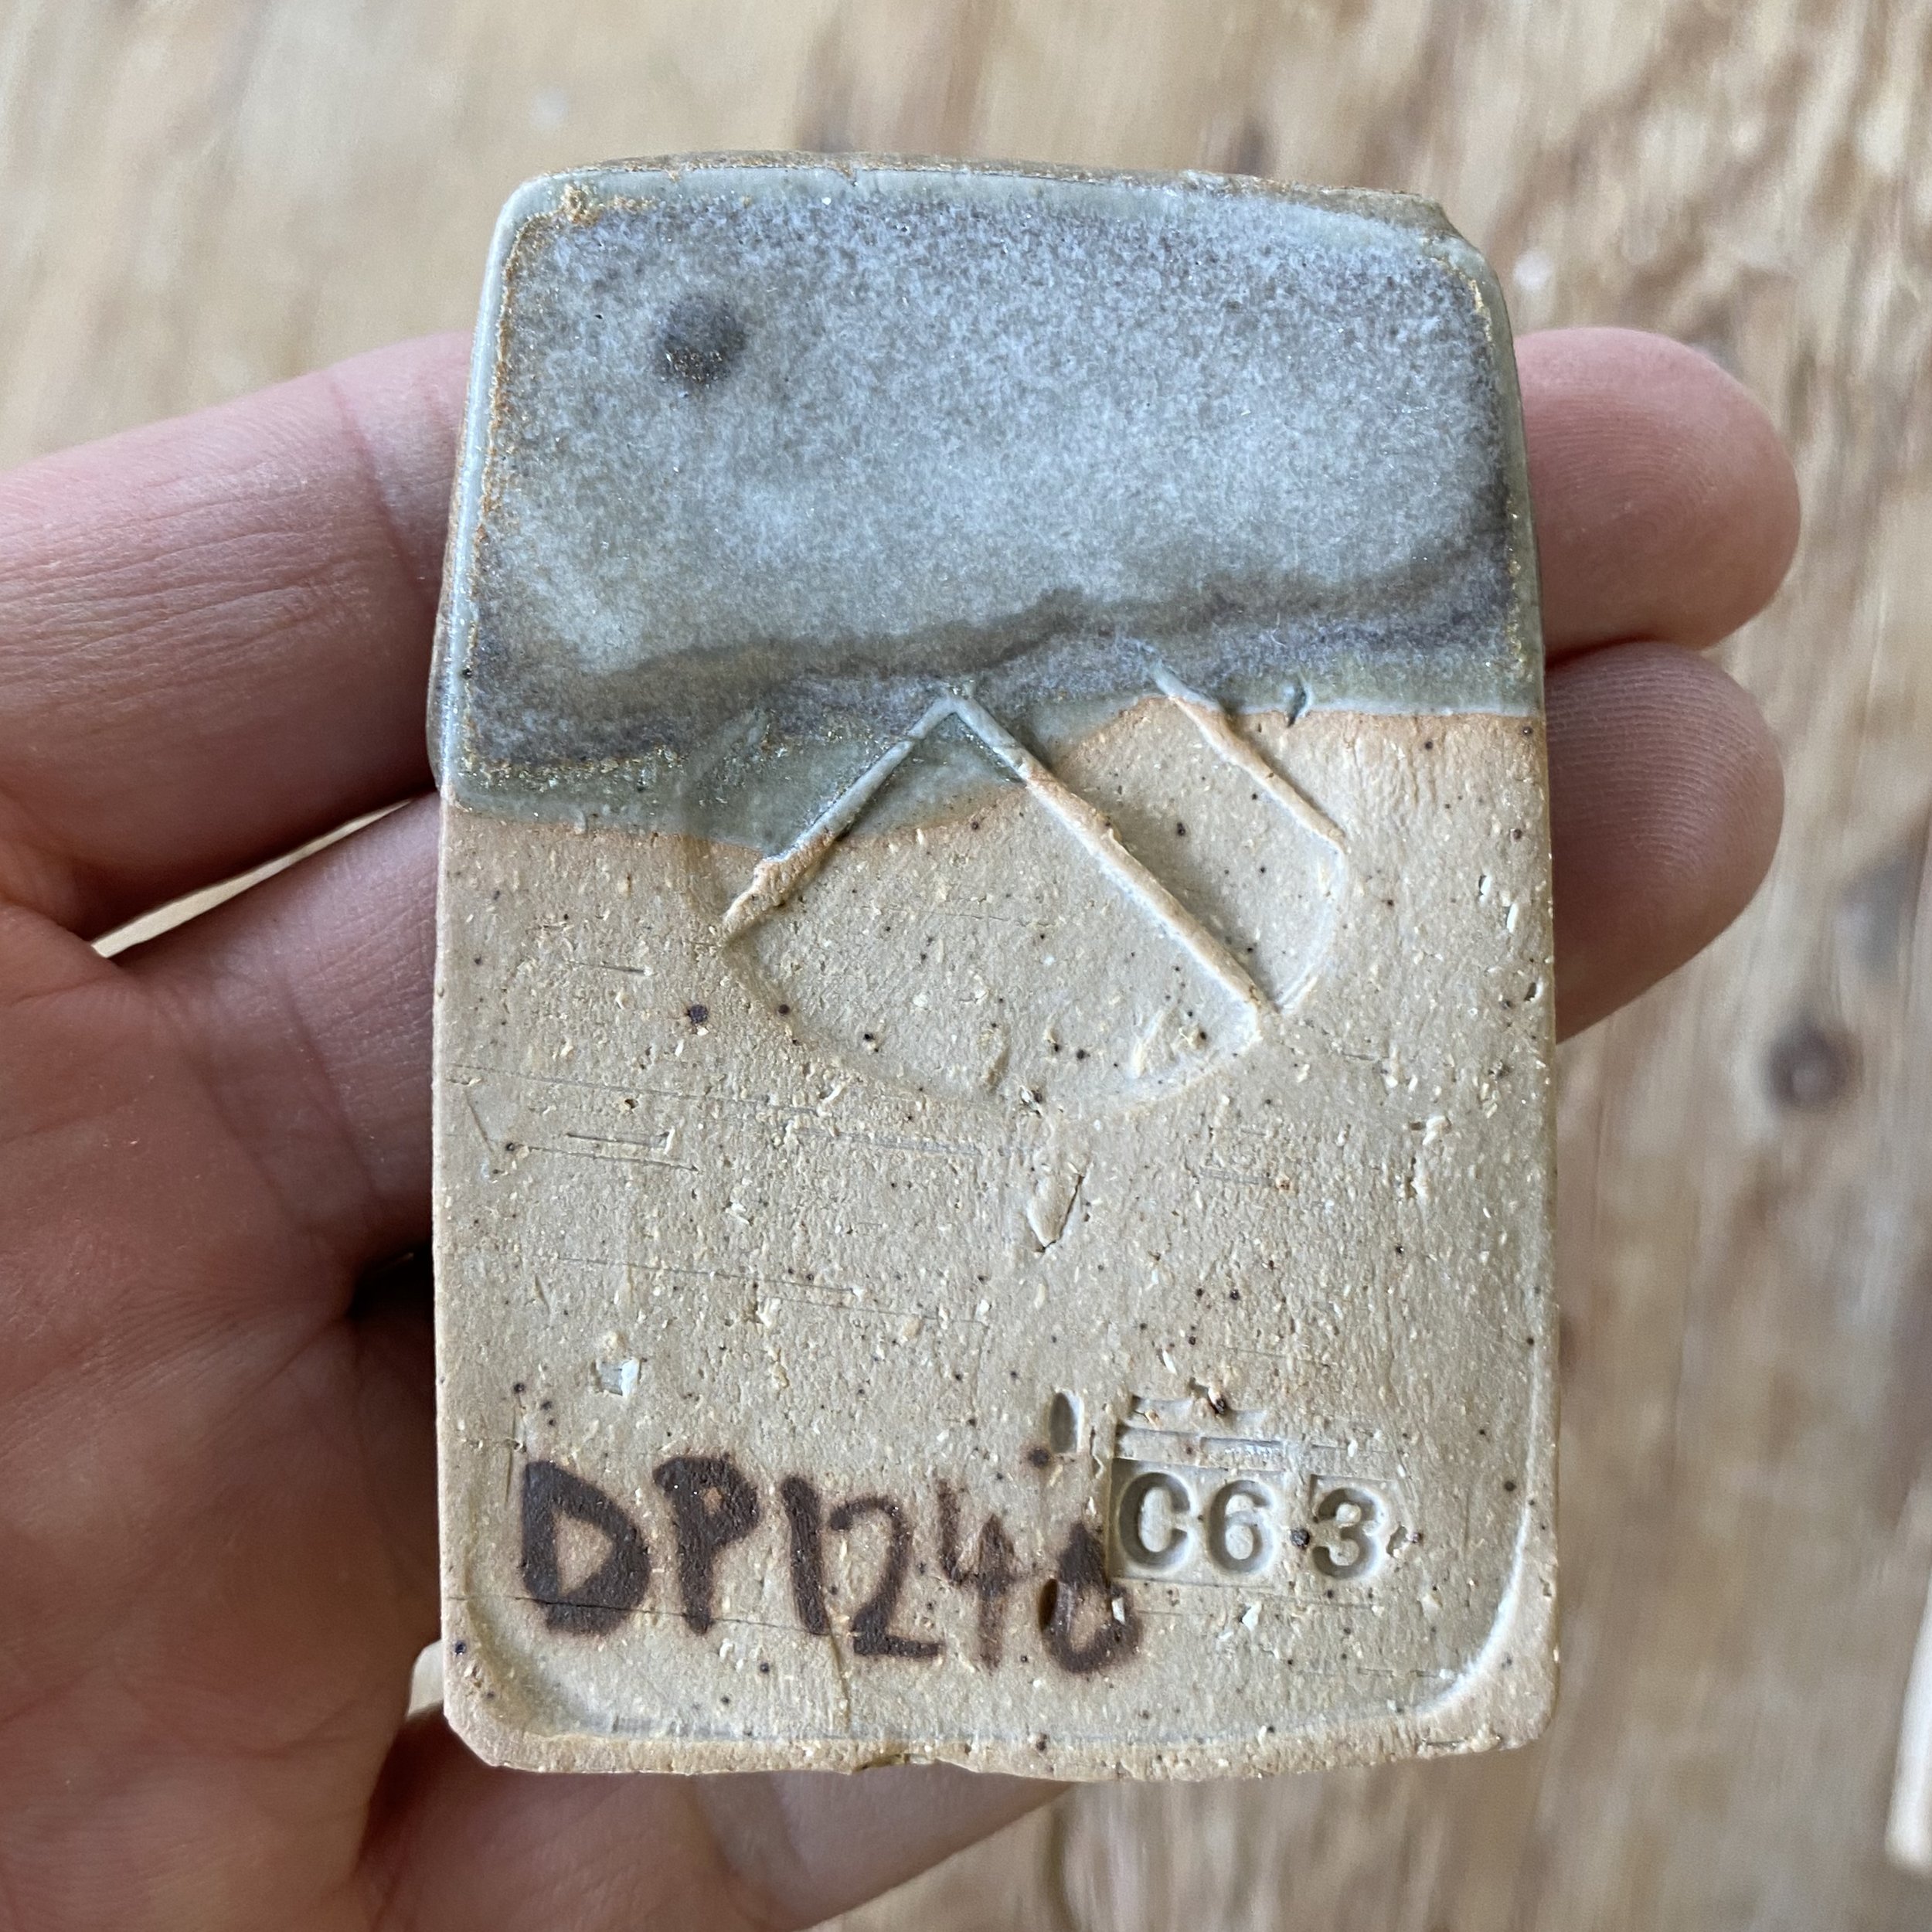
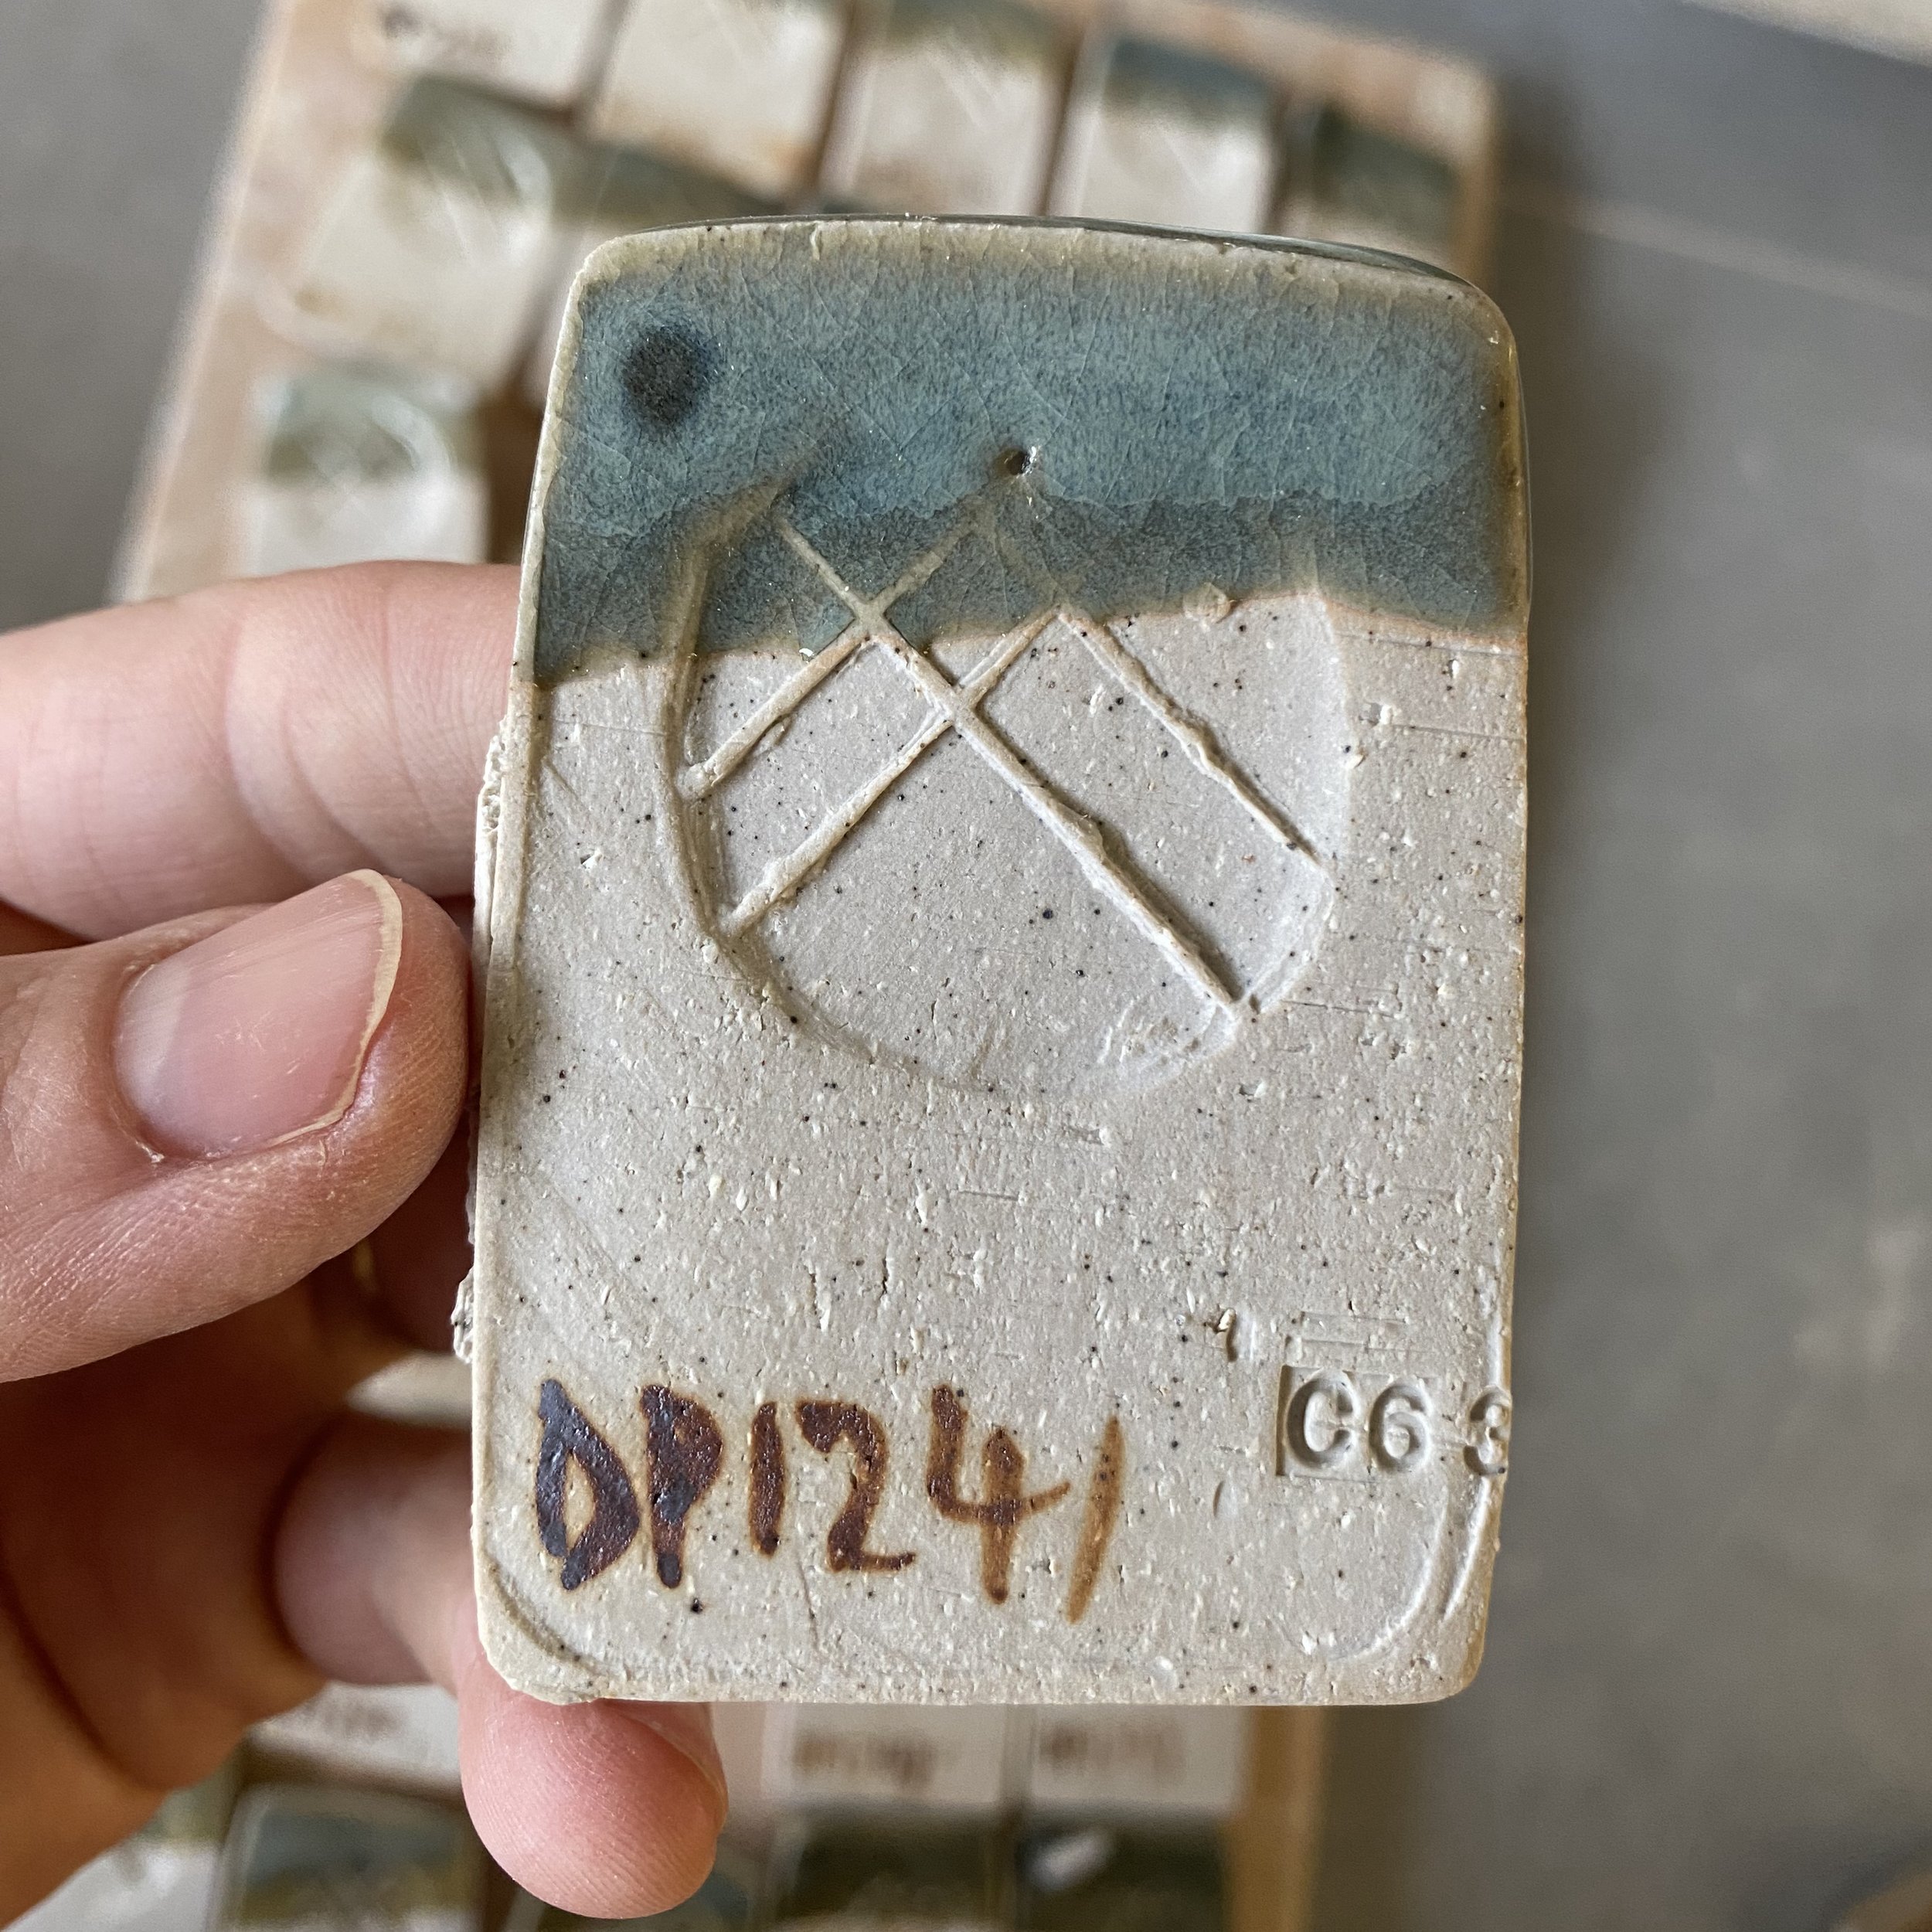
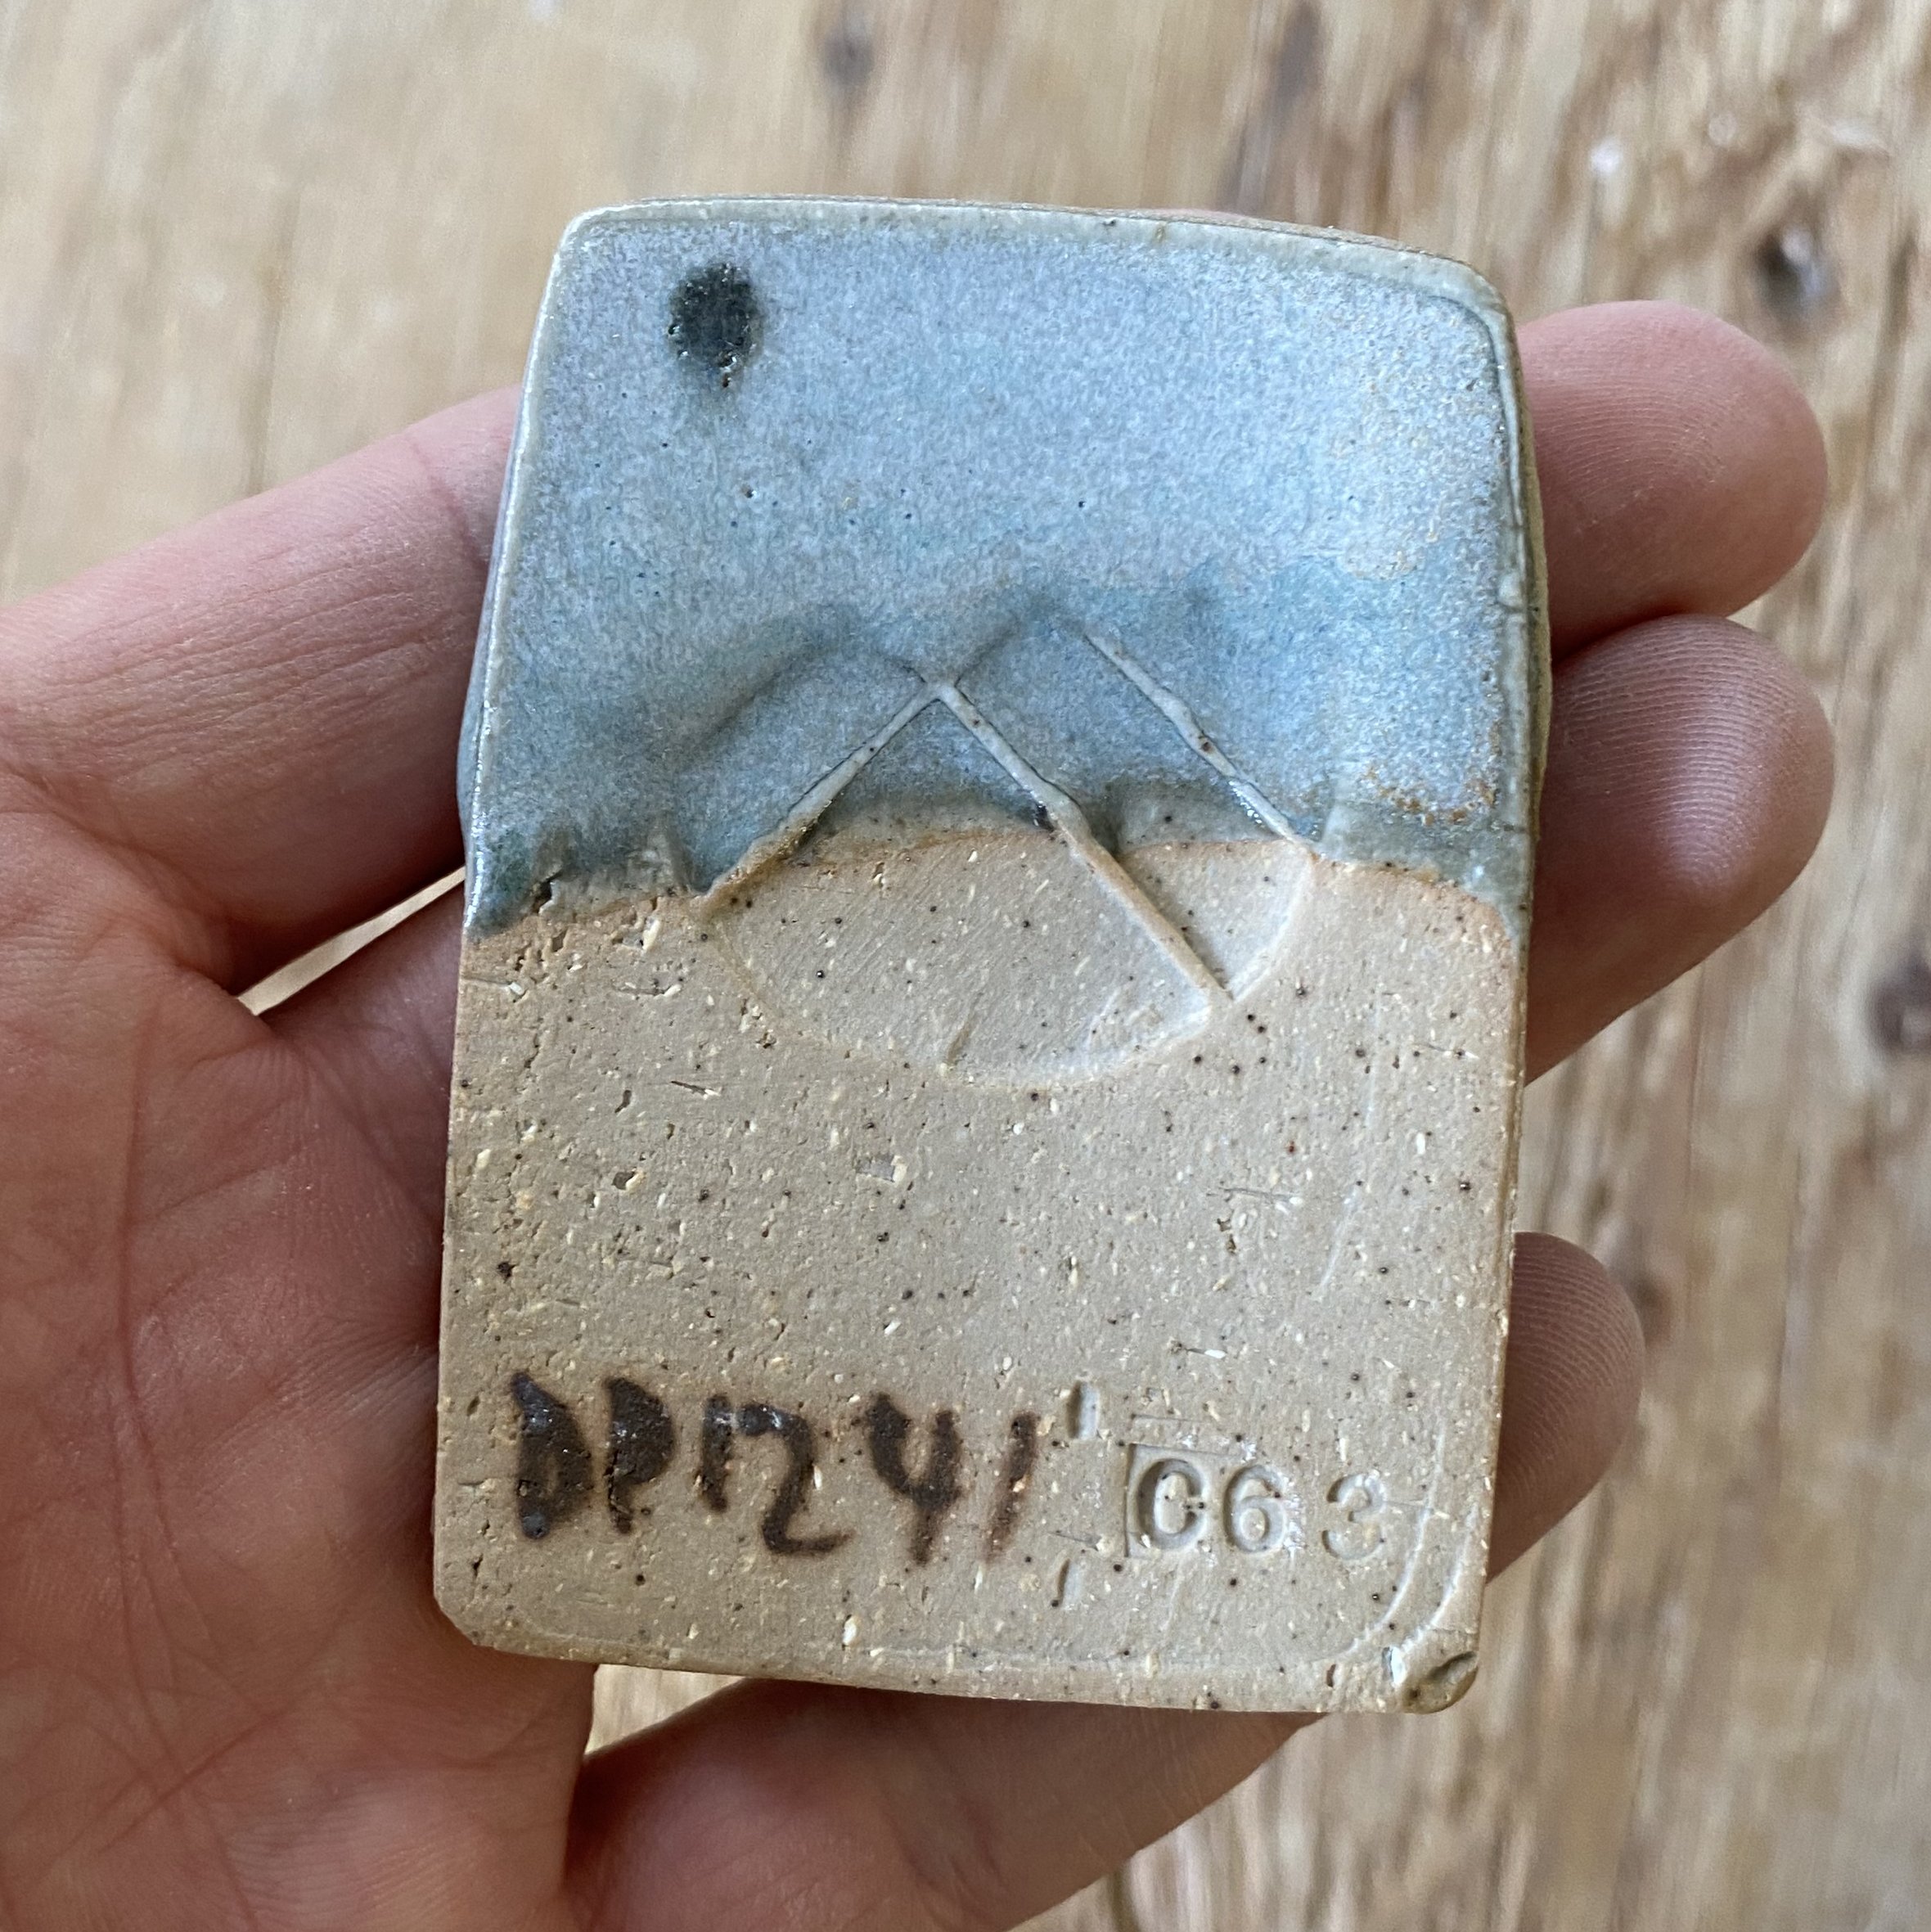
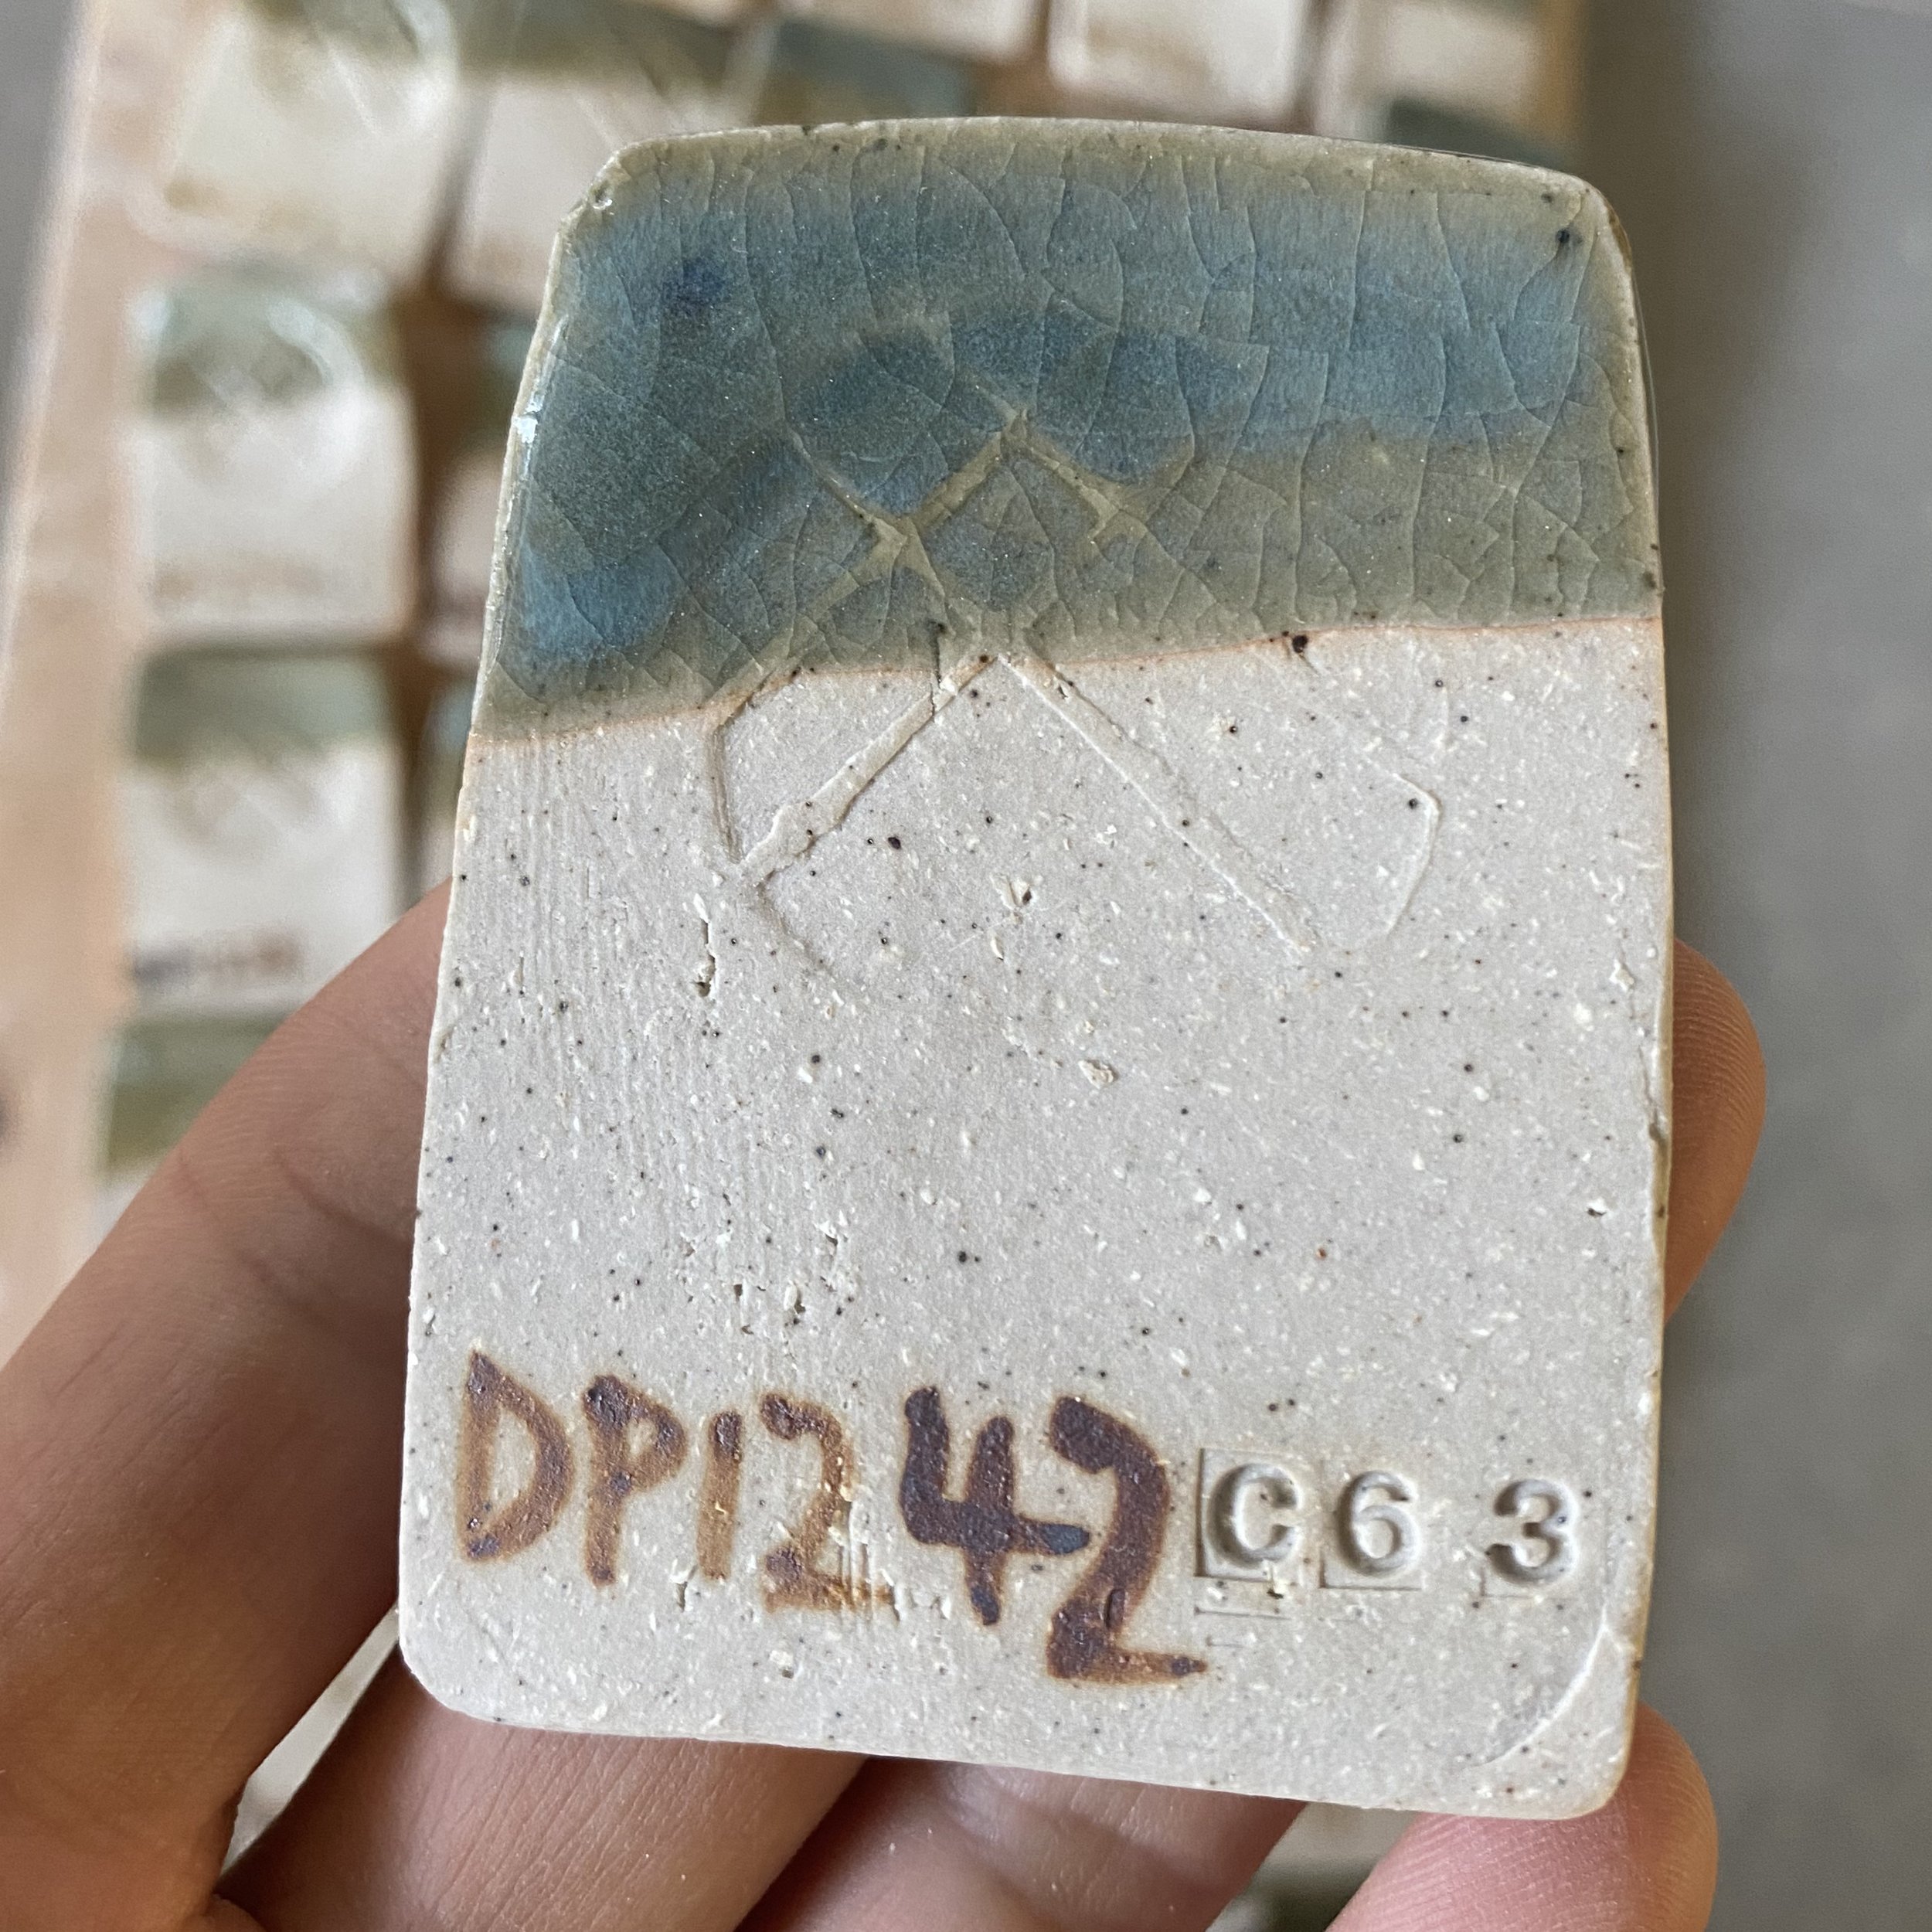
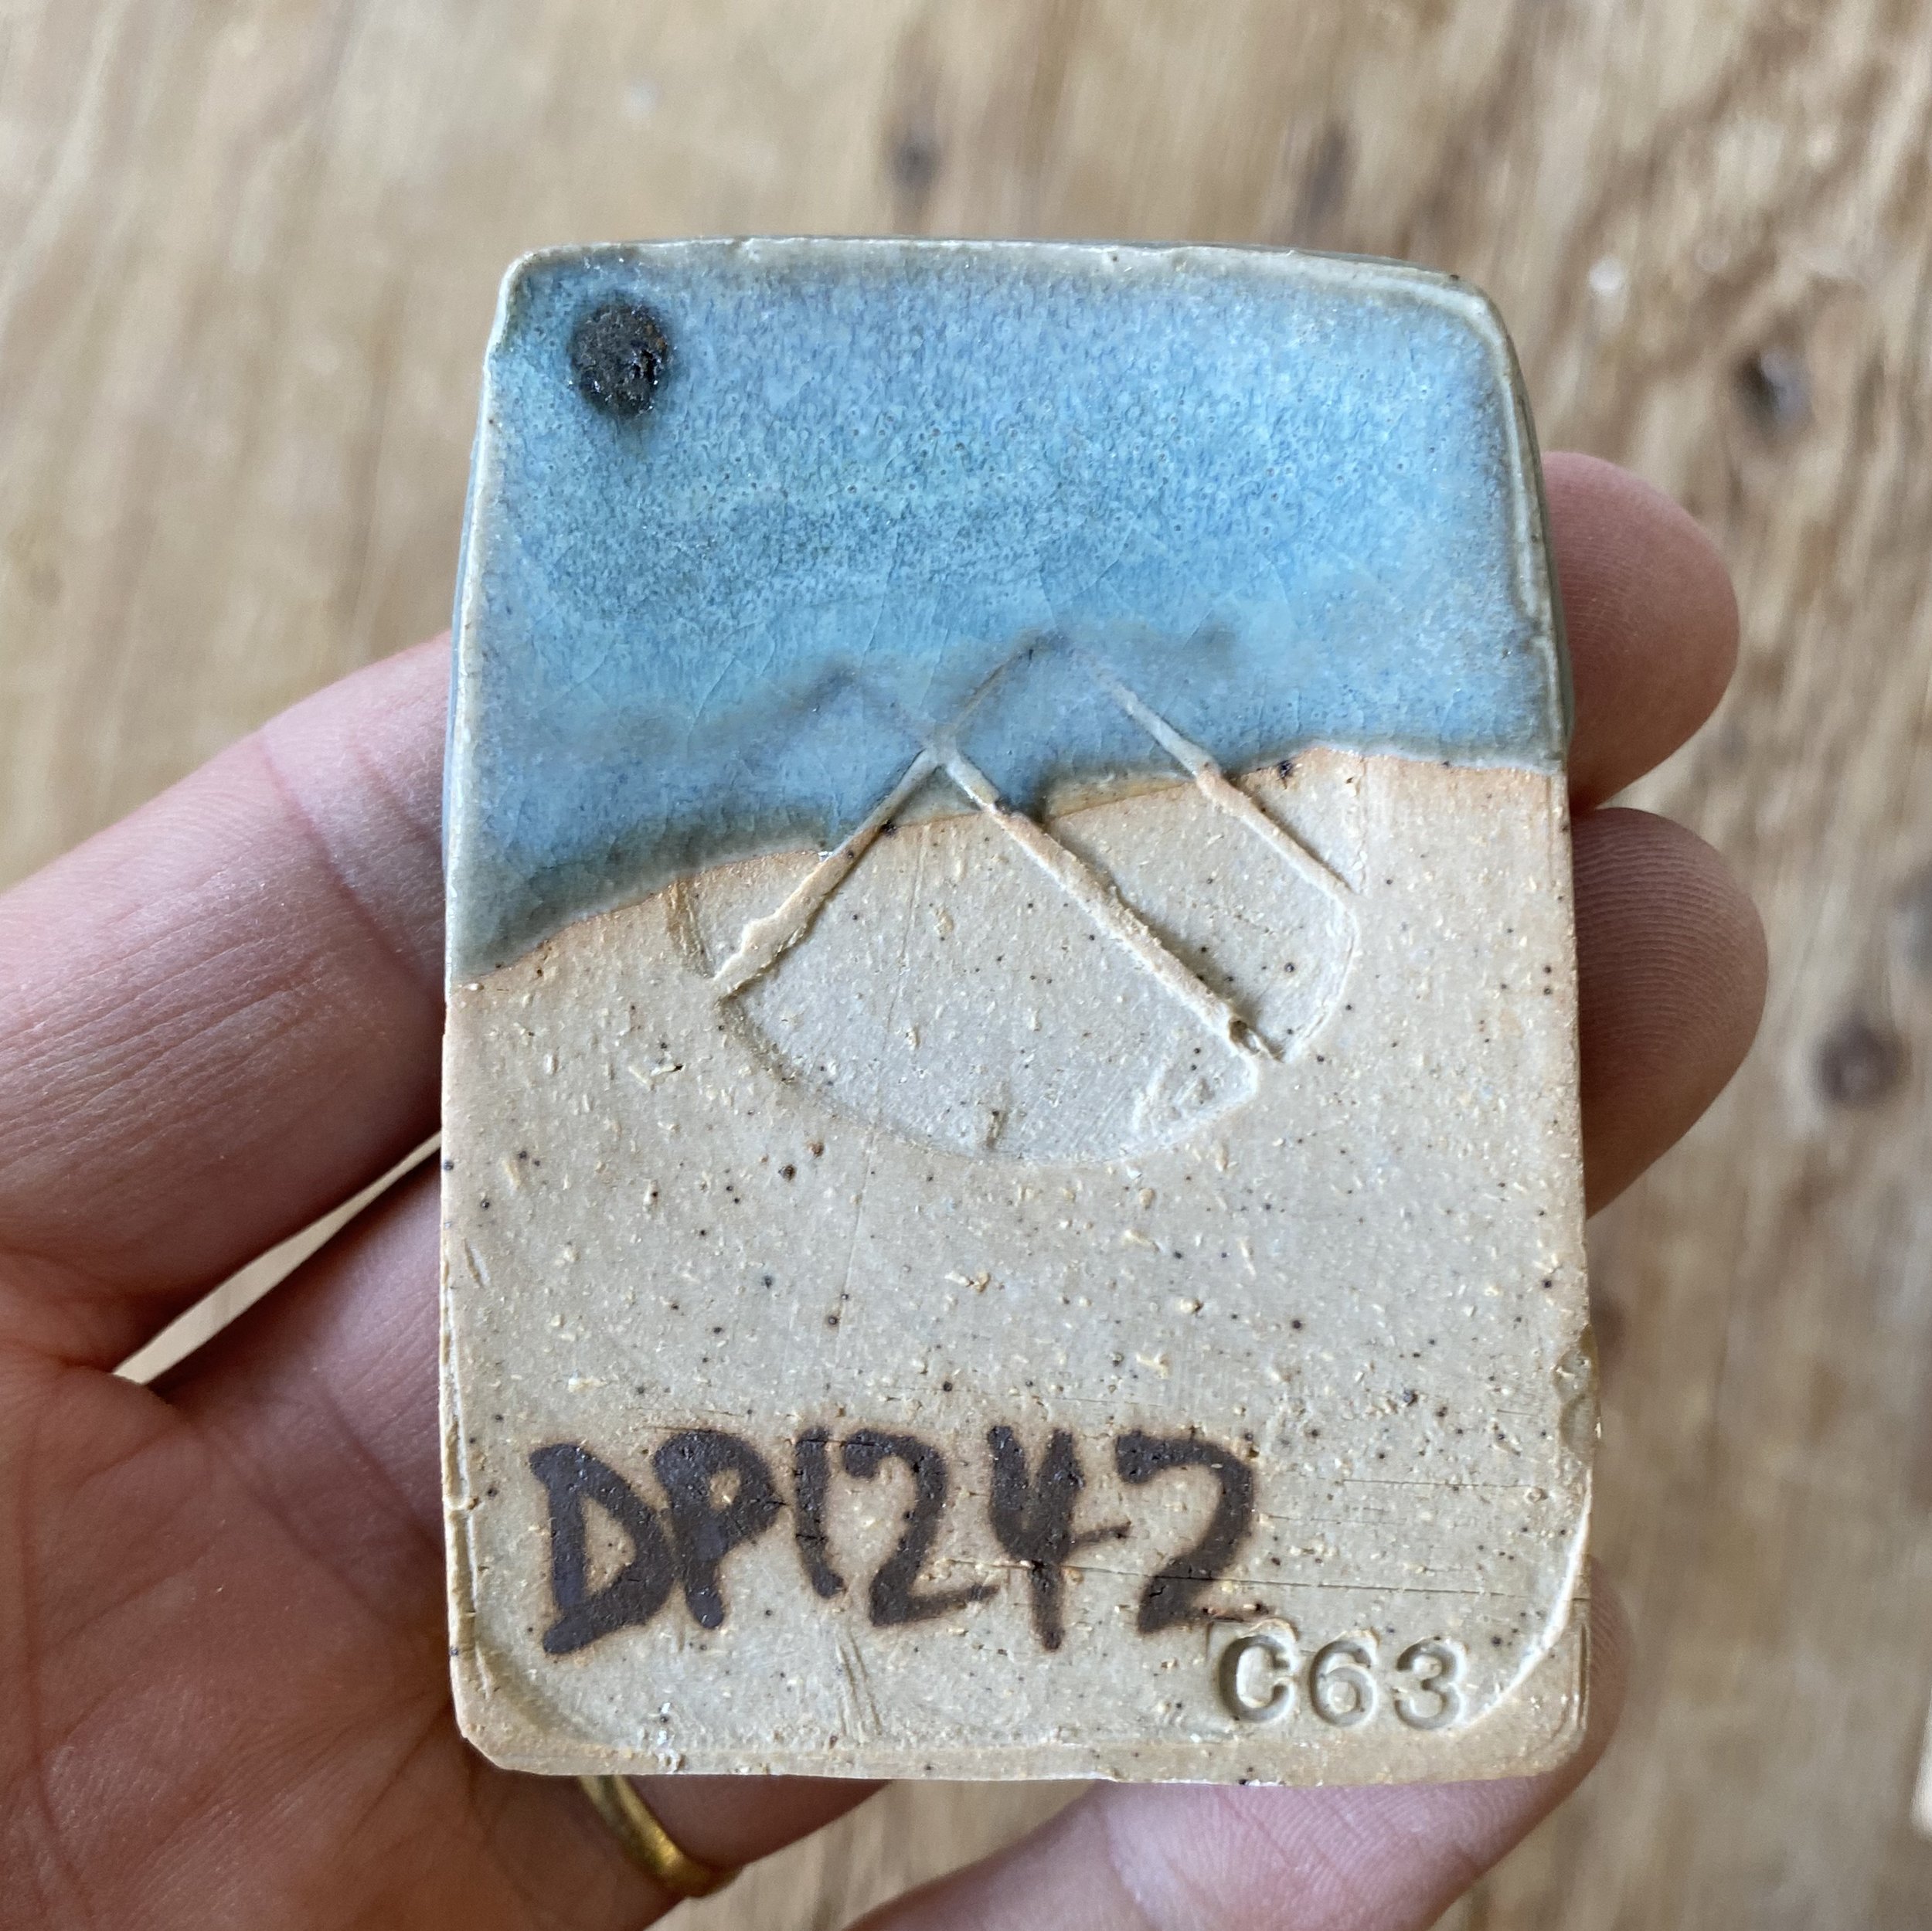
This shows just how much influence the firing had.
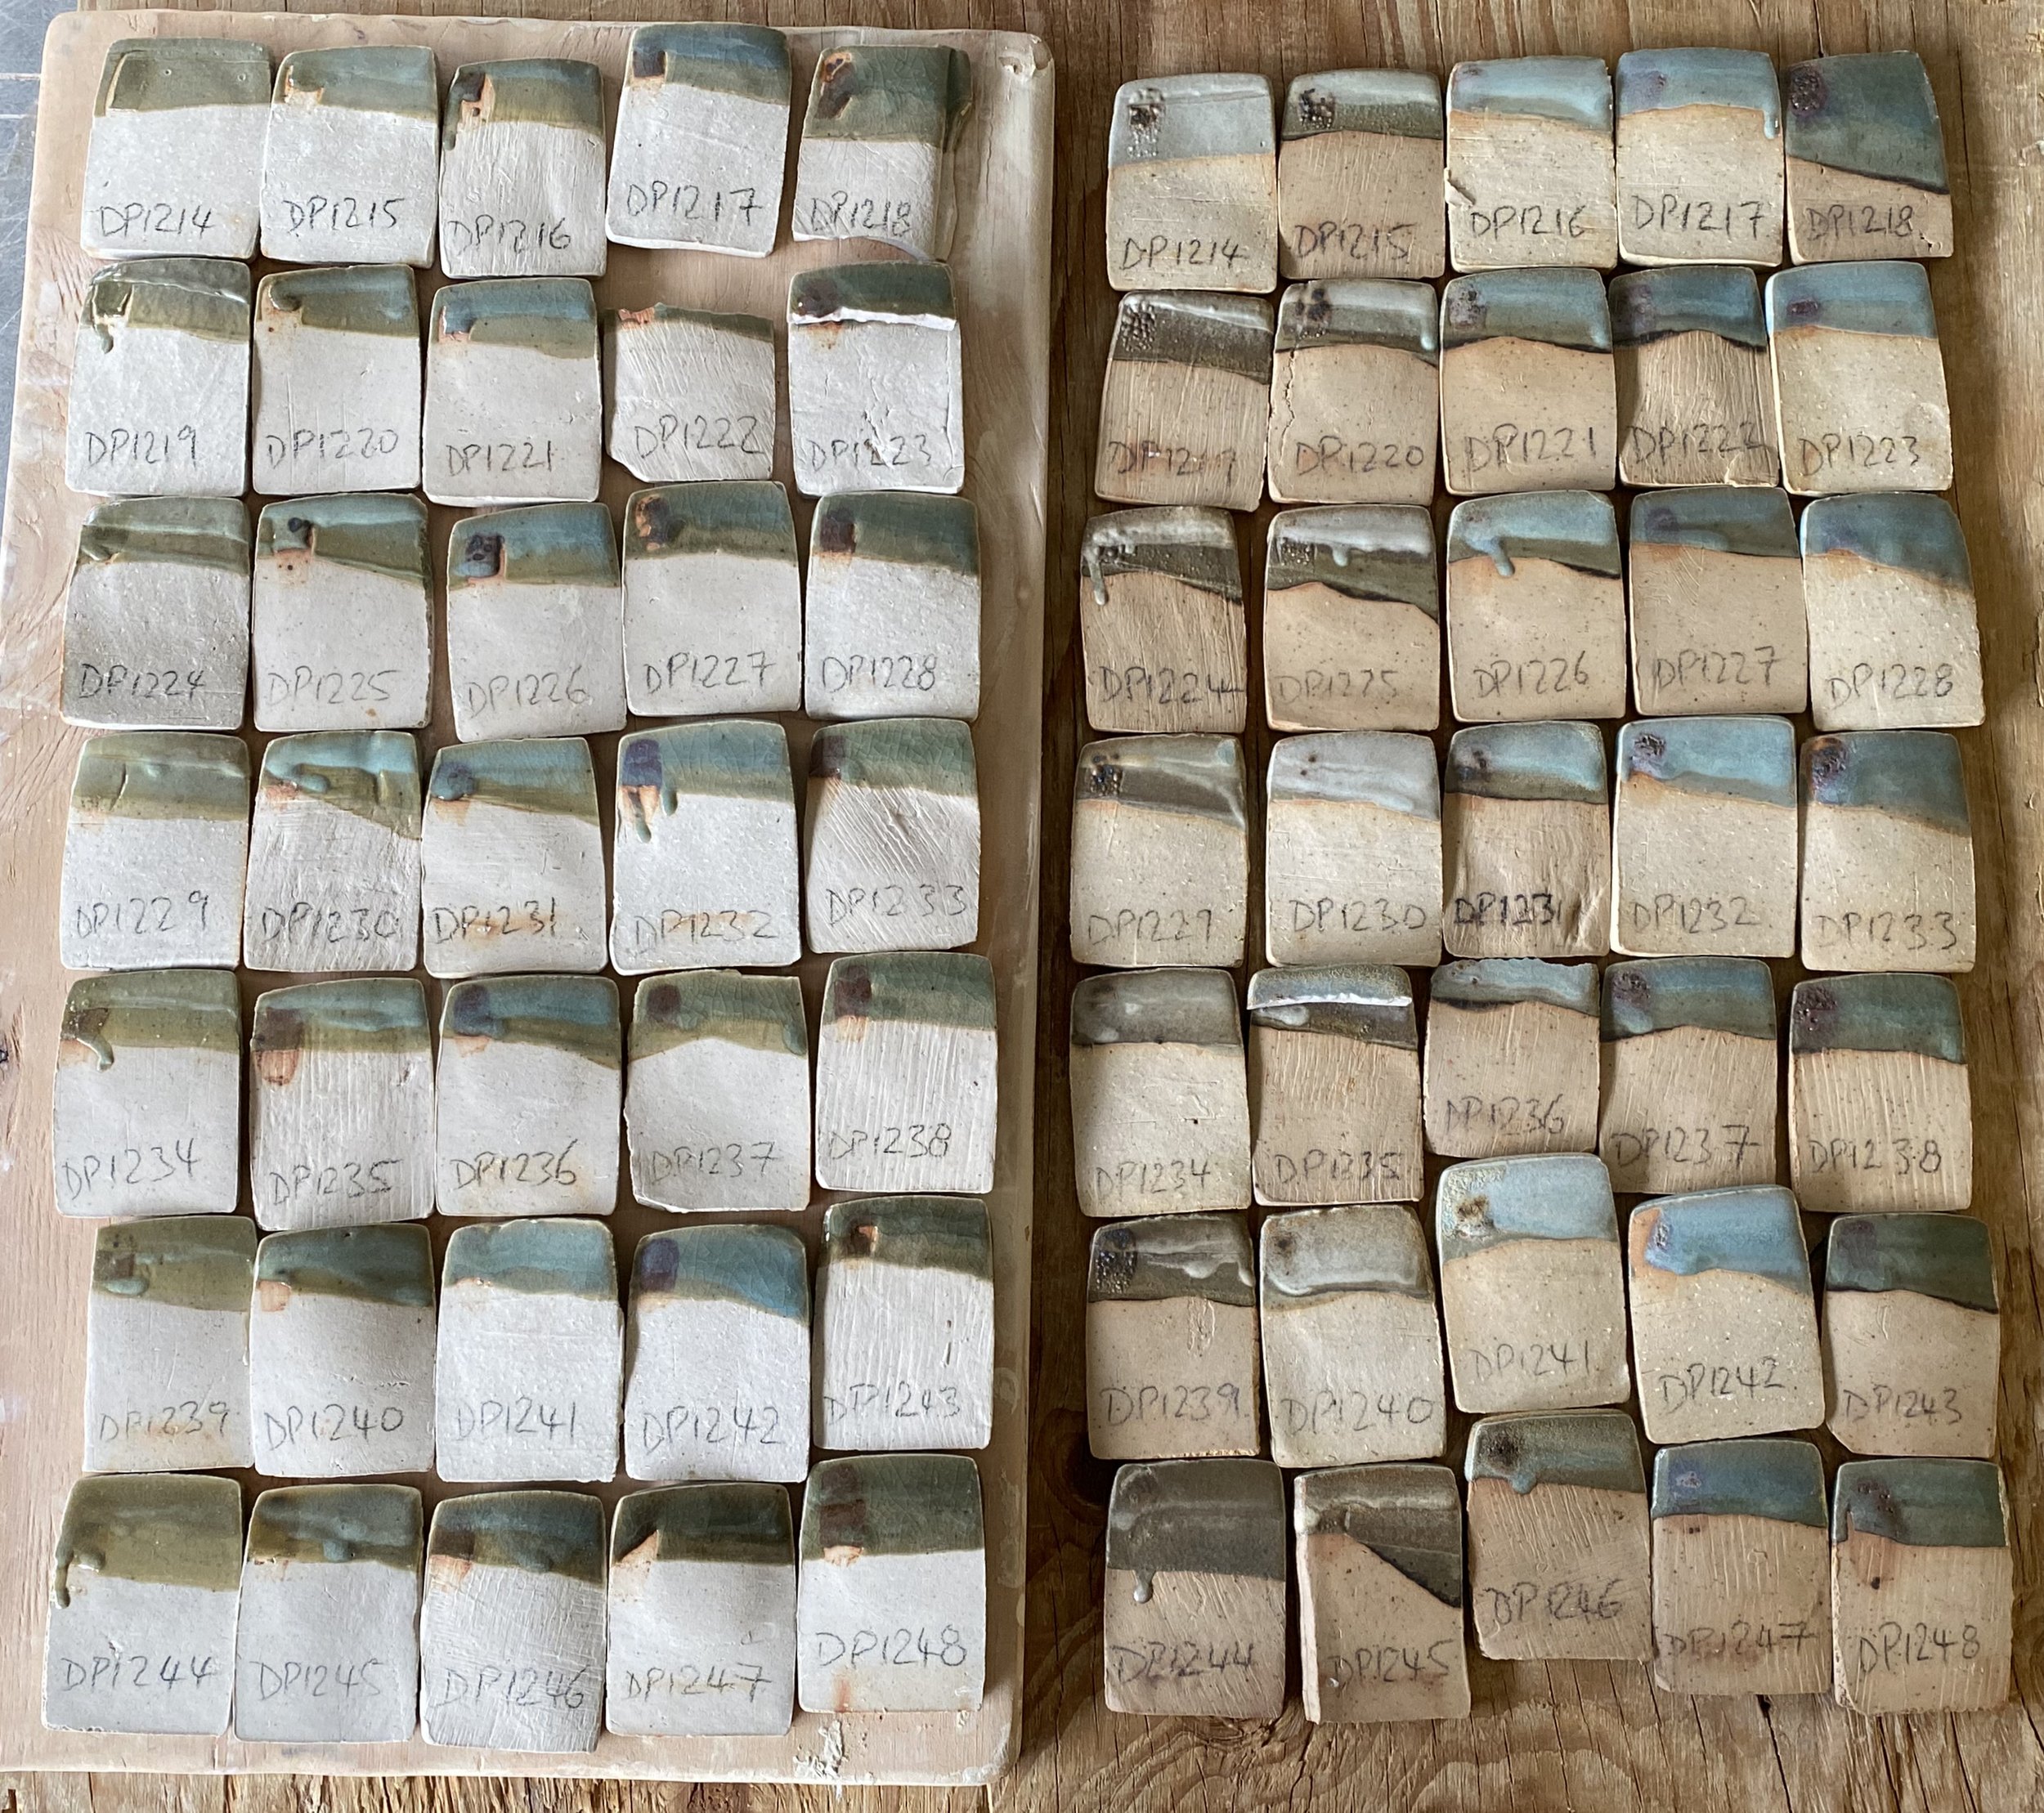
Here is the entire second grid laid out from this slow cooled firing…


Here are the back sides of these tiles:


Alright, let’s move on to grid 3.
This was a very dramatic difference also. Here is the front side of the vertical test tiles (in these the more reduced, slow cooled tiles are on the left)…
Here are the back sides…
I was surprised when first unloading these tests. They were so pale! You can see the previous set laid out in this previous blog post.
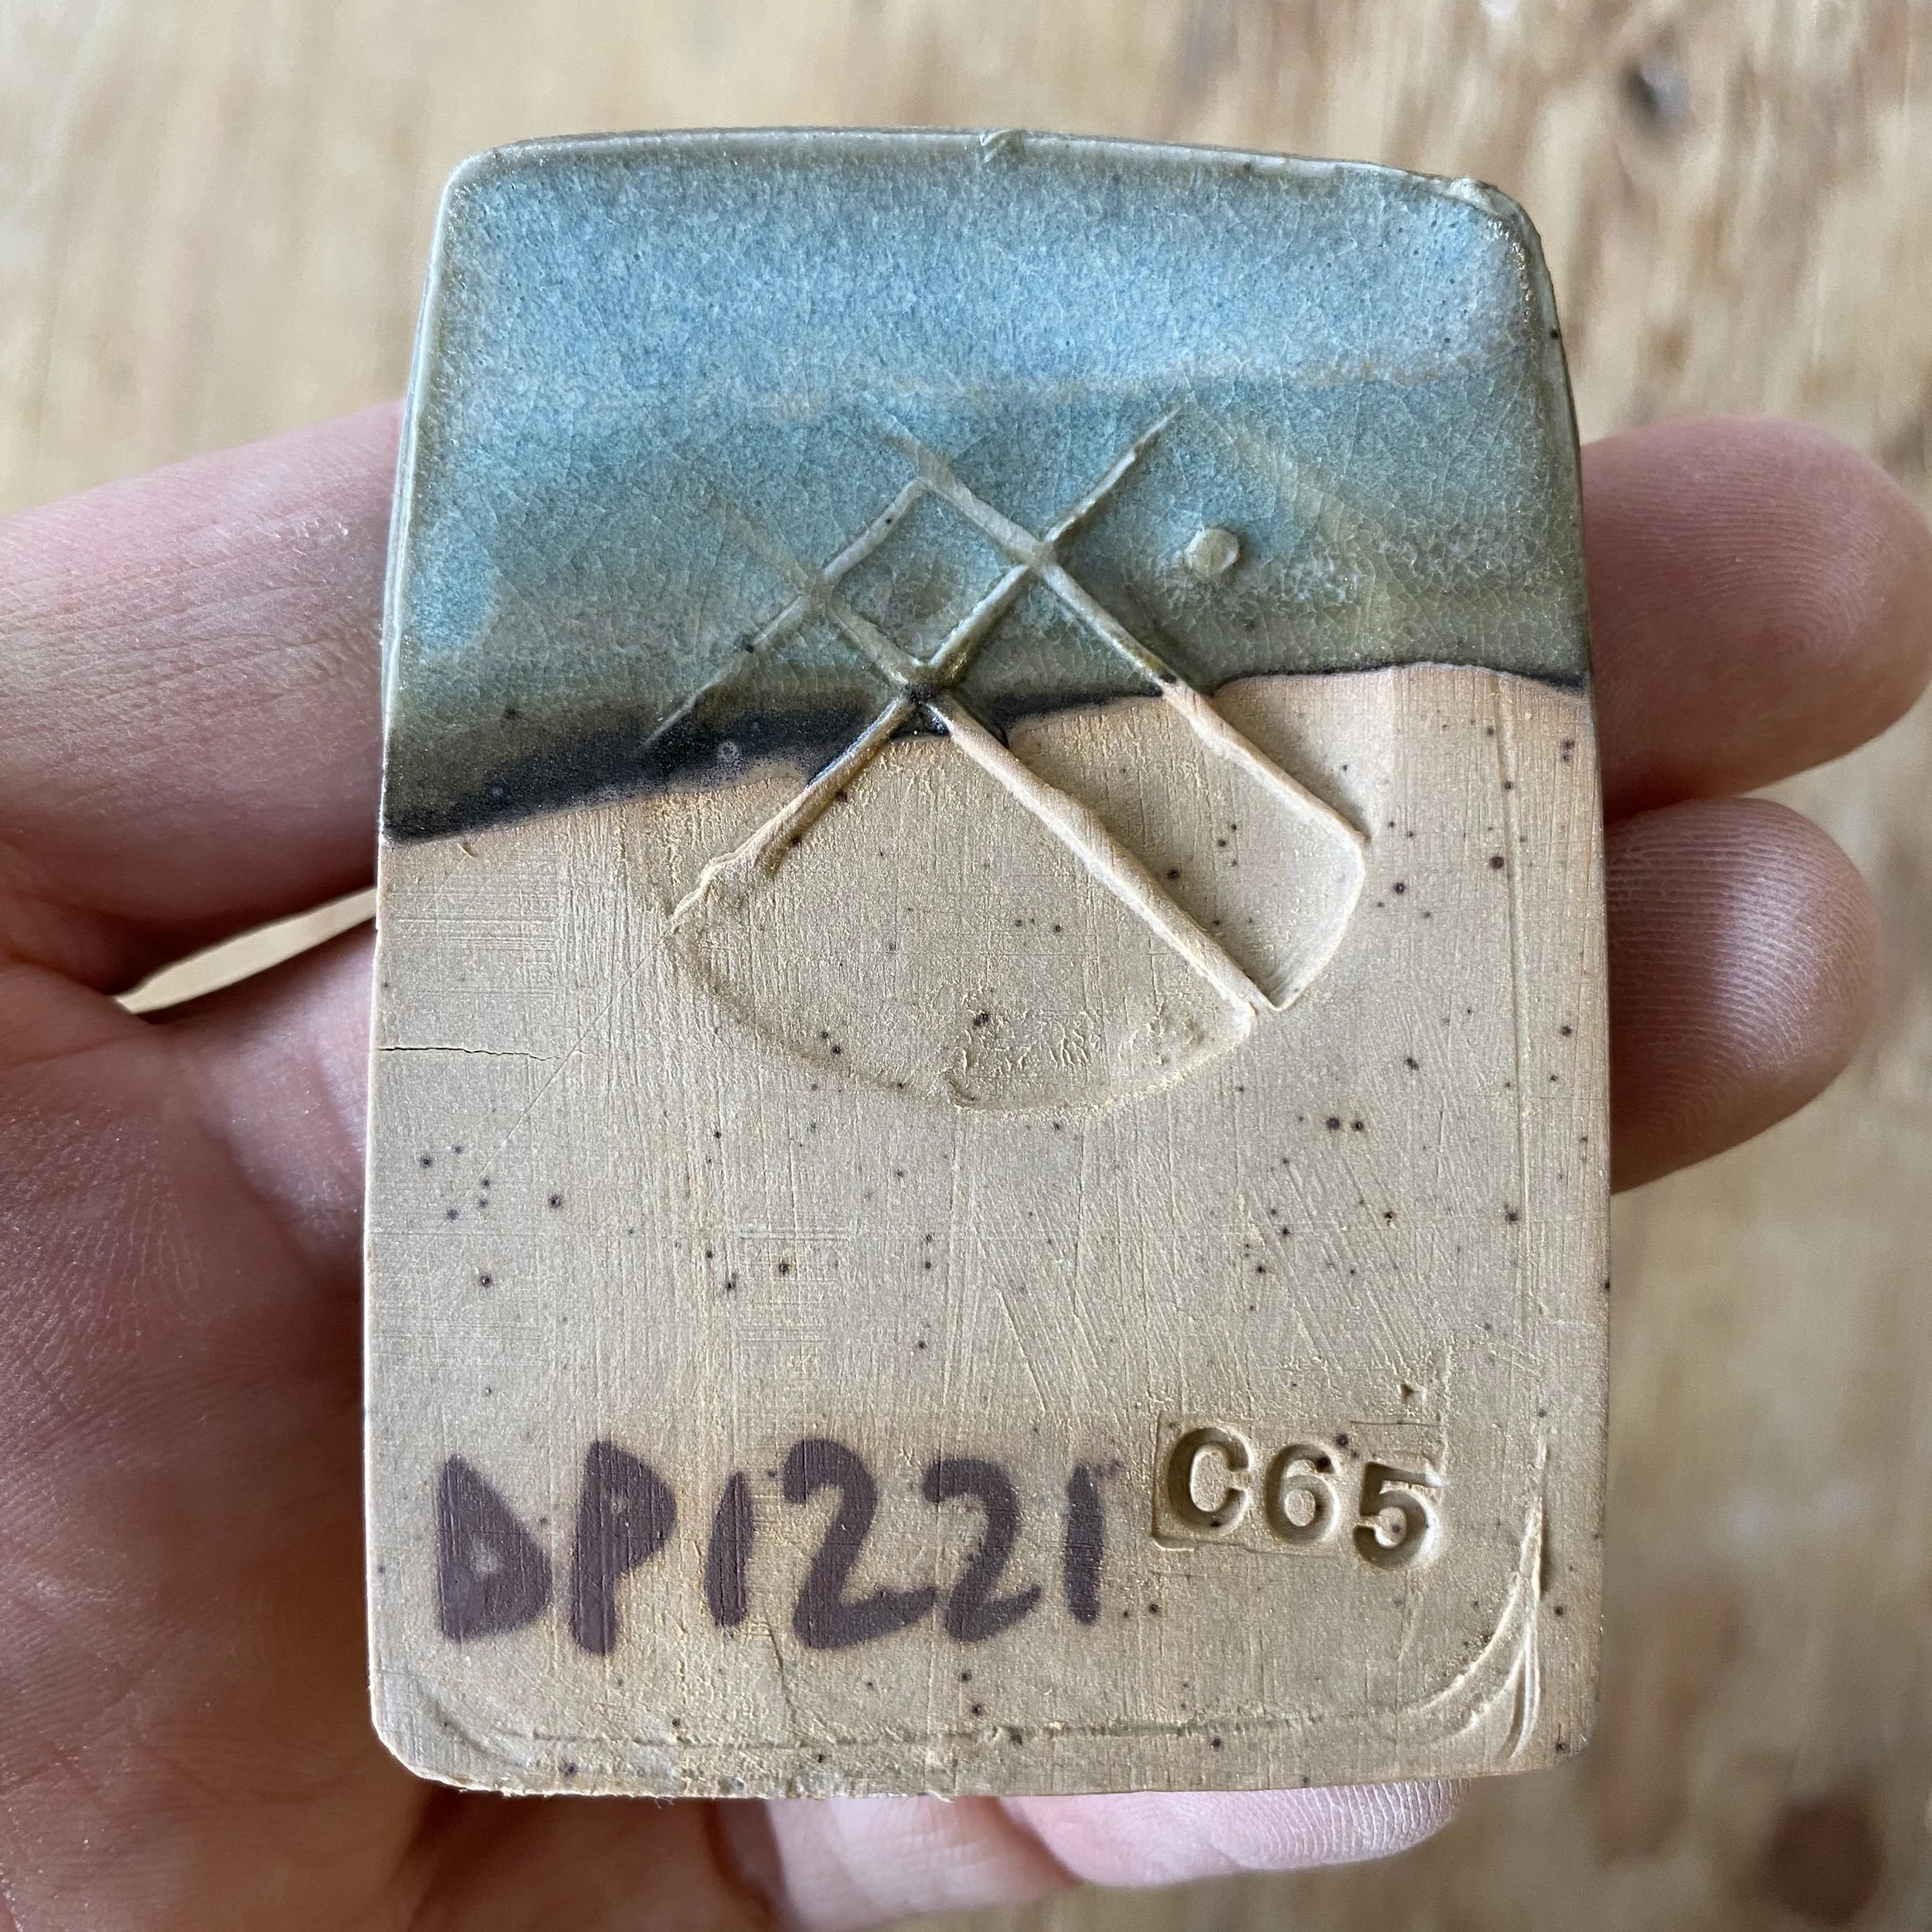
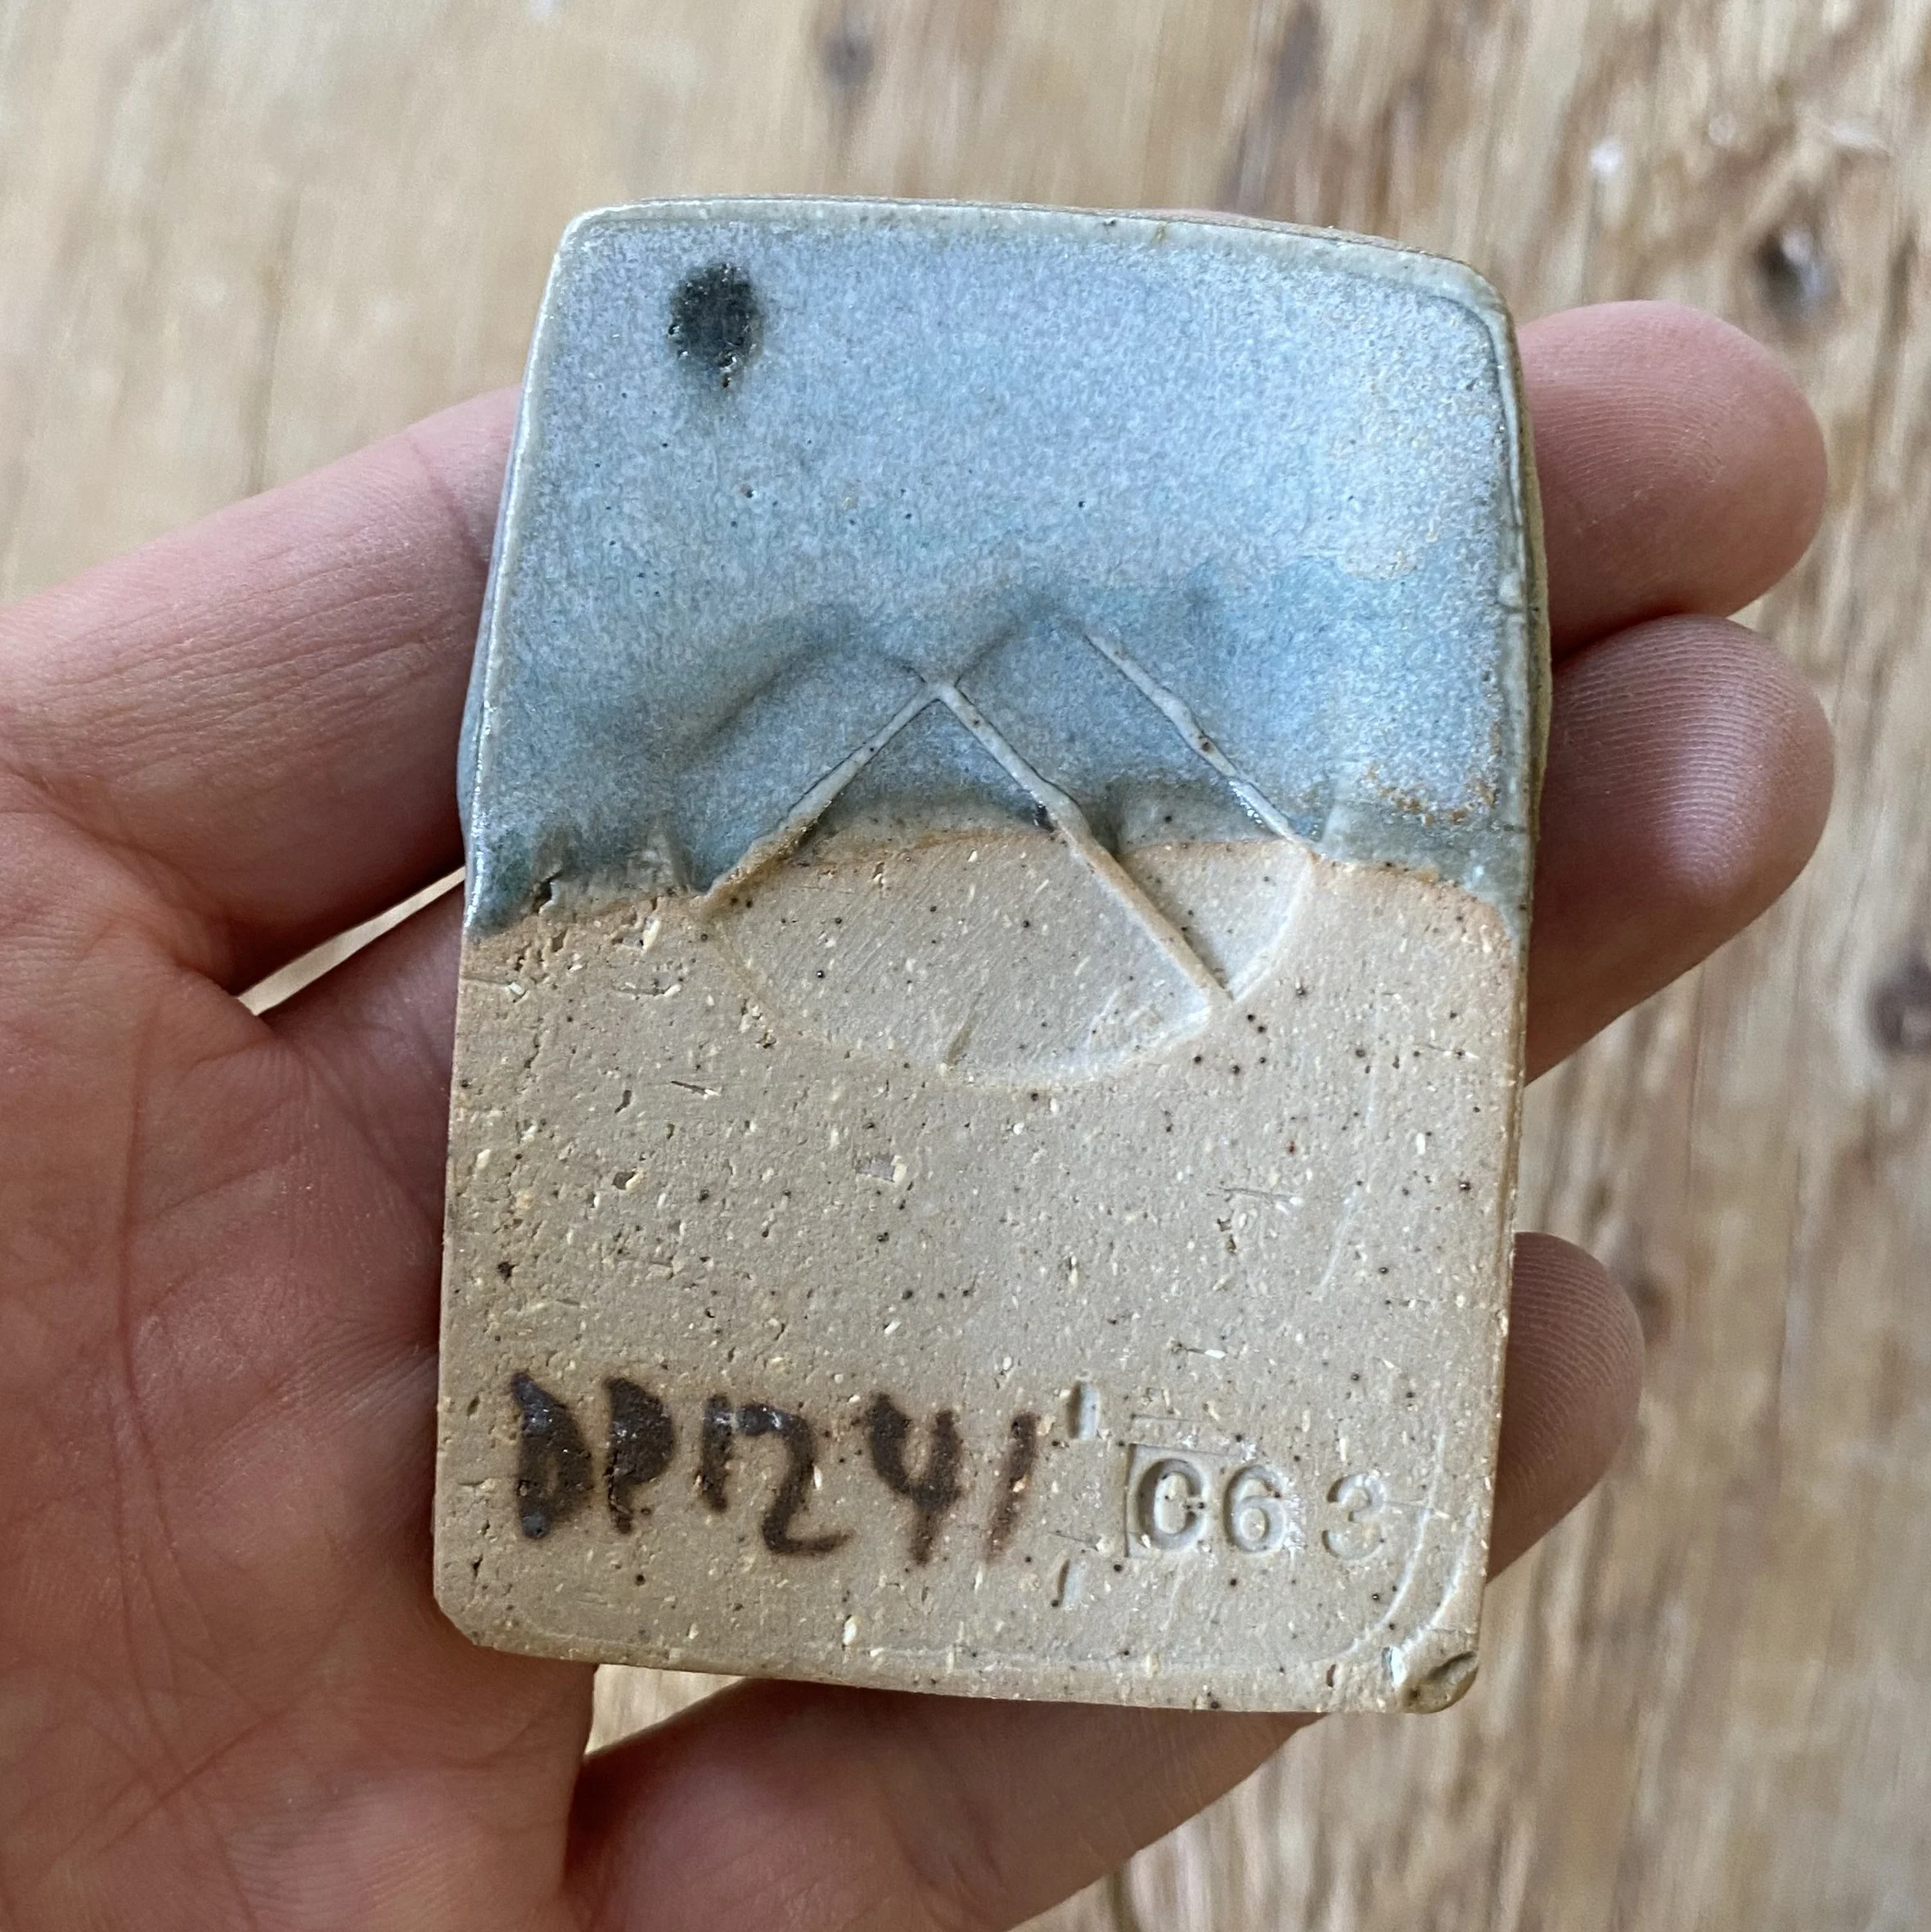
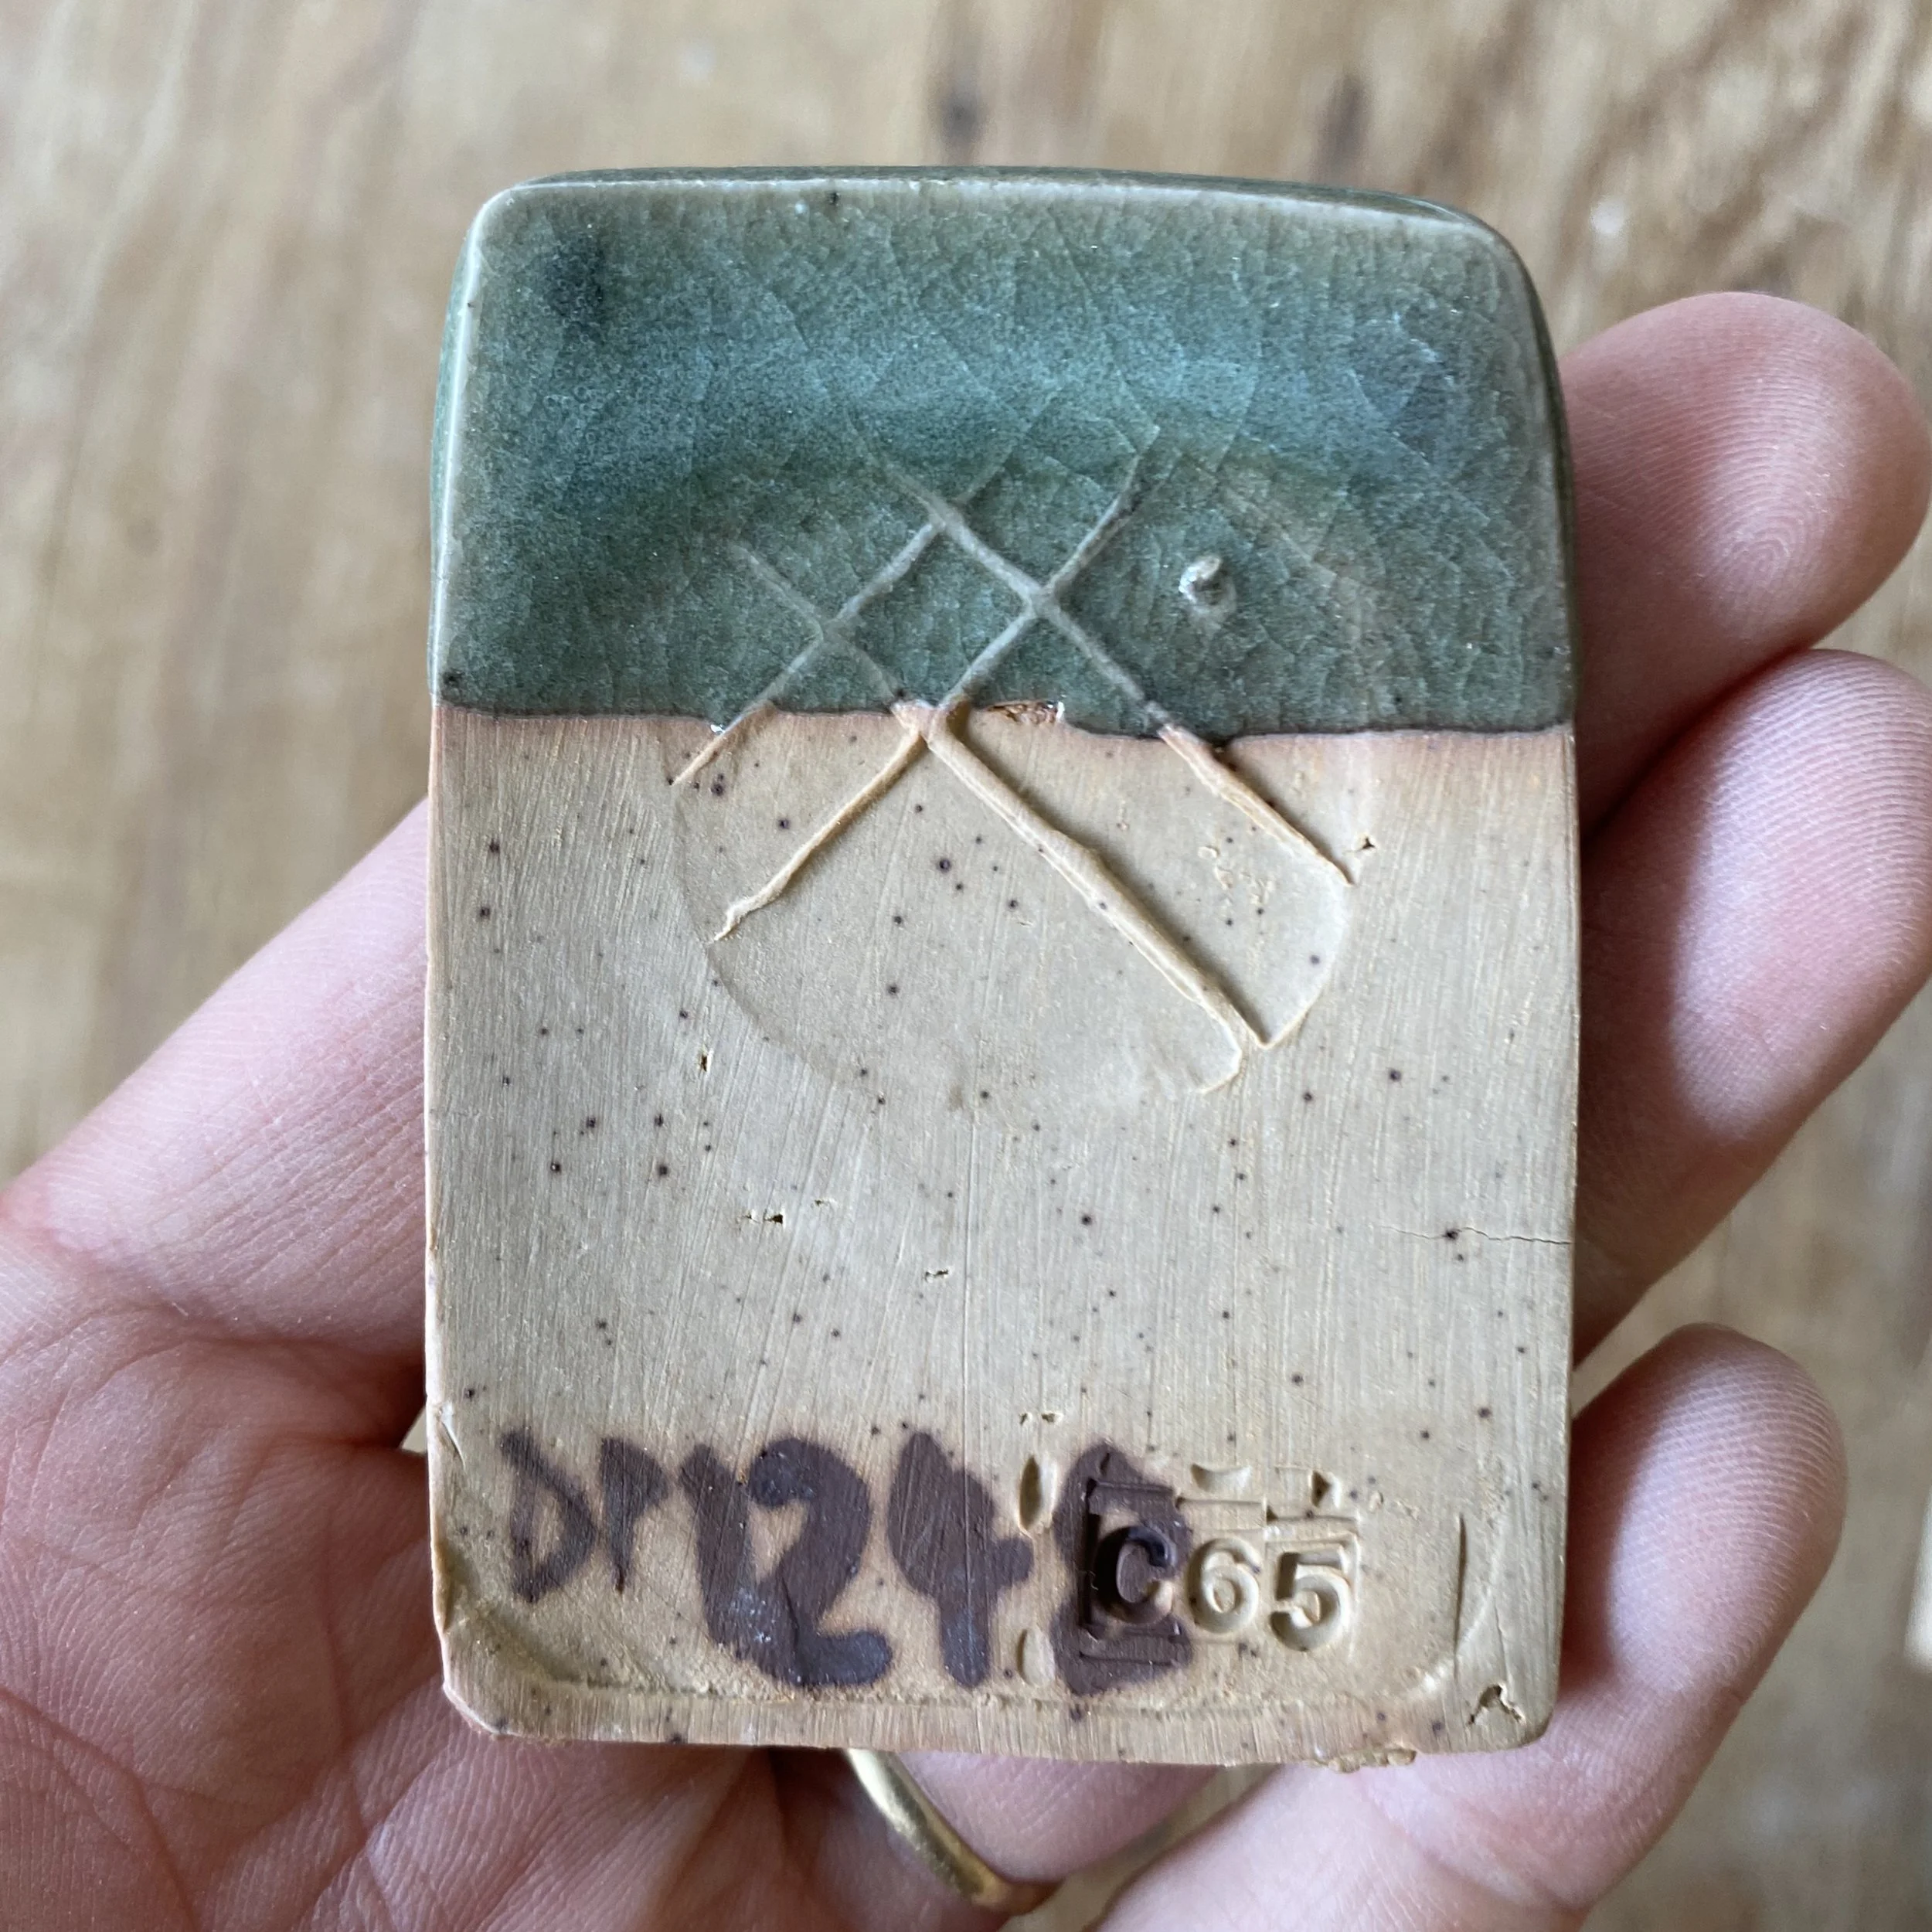
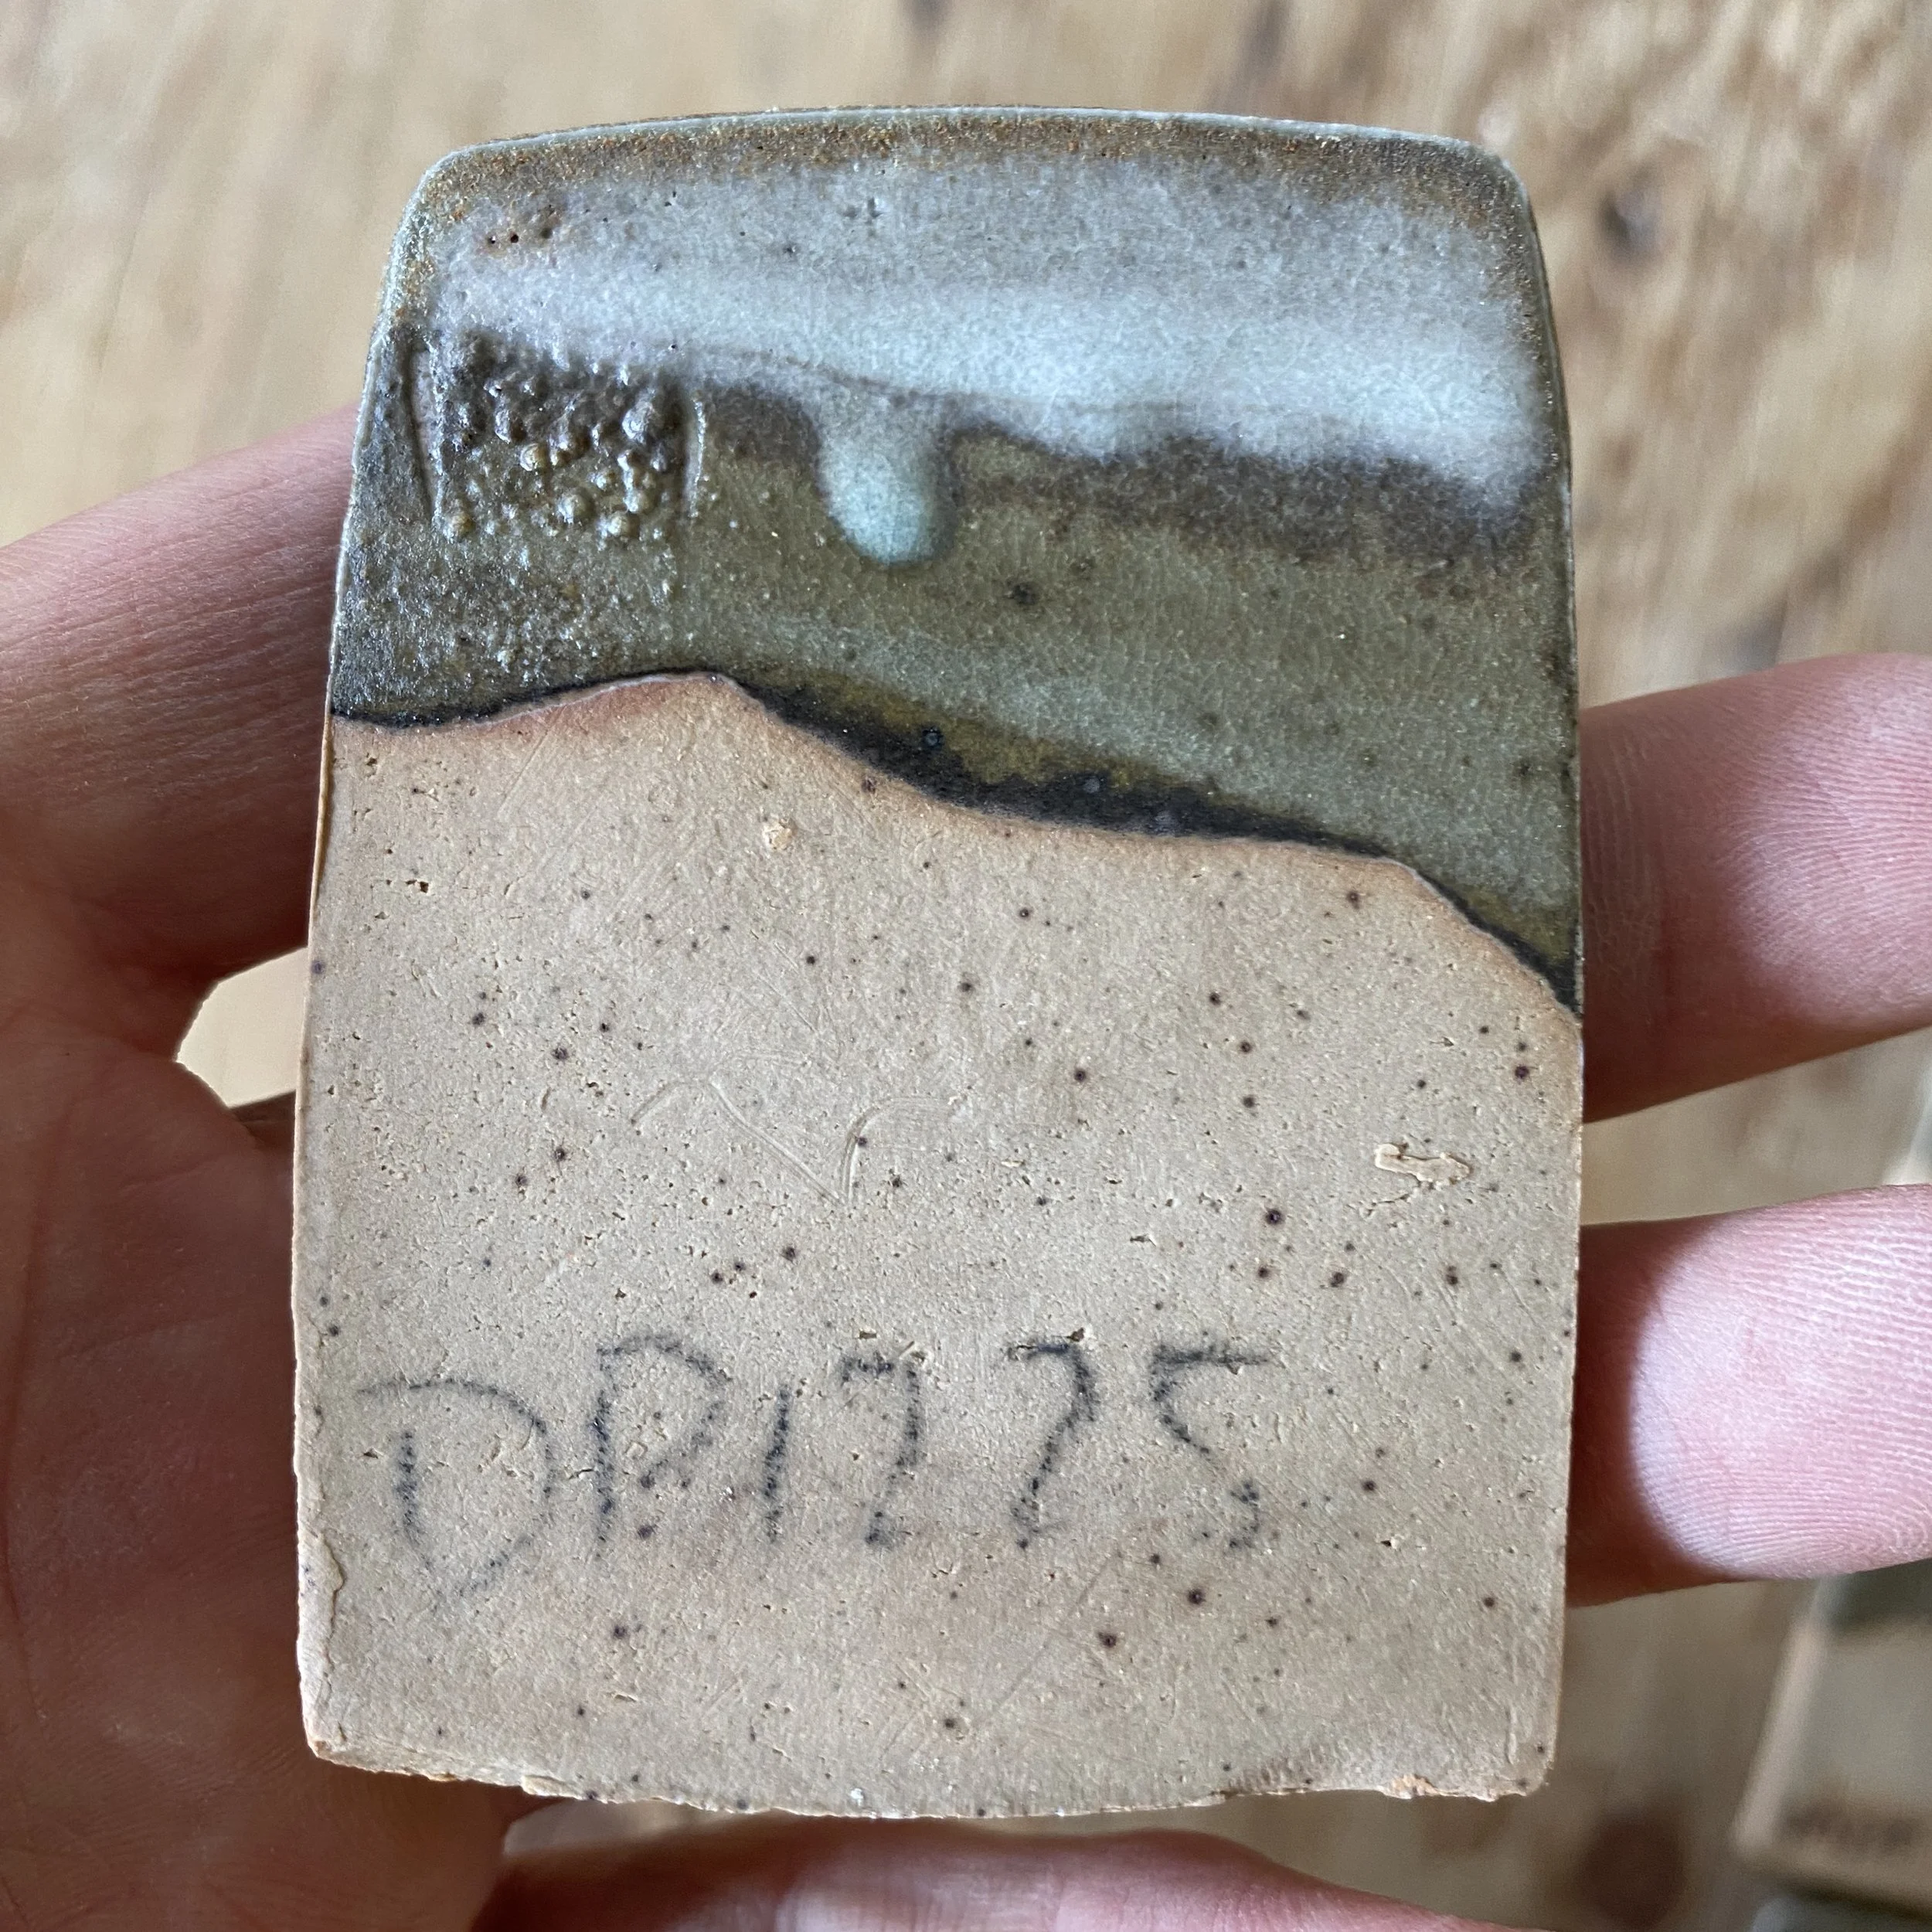
Here are the individual tiles so you can click on them and see them enlarged. Front side first…


And now the back sides of the tiles…


All of these are opaque, but have less of the deeper blue color of some of the earlier tests. I believe that this is because in my search for opalescence, I gravitated toward the higher silica tests from grids 1 and 2 in making this set. In this kind of slow firing, they became quite pale. This was surprising. I would have expected higher reduction to make the blues brighter or darker. I think this is because as Jun glazes are not pigmented glazes. These recipes only have 1.5-2% iron in them. The blue color is caused by light scattering on tiny bubbles, rather than the iron pigmenting the glaze.
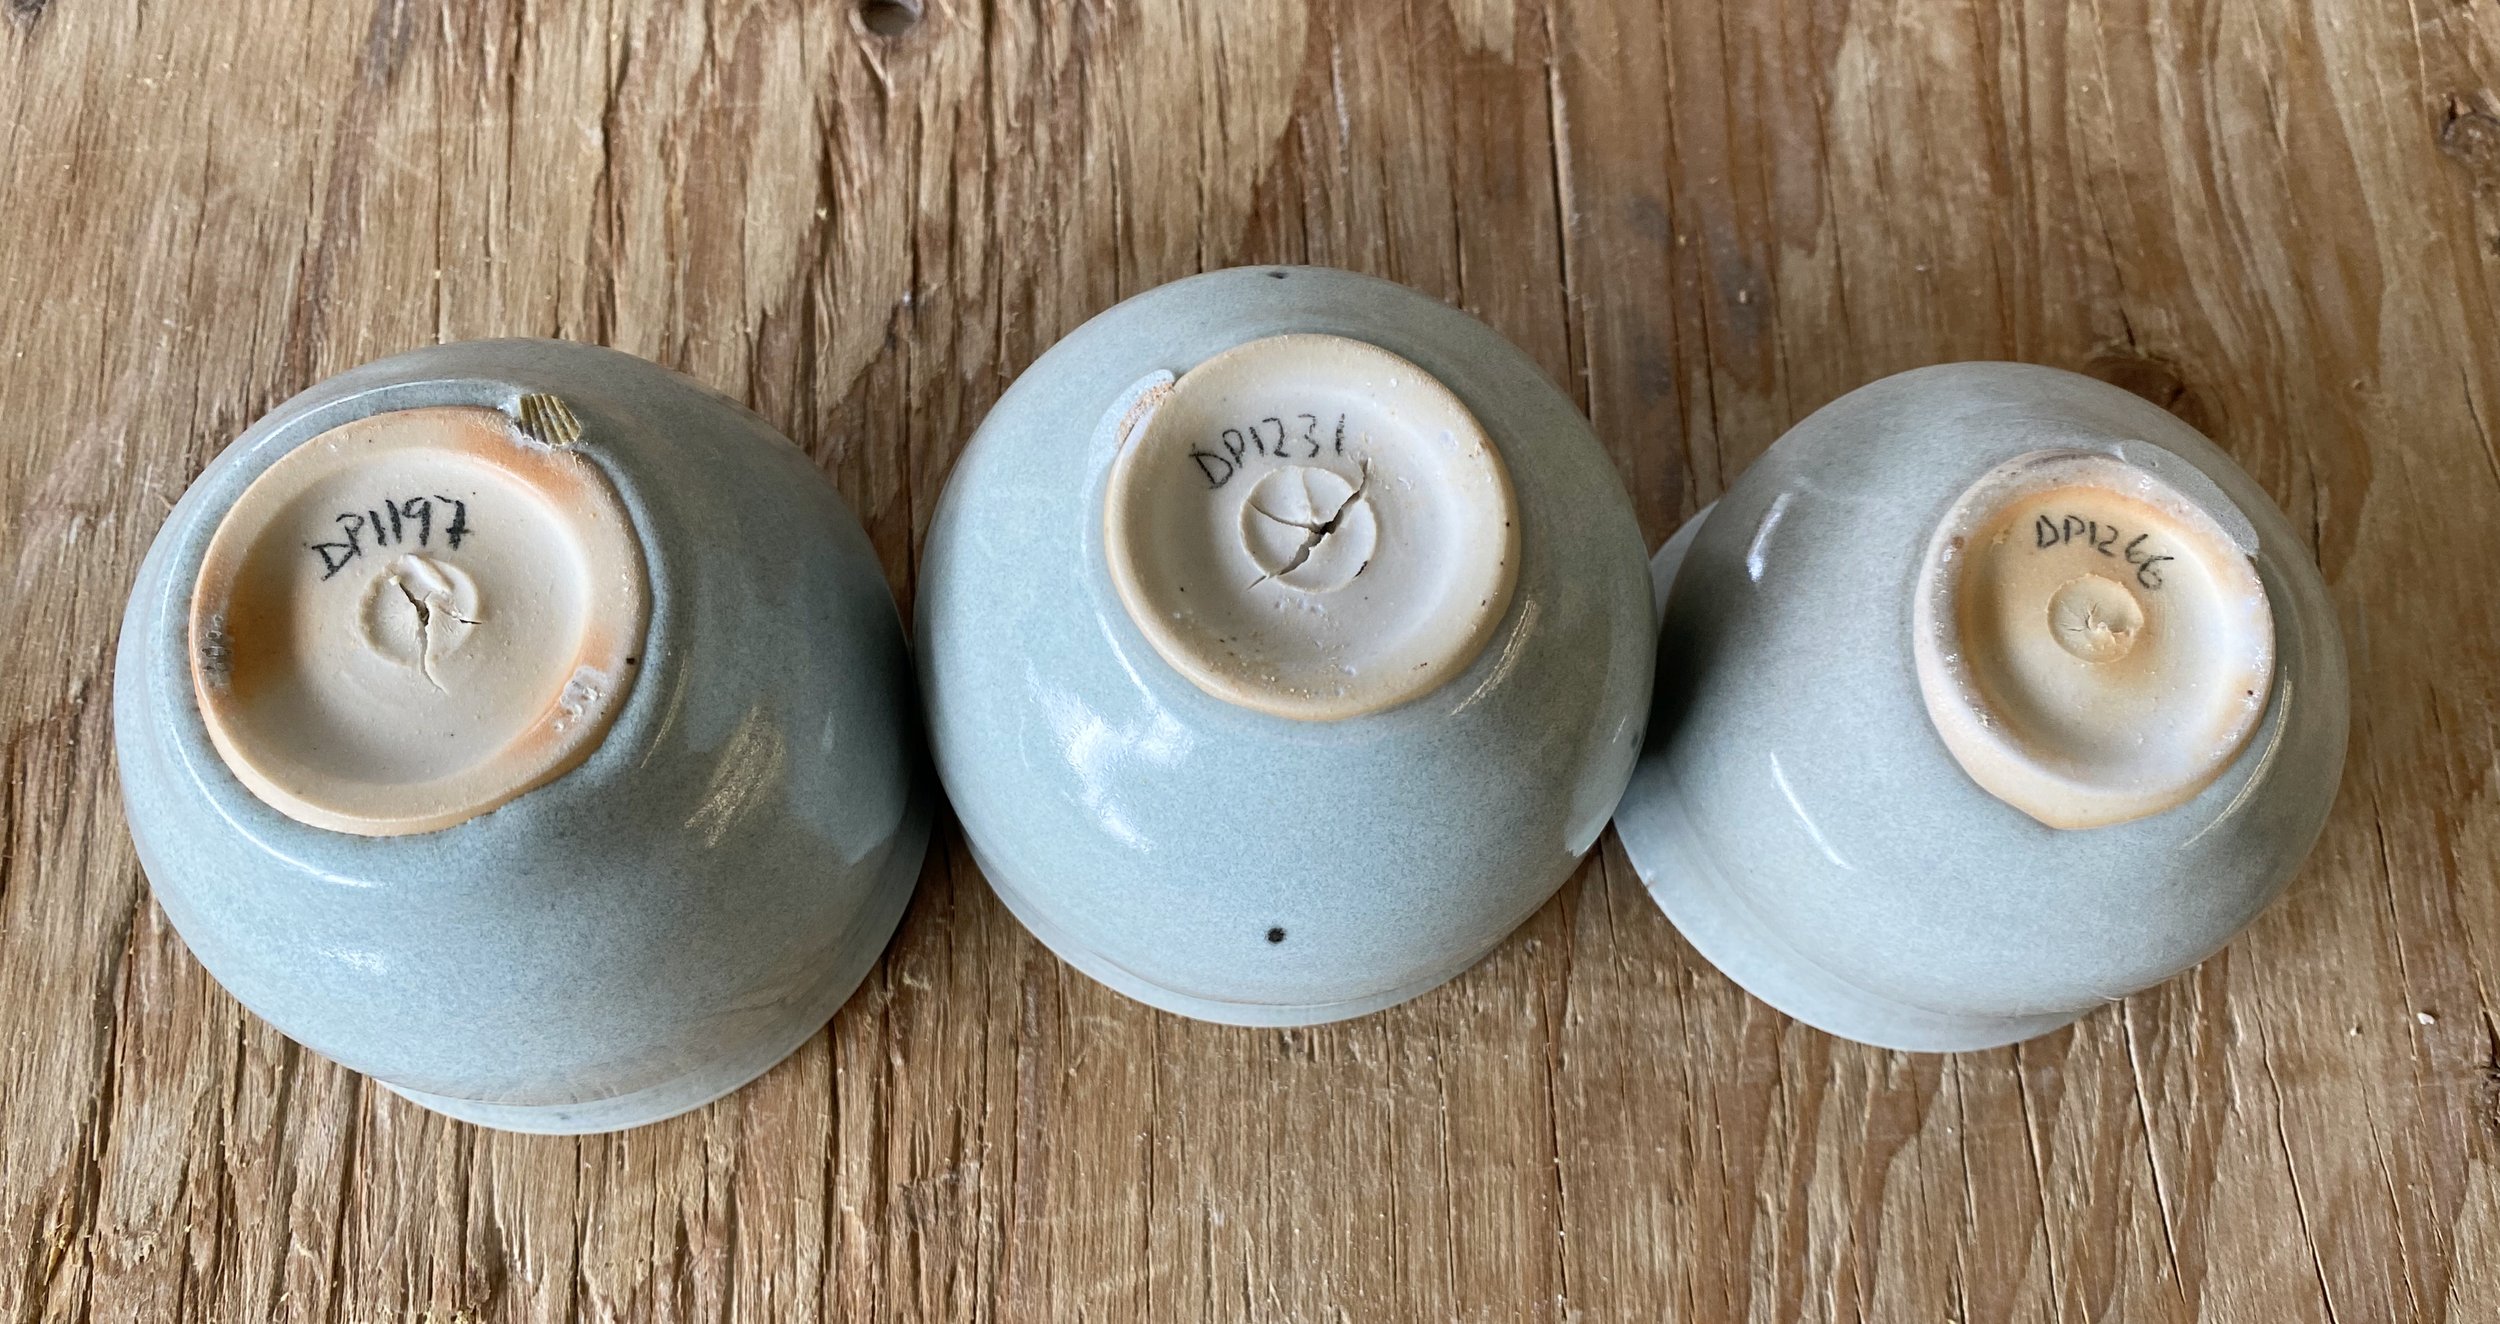
These three test porcelain cups were glazed with the central glazes from each of the grids. DP1197 was the central test from grid 1, DP1231 was the central glaze from grid 2 and DP1266 was the central grid test from grid 3. I combined all of the leftover tests to make these central glazes so they may not be 100% true in composition, but close enough for this purpose.
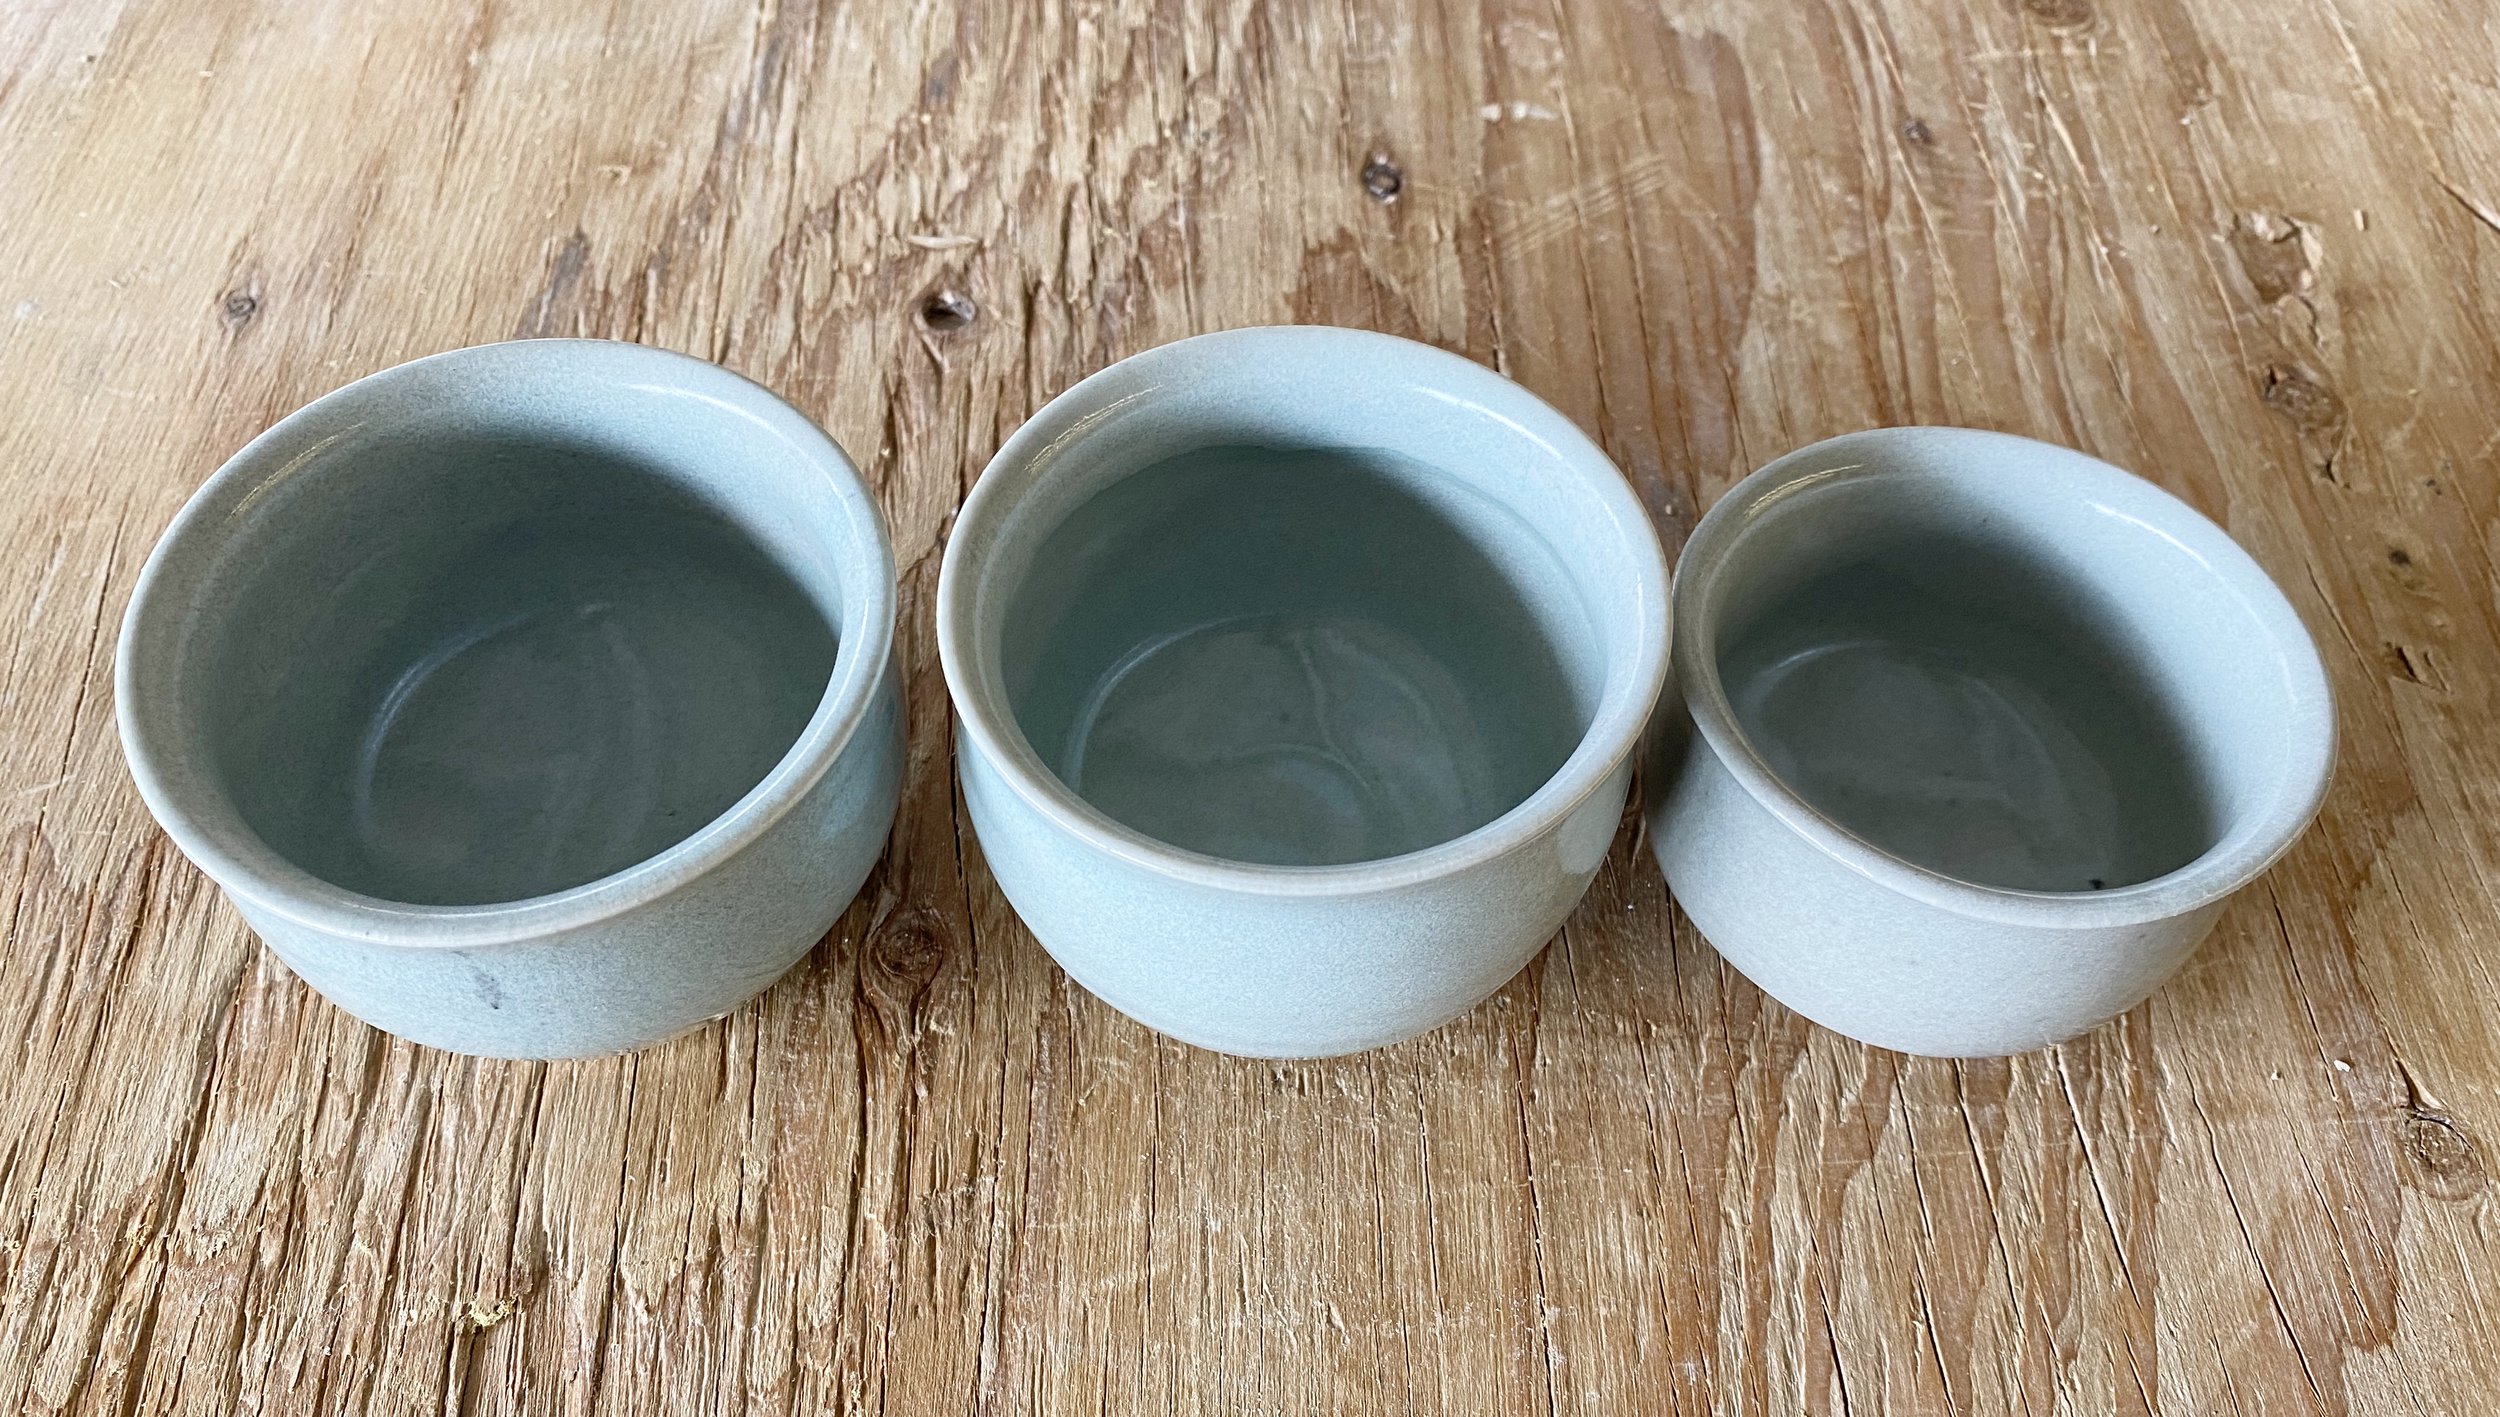
What is striking to me is how similar they are! The slow cooling firing made them all very opaque and light colored. The composition of the glazes is not the same of course…
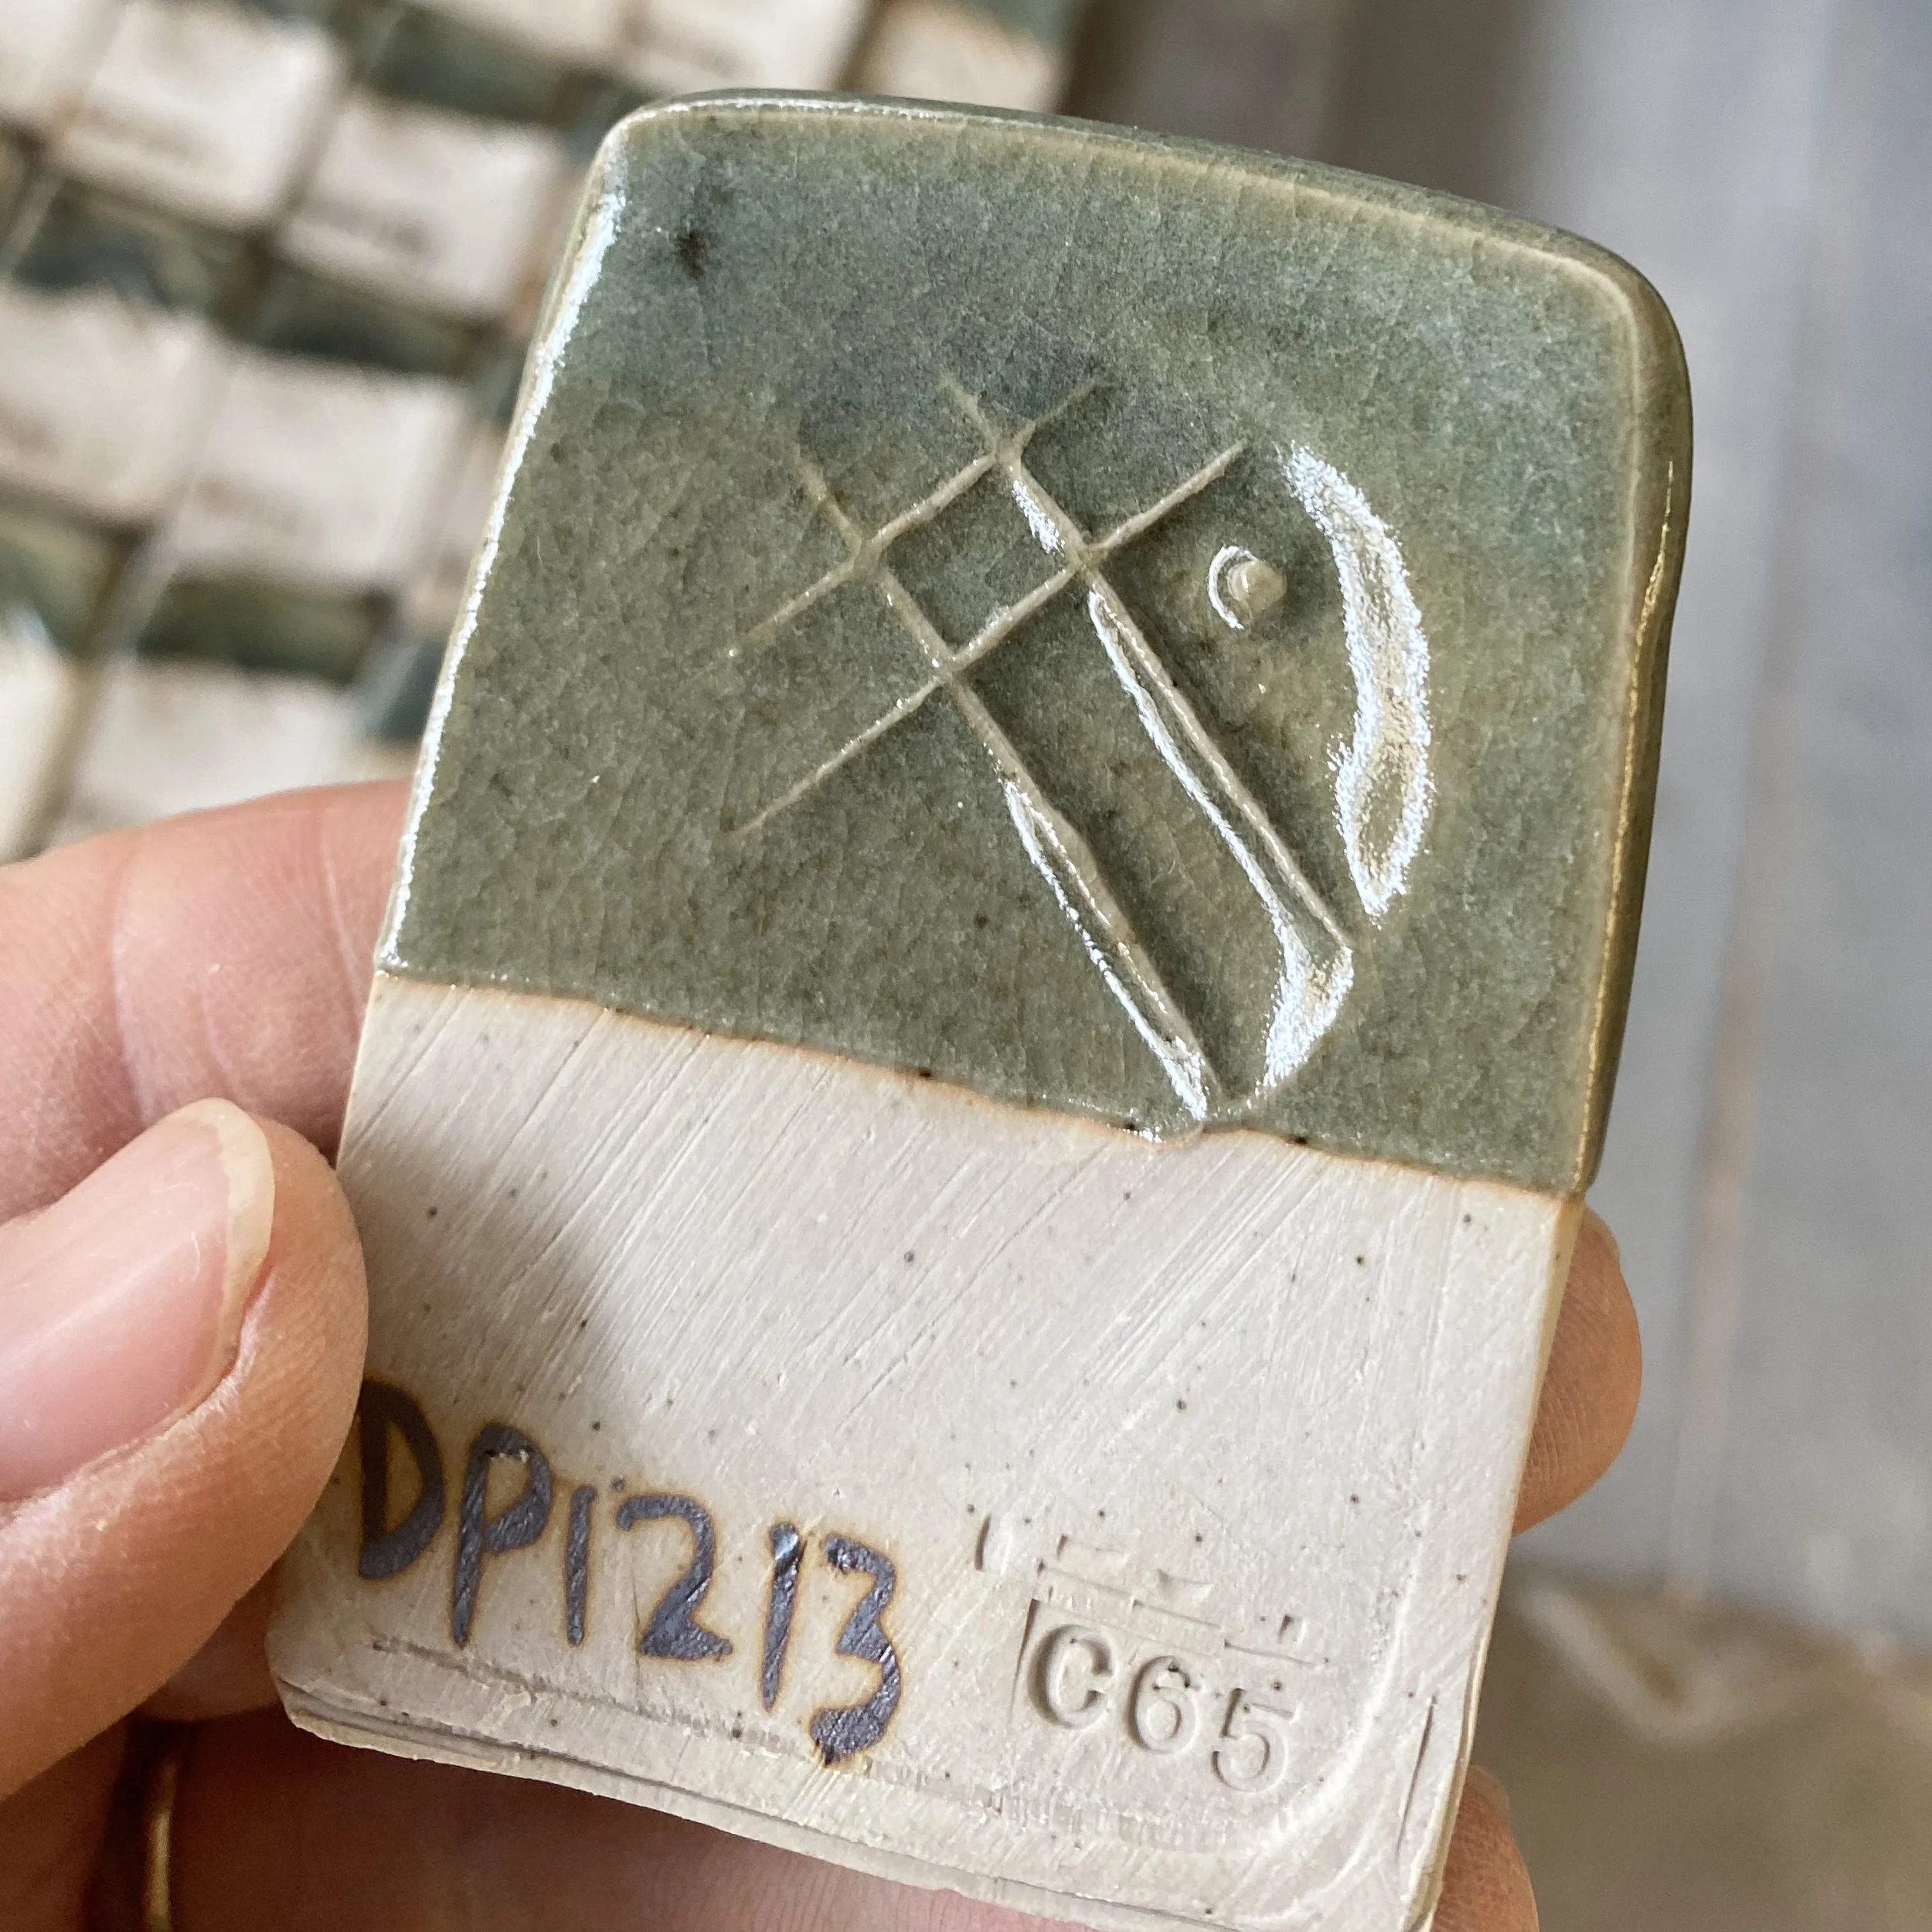
DP1197:
53.75% DP granite
15% Silica
17.5% Wollastonite
11.75% Mahavir (potash feldspar)
+ 2% Dolomite
+2% Bentonite
+2% Bone Ash
+1.5% RIO
DP1231:
50.75% DP granite
19.5% Silica
19.5% Wollastonite
8.75% Mahavir (potash feldspar)
+ 1.5% Dolomite
+2% Bentonite
+2% Bone Ash
+1.5% RIO
DP 1266
52.5% DP granite
20% Wollastonite
21.25% Silica
6.25% Mahavir (potash feldspar)
+ 1.5% Dolomite
+2% Bentonite
+2% Bone Ash
+1.5% RIO
Here is what they looked like in regular gas firing (as test tiles).


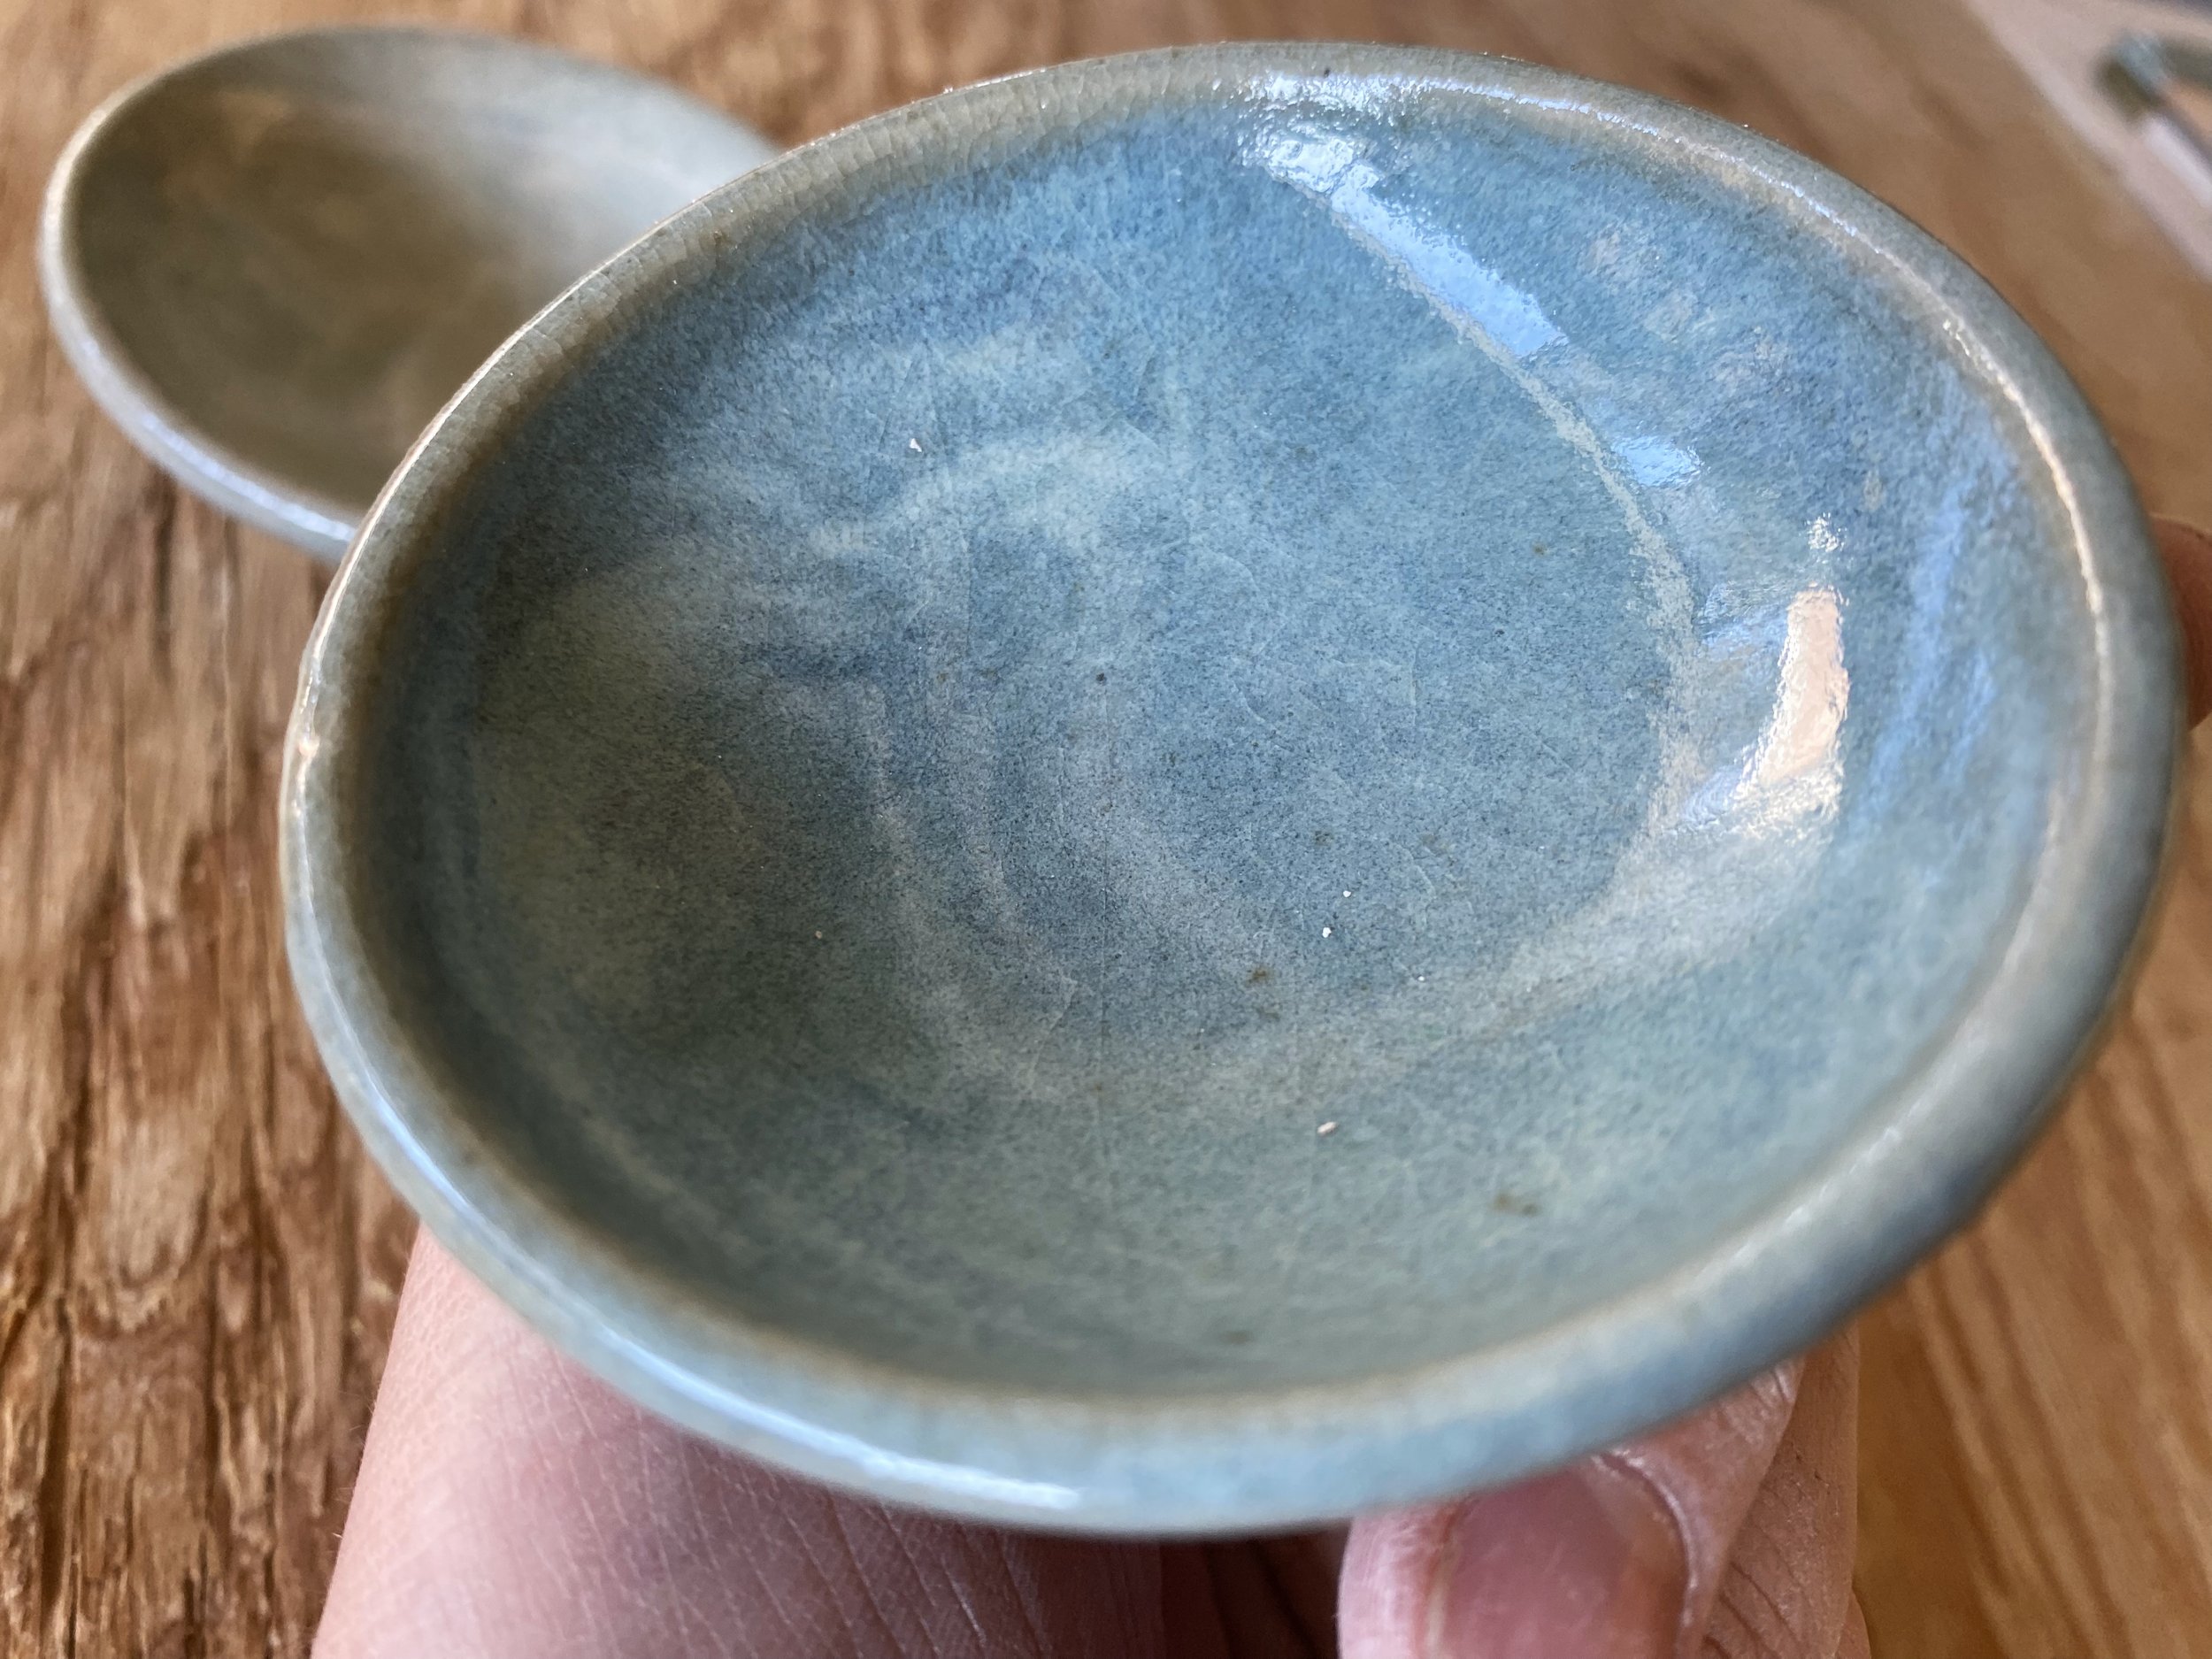
One thing to note is that the cups are made of porcelain as opposed to my grey stoneware which has a little extra iron in it. This is not a huge factor but it is a difference to be aware of. Here are some more pictures of the cups from this slow reduction cooling…


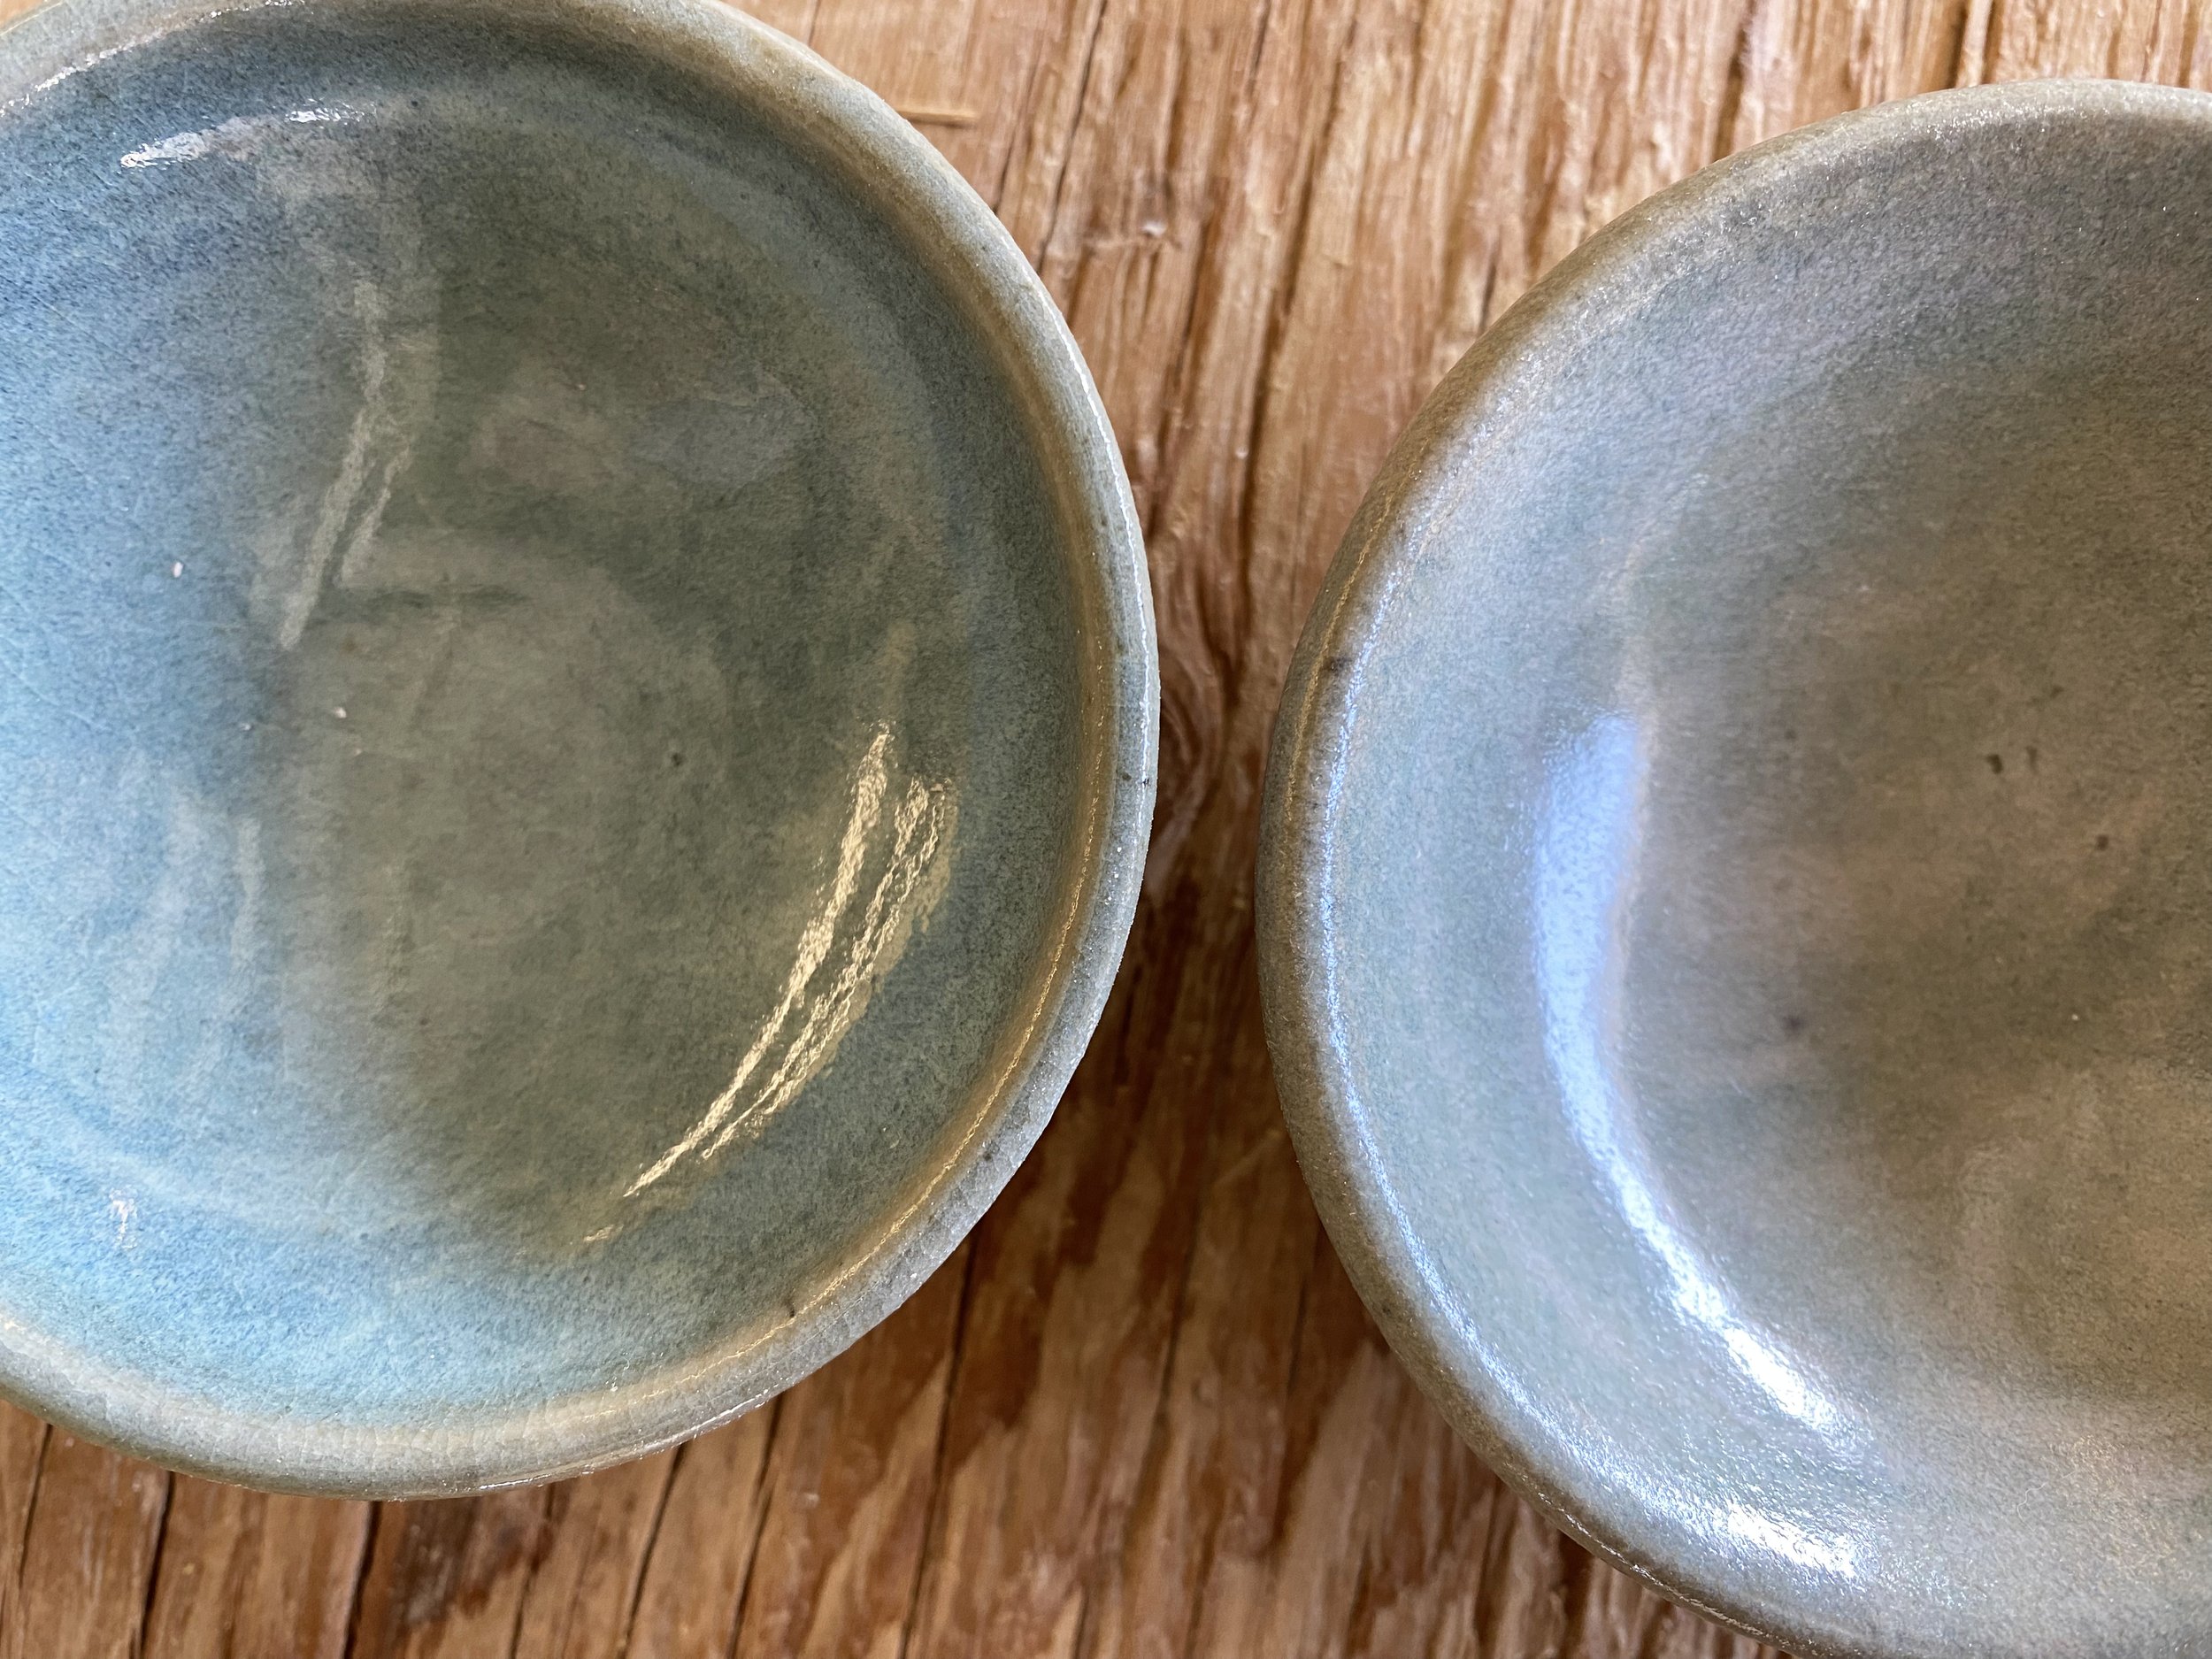
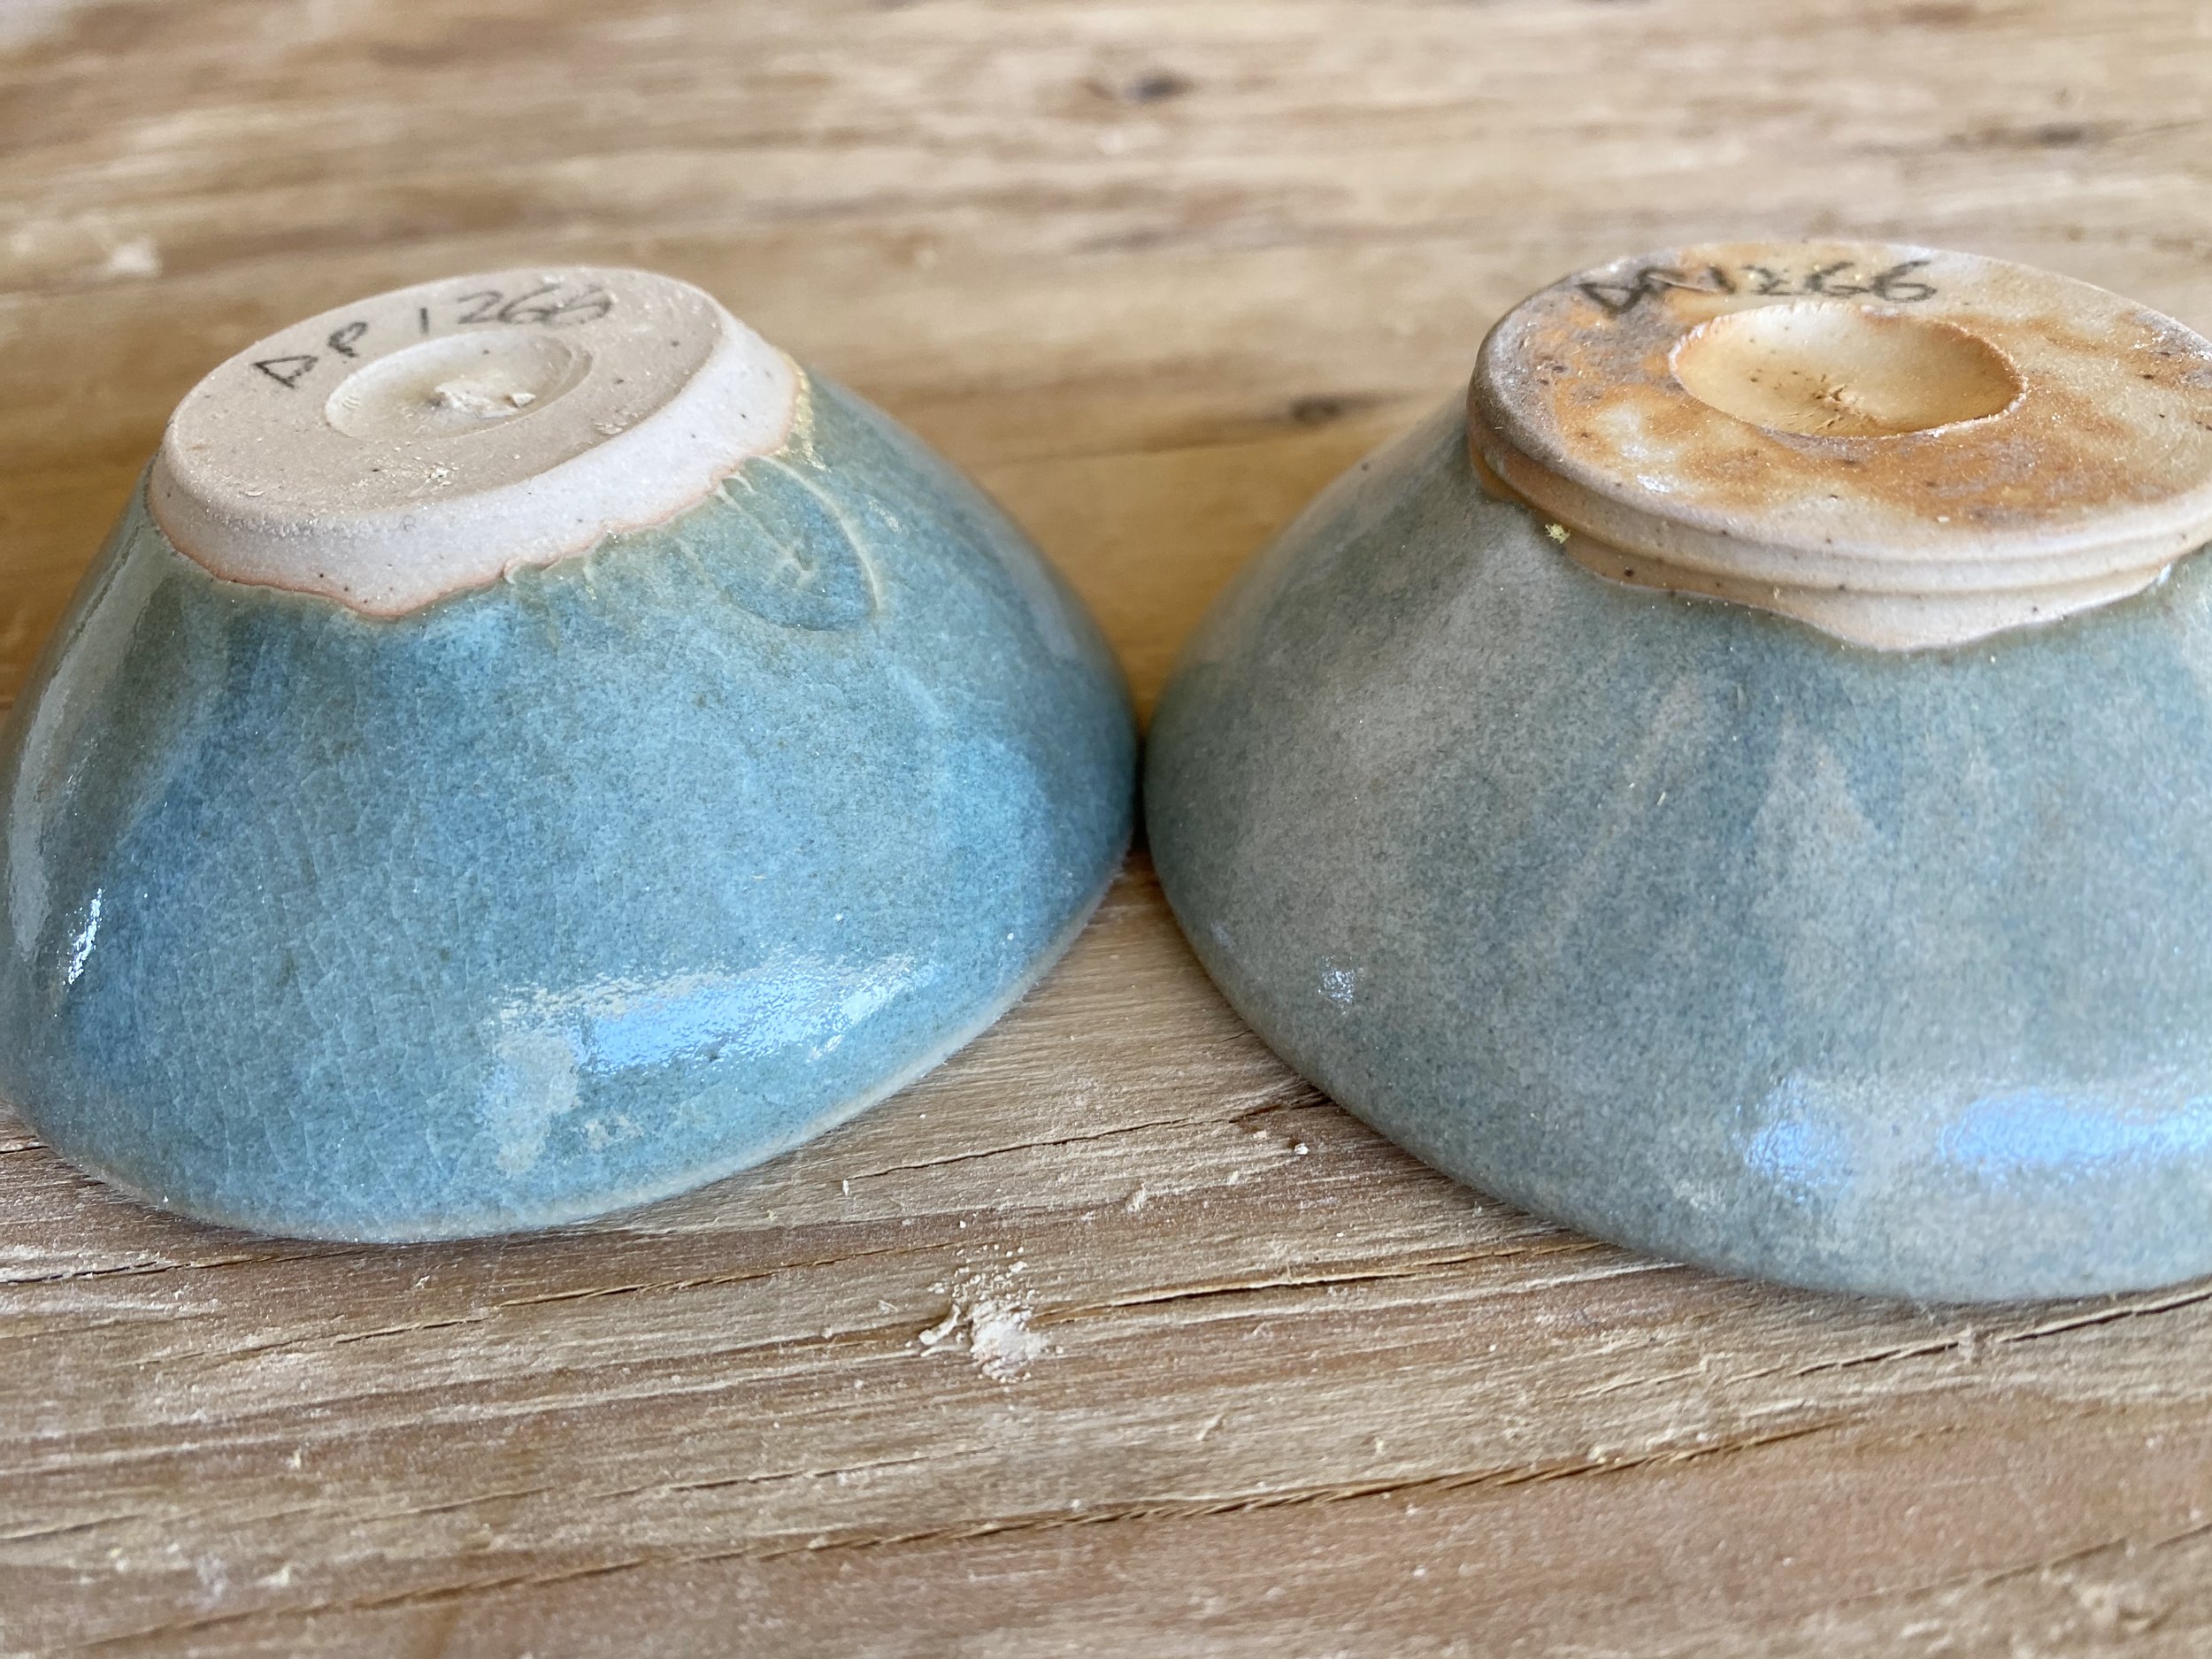
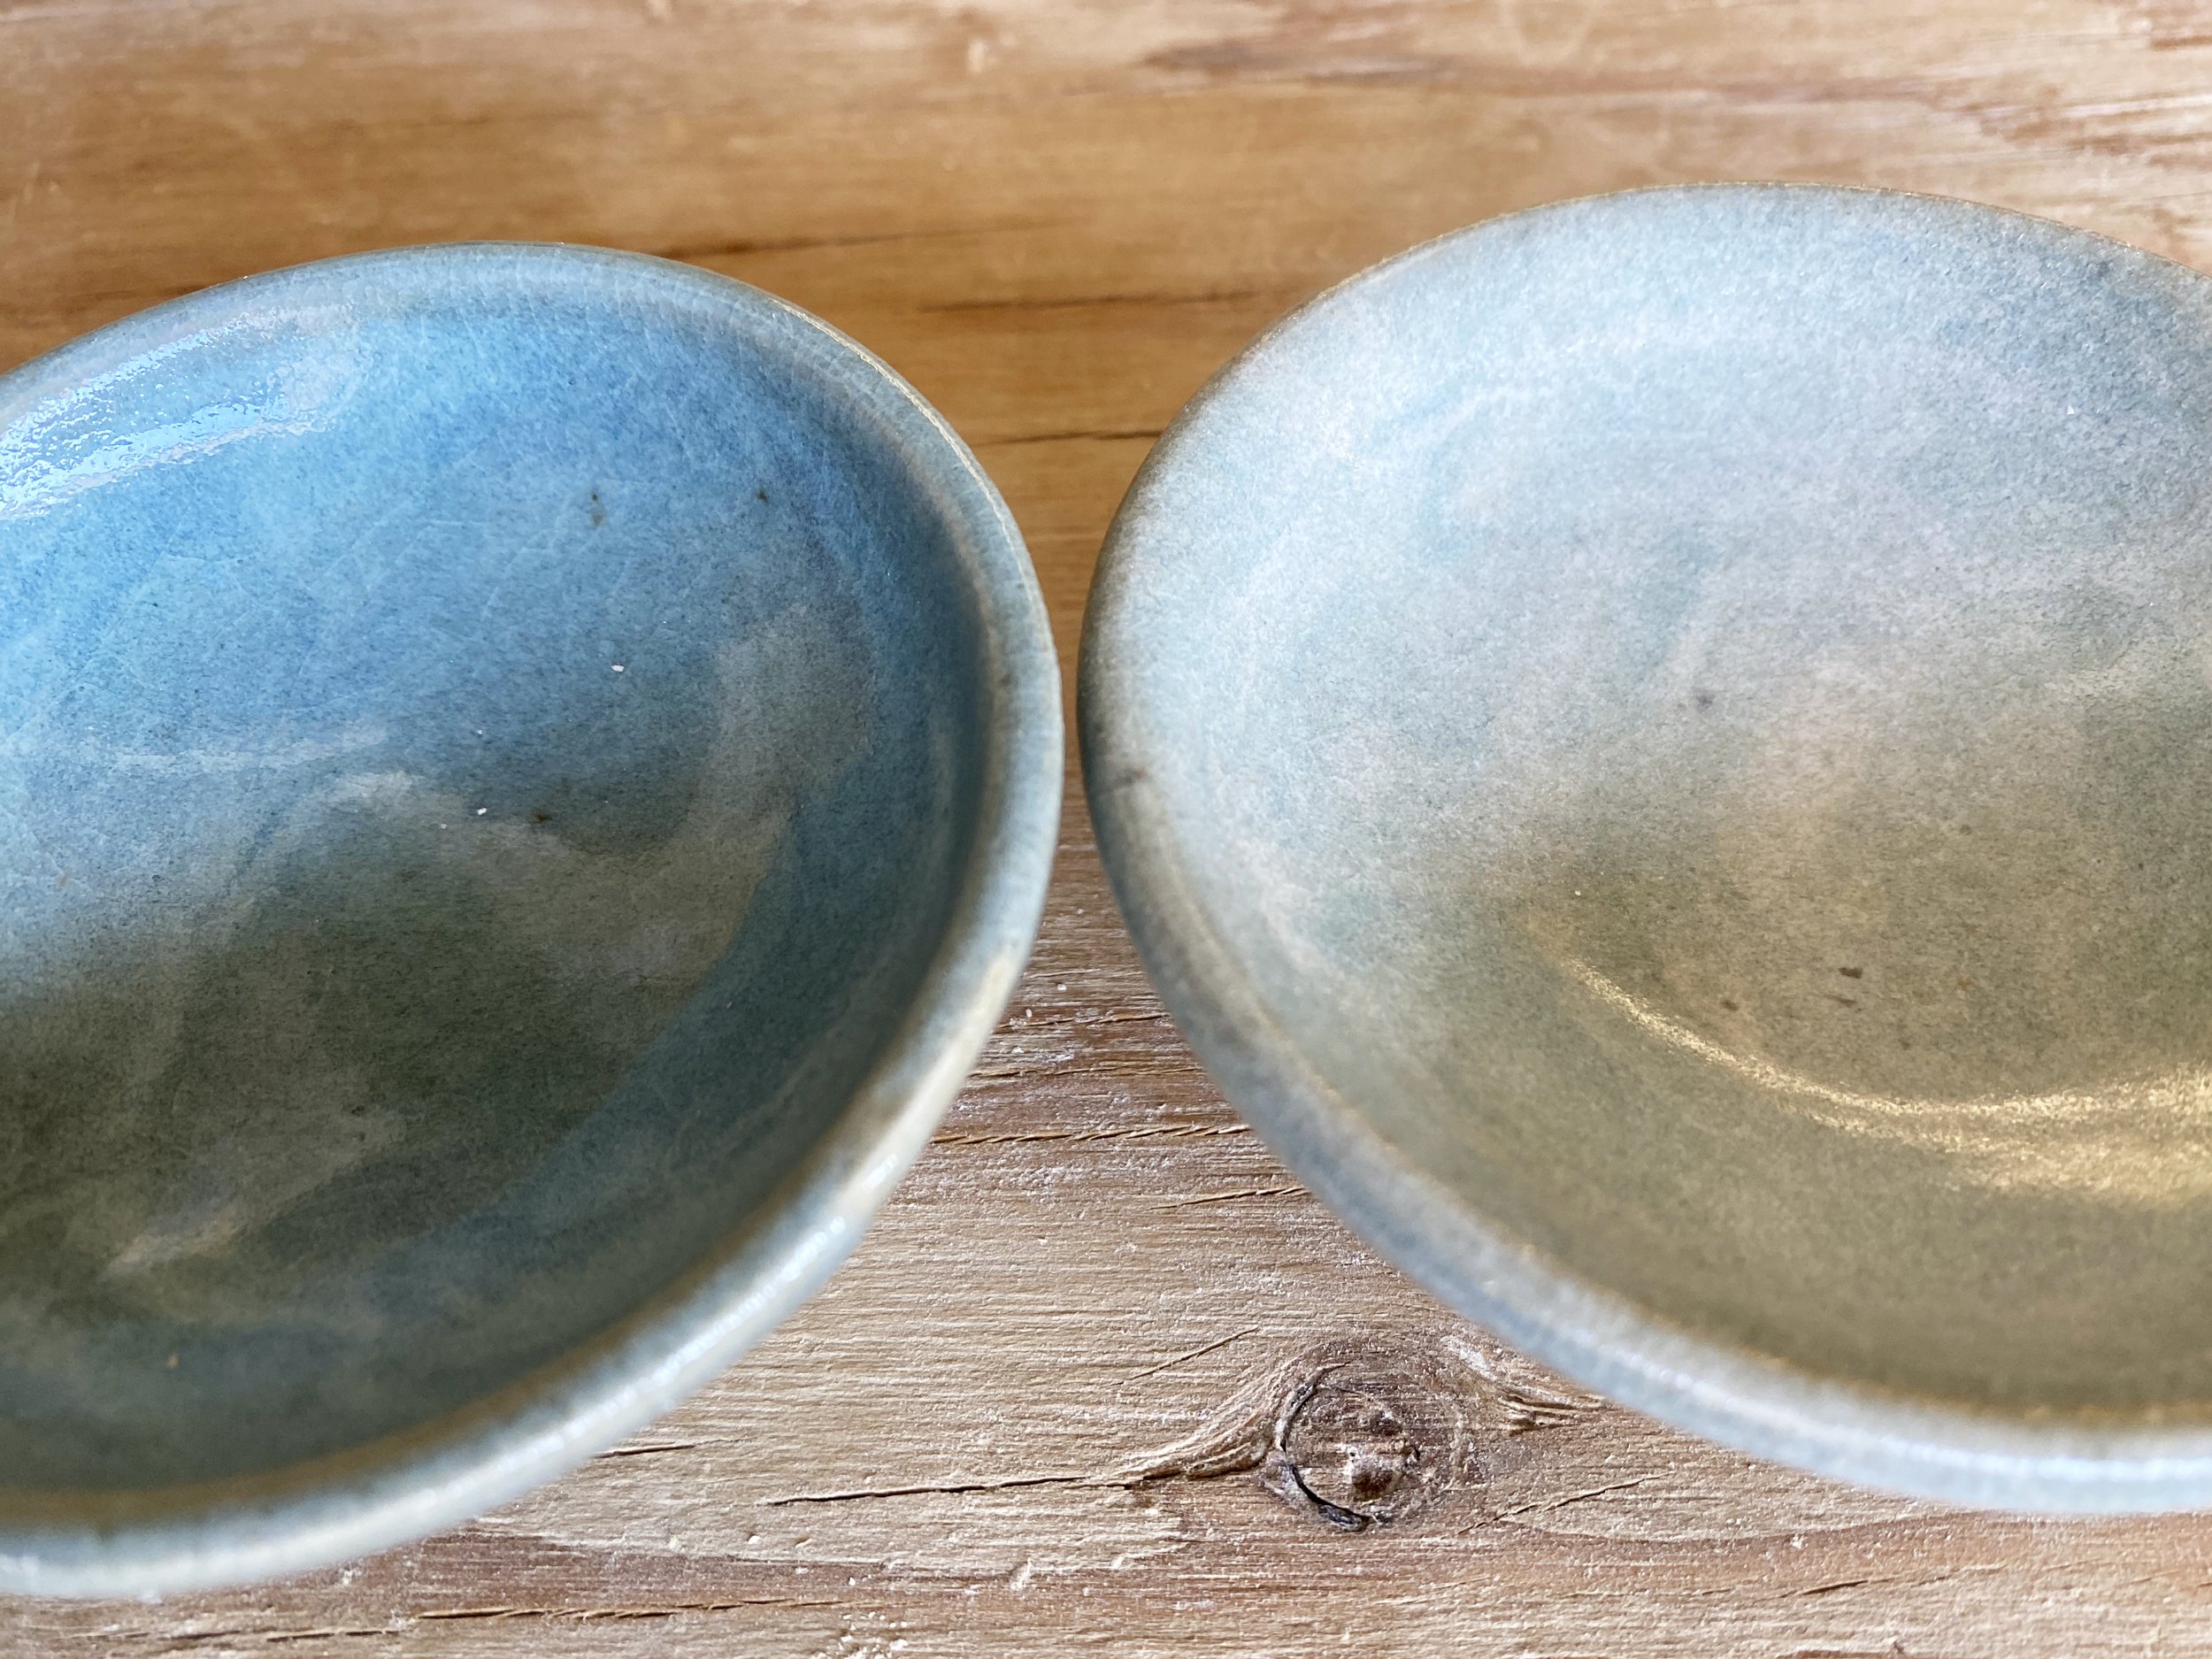
So different from the test tiles!
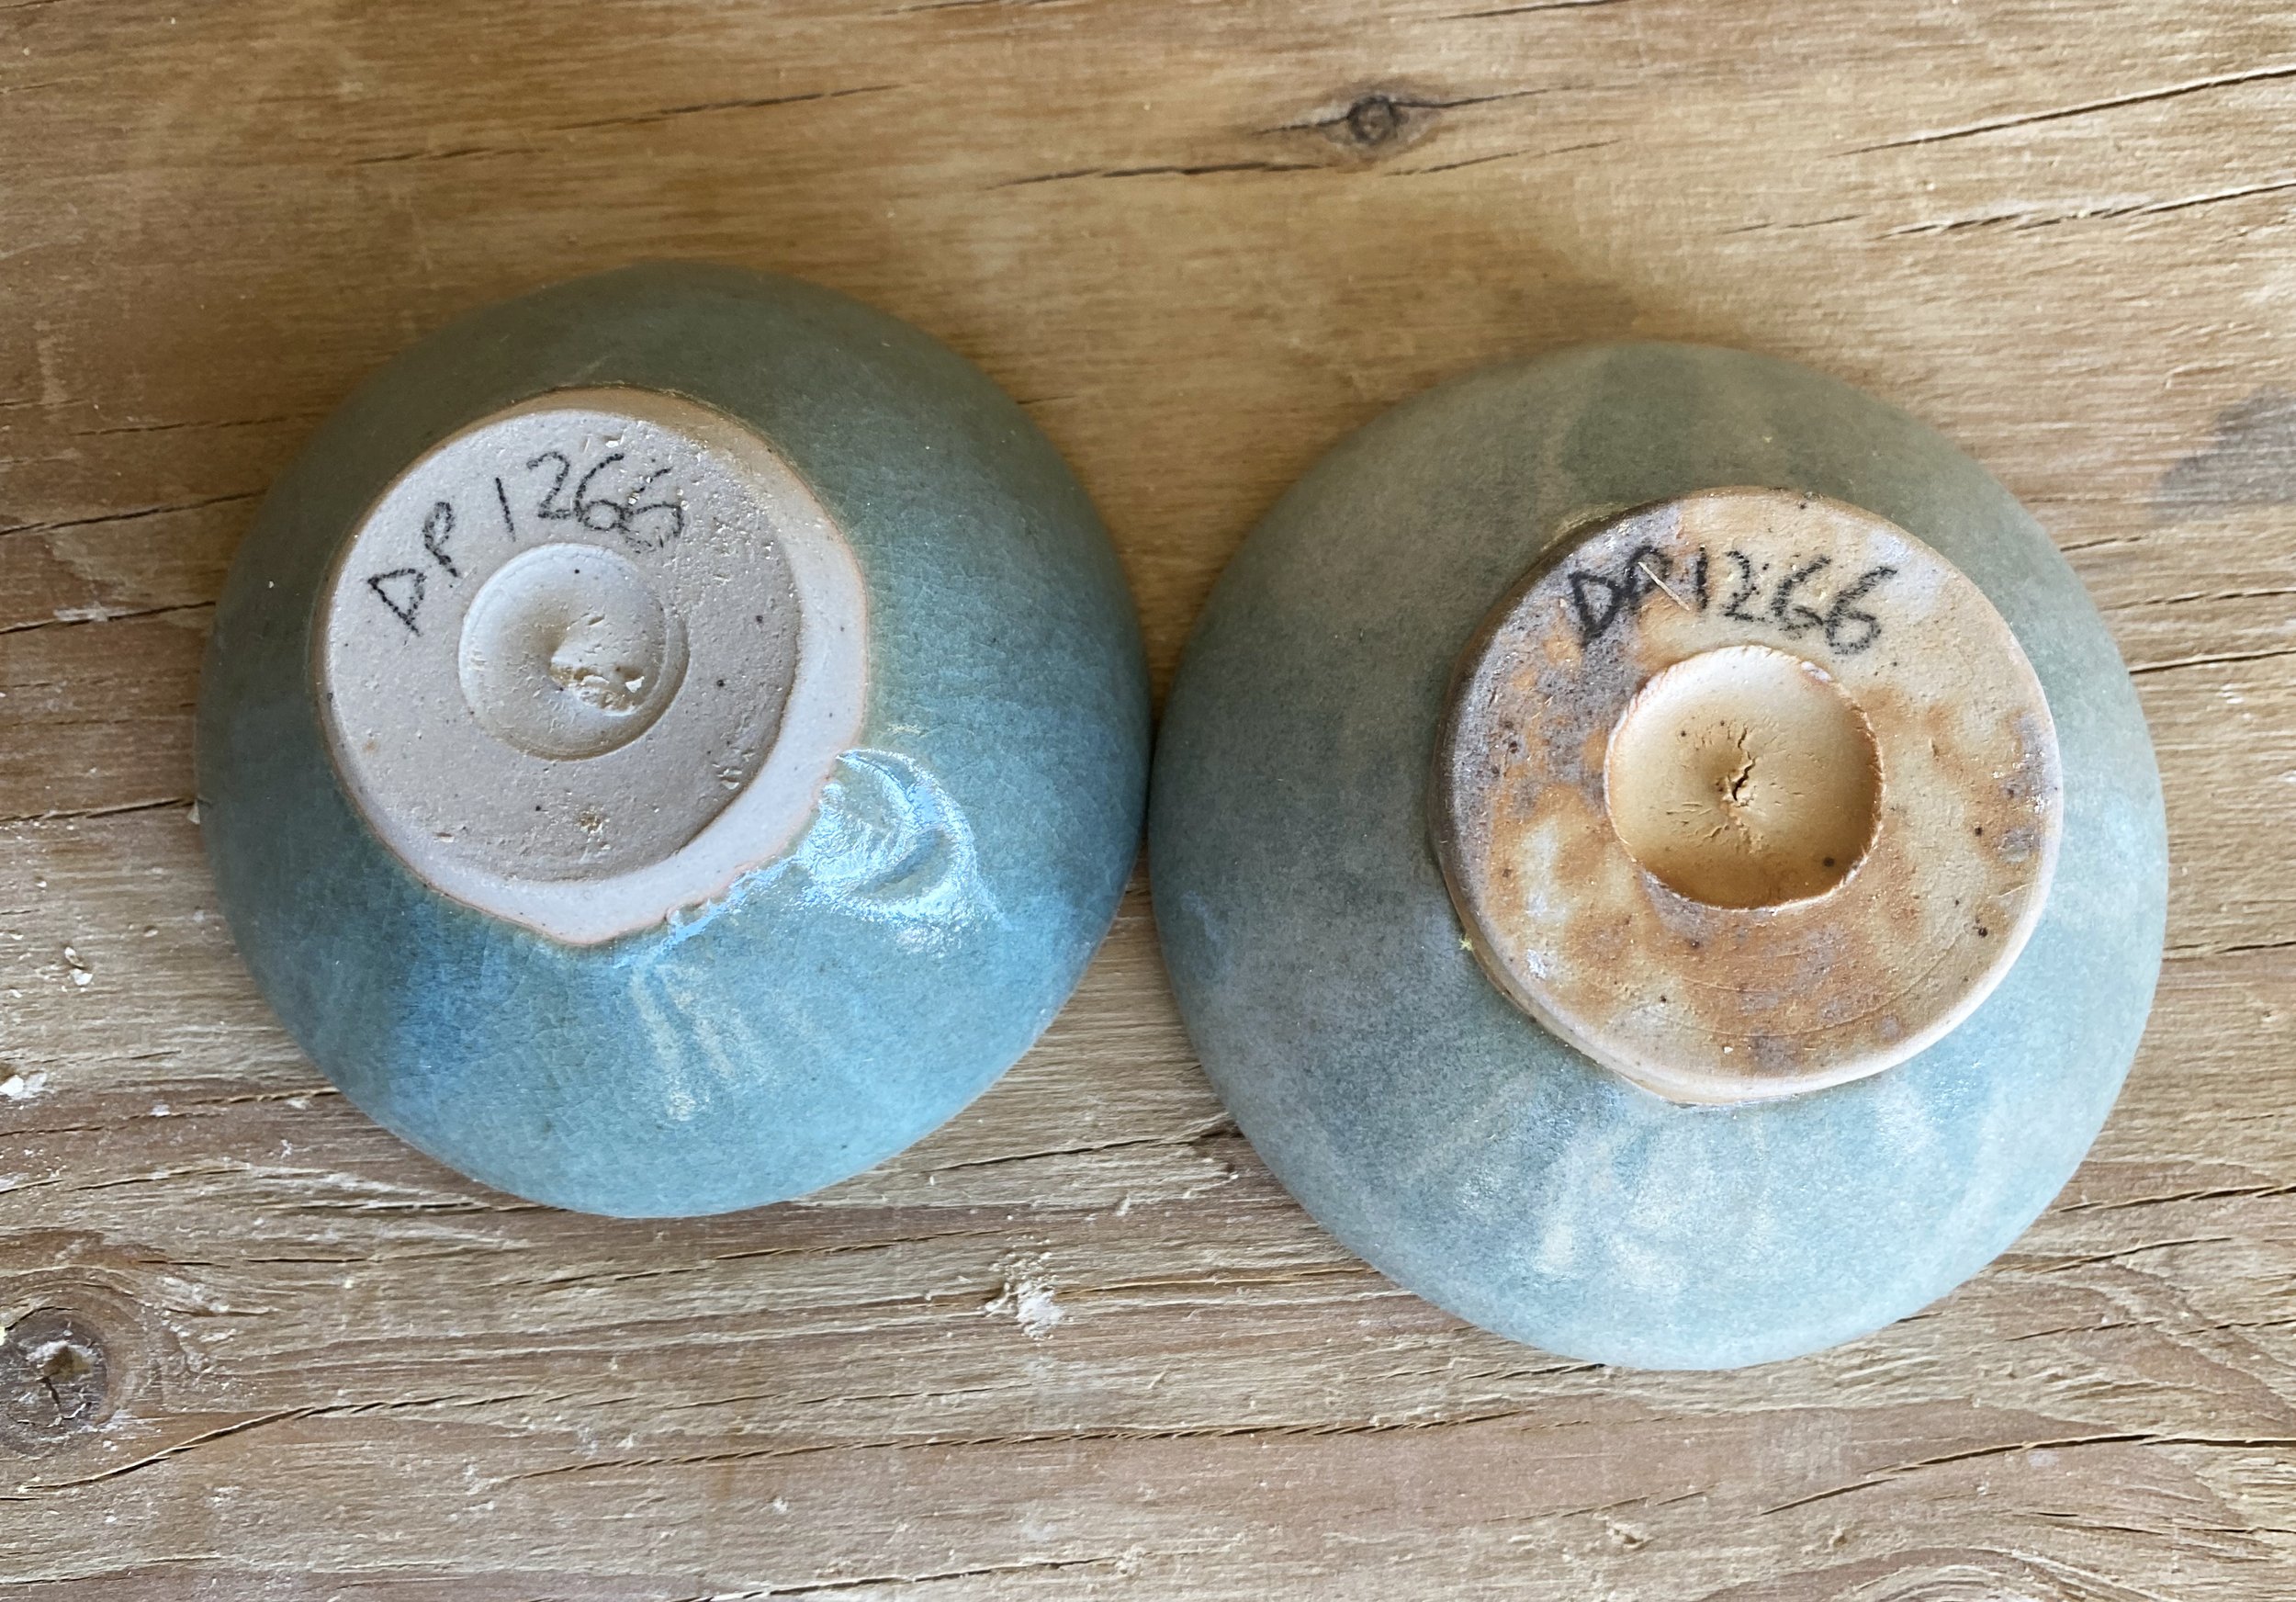
Here is one other comparison of DP1266. The bowl with the grey foot (left) was fired in a regular gas reduction firing, and the one with the browner mottled foot was in this last slow cooled kiln. You can see that the color of the slow cooled one is much paler.

I think what is going on here is that under these slower cooling conditions, the excess of silica has made the glaze even cloudier… it has pushed the opalescence too far. It would be interesting to see these under a microscope. I wonder about the size of the bubbles compare to the brighter blue glaze tests from grid 1 or 2. Perhaps the slow cooling encourages bubbles that are too large or too small, which interfere with the Rayleigh scattering effect.
It seems to me that if I am going to slow cool my Jun kilns, then I can move the composition of the glaze back some, to include less silica. Having said this, I am curious to try firing in a less intense manner; somewhere in between. I also want to try slow cooling the kiln in oxidation rather than reduction. This would be more like what occurred in old thickly built Chinese kilns.
I am encouraged by these results, but also somewhat beguiled still. I was hoping this firing would solve Jun glazes in my mind, but they are so variable! There is still some mystery to be explored! It stands to reason really when you see the variation in historical examples… I am sure that a lot of this variation comes from different firing conditions. There are so many variables, but the way the kiln is fired seems very important to these glazes.
I am looking forward to seeing these in soda and wood firing, too. Will it ever end?
Here are the compositions fo each test if you like one you see…