
Firing Kay, Mark Hewitt Pottery, Spring 2016
It was chilly when Evan, Stillman and I got down to the kiln at 5:40am. Adrian, Dustin and Sam were moving like a well-oiled machine whilst we brushed sleep out of our eyes. The temp was right up there at 2400 in the front chamber. Cone 12 was over in the first two stacks and bending in the back. A fine effort from the night crew had put us in a good position. The key had been small regular stokes. We took over and had the front chamber finished sharpish, moving on to the second chamber and opening the first to rapidly cool it. Firing this kiln is unusual as you fire each chamber in turn and cool it as soon as its done. Slow cooling can lead to sugary matte surfaces on the pots rather than glossy ones. The second chamber raced up and only took us a couple of hours to get cone 12 flat. As the sun rose we saw a large heron fly over the kiln shed, high above us; this is always a good omen--Michael Cardew watching our progress.
By 9am we were concentrating on the third chamber. Mark manned the ship, slowly transitioning our stoking pattern from feeding both chambers two and three to just three. Adding a little extra air by keeping the fire box doors slightly ajar helped the burn. By 12:30pm we were done, much to everyone's surprise. We had planned on going until midnight if necessary, and had cut enough wood to do so.
The relief of being done early had us all in high spirits and we enjoyed some cold beverages, a few loop-de-loops on the rope swing, and some marvelous coconut crust quiche that Carol had made. Mark sprayed down the rafters of the kiln to cool them off, we clammed her up and slid in the damper. A glorious collection of bees made their hive in the red clay earth near the kiln, seemingly unaware of all the activity around them. All in all the firing was a very smooth affair. We got the kiln hot, really hot, all over--in the front of the third chamber the cones were obliterated. The test rings we pulled out looked good too.
In the time it's taken me to post this, we have been through the grueling
week of waiting to crack her open and have now unloaded. The results were
excellent and many of our experimental glazes came out very nicely. Soon
I will post with pics of the pots!
By 9am we were concentrating on the third chamber. Mark manned the ship, slowly transitioning our stoking pattern from feeding both chambers two and three to just three. Adding a little extra air by keeping the fire box doors slightly ajar helped the burn. By 12:30pm we were done, much to everyone's surprise. We had planned on going until midnight if necessary, and had cut enough wood to do so.
The relief of being done early had us all in high spirits and we enjoyed some cold beverages, a few loop-de-loops on the rope swing, and some marvelous coconut crust quiche that Carol had made. Mark sprayed down the rafters of the kiln to cool them off, we clammed her up and slid in the damper. A glorious collection of bees made their hive in the red clay earth near the kiln, seemingly unaware of all the activity around them. All in all the firing was a very smooth affair. We got the kiln hot, really hot, all over--in the front of the third chamber the cones were obliterated. The test rings we pulled out looked good too.
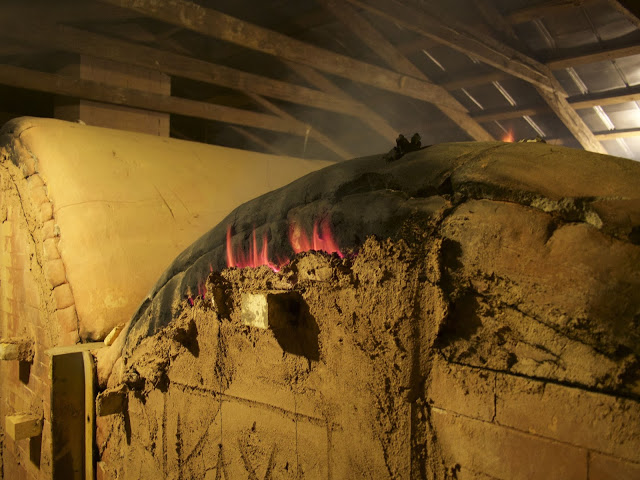 |
| Reduction. |
 |
| Adrian checking the cones in the back of the first chamber. |
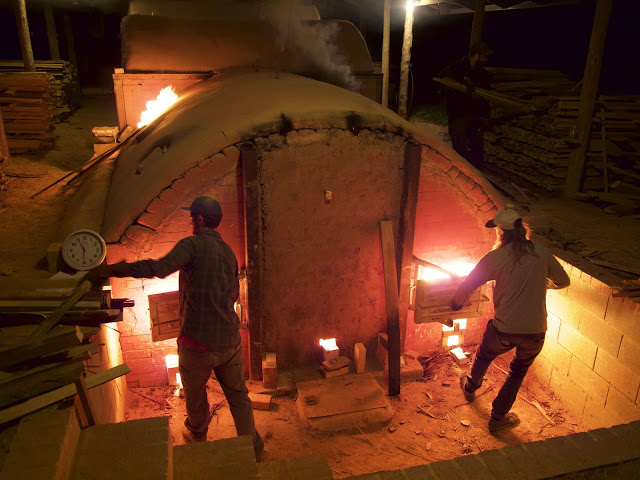 |
| Adrian and Dustin stoking the firebox. |
 |
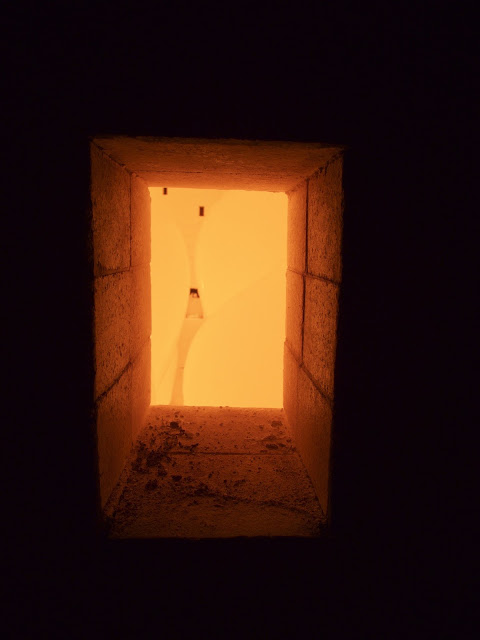
| Exactly where we want to be. |
 |
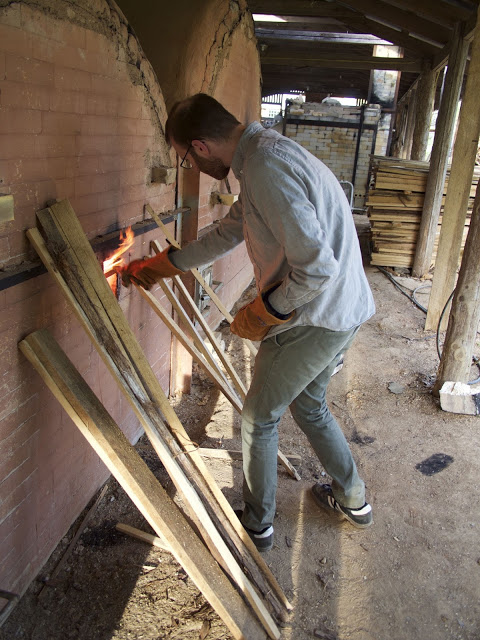
| Before we started stoking this chamber. |
 |
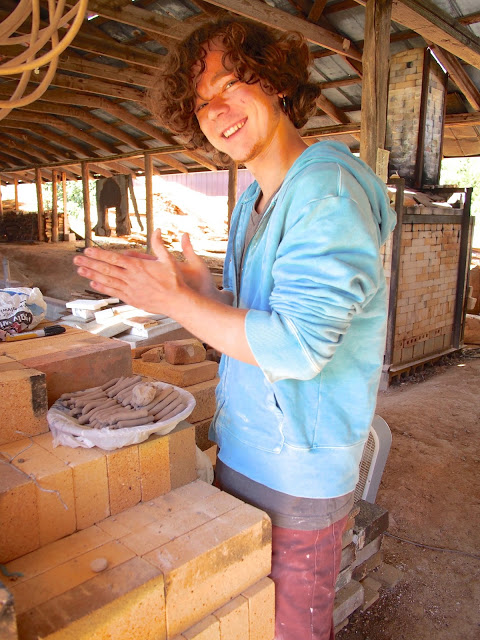
| Evan was down visiting me from Burlington, VT. I roped him into helping out with the firing. |
 |
| Stoking the firebox of chamber 2. |
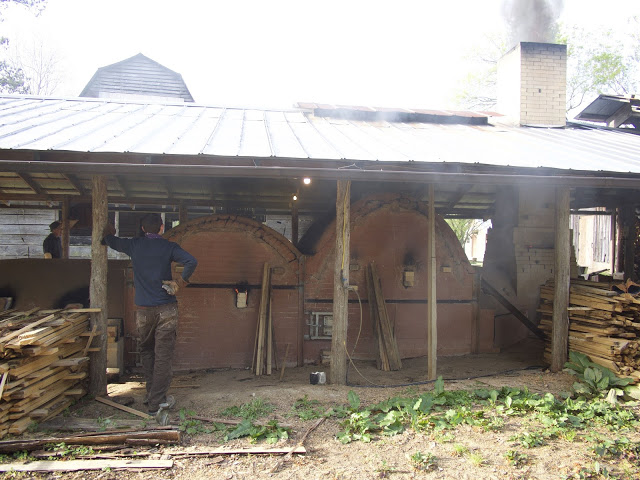 |
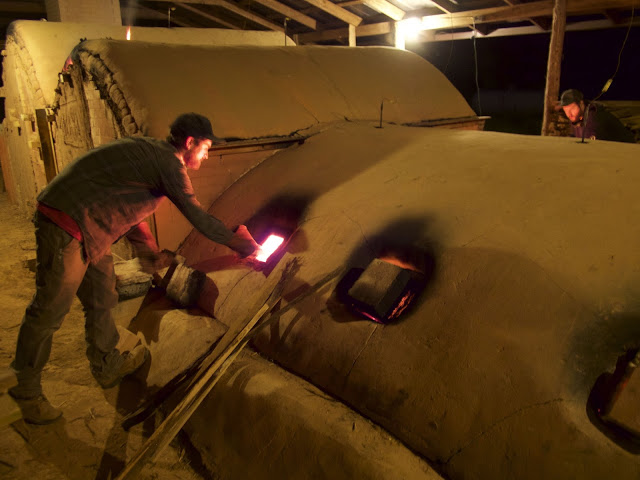
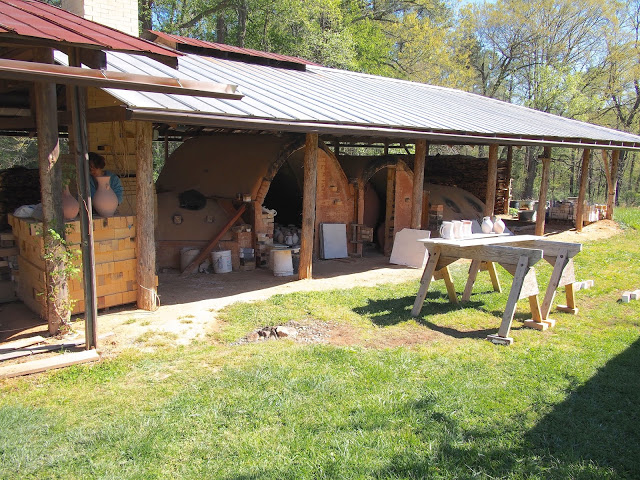
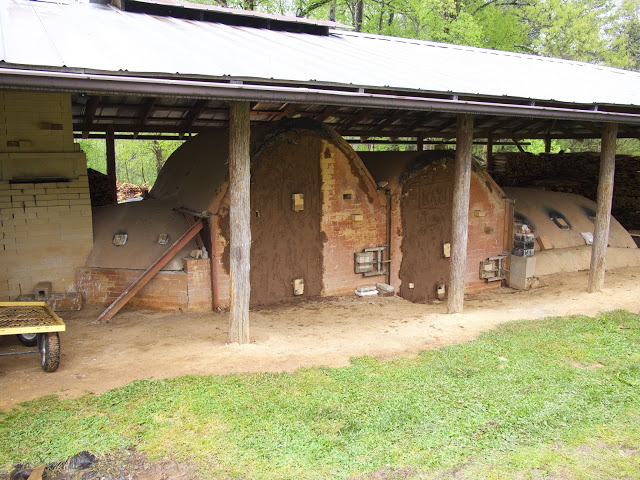
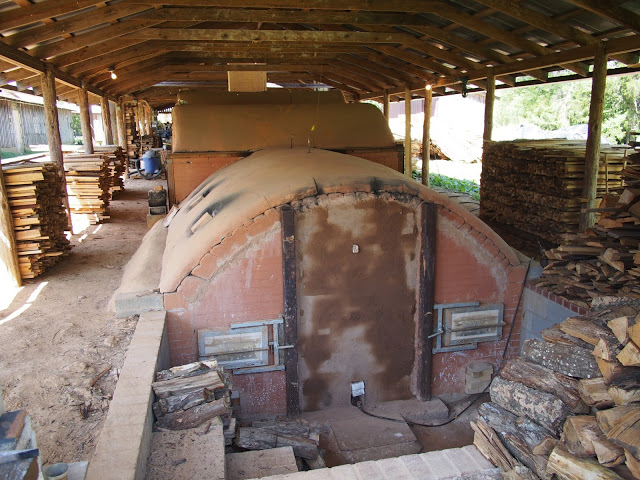
| View of the kiln from the side. |
 |
| Firebox door. |
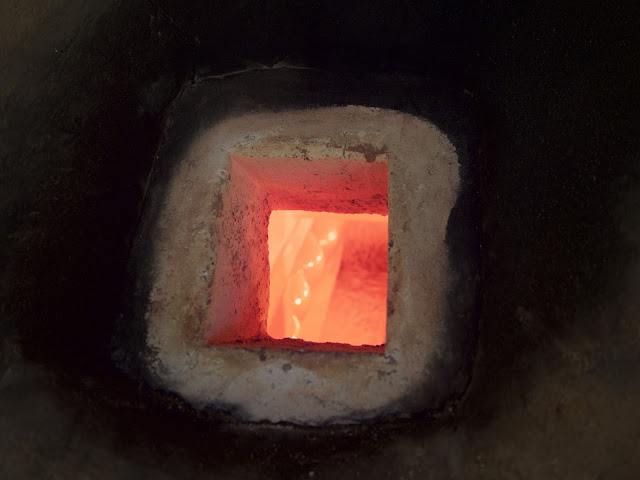 |
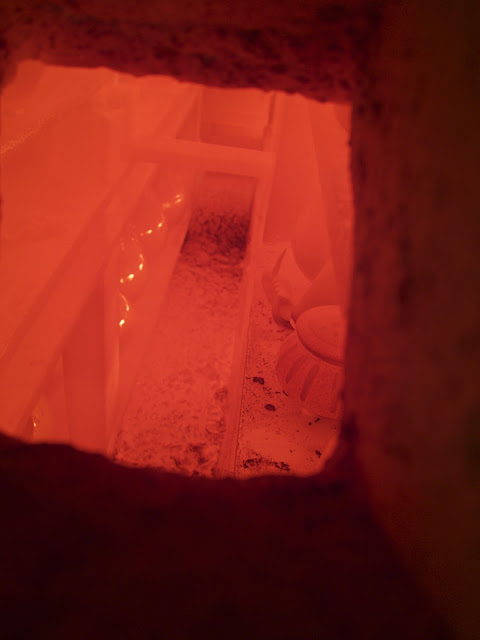
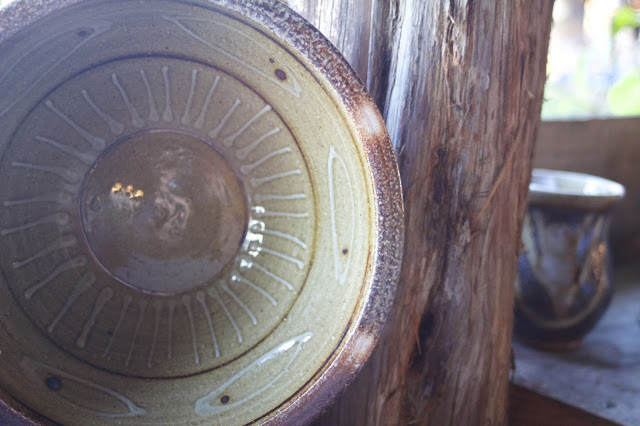
| You can see the reflection on the bellies of the pots in there. |
 |
| Test rings. Glazes looking good. Clay nicely cooked. |
 |
| More test rings. |
 |
| Stillman stoking into the middle of chamber 2. |
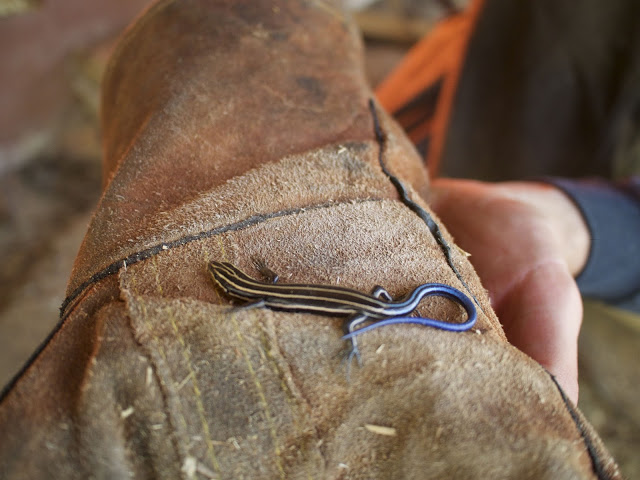 |
| This little guy was hanging out on the wood stack. |
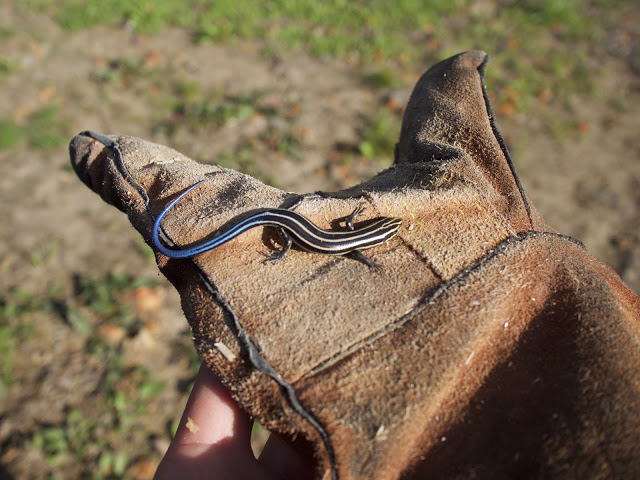 |
| Mark, Adrian and I all incised quite a few lizards on our pots this time. There are so many lizards around the Hewitt pottery! |
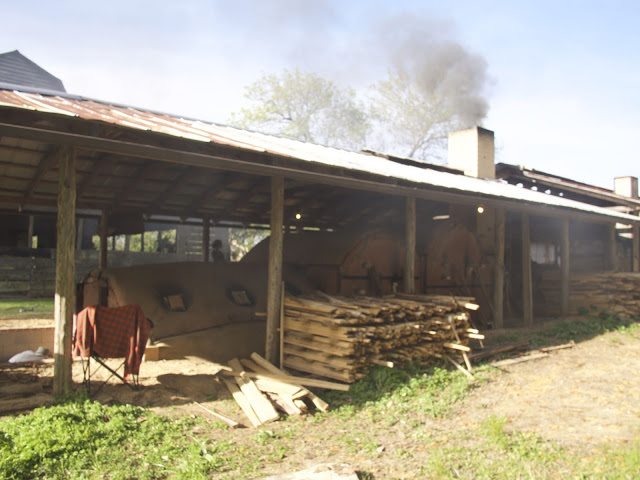 |
| The kiln from afar. |
 |
| Mark and Evan clamming up the main fireboxes. |
 |
| Working hard. |
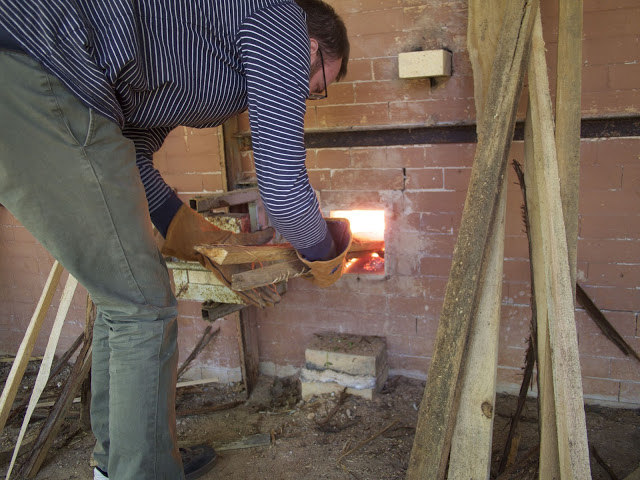 |
| Evan stoking chamber 3 firebox. |
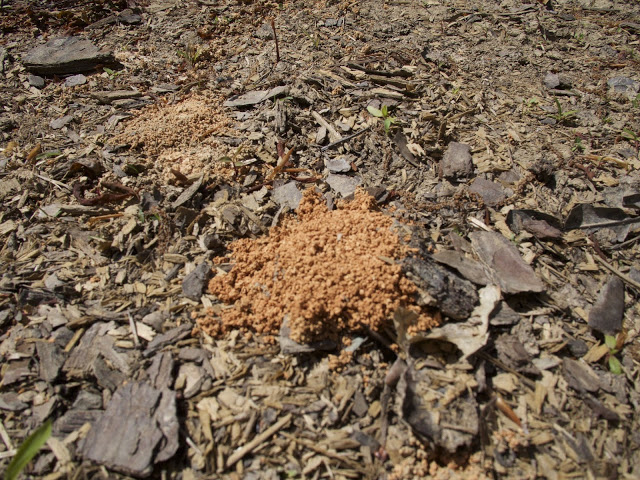 |
| These look like ant excavations but are actually made by small bees. |
 |
| Bee art. |
 |
| The firing squad enjoying a beverage after the kiln was done. From top left: Sam Thompson, Me, Mark Hewitt, Dustin Fowler, Adrian King. Bottom row from left: John Svara, Evan Weiss and Stillman Browning-Howe. |
 |
| Stoking the very back of the kiln; heavy reduction going on! |
 |
| You can just see some fat bellies here. |
 |
| During the cool down the color of the pots goes from bright orange to red. |
Springtime Kiln Loading. Hewitt Pottery 2016.
Spring has sprung here in the South. We had our last freeze of the
year last week (fingers crossed) and the trees are starting to bloom
again. Great waves of pollen are falling all around us—its like orange
snow on your car windscreen. I've never been anywhere with so much
pollen. The ants and flies seem to have noticed the warm weather and are
flooding back into our house. We put up the first sticky fly tape of
the year and Jasper (one of our cats) managed to tear one down and get himself tangled up
in it last night. The point of this tape is that it's so sticky that
flies land on it, get stuck, and die: it's extremely nasty
stuff. So we
had to take him to the vet for a haircut.
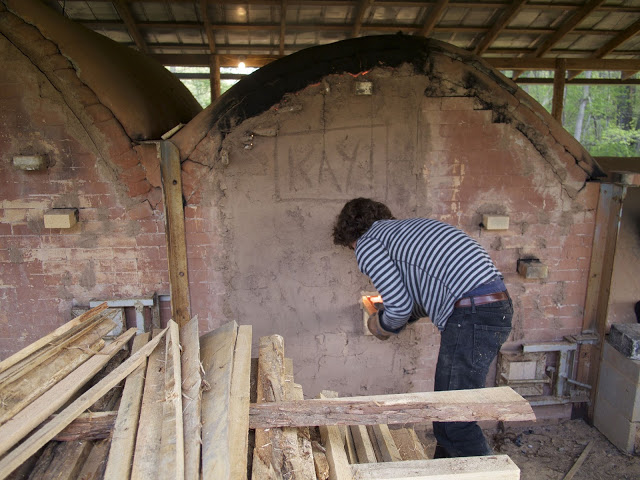
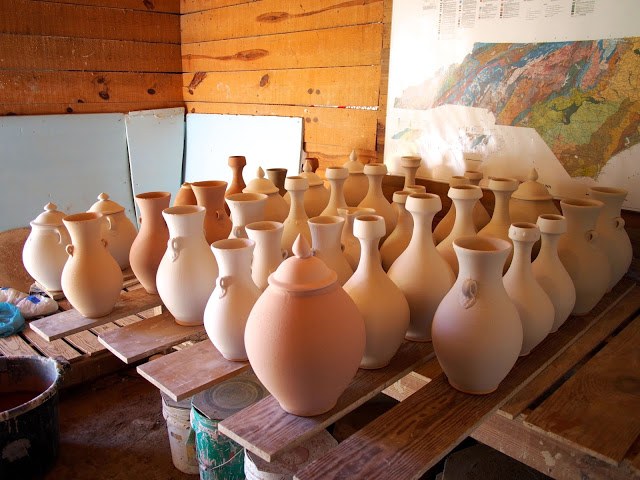
But enough of our springtime woes; I have lots of pictures to put up of our recent kiln loading. This week we are firing Mark's new kiln (built in 2009). It is the 11th time: the firings are stamped alphabetically so we're up to firing 'Kay.' We had a lot of bisque-ware to glaze due to all the experimental glazes we have formulated, so glazing took us a few days, but then the loading went pretty fast. Having an extra pair of hands has really helped. Stillman Browning-Howe has been working with us for the last few months, mostly laboring, as he will replace Adrian as a full-on apprentice when he leaves in a few weeks. So it's been like having three apprentices rather than two. He has helped a great deal with all of the laborious tasks needed to get ready to fire, like cutting wood, grinding kiln shelves, moving wood, mixing clamming, and rolling wads.
We stacked the kiln quicker than anticipated so now have extra time to fire. I am on the night shift tonight which will be a pretty slow easy rise in temp, then we'll take turns tomorrow bringing it up to top temp by midnight. Saturday is when we really fire it off and work the temperature back through the second and third chambers. Here are some loading snaps:
 |
| Mark-ware |
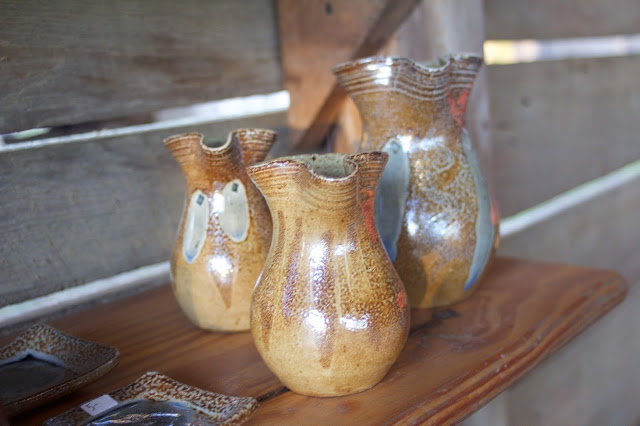
 |
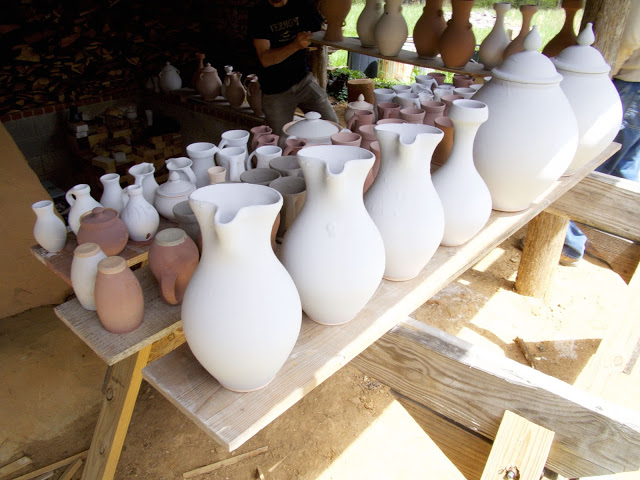
| Fat jars and two part vases |
 |
| More of Mark's pots |
 |
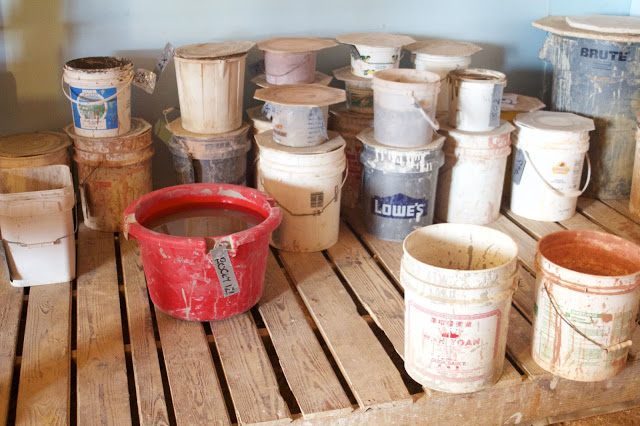
| Some of our glazes |
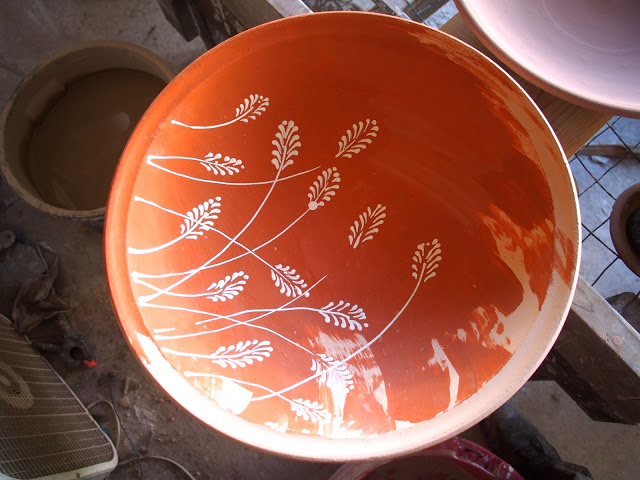 |
| One of Adrian's platters. Love this decoration. |
 |
| Some of my casserole dishes. I was pretty pleased with how these took shape and am excited to see them fired. |
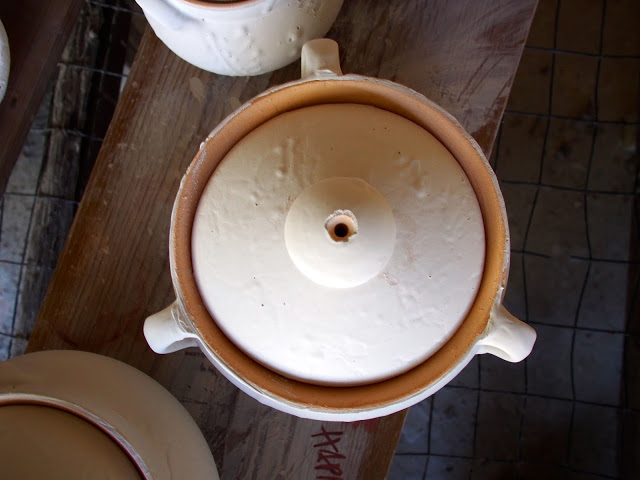 |
| Casserole from above |
 |
| Adrian-ware |
 |
| All lined up and ready to go |
 |
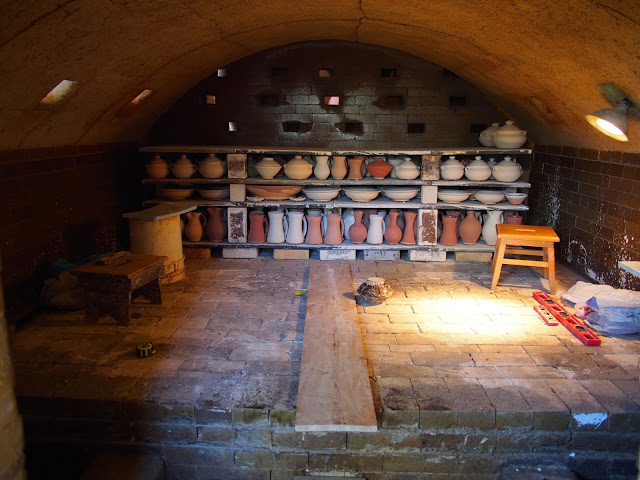
| The kiln. Expectant. |
 |
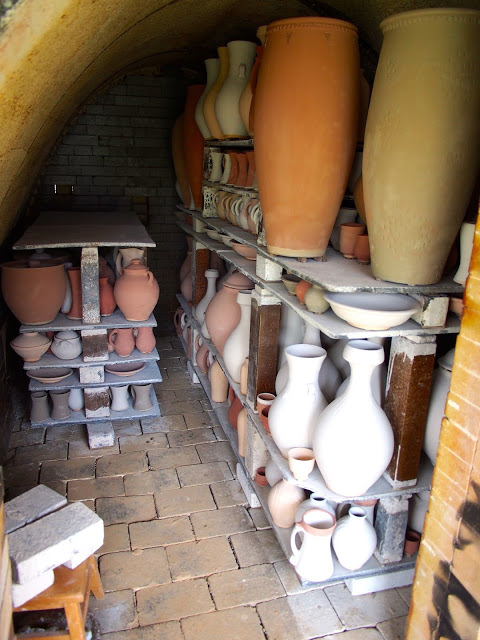
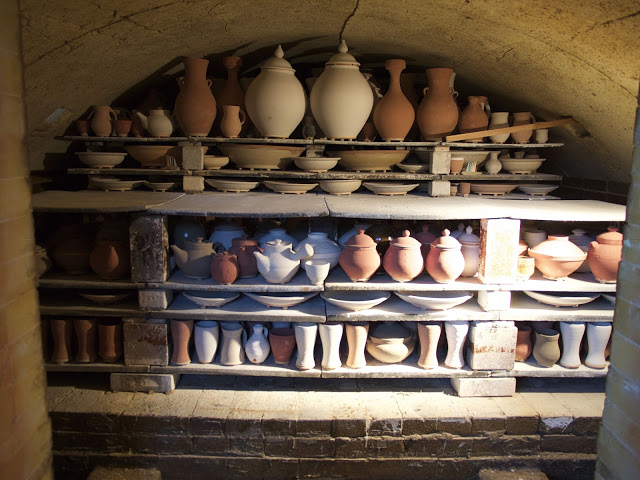
| First row of shelves in the back chamber |
 |
| We raise them off the floor to allow for ash and ember build up |
 |
| Cones! These bend at specific temperatures to show you how the firing is going. We fire to cone 12 which is over 2400 degrees F. |
 |
| Mark's pots ready for wadding |
 |
| What next? |
 |
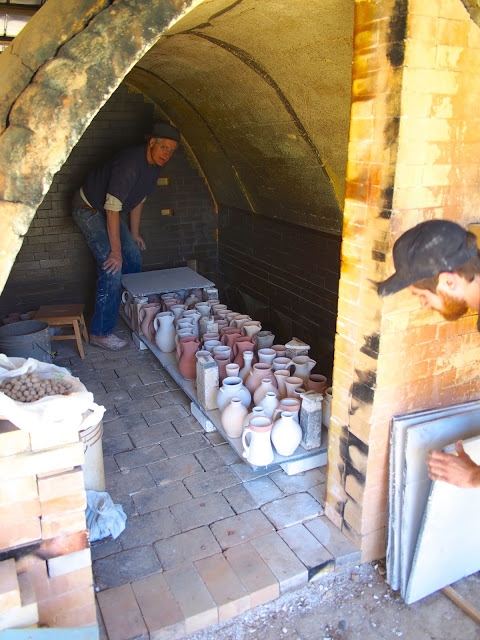
| Starting the back stack. This is much more awkward. |
 |
| Back chamber of the kiln done. The path down the middle is for stoking thin strips of wood. |
 |
| This is where Adrian and I spent several days glazing all of our pots. |
 |
| Stillman; master wad and coil roller! |
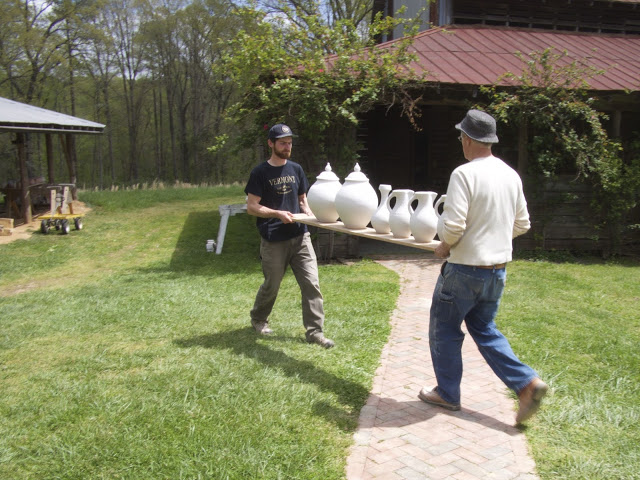 |
| Mark and Adrian carrying precious cargo. |
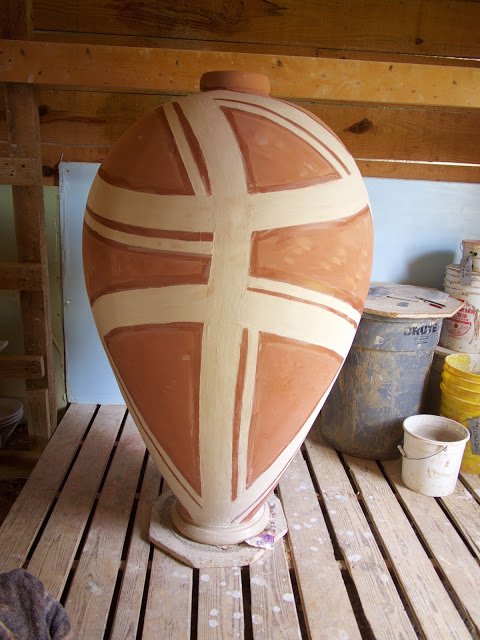 |
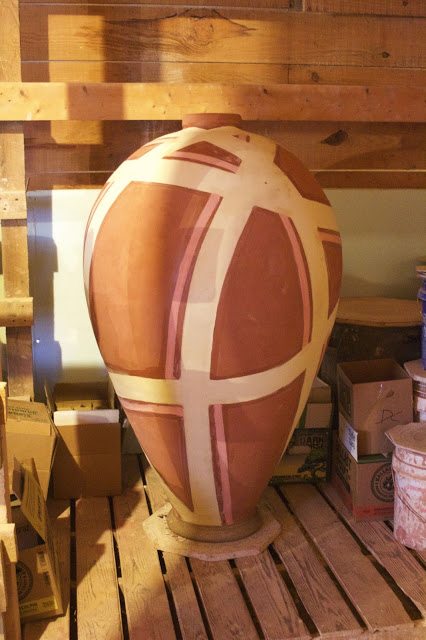
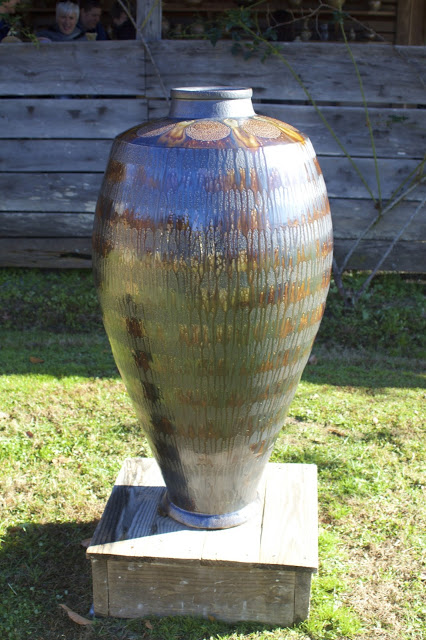
| Big ribbon pot by Mark Hewitt. |
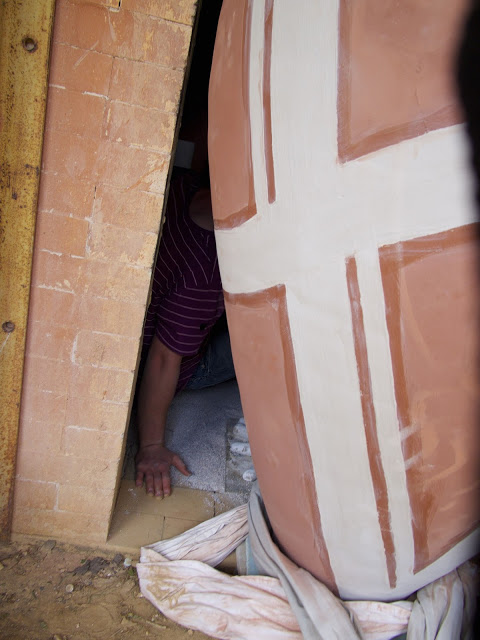 |
| Stillman squeezing through a tiny gap to help pull the last big pot into the kiln. |
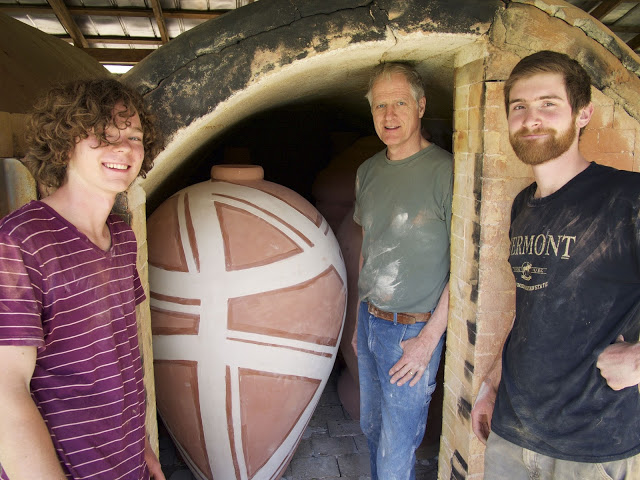 |
| Its in! Relieved faces—we didn't chip or break any big pots despite the tight squeeze. |
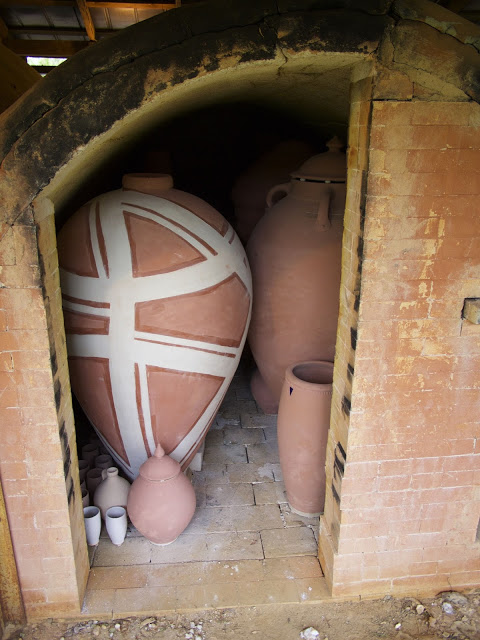 |
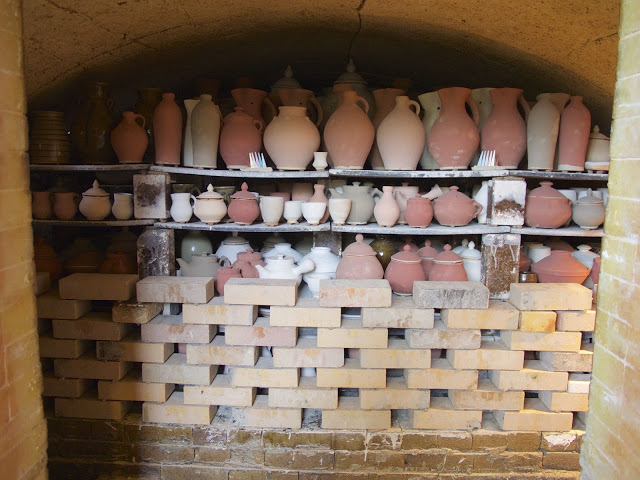
| Ready to be bricked in |
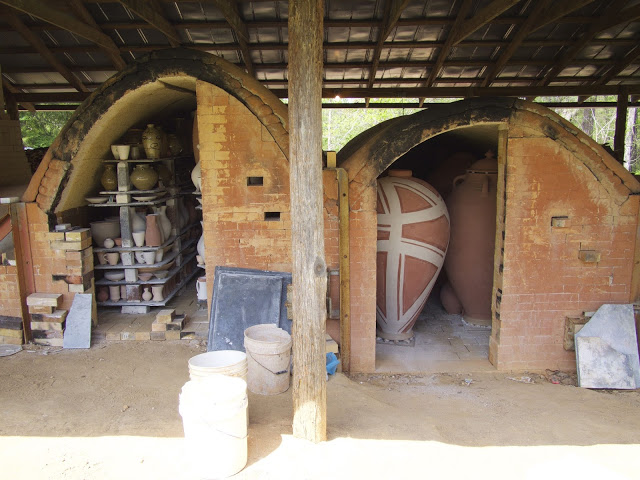 |
| Side view of the second and third chambers |
 |
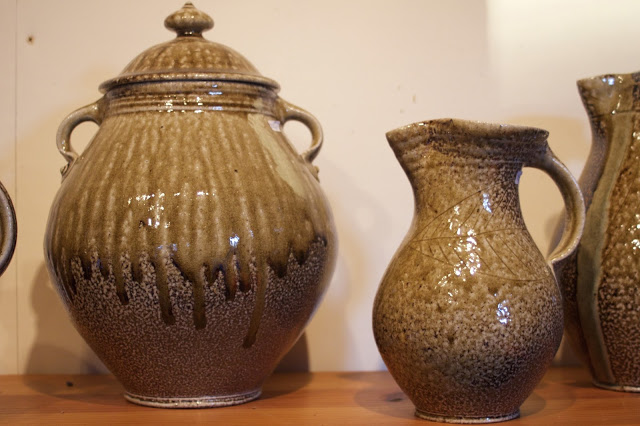
| One of Mark's medieval pitchers from the salt kiln. We were using this as a water jug during loading—slightly excessive as it holds about two gallons! |
 |
| The beginning of stacking the front chamber |
 |
| Pitchers, jars and small pots ready to be put in |
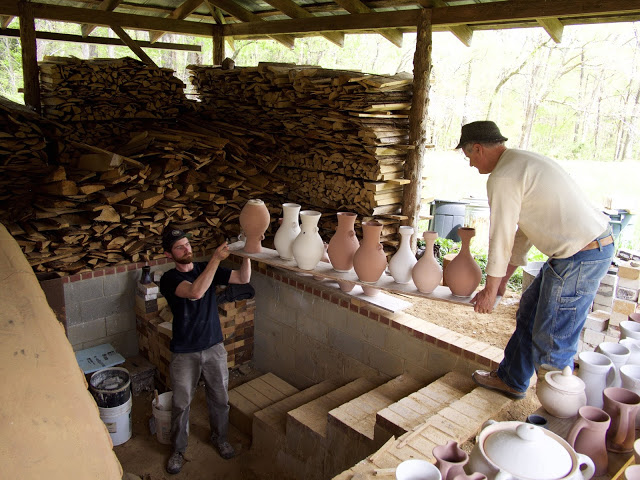 |
| Carrying boards into the kiln |
 |
| Starting on the front stack of the front chamber |
 |
| One of the final shelves goes on |
 |
| Almost done! |
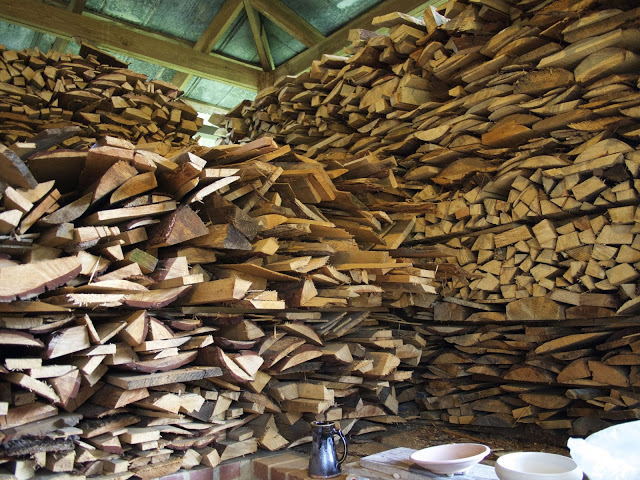 |
| We have a good amount of wood ready |
 |
| Firebox door |
 |
| We decided to build a bag wall to prevent the flame rushing under the shelves straight into the second chamber. |
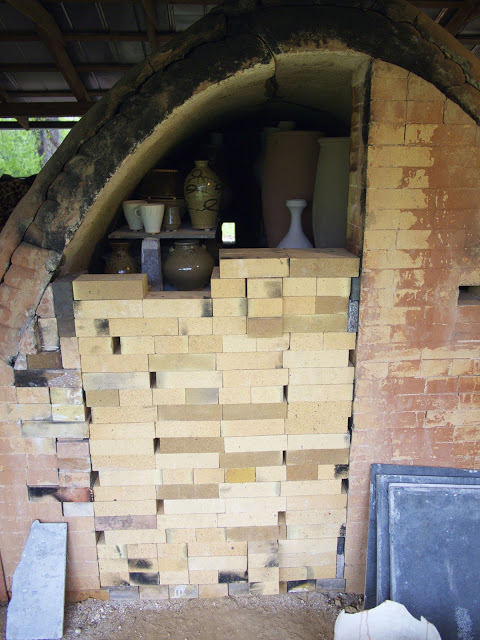 |
| Bricking up the third chamber |
 |
| View of the kiln all clammed up and ready |
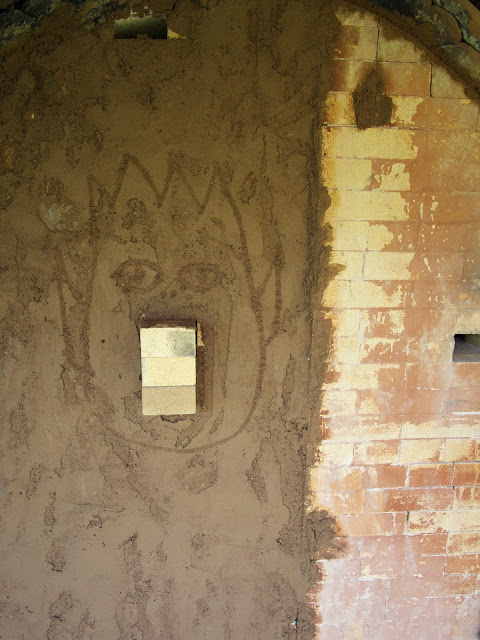 |
| The kiln gods are watching |
 |
| Firing Kay |
 |
| The kiln is lit: we start with gas up to 600 degrees F. |
 |
| The beast awakens! |
Test Firing Results!
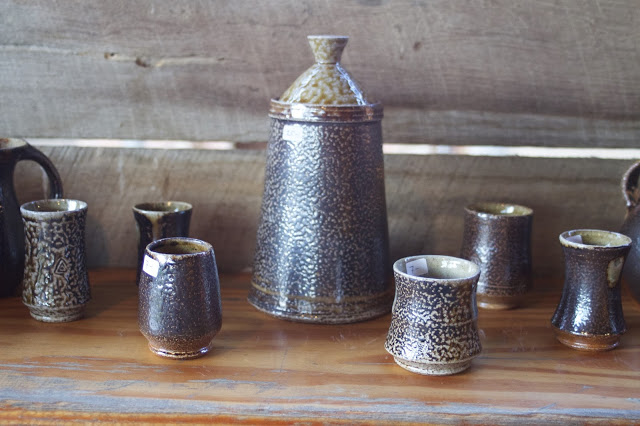
In my last post I wrote about the experiments we have been doing with new glazes using local raw materials. We fired just the front chamber of Mark's new wood kiln (built in 2007) with a whole bunch of test glazes and glaze combinations. Now all of the pots have been sanded down and put out on the shelves for this weekends pop up sale. The results of the firing were pleasing on the whole. We learned a lot, figuring out which glazes work, which don't, and which to use slips under each.
Below are a smattering of pots, not necessarily the best of the bunch, just a sampler to show some of the different results. It was getting dark when I took these snaps so the colours aren't as bright as in real life, but anyway first up here are some of mine...
Now some of Adrian's...

And a few of Marks...
To end on here are a few pots in progress in the studio. Mark has been making some gigantic pots for the next firing as the side door to the second chamber of this kiln is larger than in the salt kiln. Each of these pots take four people to move and weigh between 250-350lbs!
And finally here's one of my fishy casserole dishes. First attempt at a slip trailed fish!
Below are a smattering of pots, not necessarily the best of the bunch, just a sampler to show some of the different results. It was getting dark when I took these snaps so the colours aren't as bright as in real life, but anyway first up here are some of mine...
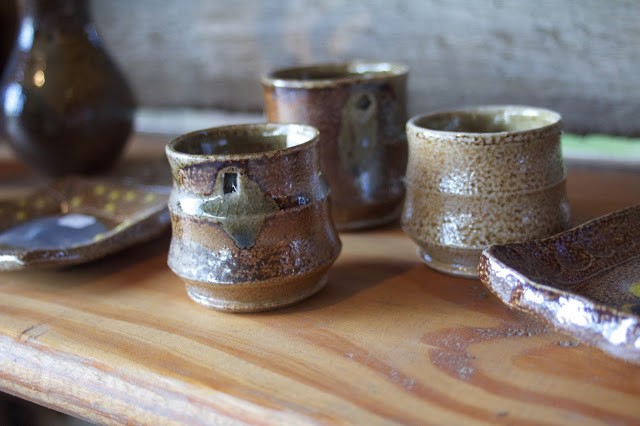
 |
| Shino yunomi. |
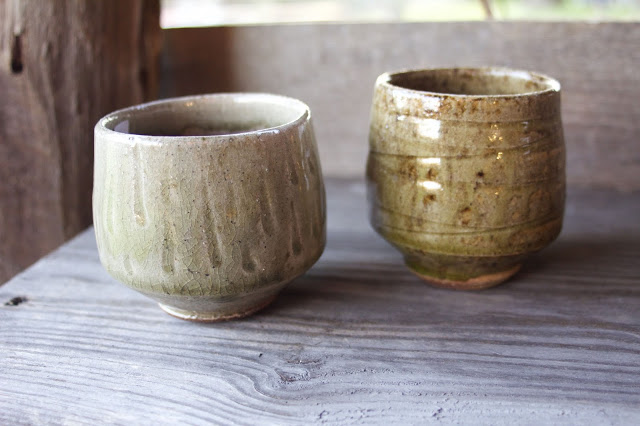 |
| Celadon yunomi on left, ash glaze on right. |
 |
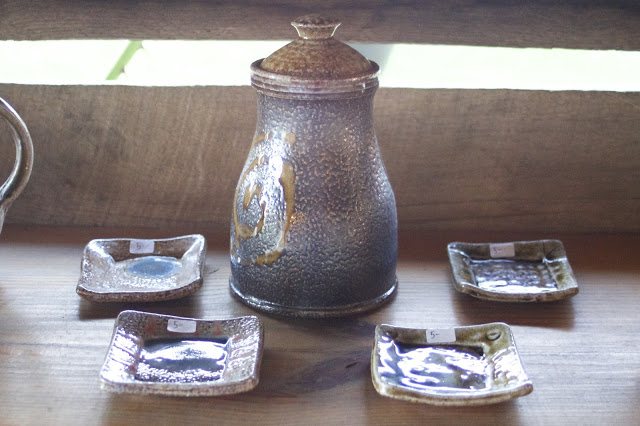
| Ash glaze sppon holder on left and celadon on the right with red slip trailed under. |
 |
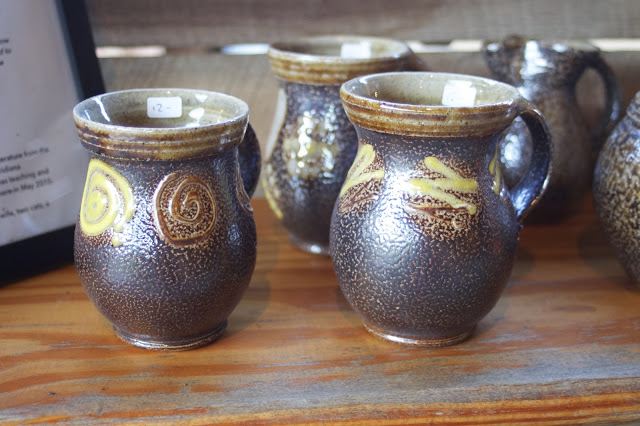
| Celadon barrel mug with red slip dots, ash glaze dipped over on the rim. |
 |
| Shino tumblers with iron and manganese slips trailed under. |
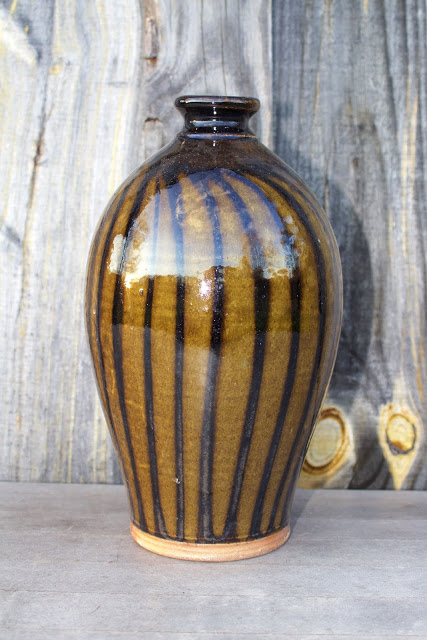 |
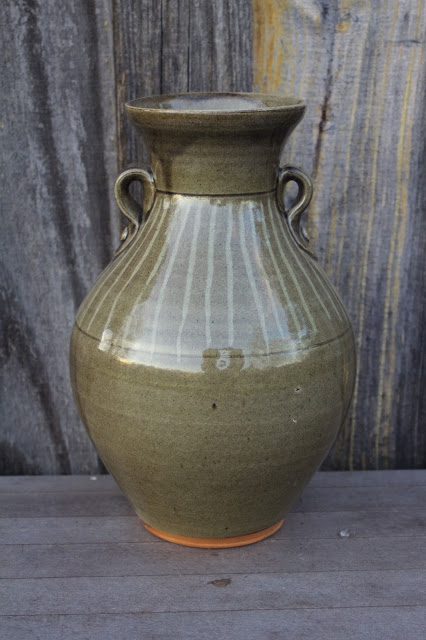
| Albany slip vase over wiped red slip. |
 |
| I am actually unsure of what glaze combo this is. Will have to ask Adrian! |
| Various mixing bowls. |
 |
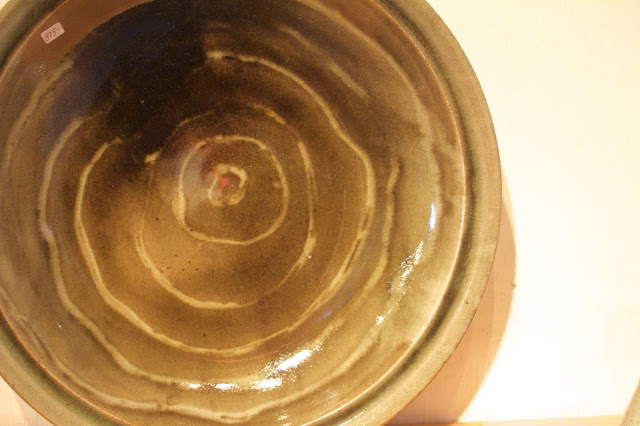
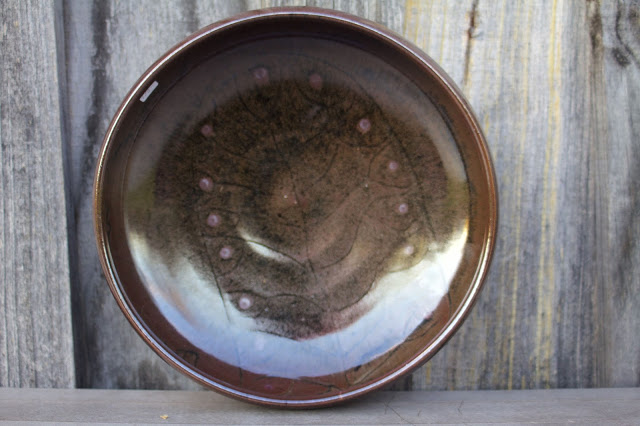
| Celadon mixing bowl with red slip decoration. |
 |
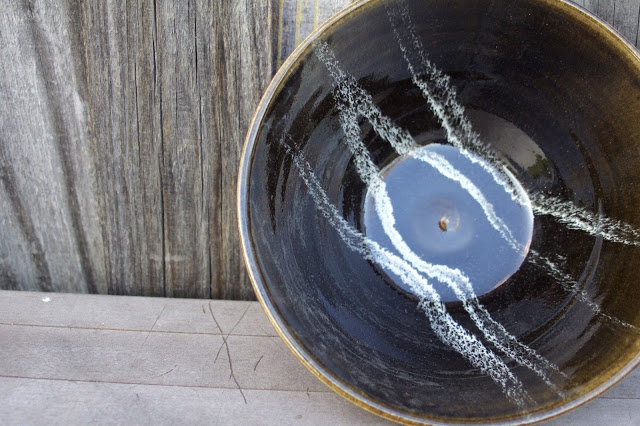
| Small bowl with nuka glaze over red slip swirls. |
 |
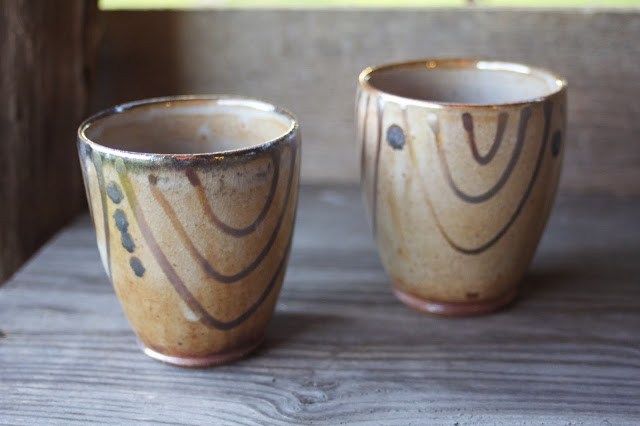
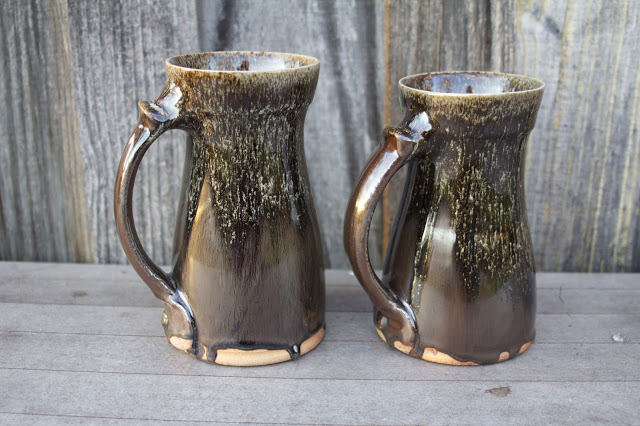
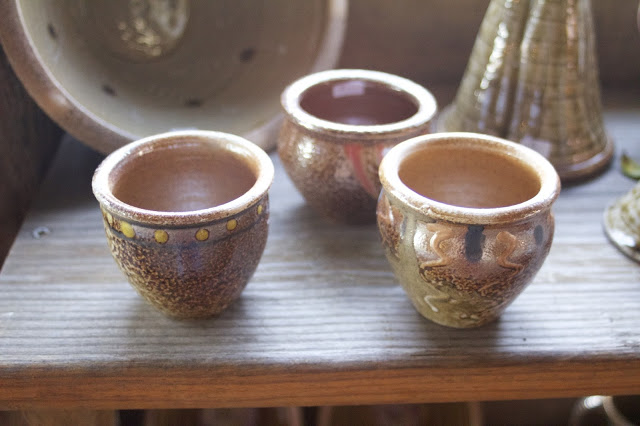
| Pair of tumblers with white glaze swishes over celadon (plus 1% iron oxide). |
 |
| Same as the tumblers above. |
 |
| Large platter with one glaze on top of another with wax resist rings. |
 |
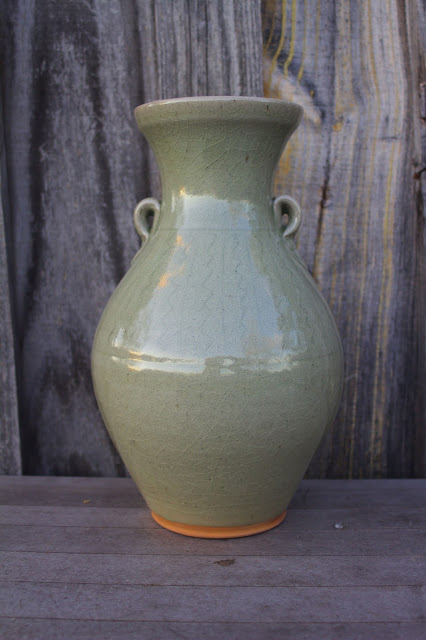
| Celadon vases. These look super in the sub: a shiny light translucent blue. Very nice. |
 |
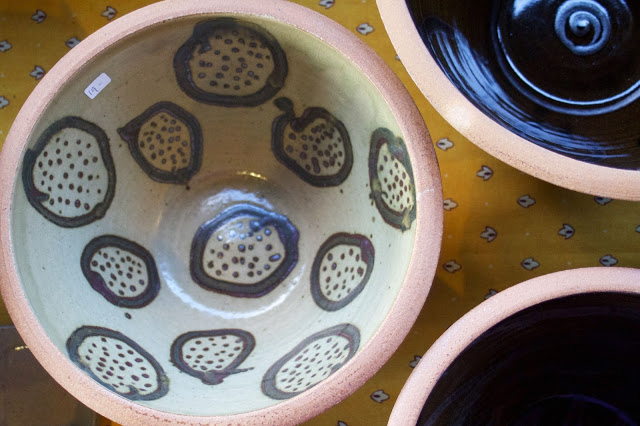
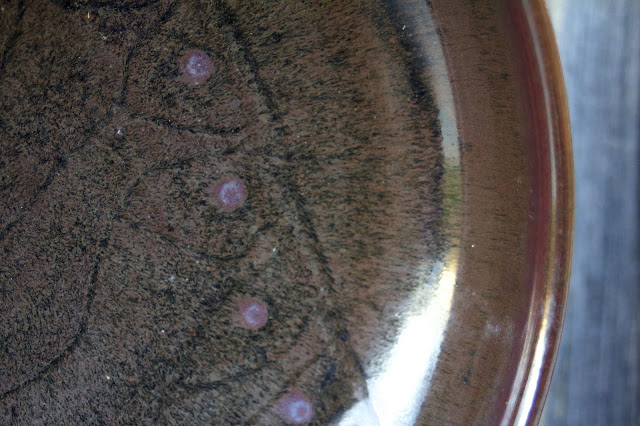
| Celadon serving bowls with red slip trailed and dotted underneath. |
 |
| Celadon over sgraffito decoration. |
 |
| Celadon over red slip. |
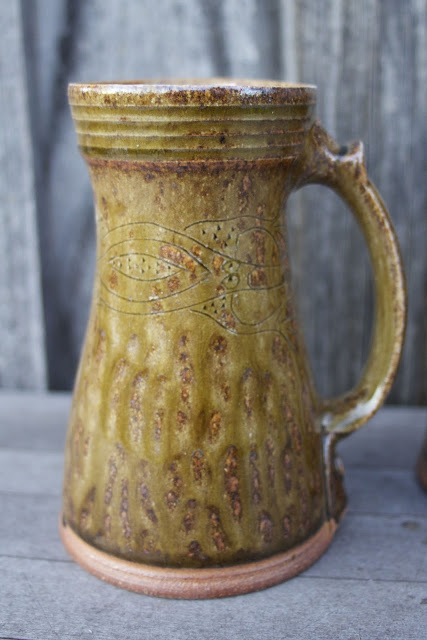 |
| Ash glaze stein. Look close and you can see the head and arms of a sgraffito lizard. |
 |
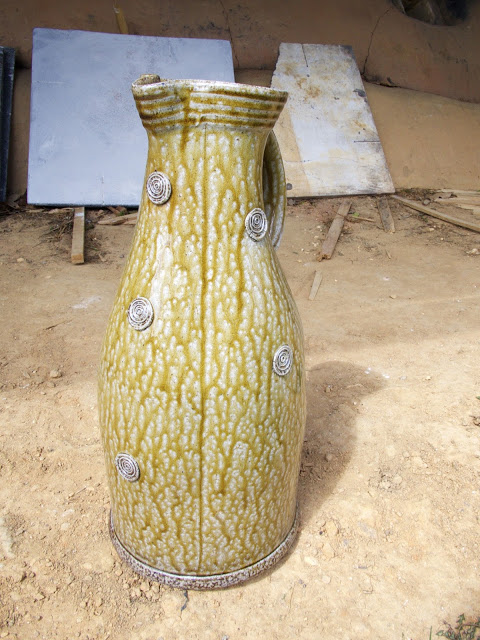
| This glaze is called Rocky 12, believe it or not. |
 |
| Close up of the Rocky 12 surface. |
 |
| Celadon serving bowl with red slip dots under. |
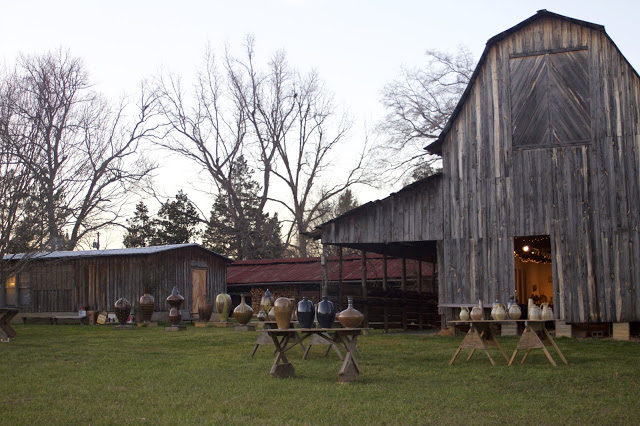 |
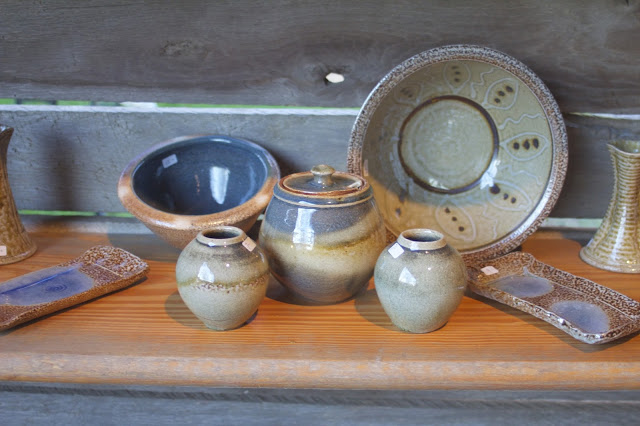
| Getting ready for the sale. |
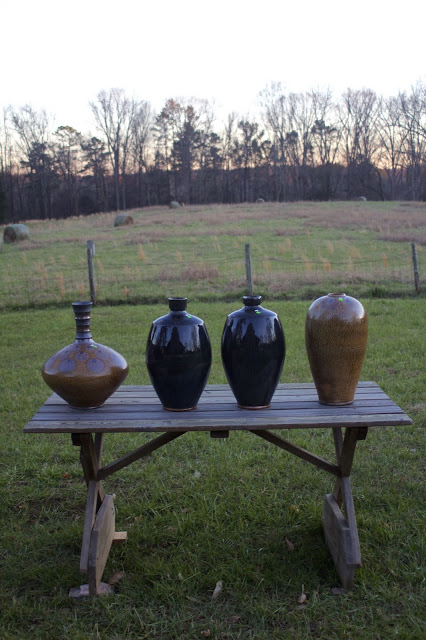 |
| Four medium sized pots from the salt kiln, out on sale this weekend. |
 |
| Big unfired pots. |
 |
| Ribbon vase (unfired). I'm excited to see how this one turns out. |
 |
| Fish stew anyone? |
Testing. Testing.
It's official: we are in the bleak midwinter (well, we were when I started writing this post anyway). Precipitation from the sky is no longer liquid. It's whiter, colder and you can't see through it. Riding my bike down to work has become treacherous so I've been walking instead; carefully following the paw prints of one of the neighborhood felines....
Its been an exciting couple of months at the Hewitt Pottery. The workshop is in a state of flux. Our normal routine has been abandoned for the moment in order to pursue new materials and glazes. Before Christmas Mark was recently awarded a United States Artist Fellowship which came with a significant chunk of prize money. Some of the funds have been appropriated for research and development into new glazes from local materials.
Just before thanksgiving last year Mark and Adrian went on a mission into the NC countryside, coming back with several different types of granite, feldspars, and other potentially useful materials such as apatite and spodumene.
Since then, Adrian, Mark, I and Stillman Browning-Howe (the next apprentice who will be replacing Adrian) have been processing these materials to make them
usable: transforming them from rocks into powders. First we calcine
them in the bisque kiln, then tamp them to break the pieces down to pea-size or smaller. Next they go into the ball mill with water for eight hours
or so, which breaks the peas down to very fine particles. We empty this
out and dry it in large shallow beds. Some of the material settles out
badly, which makes it more challenging and time-consuming to transfer to
the drying beds. The process is considerable. Lots of moving rocks and
digging slurry out of plastic bins!
Mark came up with various triaxial blends using the new materials, mixed up small batches of them (50g) and applied them to test tiles. We performed a couple of test firings in the small gas kiln and tinkered with the recipes. Whilst all this was going on, we were making pots and bisquing them ready for full tests.
Next stage was mixing up 5lb-20lb batches of the glazes we liked best and trying various combinations on our pots. We are also experimenting with some raw glazes but for these you need approximately 25% clay which tends to muddy the glaze quality. The granite celadons especially look better with less clay making them only suitable as bisque glazes.
This past week we loaded the front chamber of Mark's new kiln (built in 2007) and fired it through Wednesday, Thursday, and Friday. Despite being only the front chamber, it fit a significant amount of pots. We placed different glazes all over the place to see how they react to higher and lower temps. Its very exciting. Now all we have to do is wait and hold our breath! We unload in four or five days and I'll post some photos of the results then.
Before firing the kiln we re-did the front of the floor to make it nice and flat.
Now here's just some more snowy pictures...
 |
| We live worryingly close to the Carolina Tiger Rescue. |
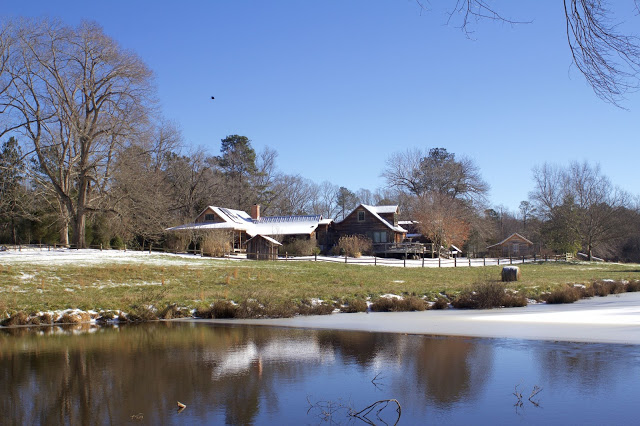 |
| View of Mark's house and the pottery from across the pond. |
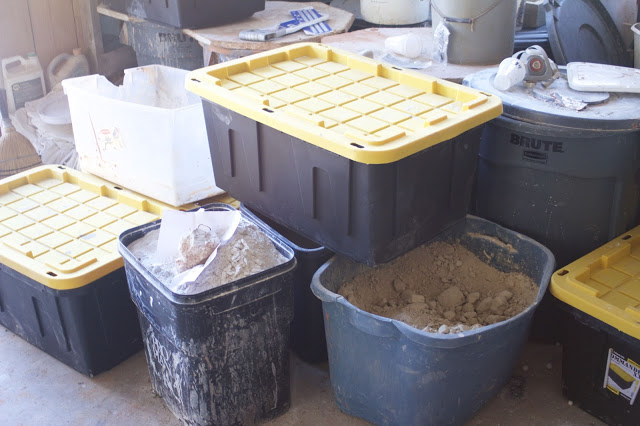 |
| Raw materials. |
 |
| Apatite out to dry in the sun because we needed some to mix a glaze ASAP. |
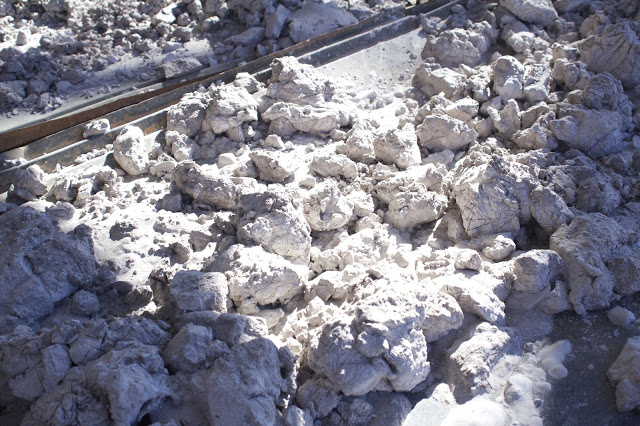 |
| Close up of the apatite. |
 |
| Test tiles galore. |
 |
| Test tiles. |
 |
| These were some shinos I tested (most of them not applied thickly enough). |
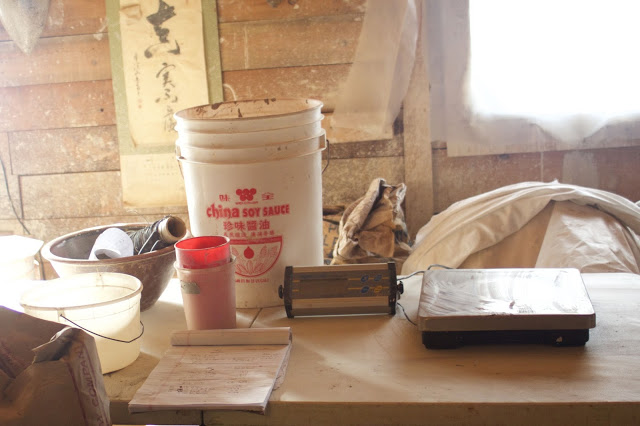 |
| Glaze measuring station |
 |
| Some of the new glaze tests. |
 |
| Bisque pots awaiting glazing above, raw glazed pots below. |
 |
| Bisque-ware |
 |
| Some little yunomi I made for tea or whisky, or whatever tipple you prefer. |
 |
| Mixture of mugs and yunomi. |
 |
| Some of my tumblers. |
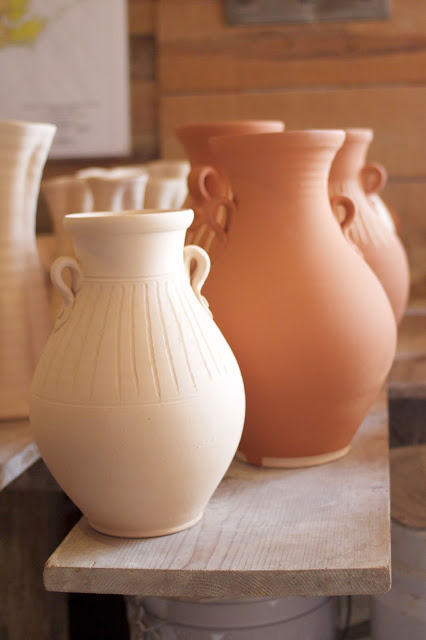 |
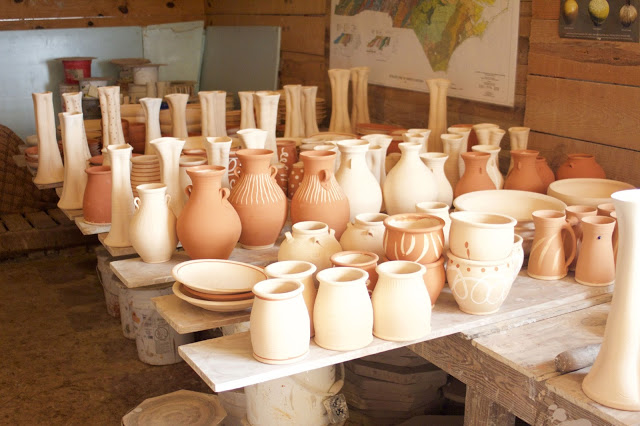
| Some of Mark's bisque pots. I love these--they remind me of Greek or Roman wine vessels. |
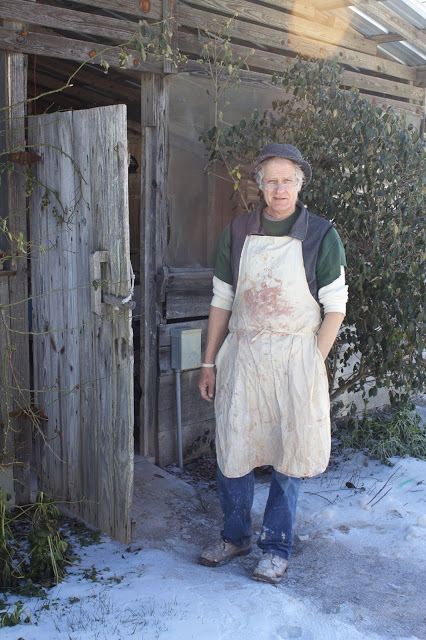 |
| Mark in the midst of a Sunday morning's glazing. |
 |
| Mark's mugs. Slip trailing in progress. |
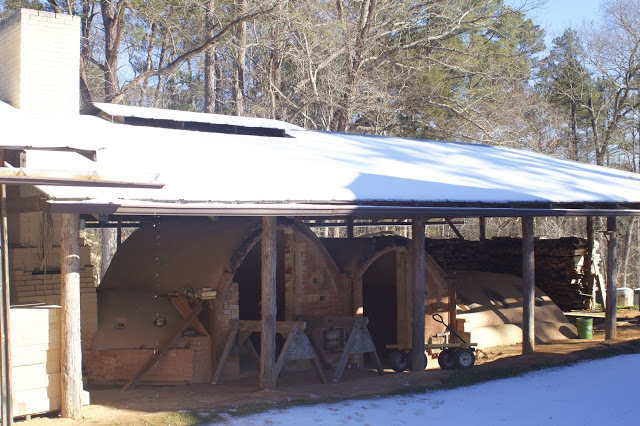 |
| The new kiln. |
 |
| Different angle on the new kiln. |
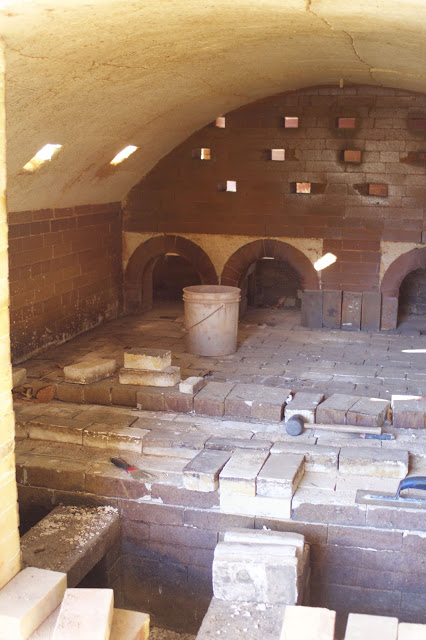 |
| Re-doing the floor of the kiln. |
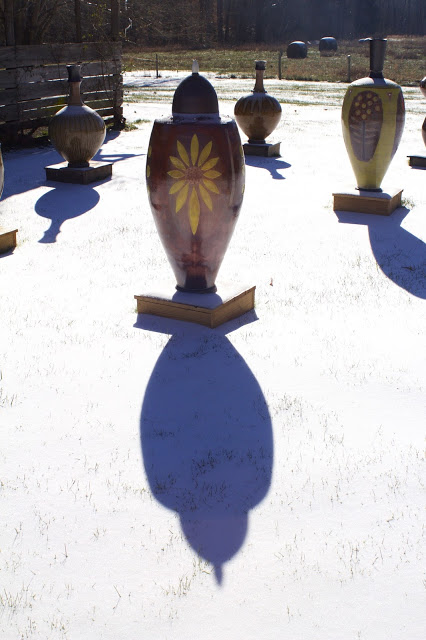 |
| Big pots in the snow. Love the shadows! |
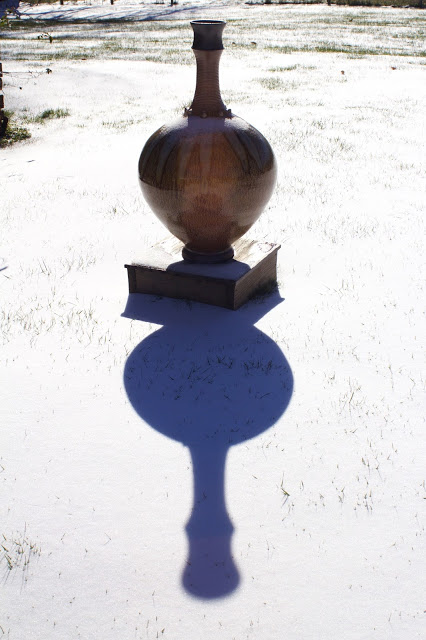 |
| Big pot in the snow |
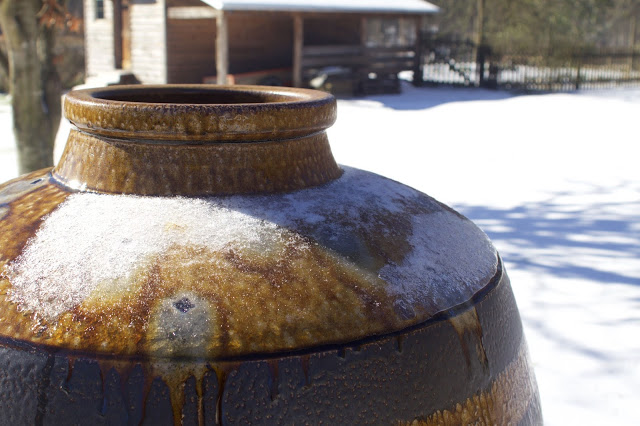 |
| The melt is on! |
 |
| Our vegetable garden is not looking very happy. |
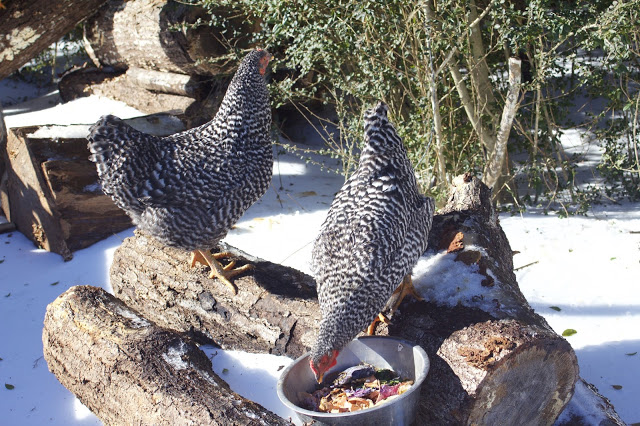 |
| The chickens don't like getting cold feet. |
 |
| Happiness is a bowl of kitchen scraps. |
Mark Hewitt Pottery Christmas 2015 Kiln Opening, 94th Firing
We had a hard frost the morning of the kiln opening. I meandered down to the pottery at 8 a.m. to find a crowd of people perusing the barn already. The way it works is that when customers arrive they get given a number and then at 9 a.m. everyone has to leave the barn and line up in the order that they arrived. This allows the early birds to get first pick of the pots they really want.
Everyone's feet were cold but Carol (Mark's wife) had laid on vats of mulled cider and coffee which kept everyone happy. As the morning progressed, the sun came out, the frost melted, and people discarded their scarves. The pots looked very fine lined up in the early light of the day. I could not help being displeased with some of my forms, but overall I was happy with the results from this second cycle of work. My pots have definitely improved and I am getting to grips with Mark's style of decoration and slip trailing. I'll start with some pictures of Mark's pots...
Now here are some pics of Adrian's pots. Adrian is the other apprentice at Mark's studio. He's been here for over three years and this will be his last firing in the salt kiln. He certainly has some skills as you can see below. Sweet pots! I have one of his large mixing bowls from this firing and have already greatly enjoyed making bread dough in it.
My pots are priced lower than Adrian's and much lower than Mark's, and rightly so as I am by far the least experienced, and the
pots reflect that. I think the customers like this; it's nice to come and find a
bargain! Most of the pots pictured below have sold out now. All of my mugs went to a couple whose son is a school principal; they will be given out to every teacher in the school. That made me happy.
If I do not get the chance to post again before Christmas, then I hope you all have a lovely time, eat far too much food, and have much merriment!
 |
| Shelves fully stacked before the sale. |
 |
| They looked especially proud with the sun peeping over the trees. |
 |
| Large Mark Hewitt pot. |
 |
| Detail on the shoulder of one of Mark's big pots. |
 |
| Large Mark Hewitt pot. |
 |
| Large Mark Hewitt pot. |
 |
| Large Mark Hewitt pot. |
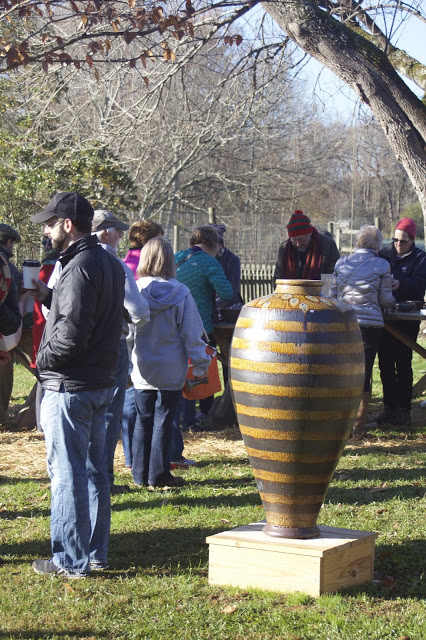 |
| Large Mark Hewitt pot. |
 |
| Mostly vases by Mark Hewitt. |
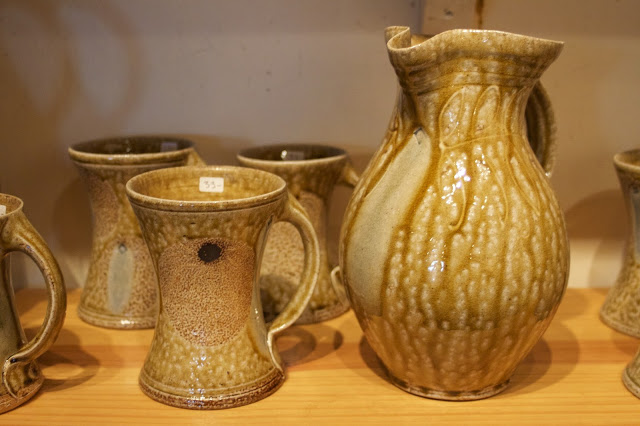 |
| Nice ashy pitcher and mugs. |
 |
| Fat jar and quart pitcher. |
 |
| Platters, mixing bowls and three ten gallons. |
 |
| Mixing bowls and a ten gallon pot. |
 |
| Adrian's display with bottles, teapots, salt and pepper shakers, sawanaky's and vases. |
 |
| Shot glasses. |
 |
| Creamers and pitcher (jug) |
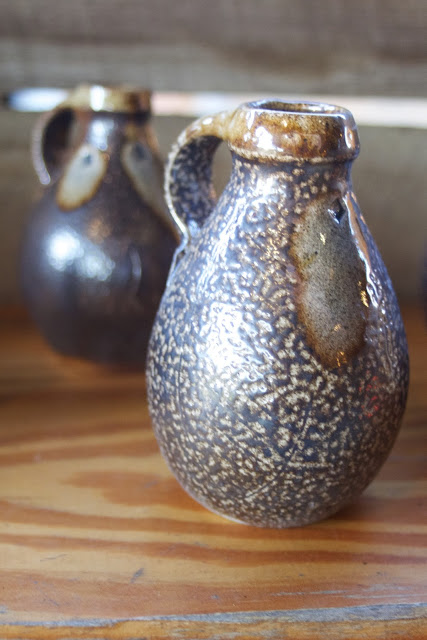 |
| Little whisky flask (this one is not the best shape but I like the salty black slip on it) |
 |
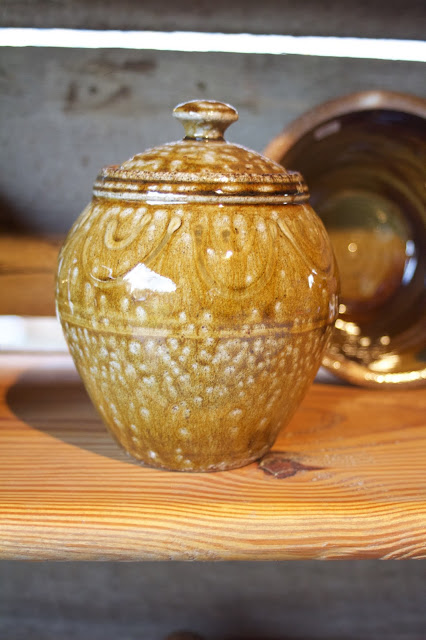
| Cannister jar. Mark actually threw this one as an example pot but I forgot it was his and decorated it myself. |
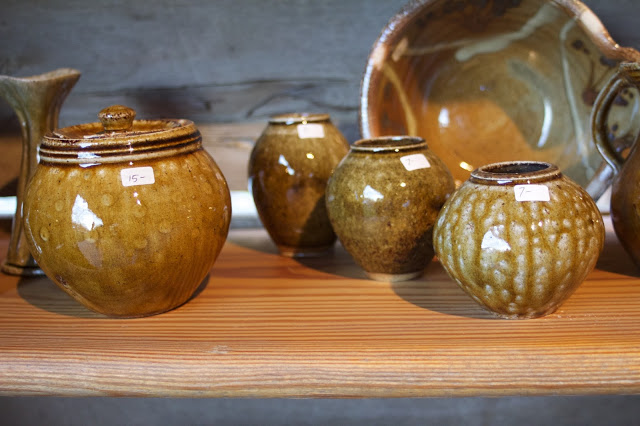 |
| Honey pot and three bud vases. |
 |
| Shot glasses and my one austere straight canister jar. |
 |
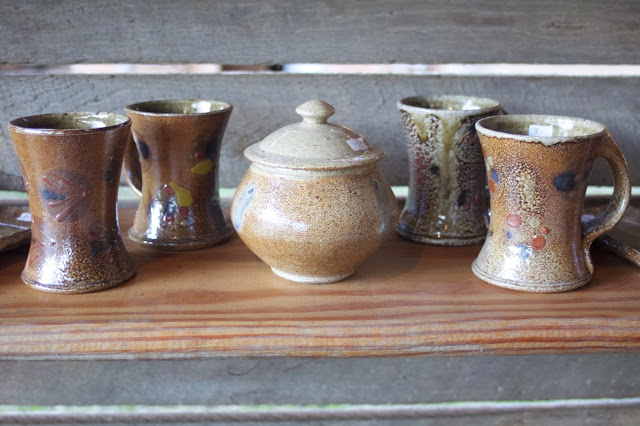
| Barrel mugs. |
 |
| Canister jar and wasabi dishes. |
 |
| Mini flower pots! |
 |
| Medium sized pancheon. |
 |
| Eager shoppers. |
 |
| Two shelves of my pots with a little bio. |
 |
| Lilac slippped mugs. |
 |
| Honey pot (ash glaze). |
 |
| Collection of chun pieces. |
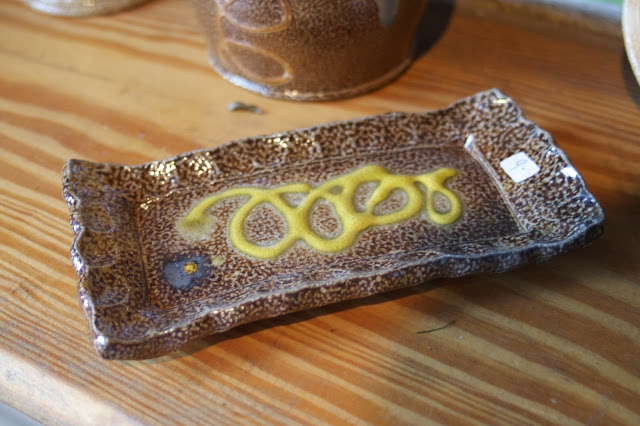 |
| Butter dish with yellow swirl. |
 |
| Swirly canister jars and straight mugs. |
 |
| A sawanaky from last firing and some recent straight mugs. |
 |
| Honey jar (ash glaze). |
A Brief History of Dominique Chickens (and an introduction to our flock)
We got our 18 Dominique chicks in the mail on the 22nd August, so they are about three months old now. Our decision to get Dominique chickens was influenced by the lovely people at the Livestock Conservancy here. The Conservancy's mission is: "To protect endangered
livestock and poultry breeds from extinction." They do great work,
listing livestock from critical status to recovering and helping people who want to help raise heritage breeds.
Dominiques -- sometimes pronounced "Dominiker" here in the south -- have a long history in the states. When I heard the story of this breed I was sold, so here is the abridged version.
Dominiques are acknowledged as America's first breed of chicken. They came in to New England with the pilgrims
and were sometimes been called "Pilgrim Fowl" or "Puritan Fowl." As early
as the 1820s these birds were widely spread across the east of
America; Abraham Lincoln even had a flock. They are dual purpose birds;
laying well but are also good eating. Back in the day people valued
their feathers for stuffing pillows. They are a resilient and adaptable
bird, doing well in cool climates as well as warm; their small comb
prevents easy freezing. They also enjoy foraging for food and their
coloring offers more protection than most from birds of prey (this is
good as we see a lot of hawks around our house).
In the mid 19th century, one poultry writer stated Dominique chickens were “so familiar as to need no description,” and an oft-heard expression was “spunky as a Dominicker rooster” (Mother Earth News article, Janet Vorwald Dohner, July 2010). The cocks have been know to kill cats, snakes, and other small beasts. Good for protecting the flock!
However, the introduction of the Plymouth Rock to the market put Dominique's out of fashion and numbers slowly declined. Farmers have tended to favor breeds who either produce more eggs, or grow quicker for meat, specialising rather than choosing dual purpose breeds.
By 1970 there were critically few Dominiques in America; only four flocks left! There were serious concerns about extinction. An organisation called the Dominique Club of America was founded in 1973 and has been promoting them ever since; it now has over 200 members including myself (I recently joined: its only $10 a year). Since then conservation efforts have helped bring Dominiques back to a 'watch' status. It feels good to be raising some rare historical birds. We intend to sell on some chicks in the spring and spread the Dominikers.
The chickens spend their time between an outdoor cruiser I built, with an extra rabbit hutch addition on the far end, and our shed (depending on the weather).
The idea is to move this around the garden
before spring planting so the chickens till and fertilize the rows. Once they are four months old, the chicks should be safe to go out and forage
for themselves, coming back to the shed at night.
Now
for a tour of our chicken shed -- this was full of junk like old crusty
paint cans and broken flower pots. I stripped it and adapted it for the
chickens. It has four nest boxes with hardware cloth as a base (so they are
self cleaning), with a cupboard above for feed storage.
Finally, here are some pictures from the vegetable patch, planted in mid August. I forgot to clean the lens so these pictures are slightly cloudy, but you get the idea.
Dominiques -- sometimes pronounced "Dominiker" here in the south -- have a long history in the states. When I heard the story of this breed I was sold, so here is the abridged version.
 |
| Hello |
In the mid 19th century, one poultry writer stated Dominique chickens were “so familiar as to need no description,” and an oft-heard expression was “spunky as a Dominicker rooster” (Mother Earth News article, Janet Vorwald Dohner, July 2010). The cocks have been know to kill cats, snakes, and other small beasts. Good for protecting the flock!
However, the introduction of the Plymouth Rock to the market put Dominique's out of fashion and numbers slowly declined. Farmers have tended to favor breeds who either produce more eggs, or grow quicker for meat, specialising rather than choosing dual purpose breeds.
By 1970 there were critically few Dominiques in America; only four flocks left! There were serious concerns about extinction. An organisation called the Dominique Club of America was founded in 1973 and has been promoting them ever since; it now has over 200 members including myself (I recently joined: its only $10 a year). Since then conservation efforts have helped bring Dominiques back to a 'watch' status. It feels good to be raising some rare historical birds. We intend to sell on some chicks in the spring and spread the Dominikers.
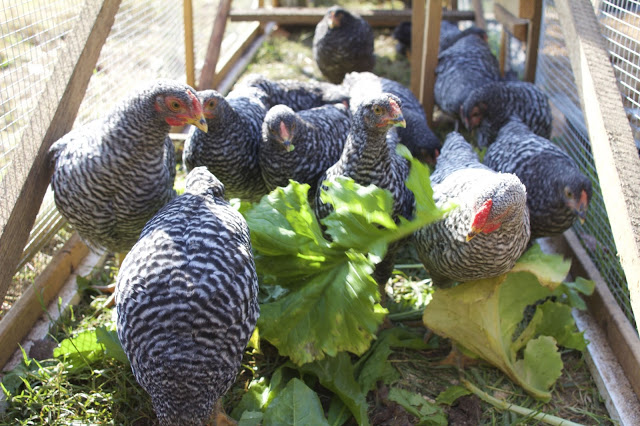 |
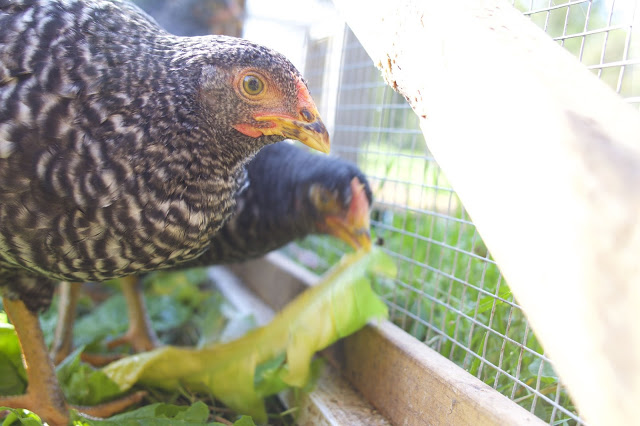
| Battle for the greens. |
 |
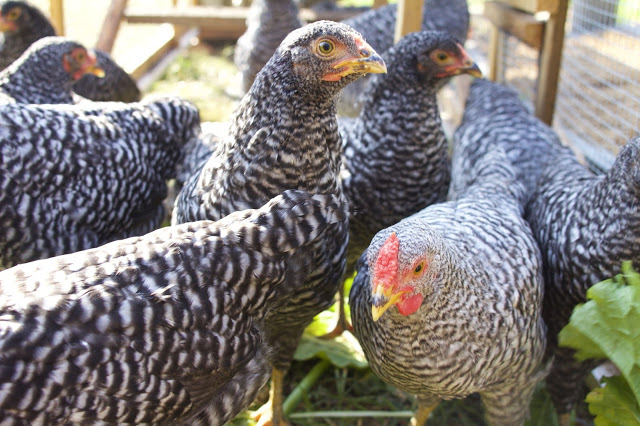
| This fellow is a cock in the making. His colouring is slightly lighter-more grayish. |
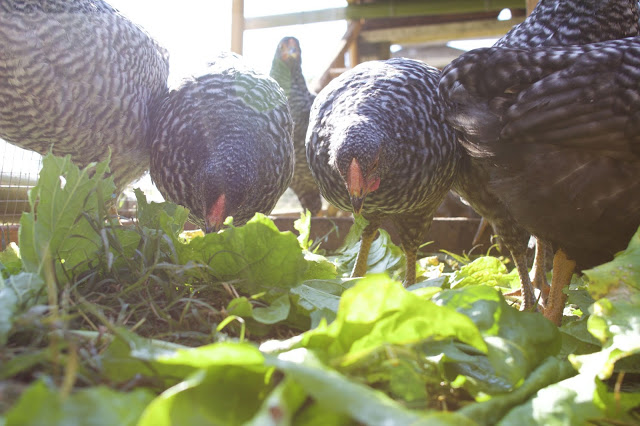 |
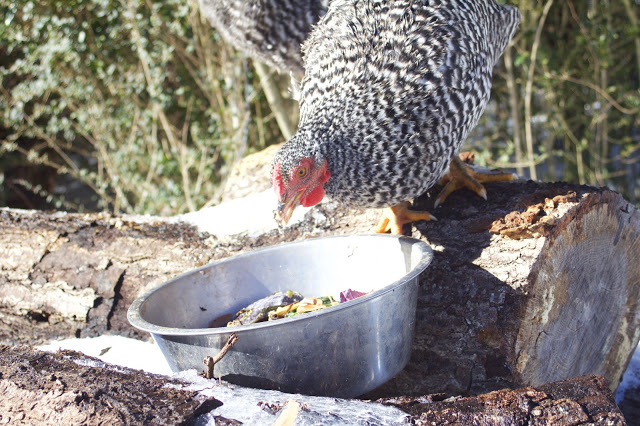
| Enjoying their fresh turnip greens -- apparently these have lots of calcium in them. |
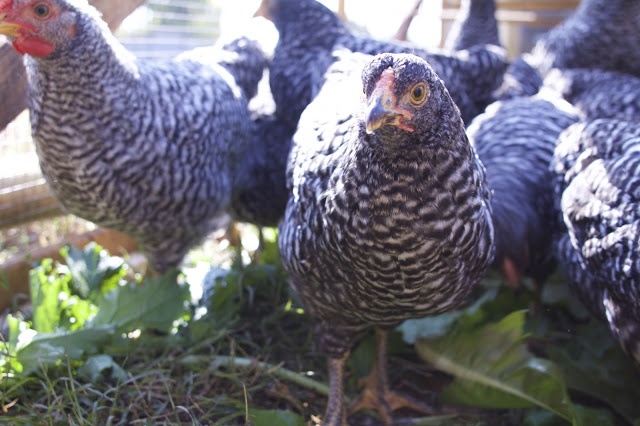 |
| Look at those feathers! |
 |
| Who you looking at? |
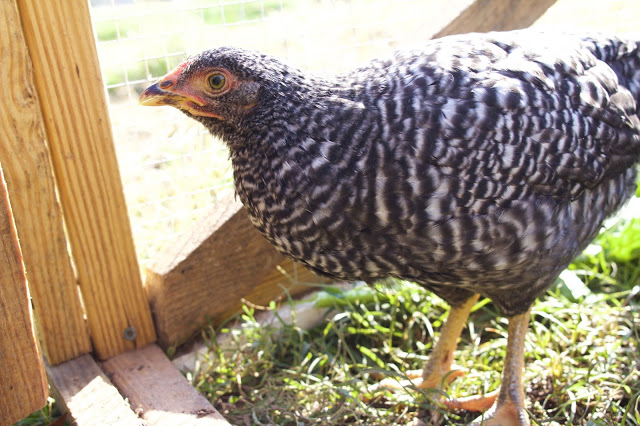 |
| This one is slightly smaller than the rest (the runt); she can't seem to walk straight but eats a lot-we have hope. (She's Lauren's favorite). |
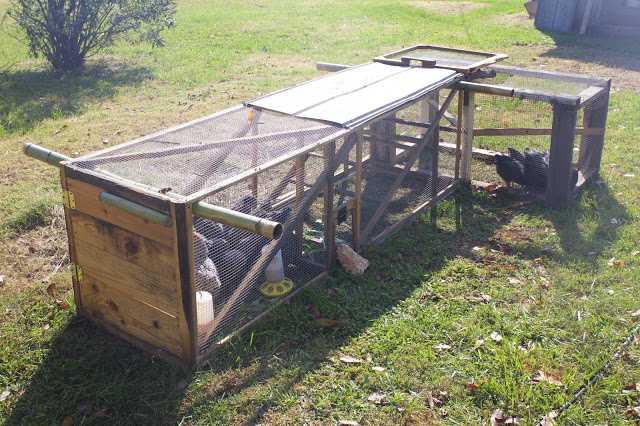 |
| The chicken tractor or chicken cruiser. |
 |
| Cheep cheep. |
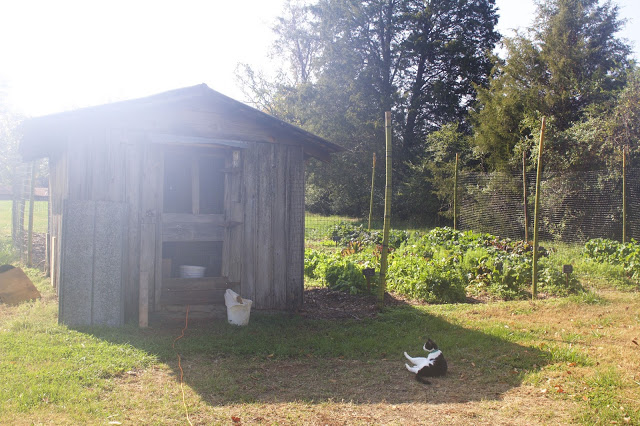 |
| Shelly lounging out in front of the garden. |
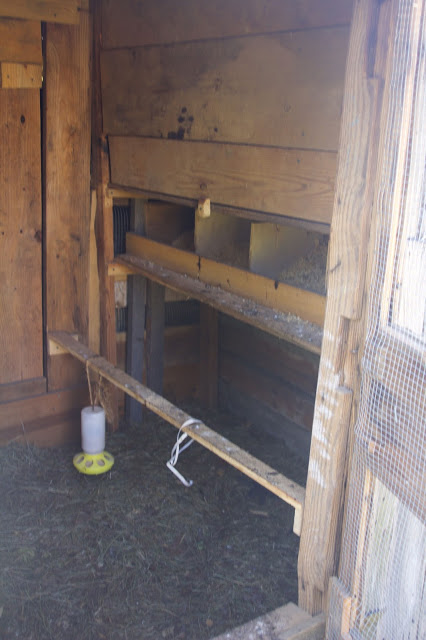 |
| Nesting boxes and storage space above for their food. |
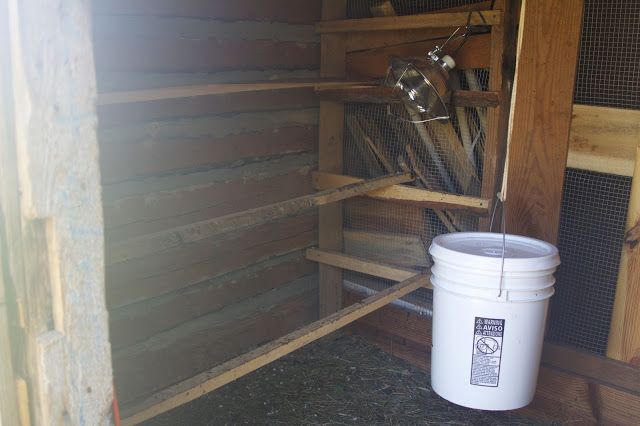 |
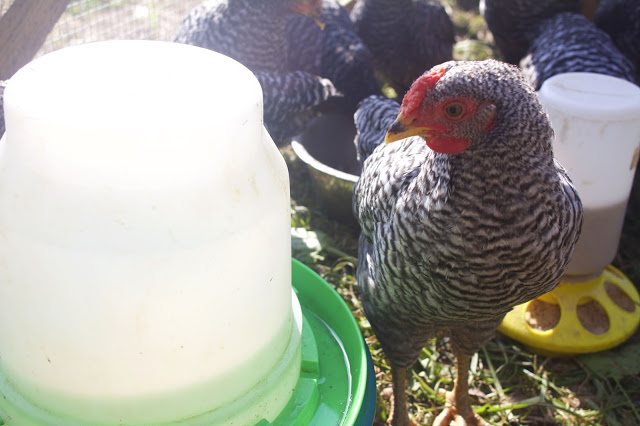
| Roosts and water (the bucket has red nipples underneath that the chicks peck at to get water. |
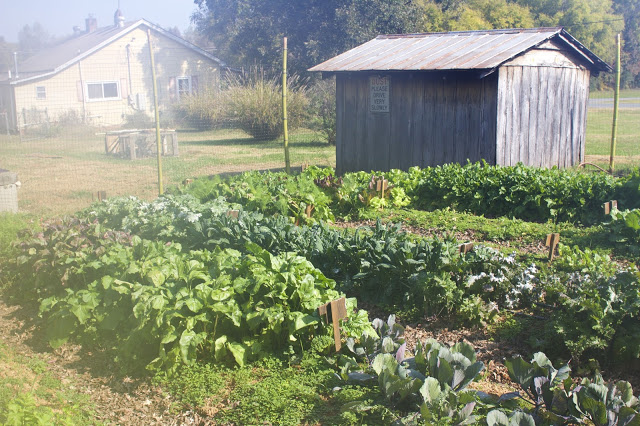 |
| Our veg patch from the back corner |
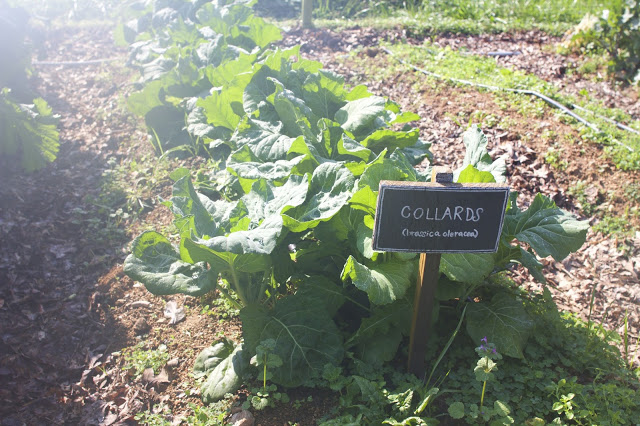 |
| My new favorite vegetable. |
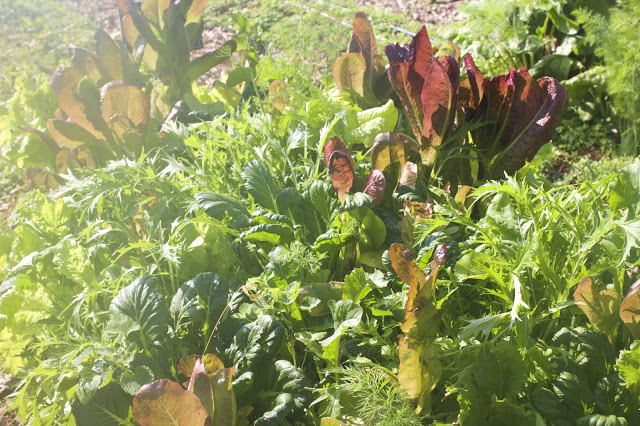 |
| Salad bed |
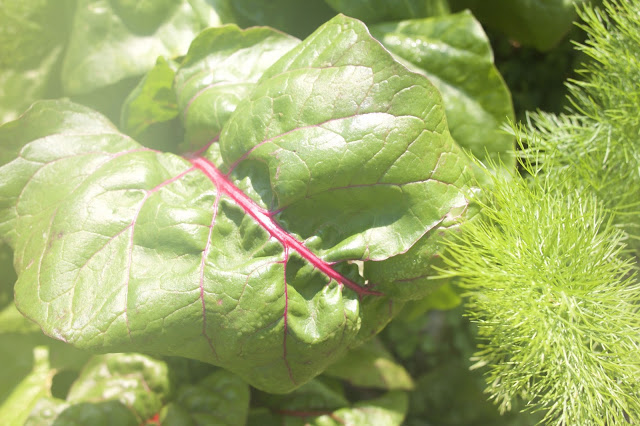 |
| Rainbow chard mixed in with fennel (by accident) |
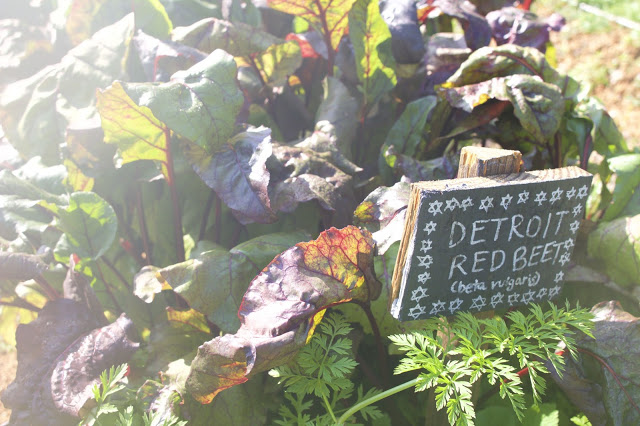 |
| What the sign says. |
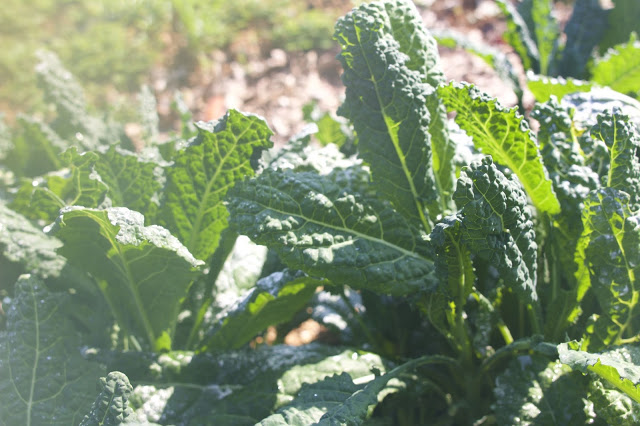 |
| Kale, glorious kale |
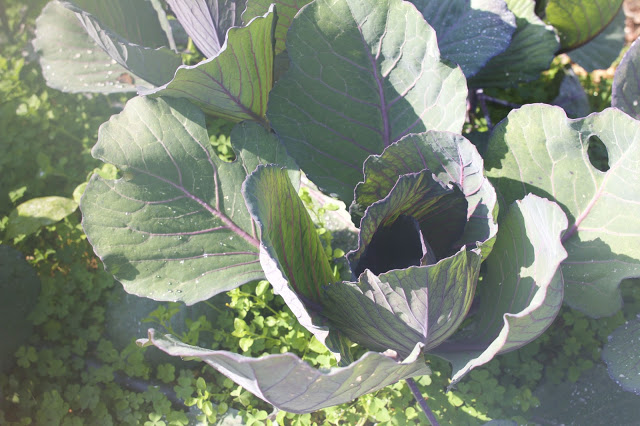 |
| Cabbage starting to curl up |
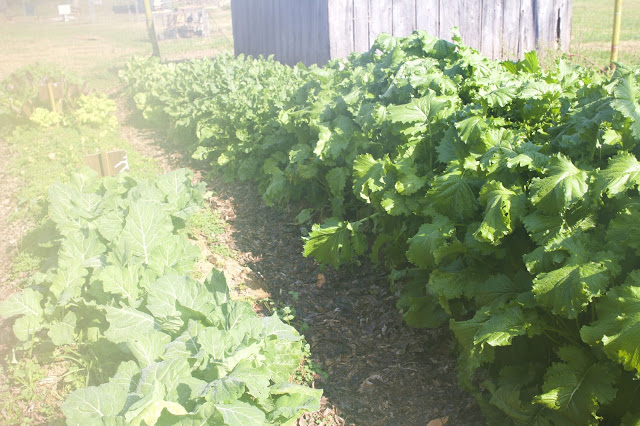 |
| Broccoli Raab/Rapini on the right-this stuff is nearly chest height now, its insane. |
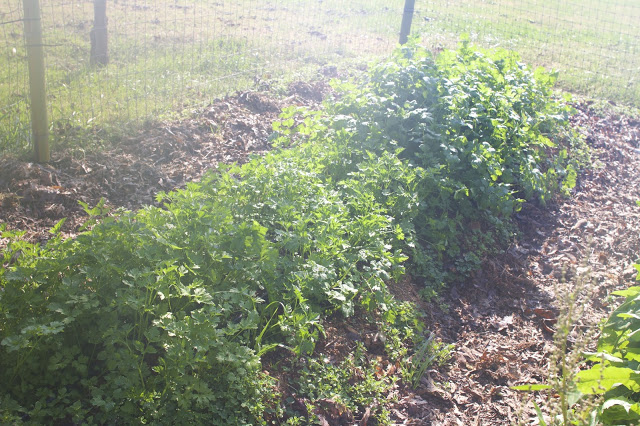 |
| Parsley and cilantro. |
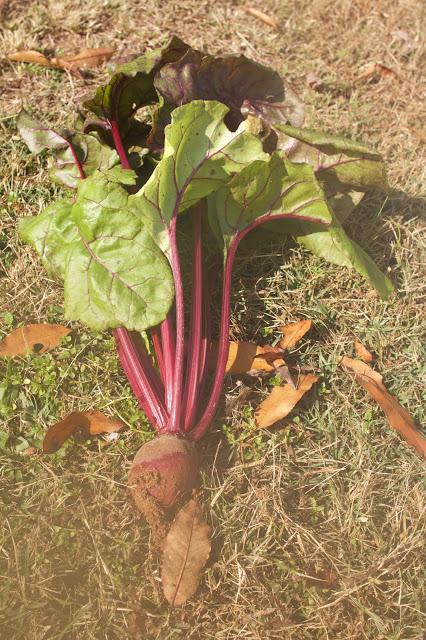 |
| Beetroot! |
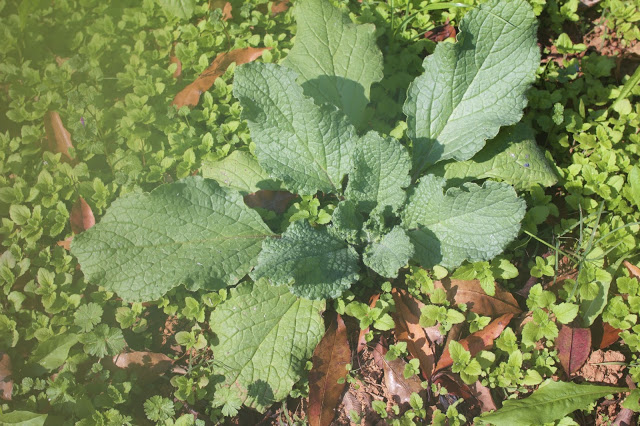 |
| Borage. This is very spikey and uncomfortable to pick but makes very tasty refreshing tea; tastes like cucumber. |
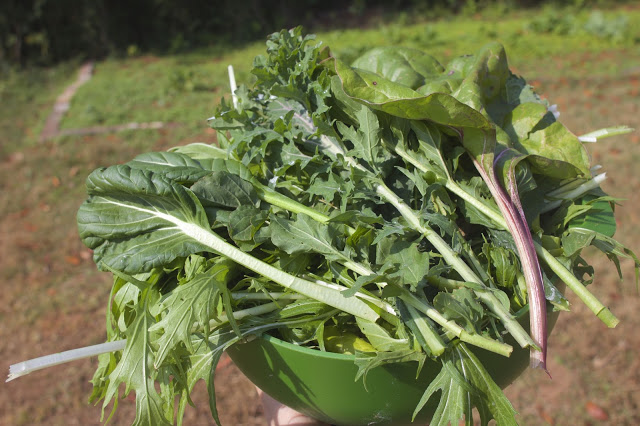 |
| Freshly picked salad |